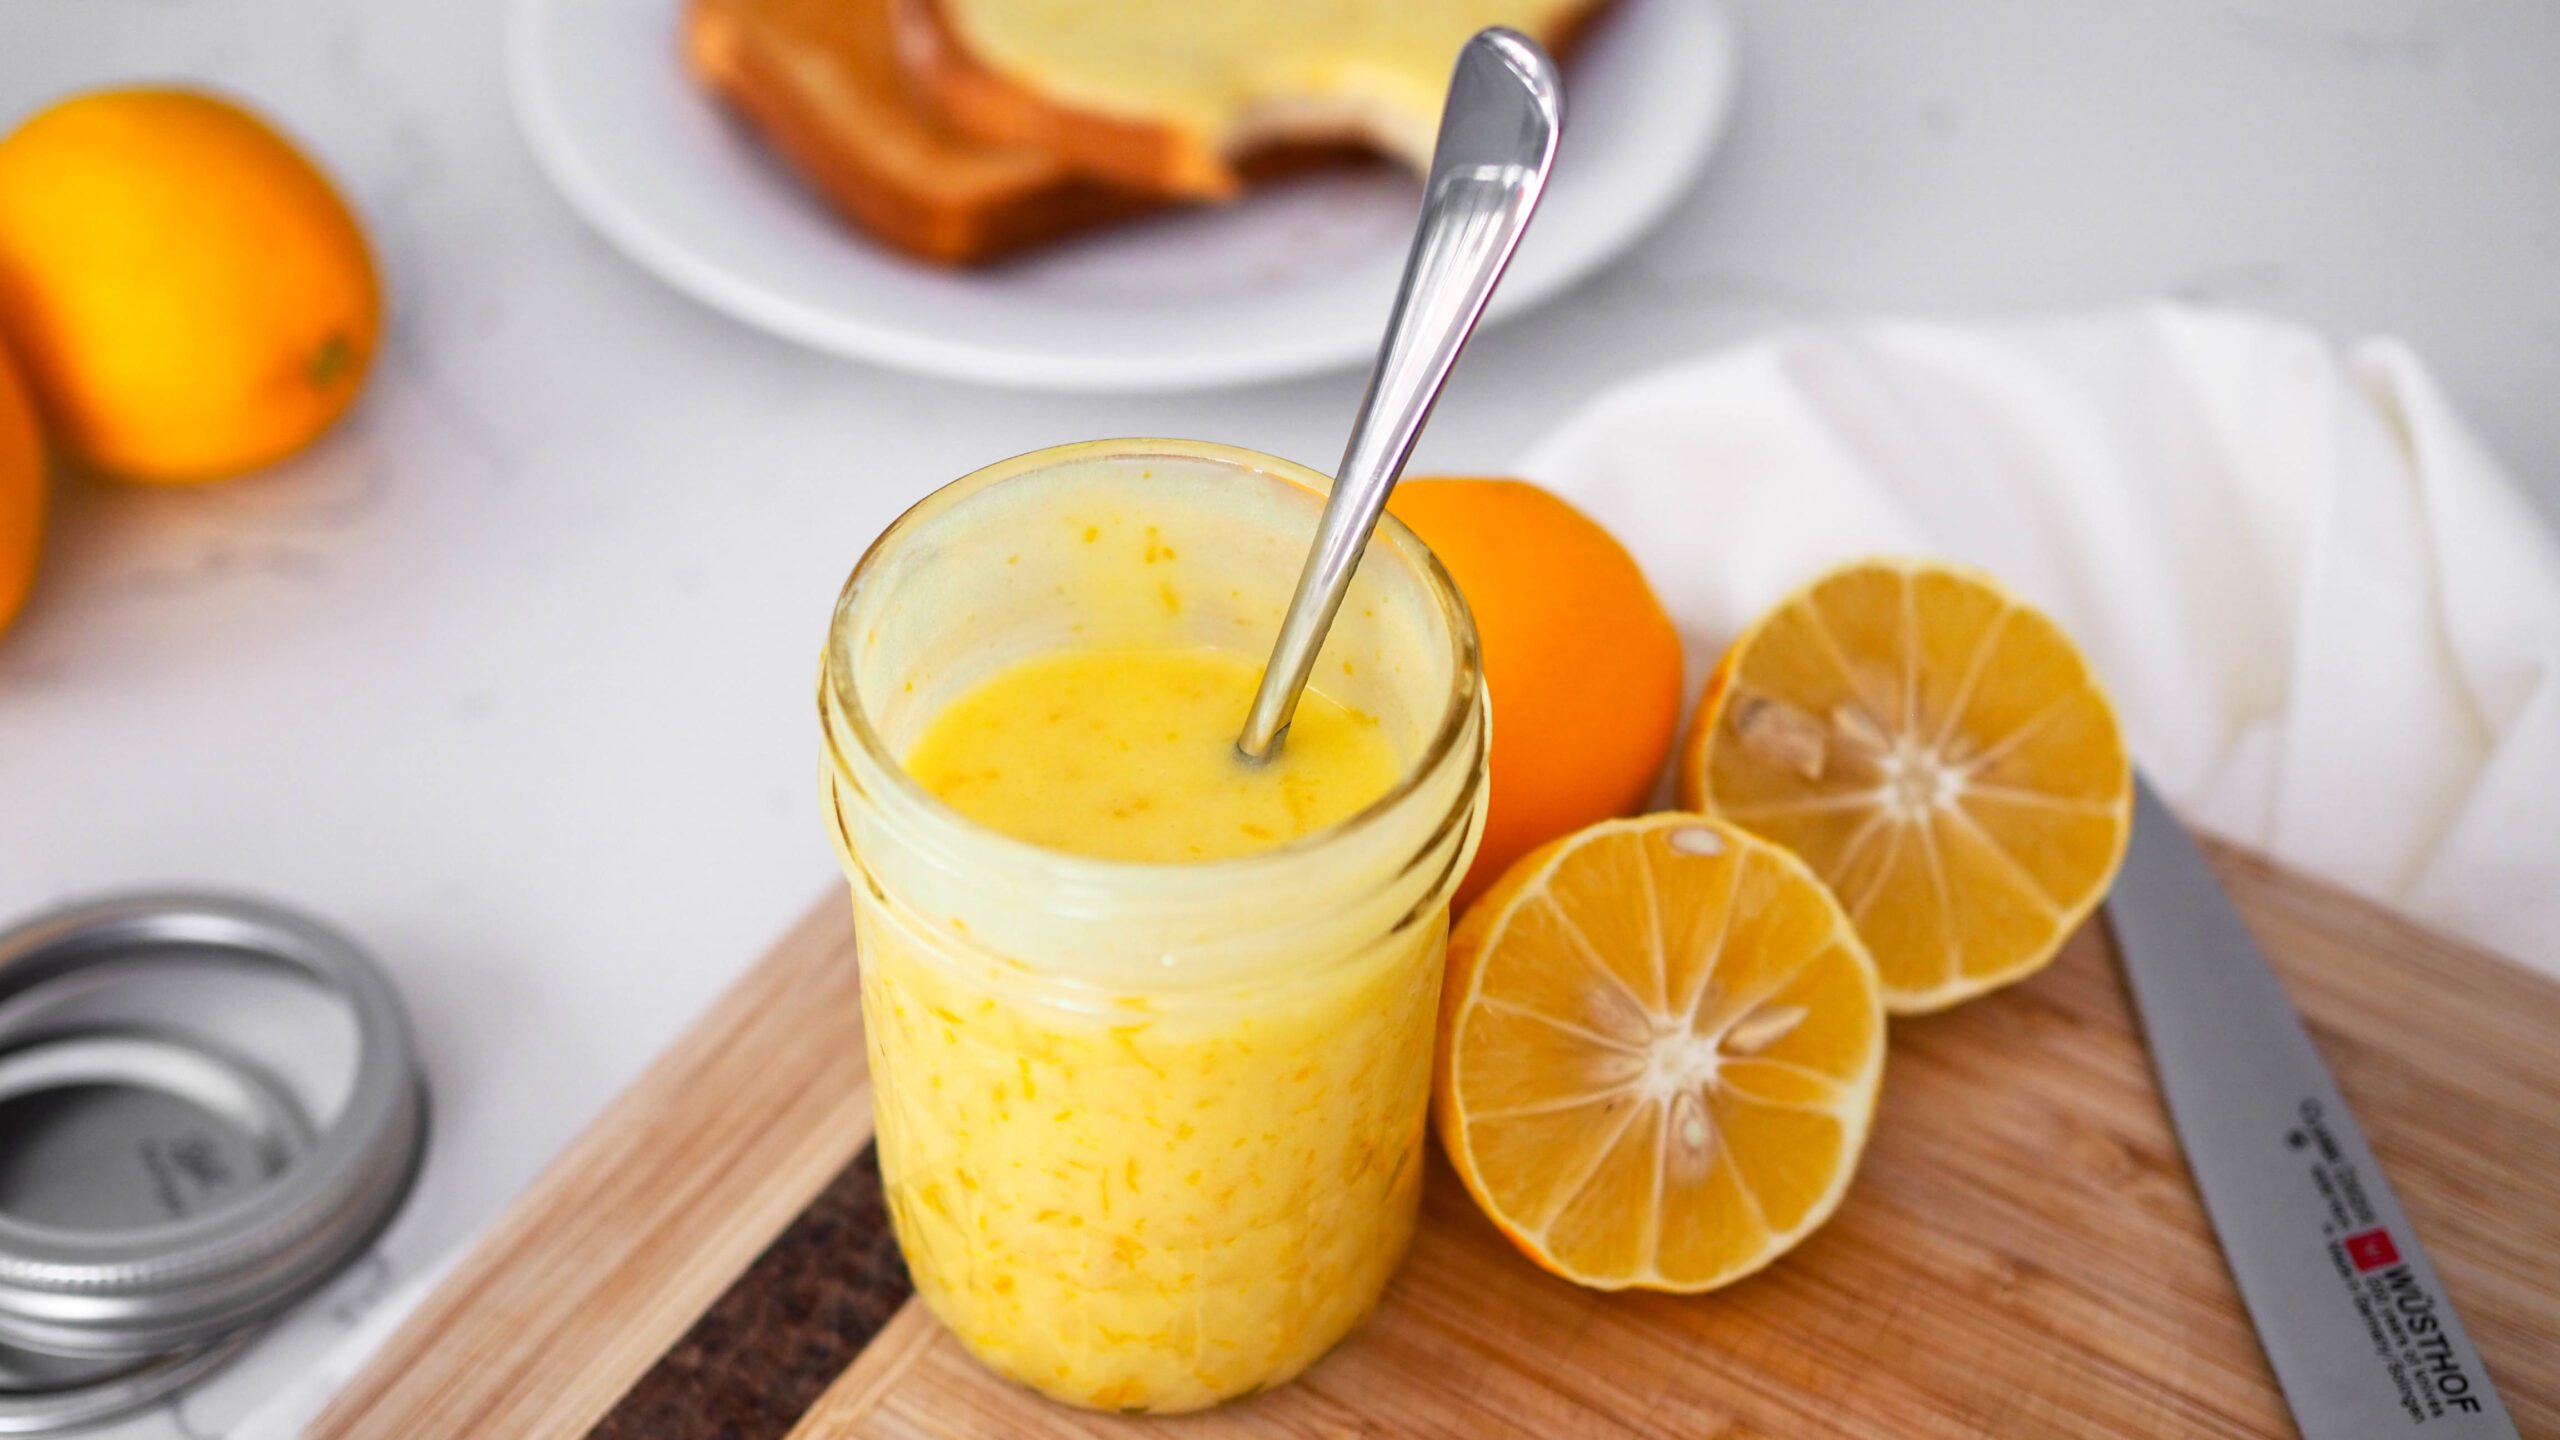
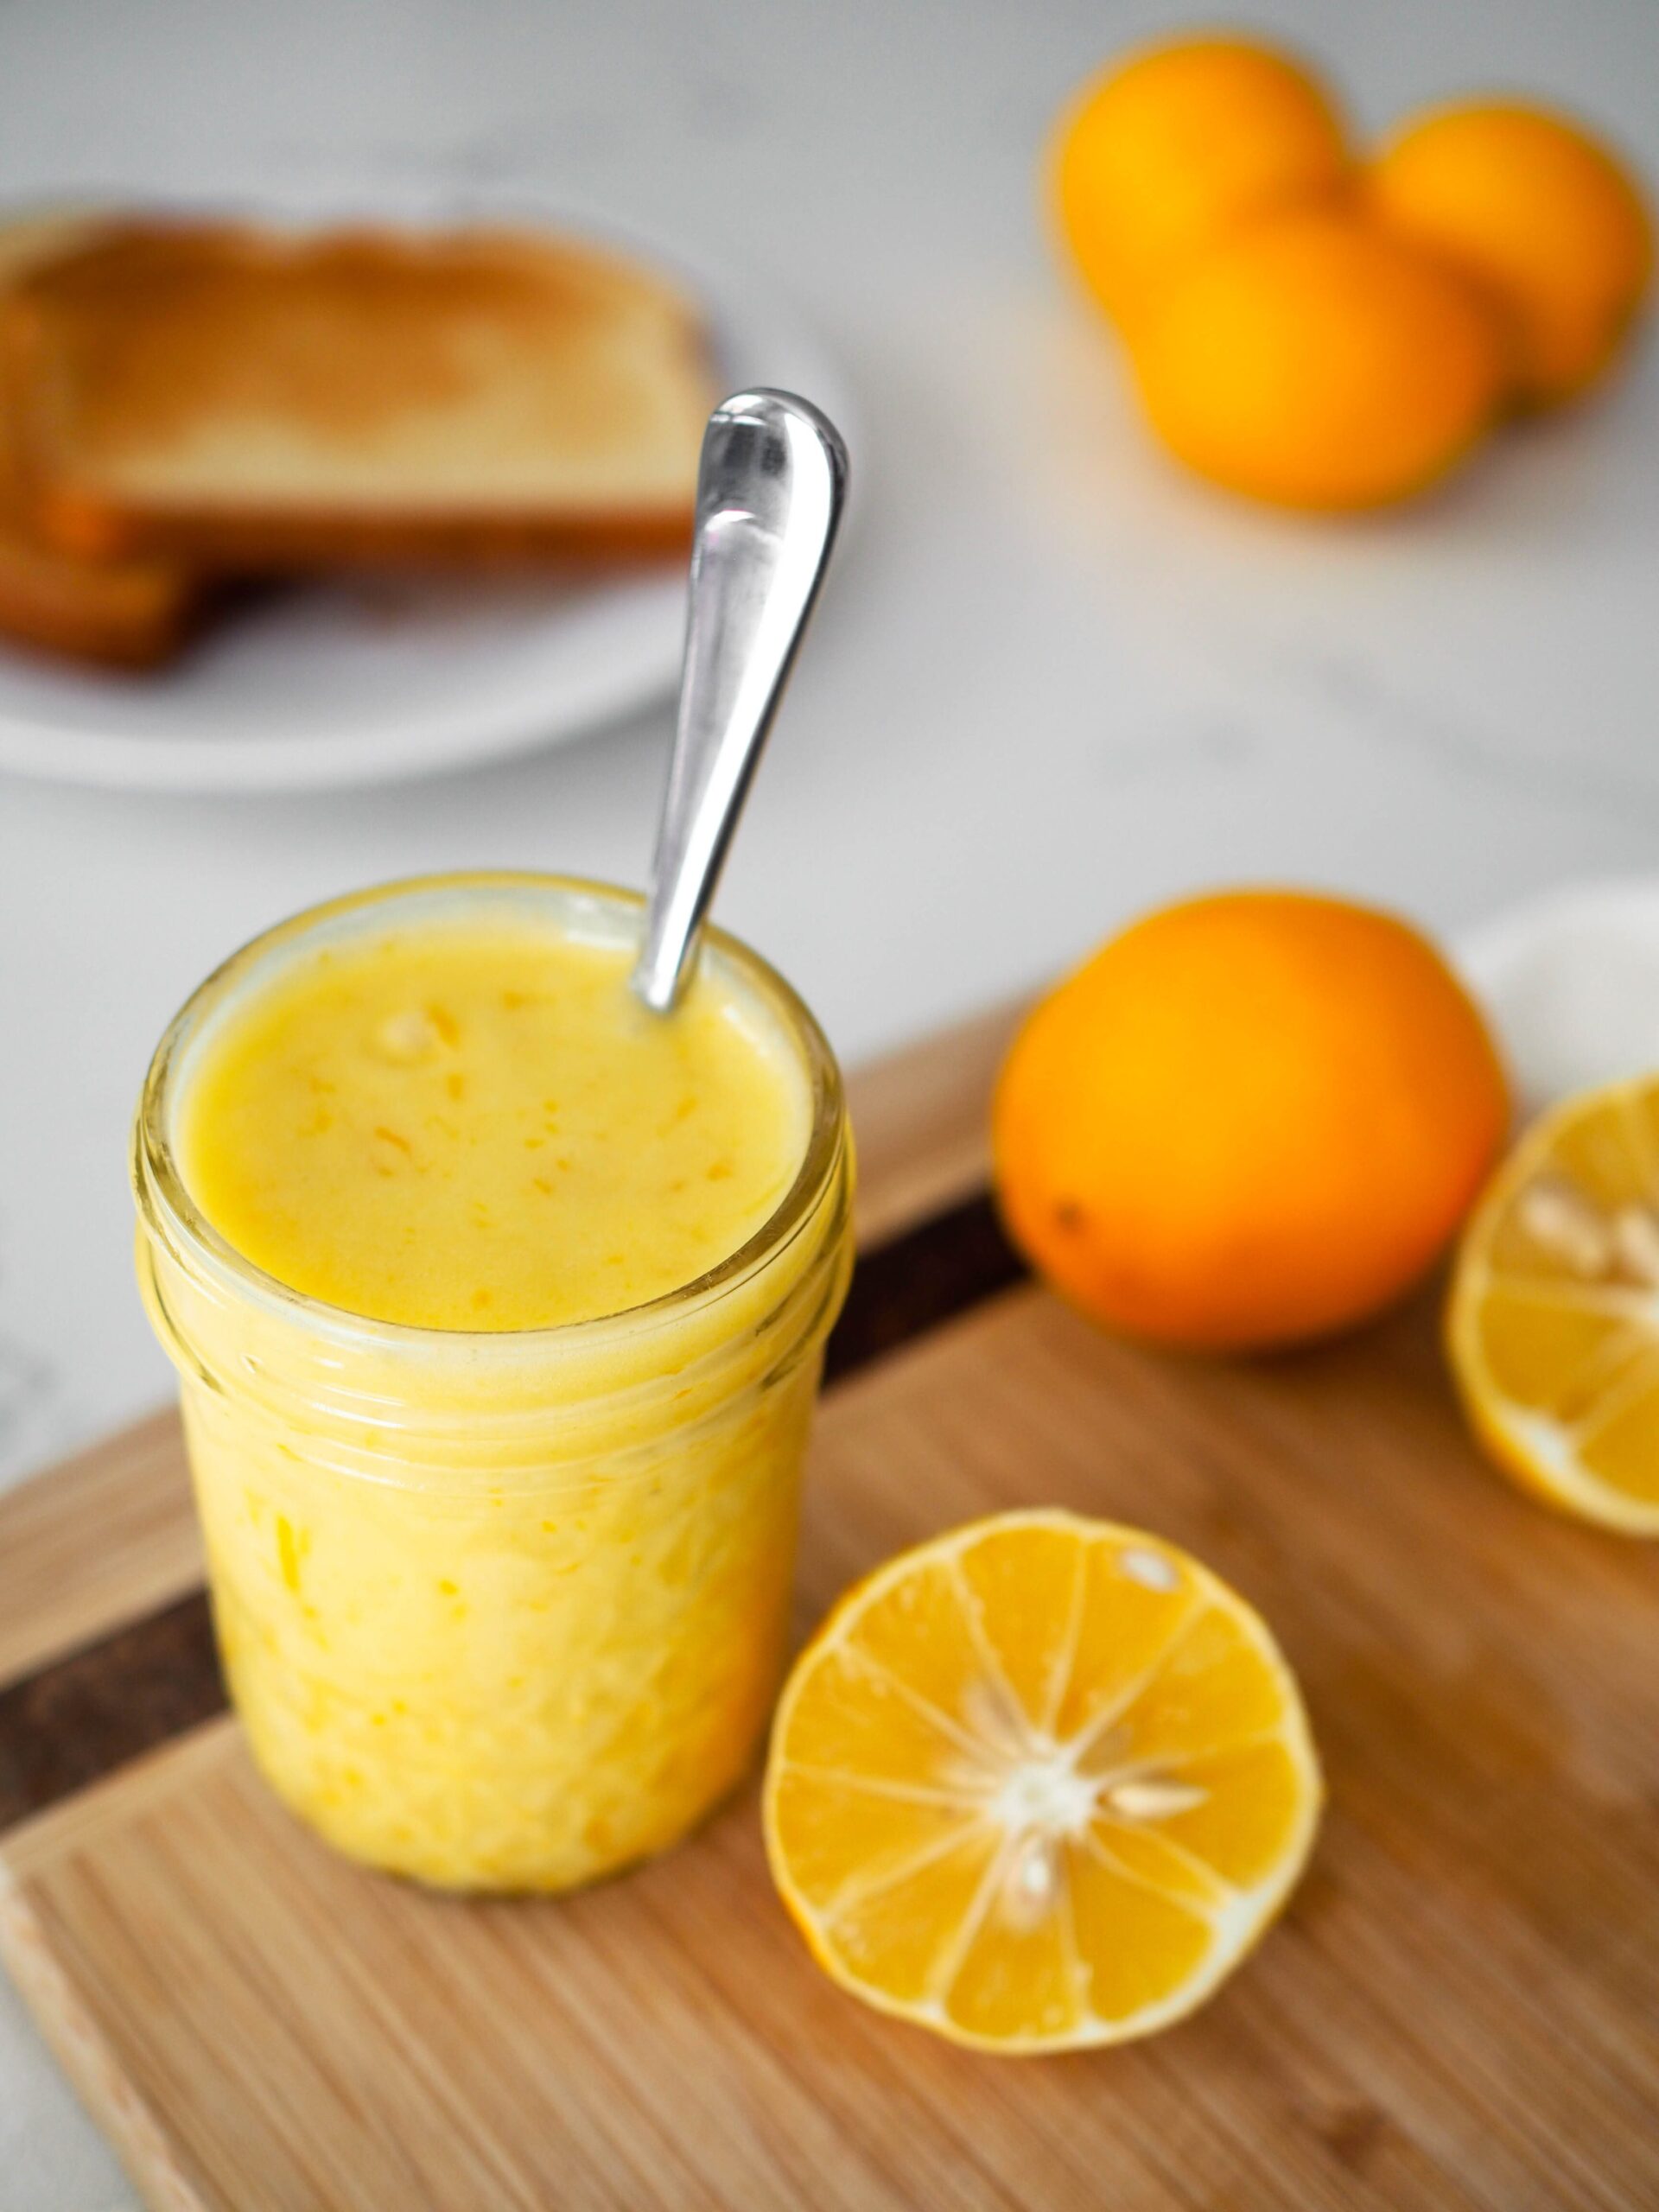
Homemade lemon curd is sweet, tangy, and creamy, and this small batch recipe makes about one cup. That’s the perfect amount for filling a cake, using in macarons, or having a citrusy treat on scones and toast. This recipe is perfect if you live in a small household, too, as you and your family will be able to finish off the lemon curd while it’s still fresh.
Lemon curd is made with just five simple ingredients and has an easy cleanup. The final result is tart and creamy at the same time, and the quality of homemade lemon curd over store-bought is second to none!
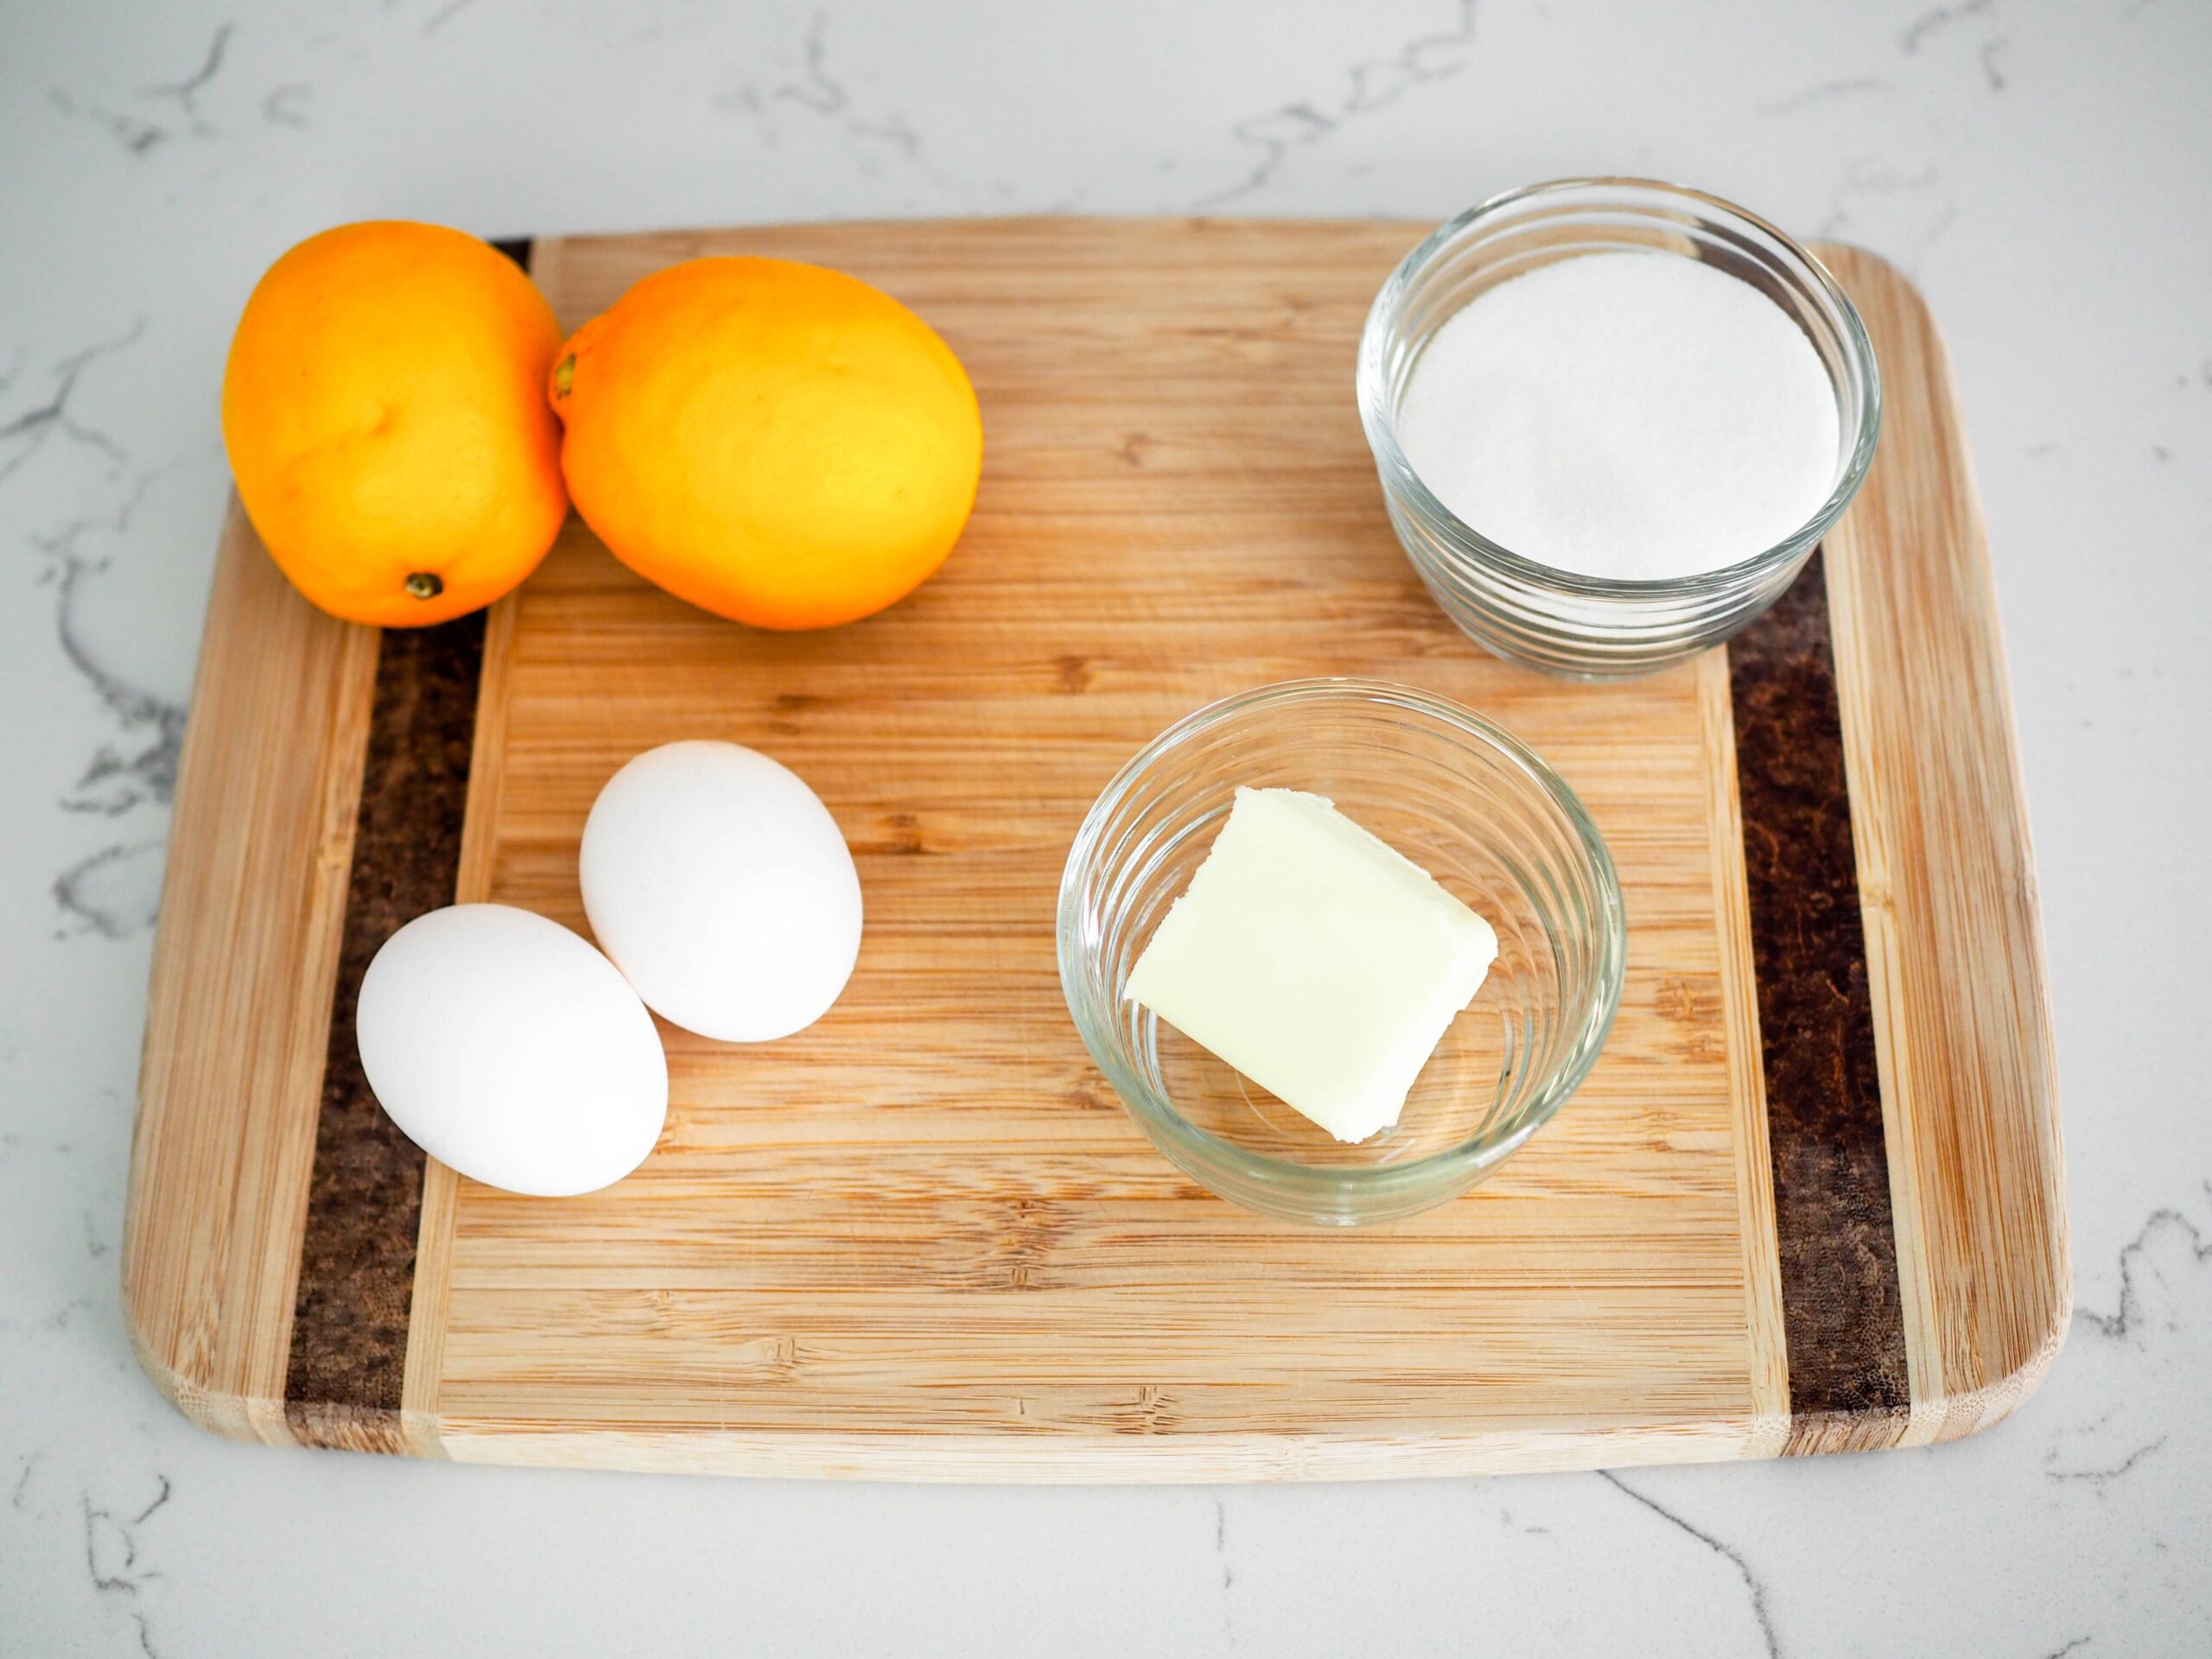
Ingredients for Small Batch Lemon Curd
With just a handful of ingredients, small batch lemon curd is a great way to use up fresh lemons. In fact, it’s best made with fresh squeezed lemon juice. Use a juicer to ensure you get every last drop out of your lemons!
- Lemons. I juiced fresh Meyer lemons for this recipe, but any type of lemon will do. Most lemons average between 1/4 to 1/3 cup of juice each, so you may need two.
- Eggs. The yolks will cook over the double-boiler and thicken the curd.
- Butter. A few pats of butter give lemon curd its signature creaminess and richness.
- Sugar. We need something to balance out the tartness from the lemon juice, and sugar is just the ingredient for the job!
Quick Tips for Prepping Small Batch Lemon Curd
If you’d rather watch these tips than read them, you can watch my video on small batch lemon curd instead!
The number of lemons you’ll need for this recipe will vary depending on the type of lemon you use. I used fresh Meyer lemons from my grandma’s backyard tree, and they were some of the juiciest lemons I’ve ever seen. If your lemons are on the drier side, you may need up to two lemons.
I prefer a less firm curd for filling macarons and cakes, so I use the full amount of lemon juice called for in the recipe. If you prefer a firmer curd, you’ll only use about ¼ cup of lemon juice (and just one lemon).
How to Make Curd Silky Smooth
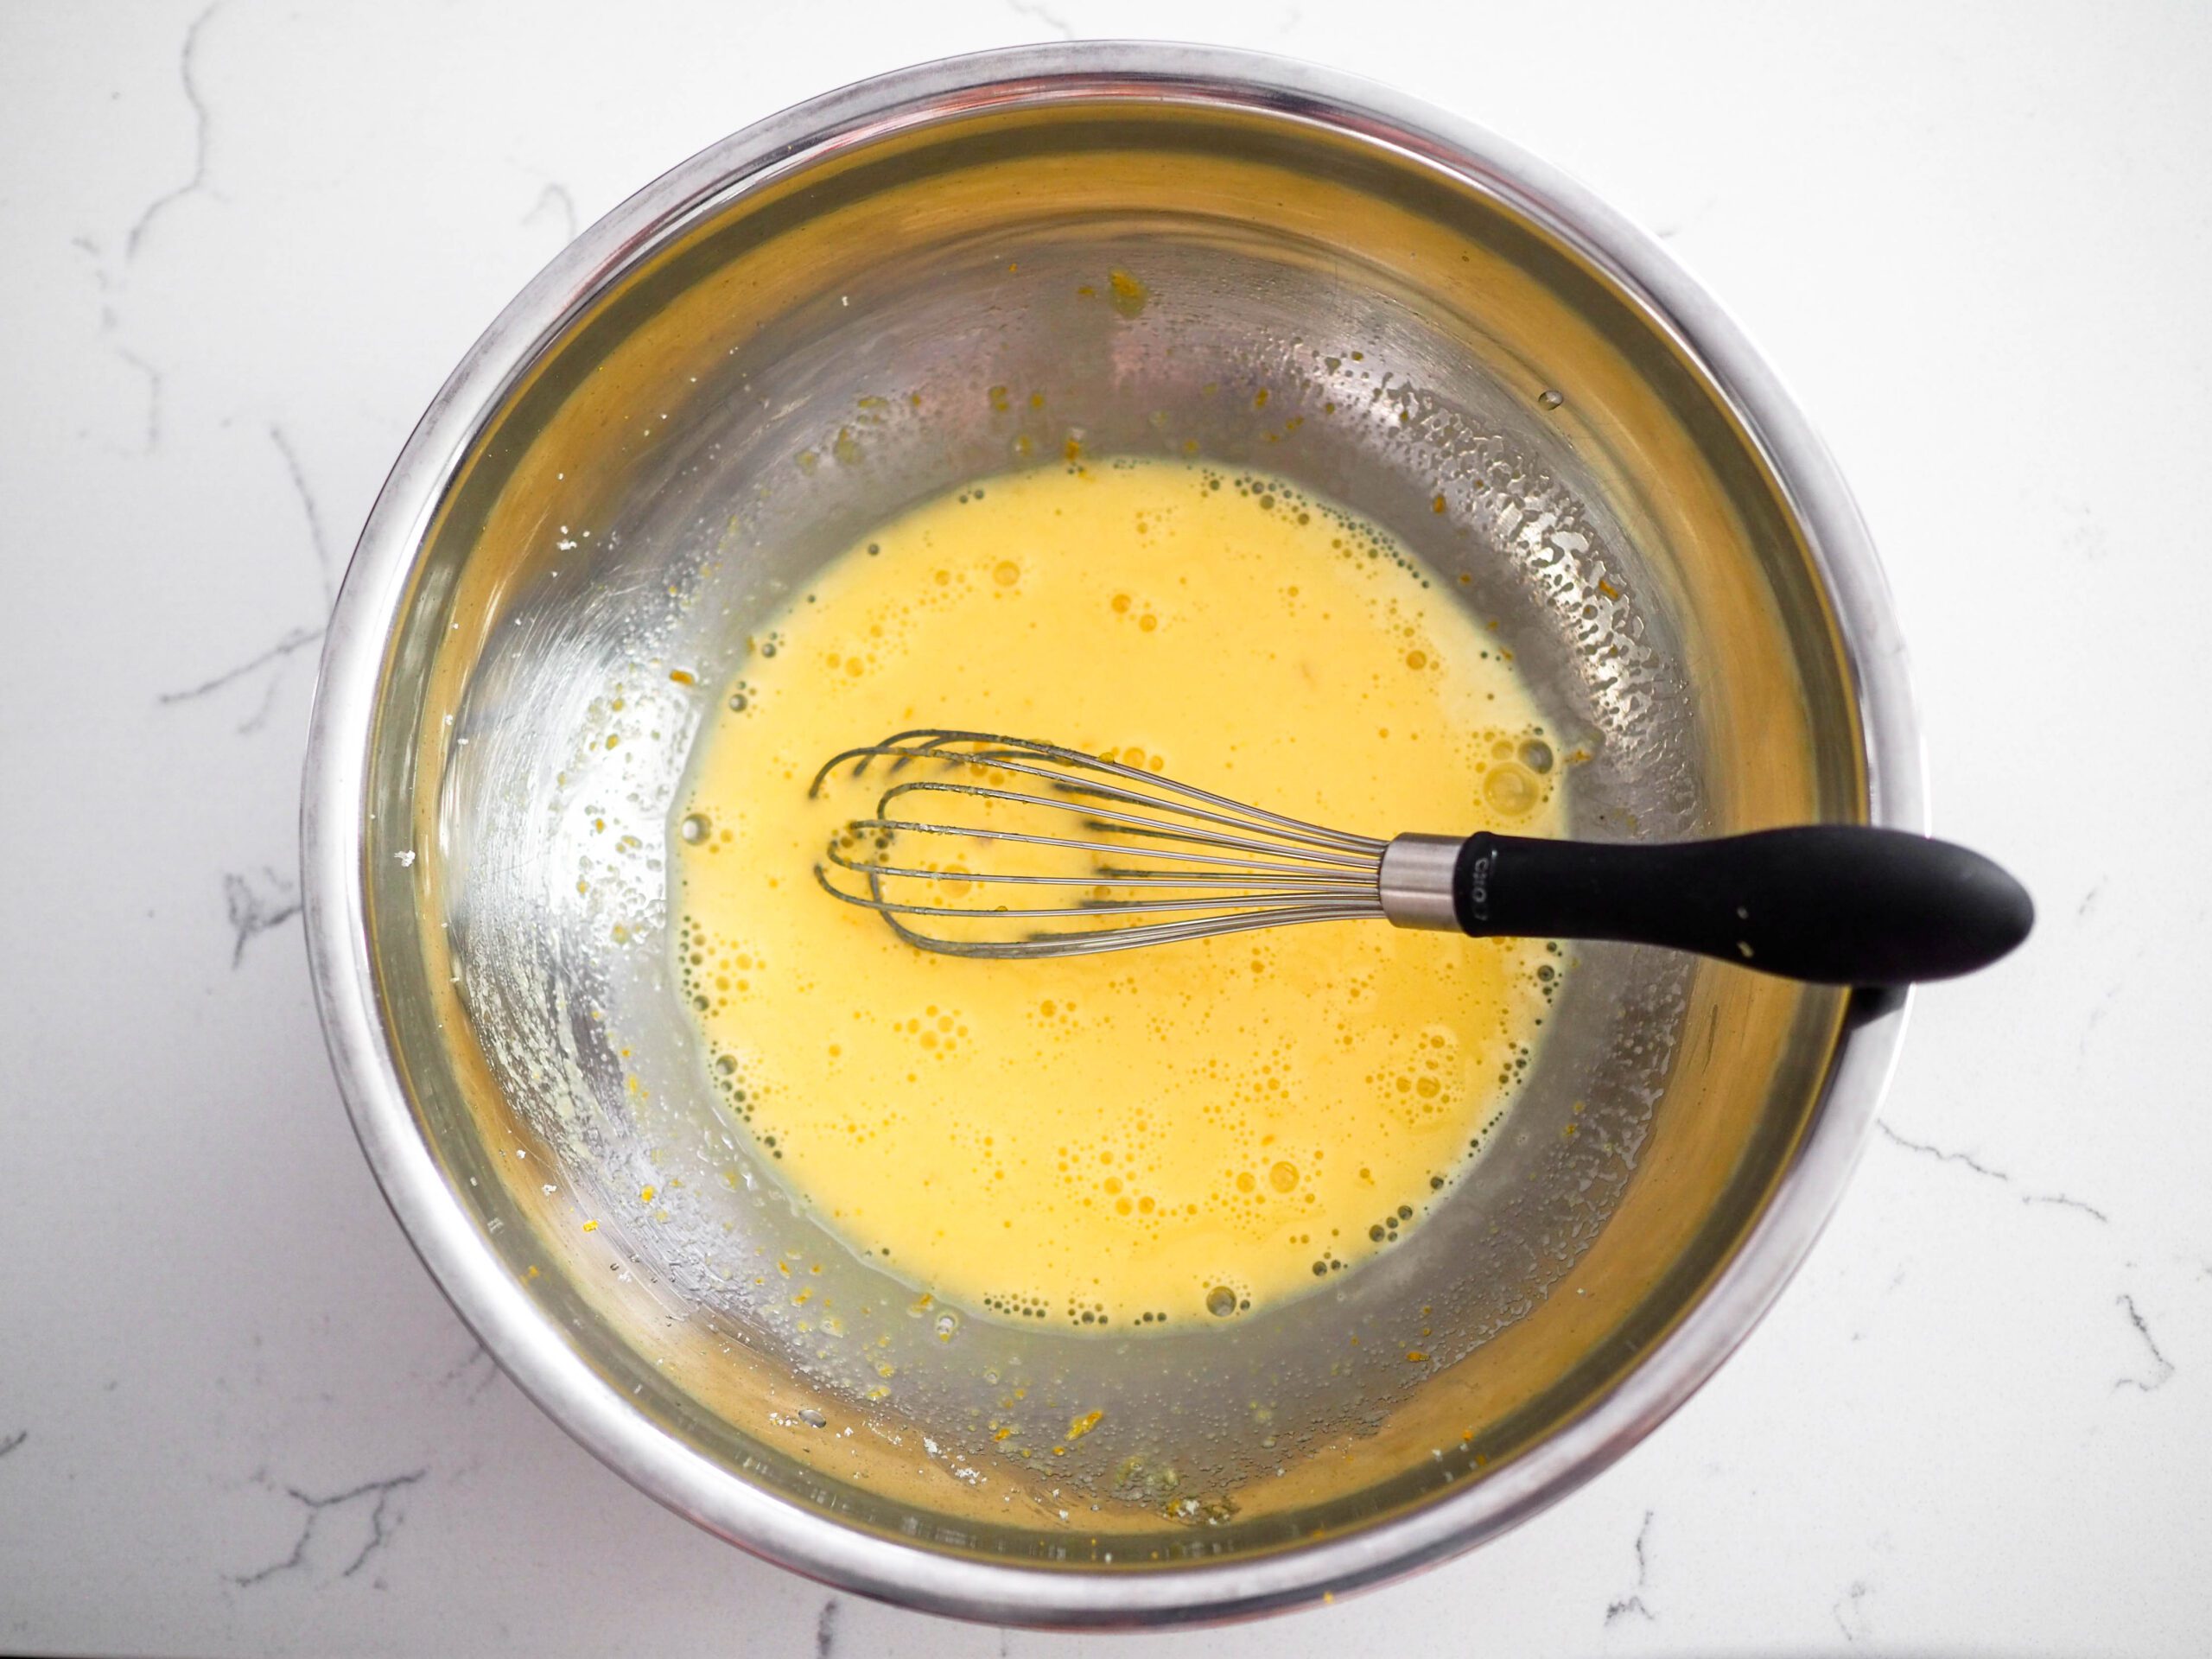
The most important part of this recipe is the whisking. You don’t have to whisk vigorously the entire time the the curd is on heat, but keep the curd moving to prevent the yolks from cooking unevenly. Uneven cooking can result in a lumpy curd—or even curdling.
I get it, though, it’s a lot of whisking, and some people may not be able to do that. (I even ended up with a small blister from all the whisking when I made two batches in a row, and I’m used to whisking frequently.)
I recommend using a Microplane zester to zest the lemons. That will make your zest super fine and won’t feel lumpy in the final result. If you would still prefer a silky smooth lemon curd, though, follow the next steps to remove lumps.
Remove Lumps from Lemon Curd with a Strainer
The best solution to fixing lumpy lemon curd, whether from curdled eggs or chunky pieces of lemon zest, is to simply run the curd through a fine mesh strainer. The strainer will catch any lumps that may have formed.
You can strain the curd before or after adding the butter, but I would recommend straining before you add the butter. The mixture is thinner, so it will slip right through the strainer holes.
You can also strain the lemon curd to remove the zest. You’ll still have all the flavor of the lemon juice and zest, just without the added texture. (I personally leave the zest in, but everyone has their own preference!)
What to Use Lemon Curd In
There are a lot of ways to use lemon curd out there! My current favorite ways typically involve smaller amounts of lemon curd, which is why this small batch lemon curd recipe is helpful. I’ve used this recipe in:
- Lemon lavender macarons
- Robin’s egg macarons
- Eclairs
- Layer cakes
- On top of yogurt (my husband’s personal favorite)
- On top of toast
FYI: This recipe makes the perfect amount for two batches of macarons.
Other Recipes You May Enjoy
As I keep mentioning, this makes a great filling for macarons. All my macaron recipes are in one convenient location!
If you’re on a sauces and spreads kick, my salted caramel sauce is a great topping for ice cream, hot chocolate, and a million other things.
Want another easy cleanup recipe? My rosy Earl Grey truffles are infused with Earl Grey tea for a deliciously dark chocolatey treat.
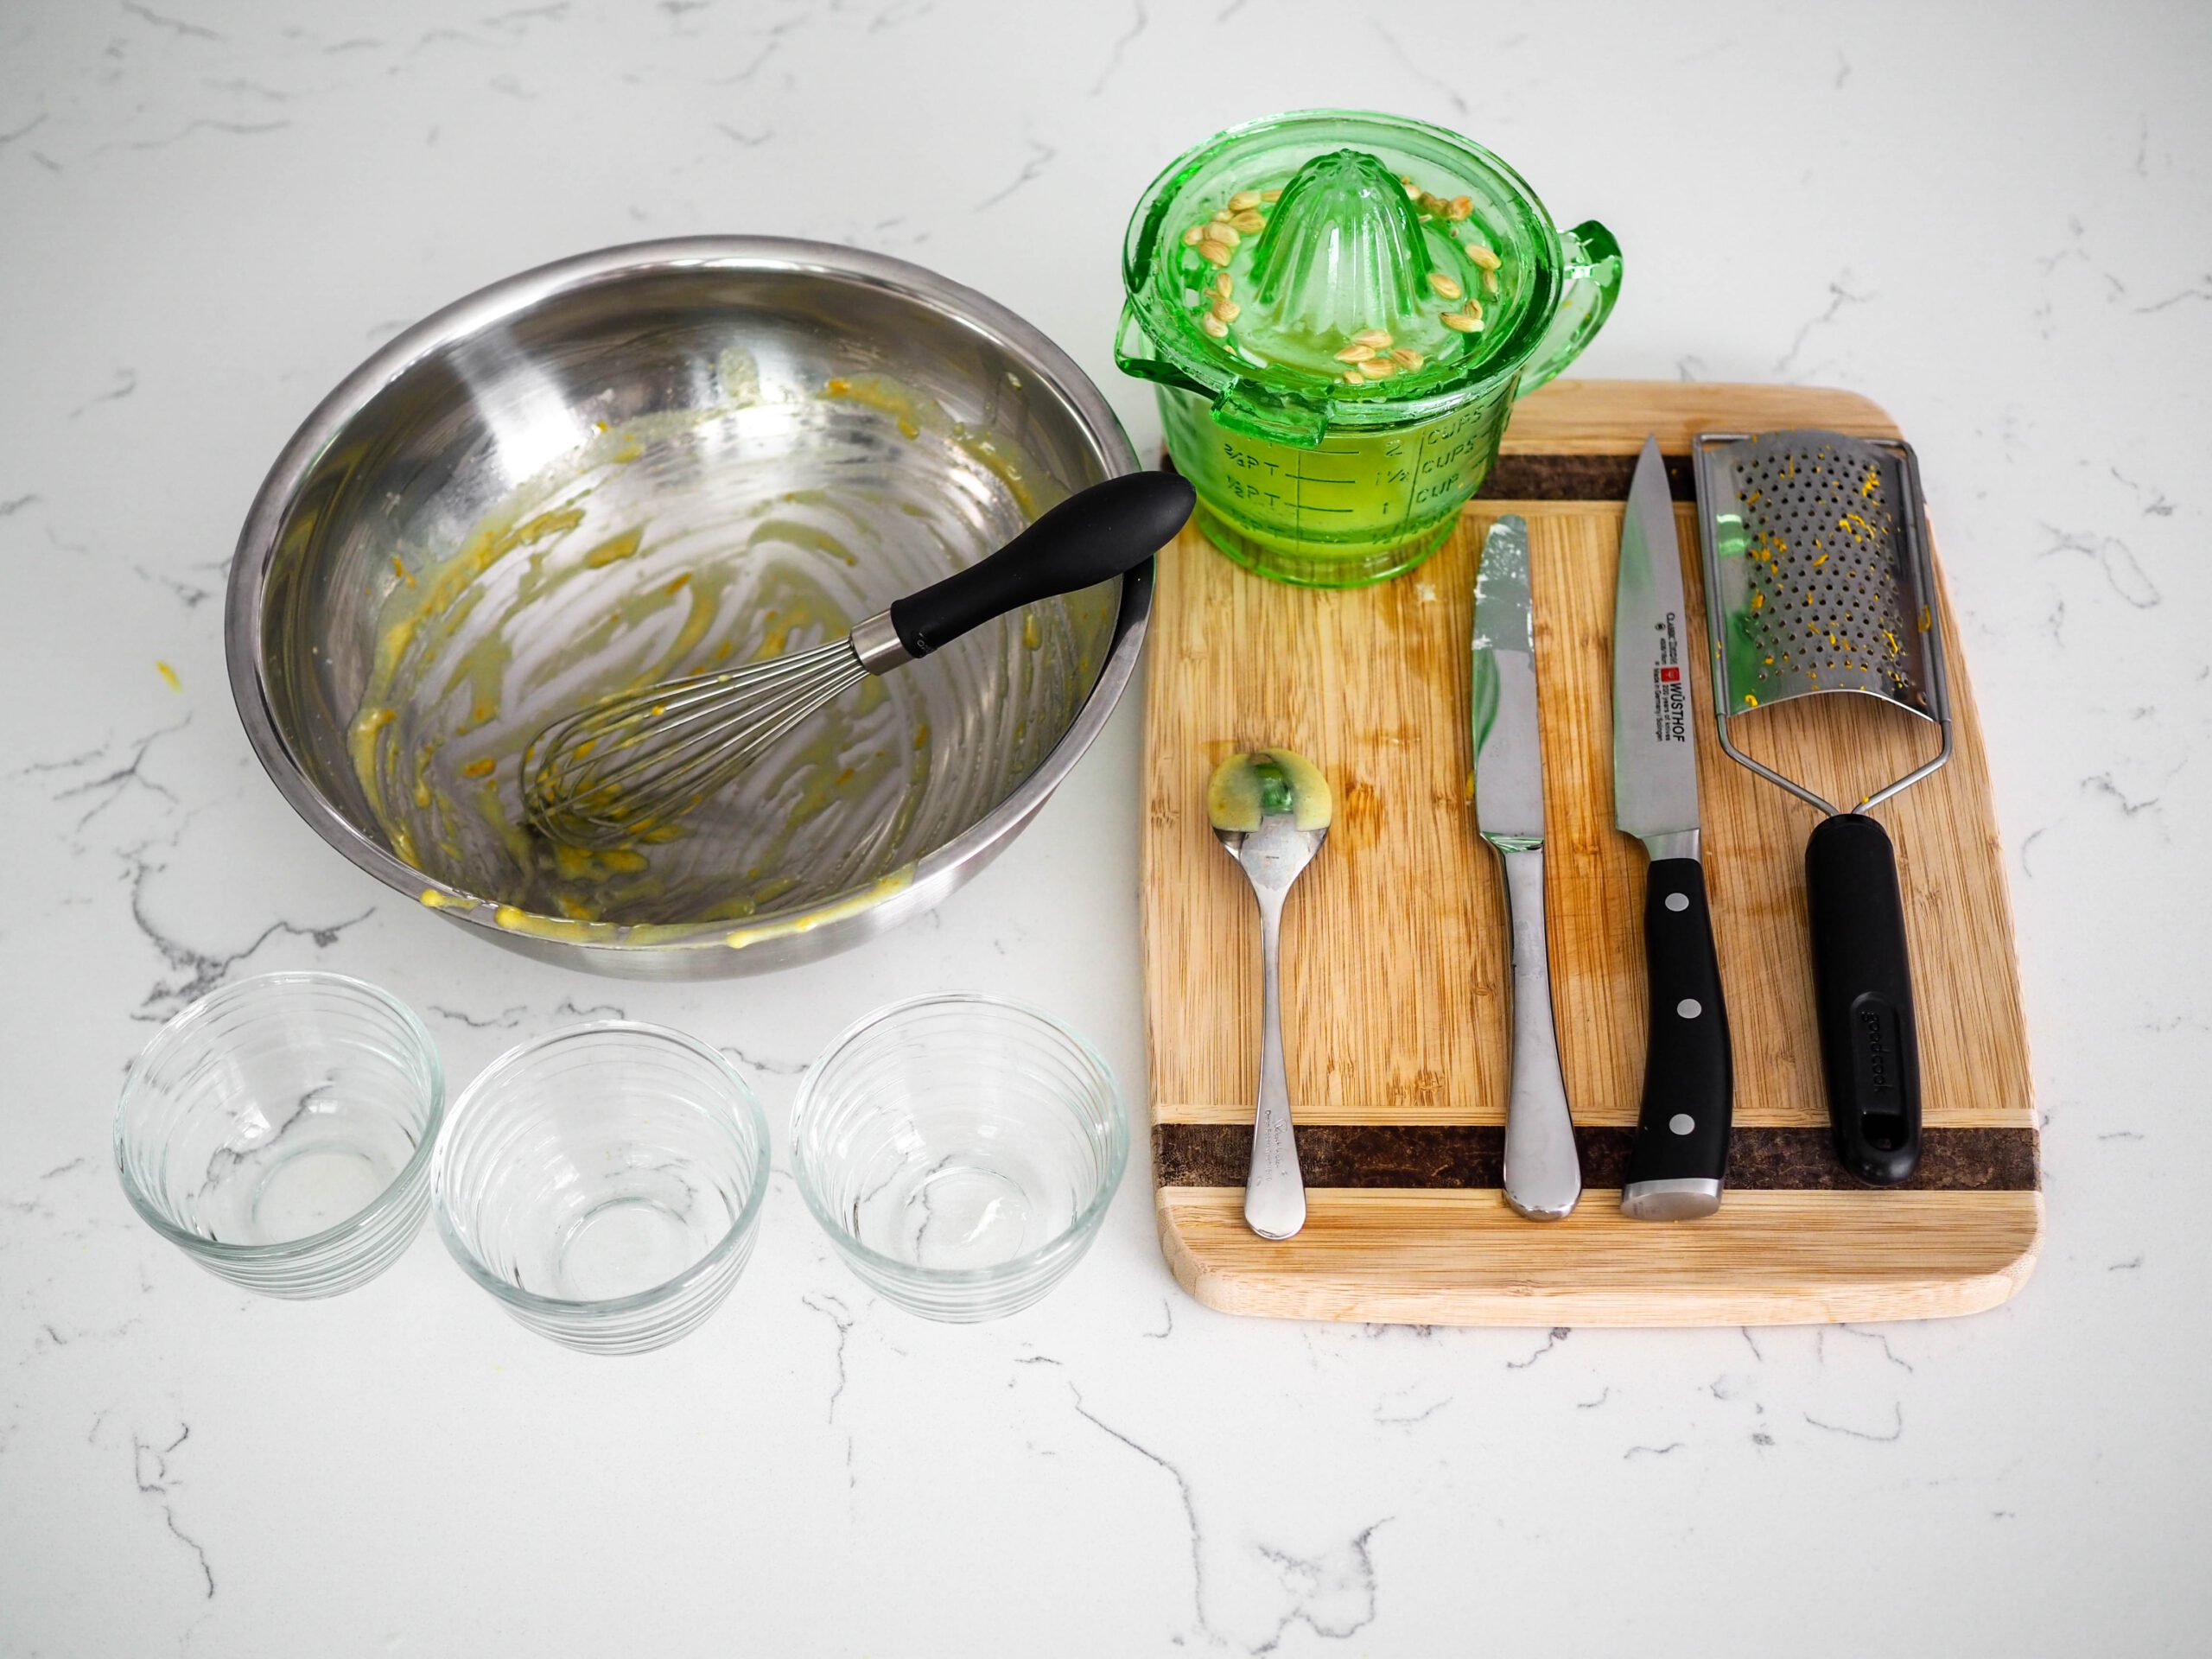
Dish Cleanup: Not Too Bad
I rate my recipe cleanups on a scale of 1 to 5. 1 is only a handful of dishes, and 5 is everything including the kitchen sink.
My small batch lemon curd recipe is a 2. There’s only one bowl and one whisk, along with a few other helpful utensils. You may have even fewer dishes than this if you don’t put them in prep bowls like I do for photographs.
Small Batch Lemon Curd

Sweet, tangy, and full of lemon zest, this small batch lemon curd recipe makes only one cup of lemon curd and is ideal for small households or filling macarons.
Ingredients
- ½ cup granulated sugar (100 g)
- 1 to 2 lemons (juice and zest)
- 2 egg yolks
- 4 Tablespoons unsalted butter, cubed (56 g)
Instructions
- Bring a large pot with an inch or two of water in it to a boil. Place sugar in a heat-safe glass or metal mixing bowl that comfortably rests on top of the large pot. (You may also use a double boiler.) Zest the lemons directly into the bowl, then whisk together until fully combined.
- Add the egg yolks into the mixture and whisk vigorously for about a minute, until the mixture is a pale yellow and falls in ribbons.
- Juice the lemon, and add up to ⅓ cup of lemon juice to the yolk mixture. For a firmer lemon curd, use only ¼ cup of lemon juice.
- Place the bowl over the simmering pot and whisk vigorously until thickened, about 10 minutes. Constant whisking is required to prevent the yolks from cooking unevenly—don't forget to scrape down the sides of the bowl!
- To test doneness, dip a spoon in the curd and drag a line along the back of the spoon with your finger. If the line stays in tact, the curd is done and will register 140°F/60°C on a thermometer.
- Remove from heat and give it a couple stirs to check for lumps of cooked egg (those are different from pieces of zest!). If there are a few lumps, you can easily remove them by using a fine mesh strainer.
- Stir in the butter a few pieces at a time. Once the butter is fully melted, transfer to a 6- or 8-ounce jar. Place a small piece of plastic wrap on top of the curd, pressing the wrap into the surface to prevent a skin from forming. Chill in the fridge for at least an hour before using.
Notes
This small batch lemon curd will stay fresh in the fridge for up to a month. For longer storage, freeze for up to six months, then thaw overnight in the fridge.
Recommended Products
As an Amazon Associate and member of other affiliate programs, I earn from qualifying purchases.
-
 Pyrex Prepware 1-Quart Glass Mixing Bowl
 -
Zulay Kitchen Lemon Squeezer Stainless Steel - Premium Quality, Heavy Duty Solid Metal Squeezer Bowl - Large Manual Citrus Press Juicer and Lime Squeezer Stainless Steel
-
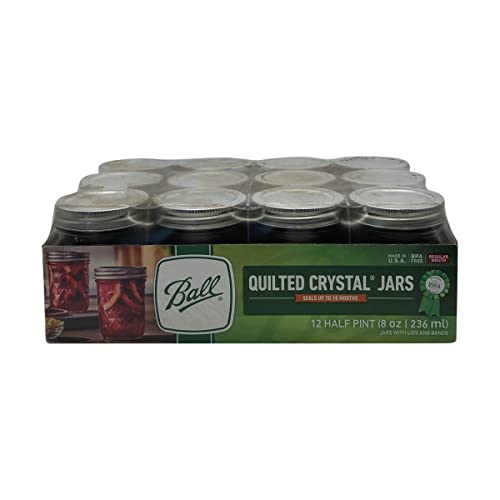
Ball Mason 8oz Quilted Jelly Jars with Lids and Bands, Set of 12
-
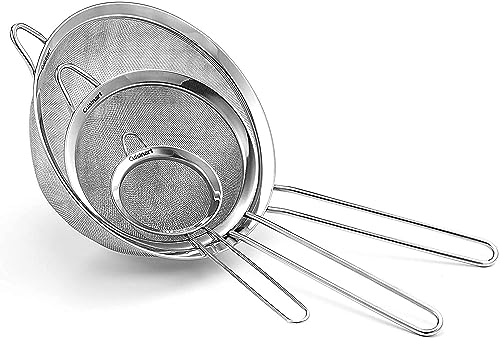
Cuisinart Mesh Strainers, 3 Pack Set
-
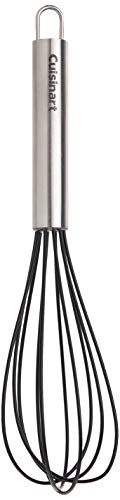
Cuisinart Silicone Whisk, 10-Inch, Black


Nutrition Information:
Yield:
12Serving Size:
about one TablespoonAmount Per Serving: Calories: 79Total Fat: 5gSaturated Fat: 3gTrans Fat: 0gUnsaturated Fat: 2gCholesterol: 41mgSodium: 2mgCarbohydrates: 10gFiber: 0gSugar: 9gProtein: 1g
The nutrition facts are estimated and may vary based on specific ingredients used.
Thanks for trying out my small batch lemon curd recipe! I’d love to see how it turns out: Take a photo and tag me on Instagram @floralapronblog to share with me, or use the hashtag #floralapronbakes.
This was easier than anticipated (double boiler) and turned out beautifully. I made it twice bc it was so easy and gave the second batch to my friend. She was thrilled. Thanks!
I’m so glad to hear that! Thanks for coming back and leaving a review 🙂