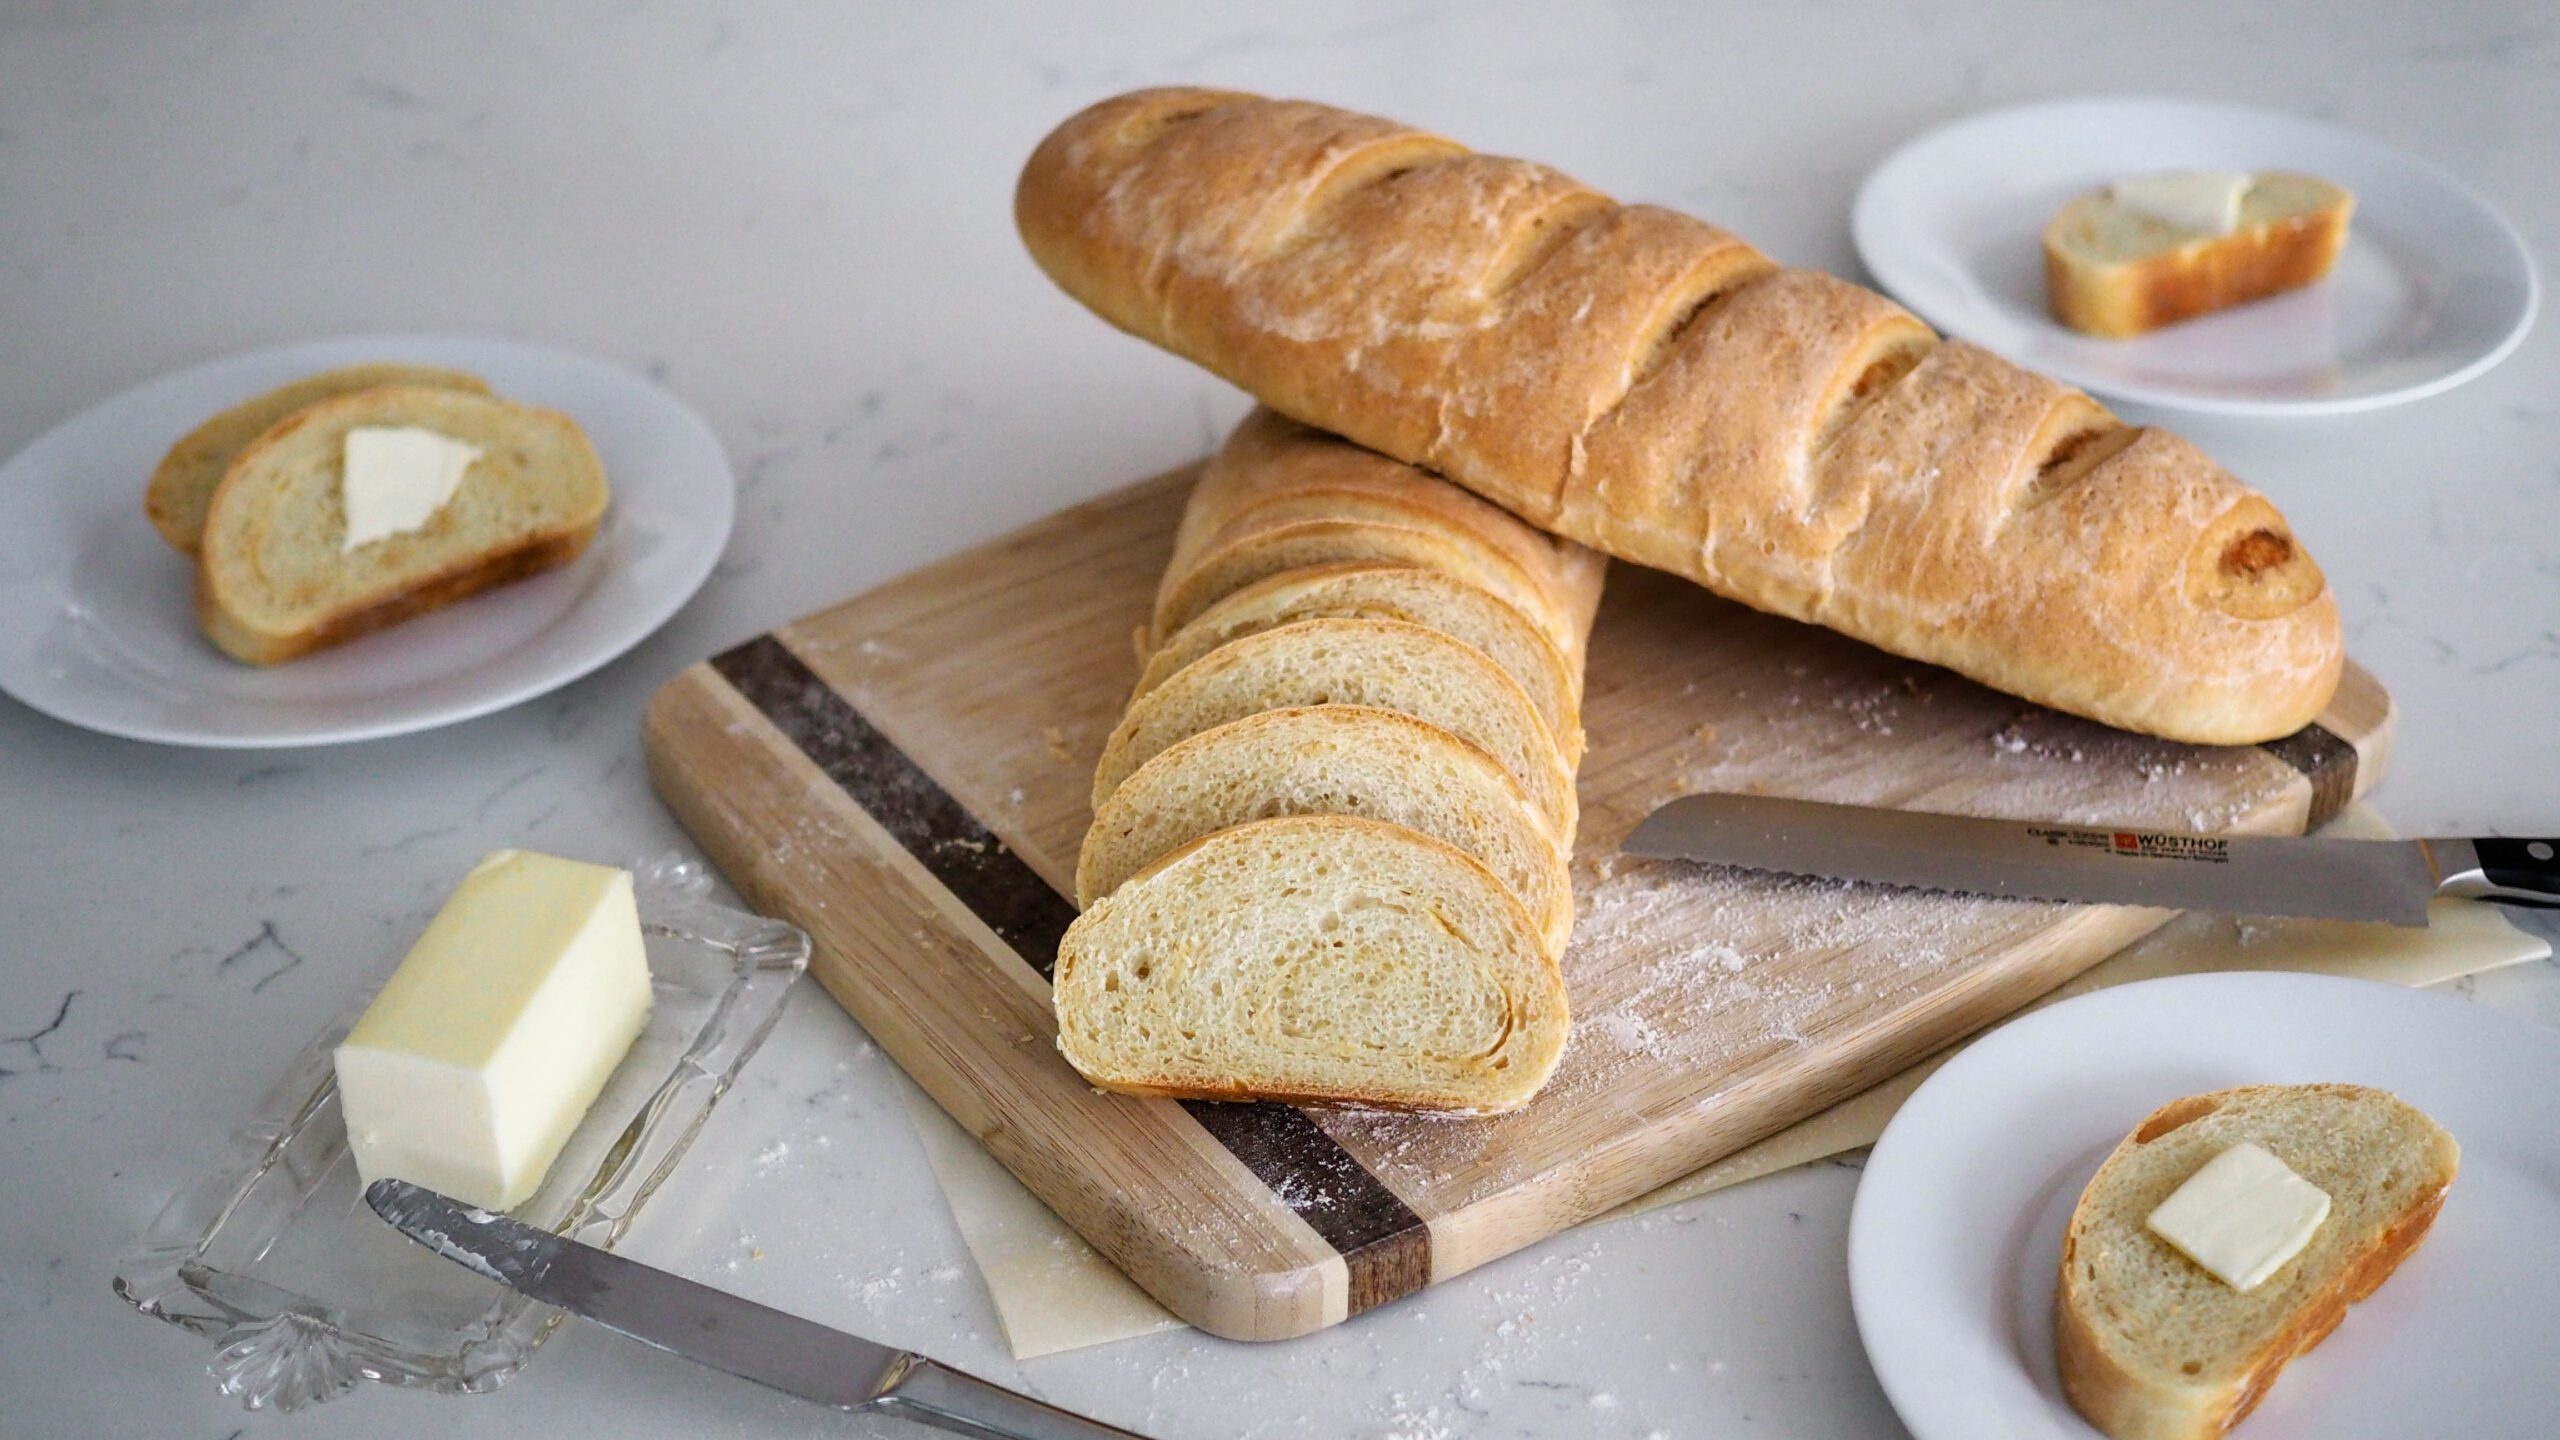
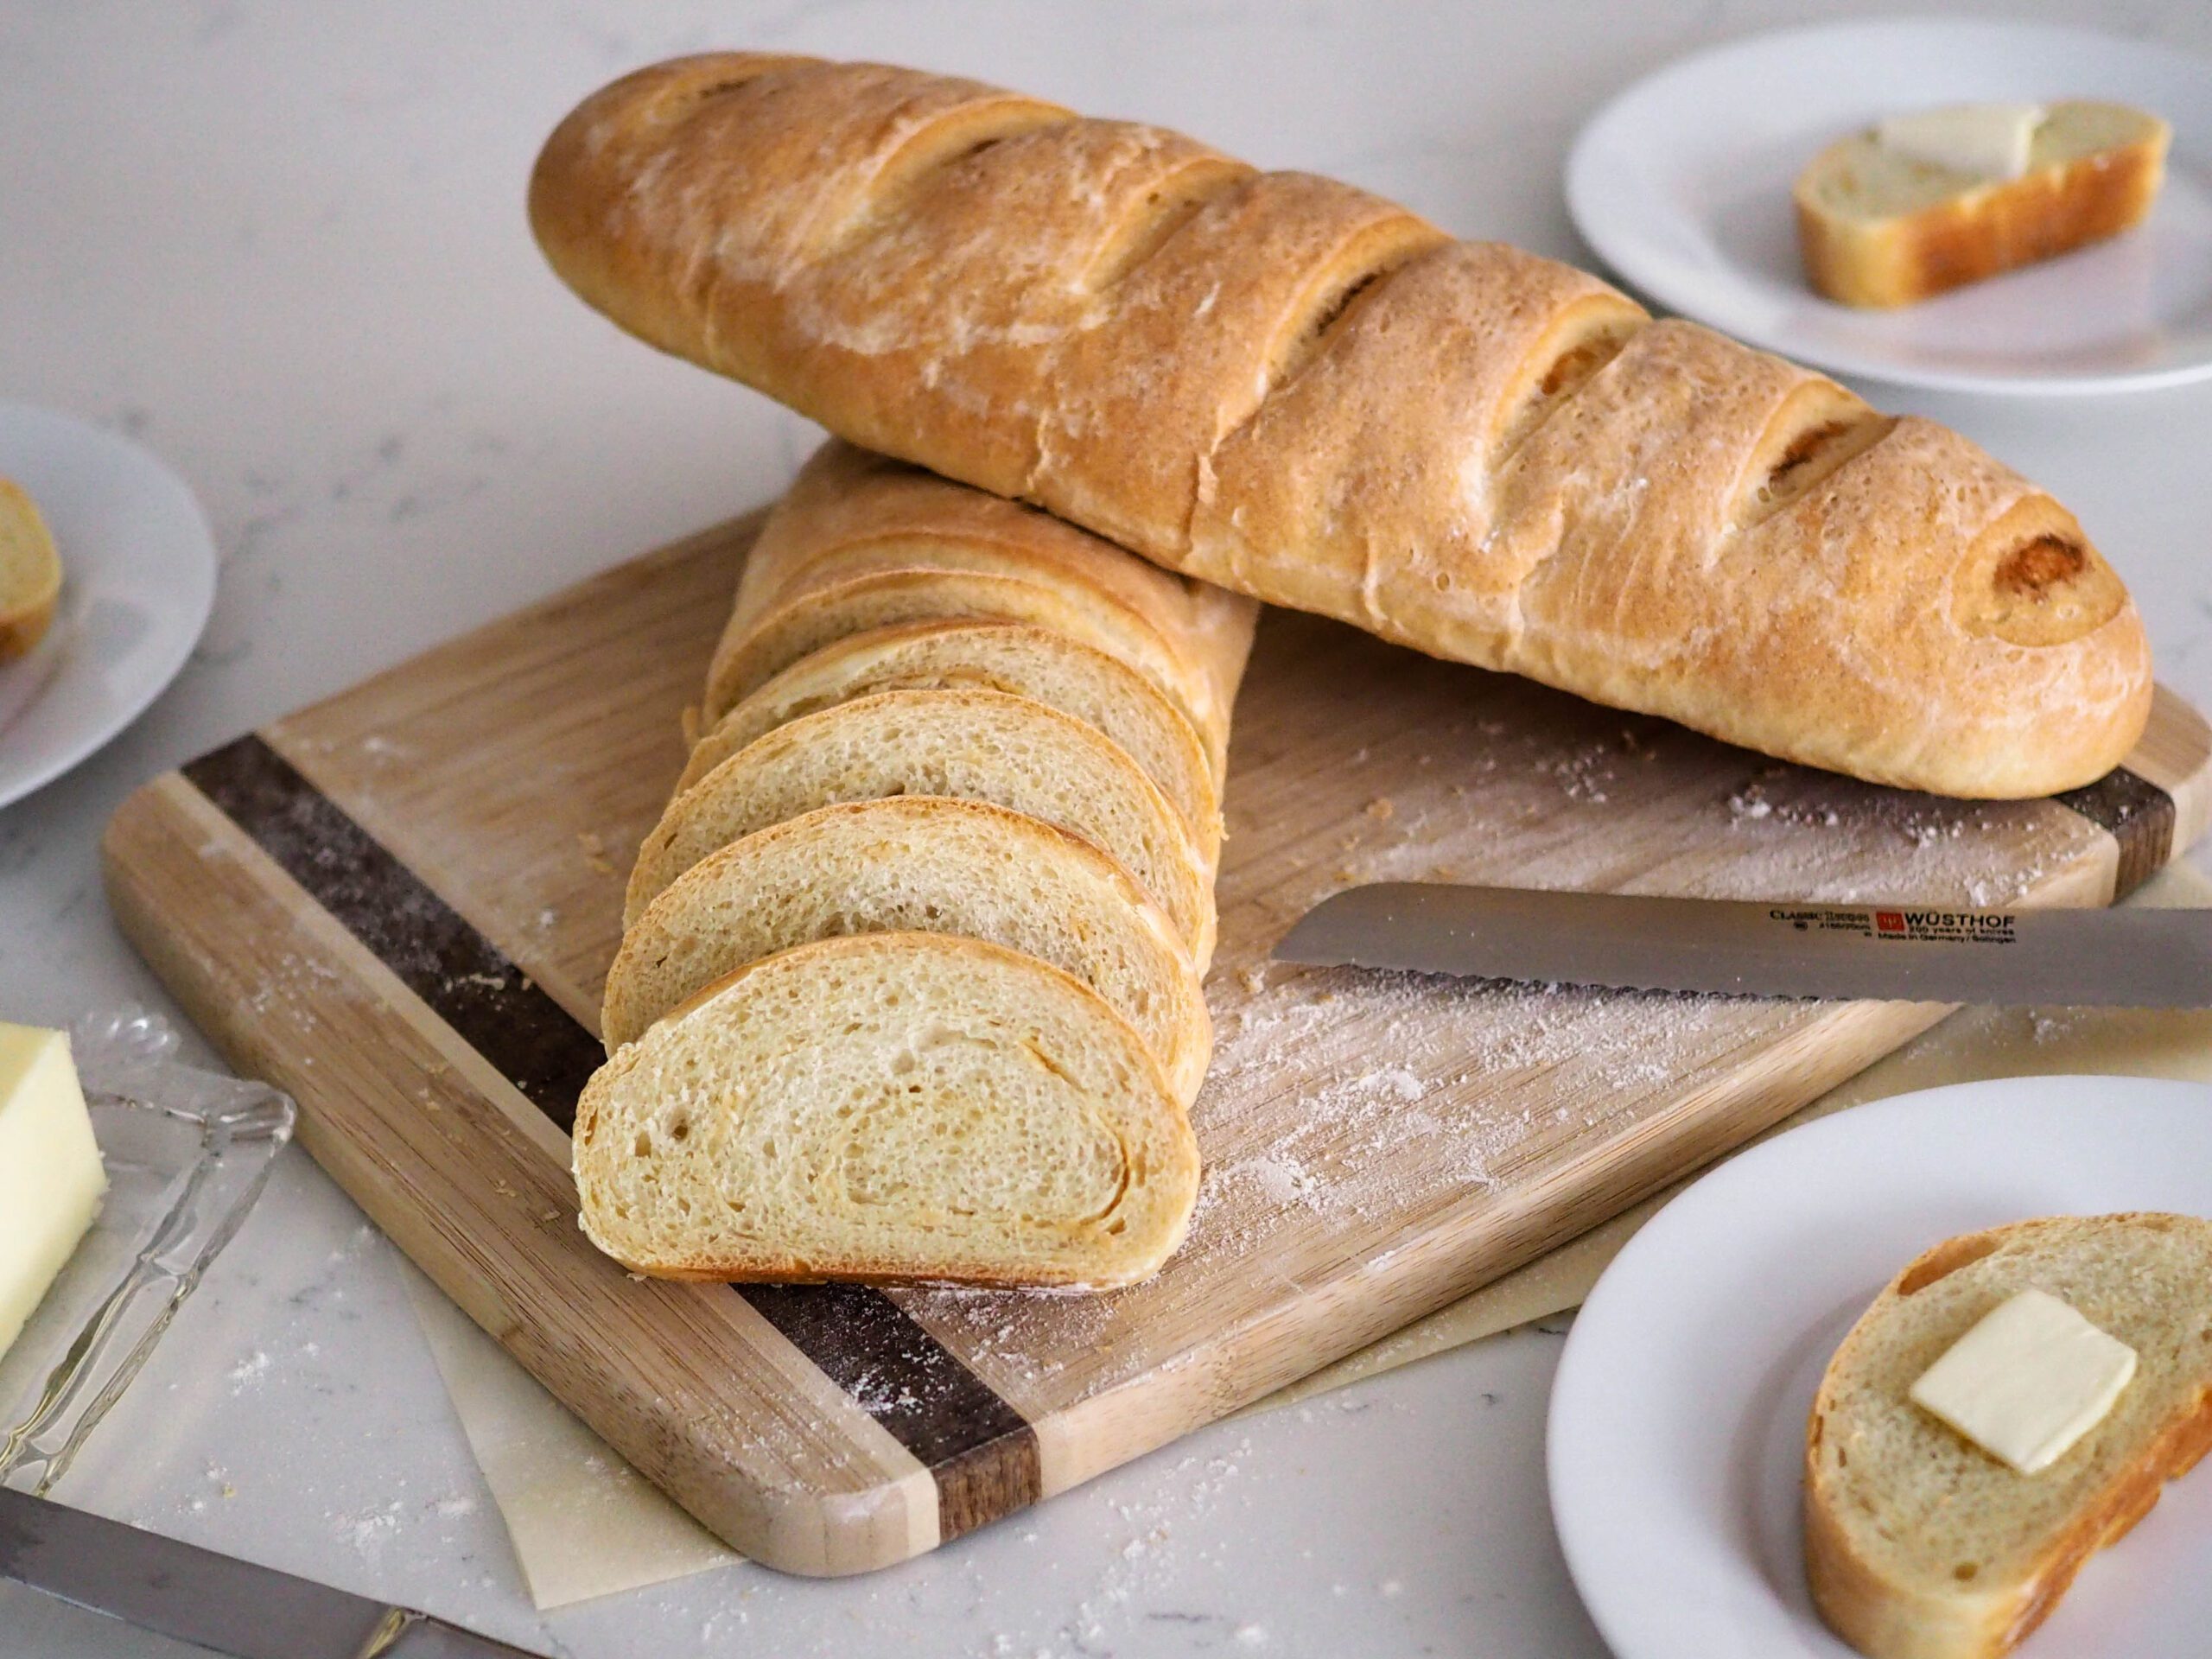
Soft, chewy, and garlicky, this garlic French bread is delicious straight from the oven to your plate or sliced and served with a pat of butter. Use as a base for croutons or homemade breadcrumbs for a little extra garlic flavor!
This is a great beginner bread recipe, as the dough is forgiving and doesn’t require kneading by hand, though you certainly can if you don’t own a stand mixer. Bonus: You probably don’t need to run to the grocery store for ingredients, either.
Can I Use Whole Wheat Flour?
Yes and no! You can substitute up to half of the white flour with half whole wheat flour, but I wouldn’t go any more than that. Here’s why:
This bread needs (kneads haha) to be kneaded well to develop gluten. That’s what will give the loaves their signature springy and fluffy texture.
Whole wheat flour is made by finely grinding the entire wheat kernel, including the outer layer, bran. Even when finely ground, the bran still has sharp edges. That bran can actually cut into the strands of gluten while you’re kneading. Instead of long, stretchy strands of gluten, you can end up with short gluten strands that don’t help much with rising in the end, despite all that hard work you did kneading!
To easily and successfully substitute in whole wheat flour, substitute no more than half of the white flour for whole wheat flour, and keep an eye on the consistency. Whole wheat flour absorbs more water than white flour. If the dough feels dry when you’re kneading it, add in water about a Tablespoon at a time until it is springy and tacky but not sticky. (If you’re unsure, I show you exactly the texture you’re looking for in my video on this recipe!)
Quick Tips for Prepping Garlic French Bread
Check the consistency of the dough while it is mixing. Depending on the humidity and type of flour used, you may need to use a little more or a little less flour than called for in the recipe. The dough has the right amount of flour when it looks fully mixed and circles around the dough hook attachment.
The dough is ready for its first proof when it is elastic and doesn’t leave much residue behind on your fingers. Proof at room temperature for about an hour until it doubles in size.
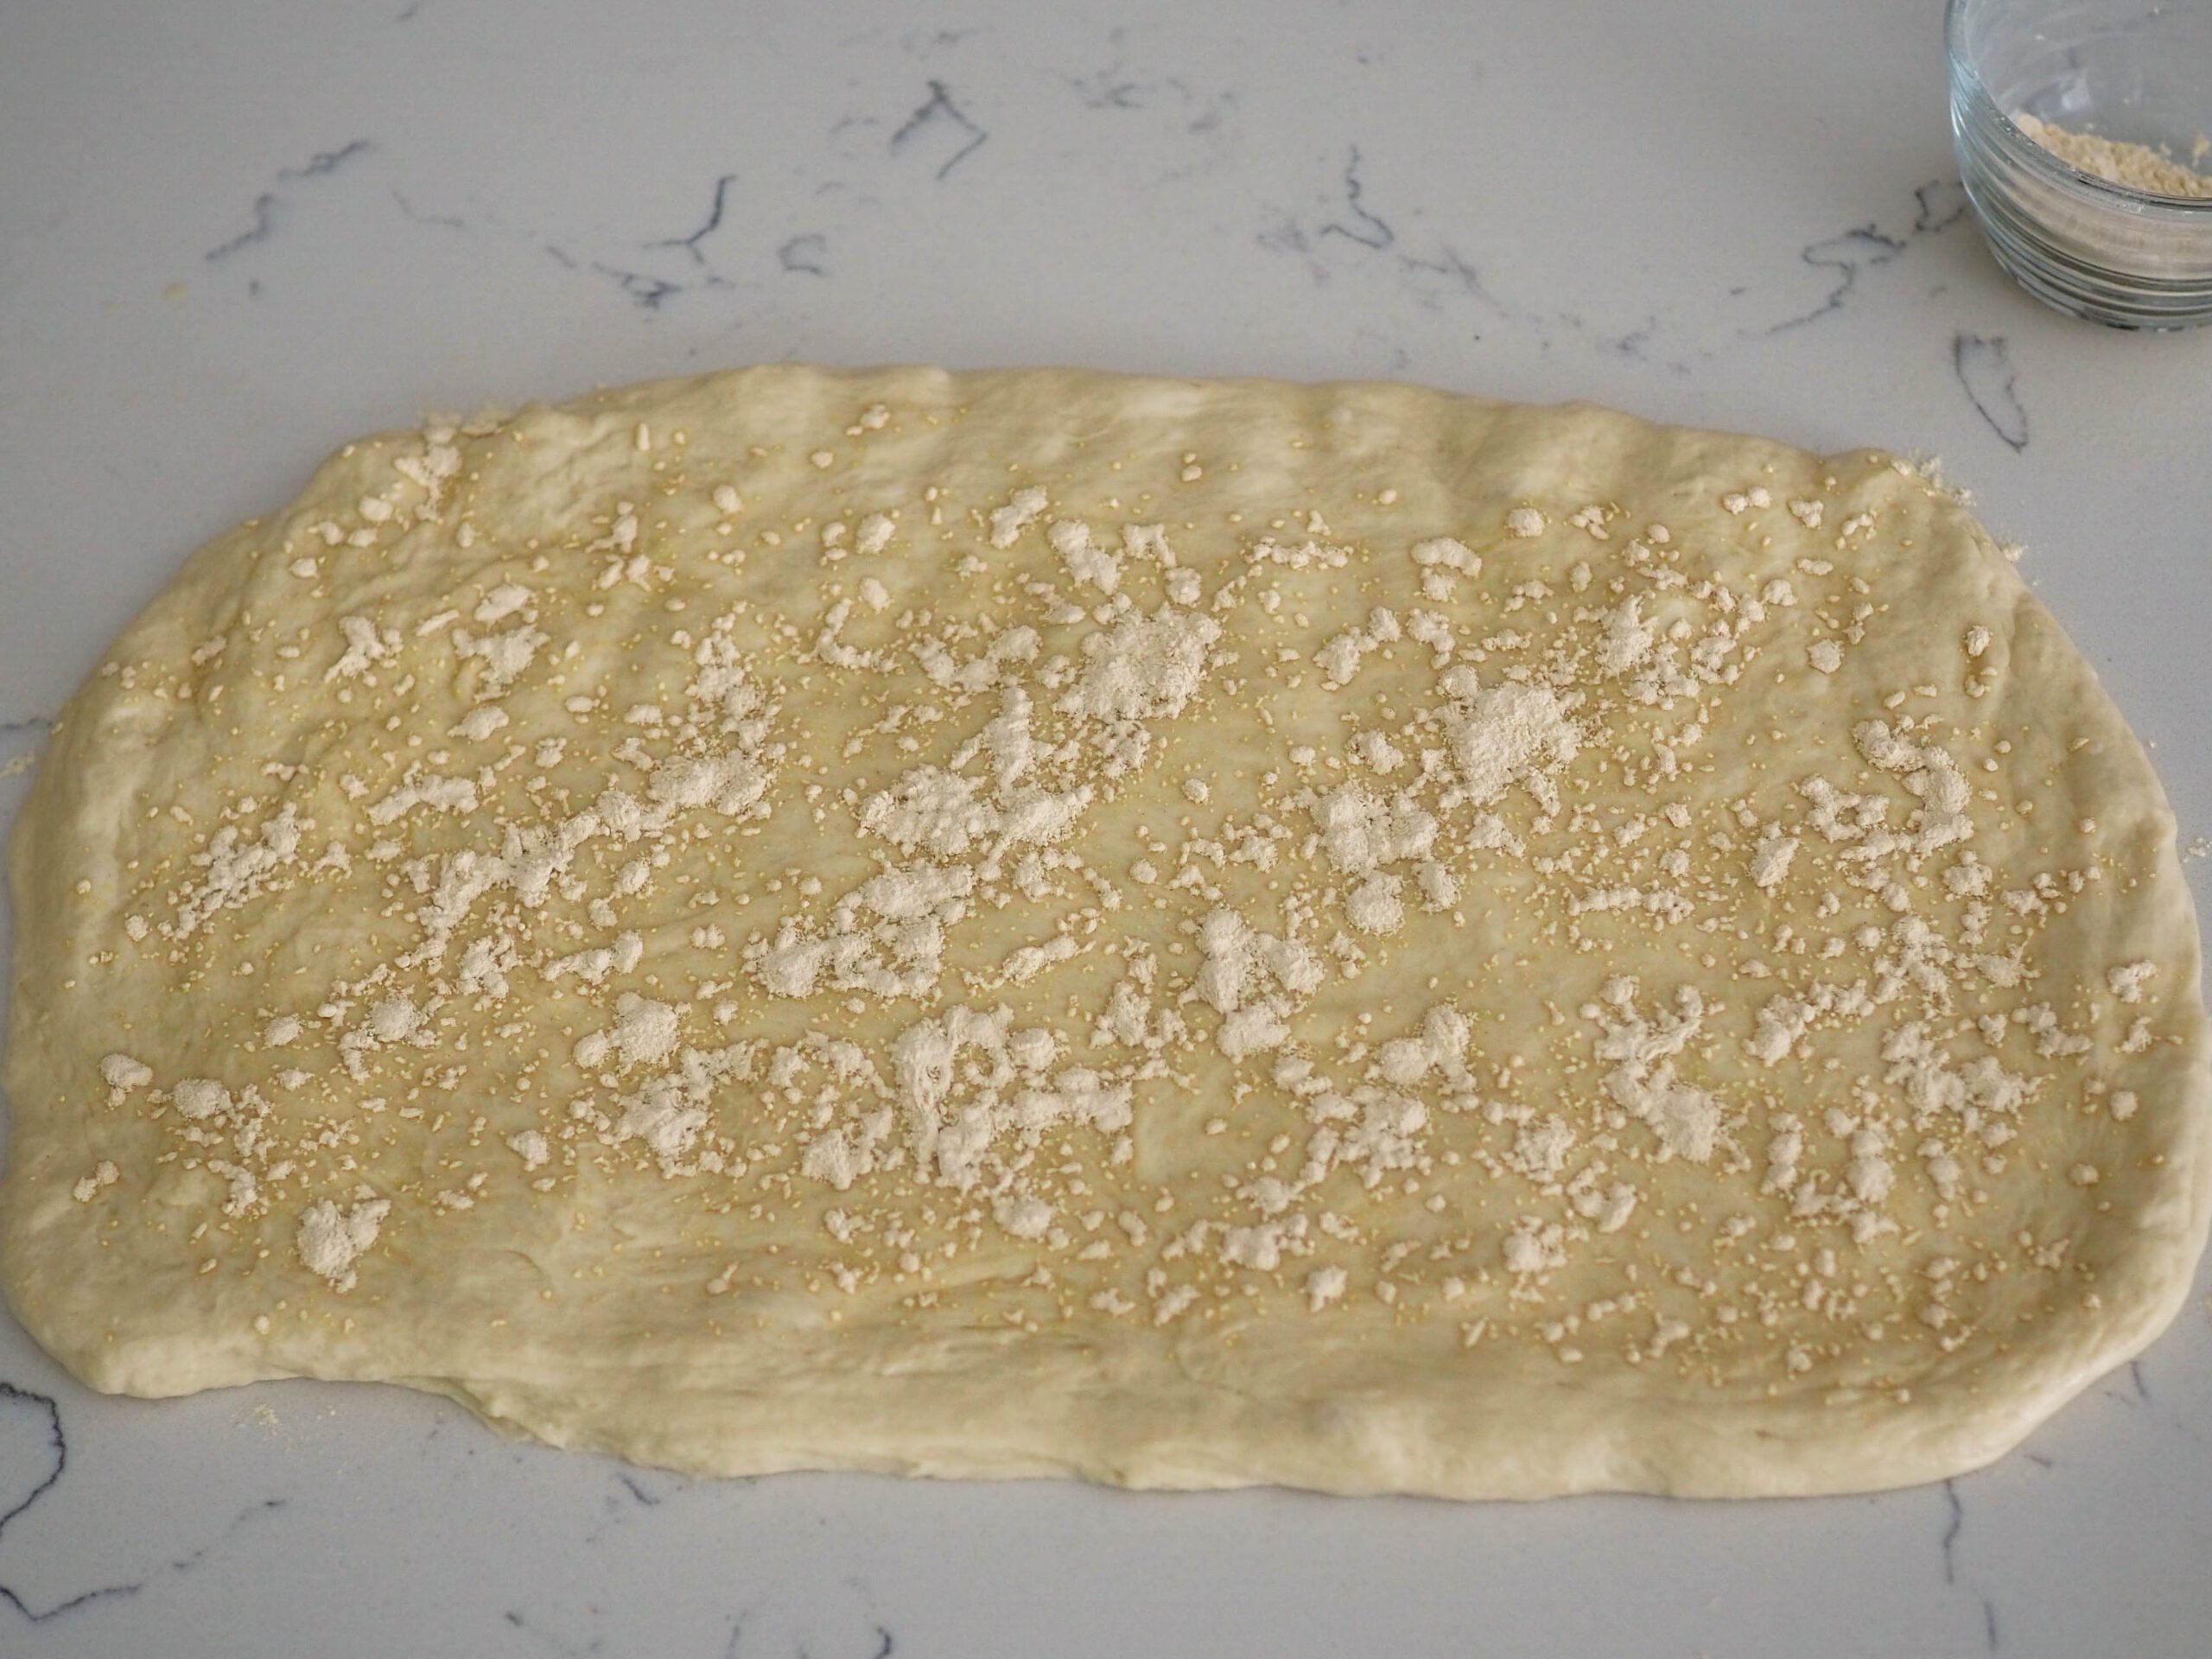
Be sure to grease your work surface before turning out the dough. Using your fingertips and the palms of your hands, gently stretch and press the dough into a rectangle about 9″ by 12″. The dough should be pretty thick (about 1/2″ to 3/4″). Sprinkle half of the garlic powder in a thin layer across the top. For a full loaf with no air bubbles, don’t pat the garlic into a uniform layer. We want the dough to stick to the areas without garlic powder to prevent air bubbles!
I use garlic powder instead of fresh cloves because 1) a fine powder spreads more easily than chunks of cloves, even when finely minced, and 2) less dishes. If you want to use fresh minced garlic, I’d start with one clove per loaf.
Quick Tips for Shaping Garlic French Bread
If you’d like to watch these tips instead of read them, watch my video on How to Make Garlic French Bread!
Beginning at the edge furthest away from you, use your fingertips to gently roll the dough towards you. Deflate any air bubbles by pinching them open. Keep the roll tight, but don’t smash the layers together.
Transferring the roll to a baking pan can be tricky, as the loaf will stretch out slightly when it is in the air. To ease the process, move your baking pan as near the roll as possible. Complete the transfer in one fluid motion, seam-side down, for best results. If the roll does stretch out, gently pat each end towards the middle.
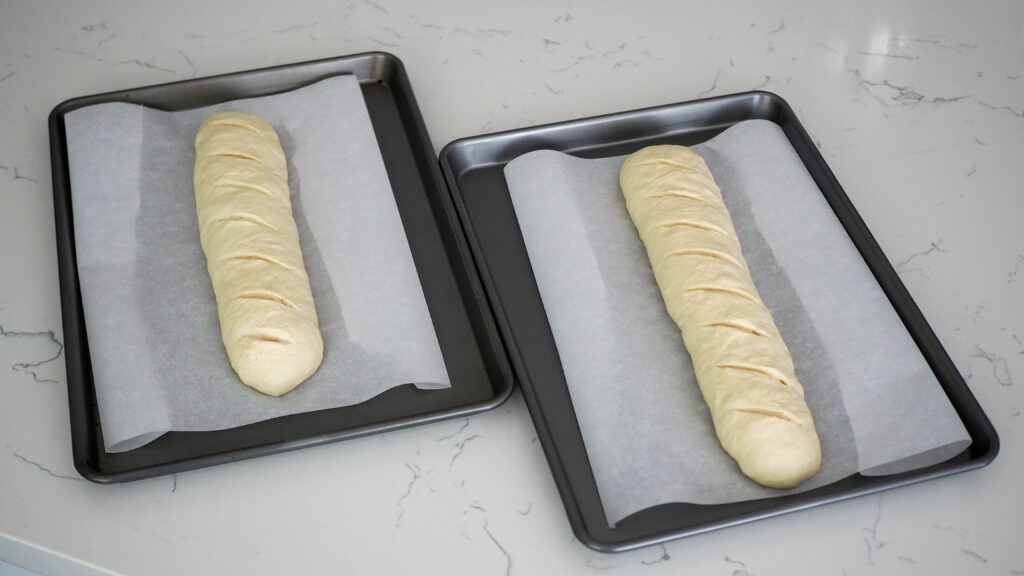
Once on the baking sheet, pinch each end where you can see the roll together, and tuck the edges underneath to seal.
To help this bread rise, I like to add ice cubes to my oven. It’s the easiest way for me to add in a bit of steam. If you aren’t comfortable putting ice cubes in your oven, you can fill a casserole dish or cast iron pan with about an inch of water instead. Just be sure to refill for loaf number two!
Dish Cleanup: Not Too Bad
I rank my recipe clean-ups on a scale of 1 to 5. 1 is only a handful of dishes, and 5 is everything including the kitchen sink.
This garlic French bread recipe is a 2. I had a number of small bowls I needed to clean, but realistically, you can simply use one tablespoon instead and have an incredibly easy cleanup.
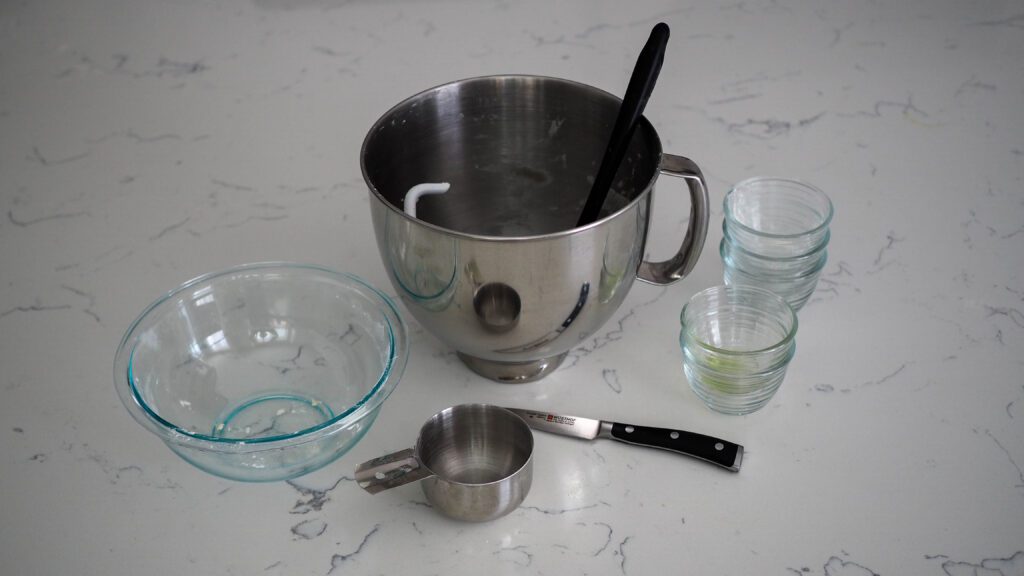
To make cleaning the bowl of your stand mixer easier, let it dry out completely. Once the moisture has evaporated from the remnants of dough, most of them will flake off with a brush of the hand. I use this trick for all my lean doughs (unenriched doughs that only contain water, yeast, flour, and salt).
Garlic French Bread
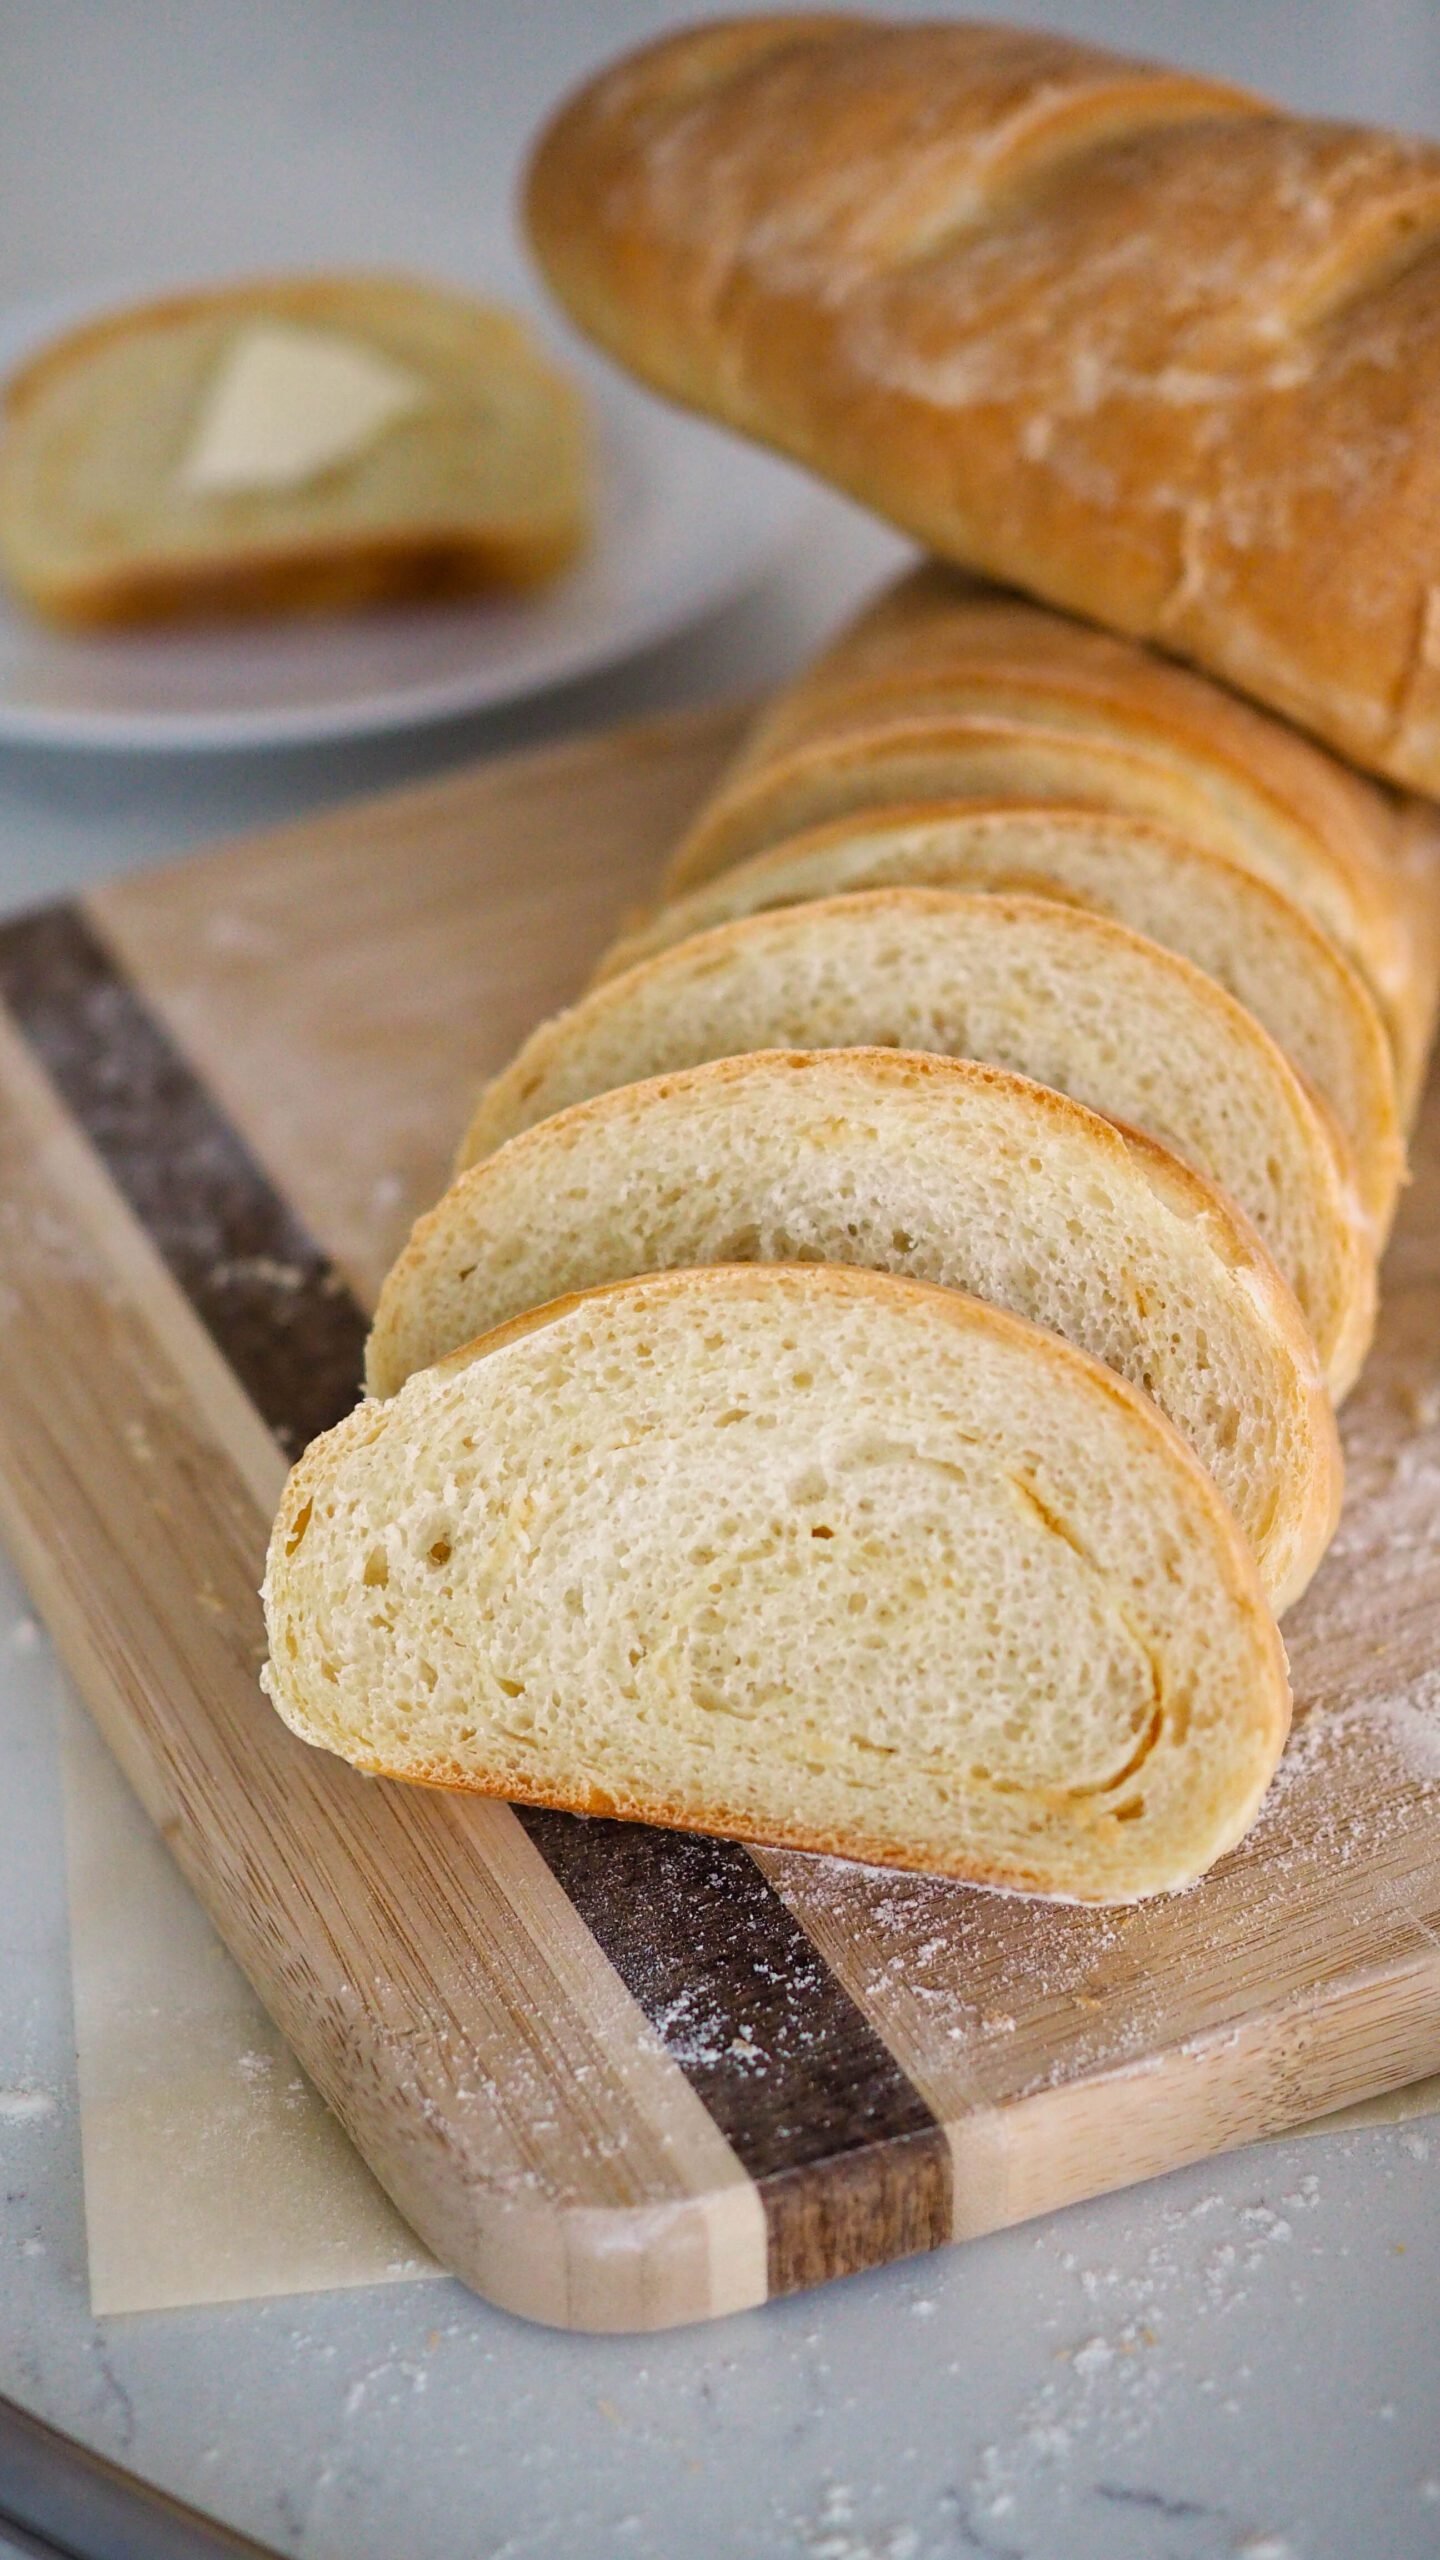
Soft, chewy, and garlicky French bread that is as delicious by itself as it is with butter.
Ingredients
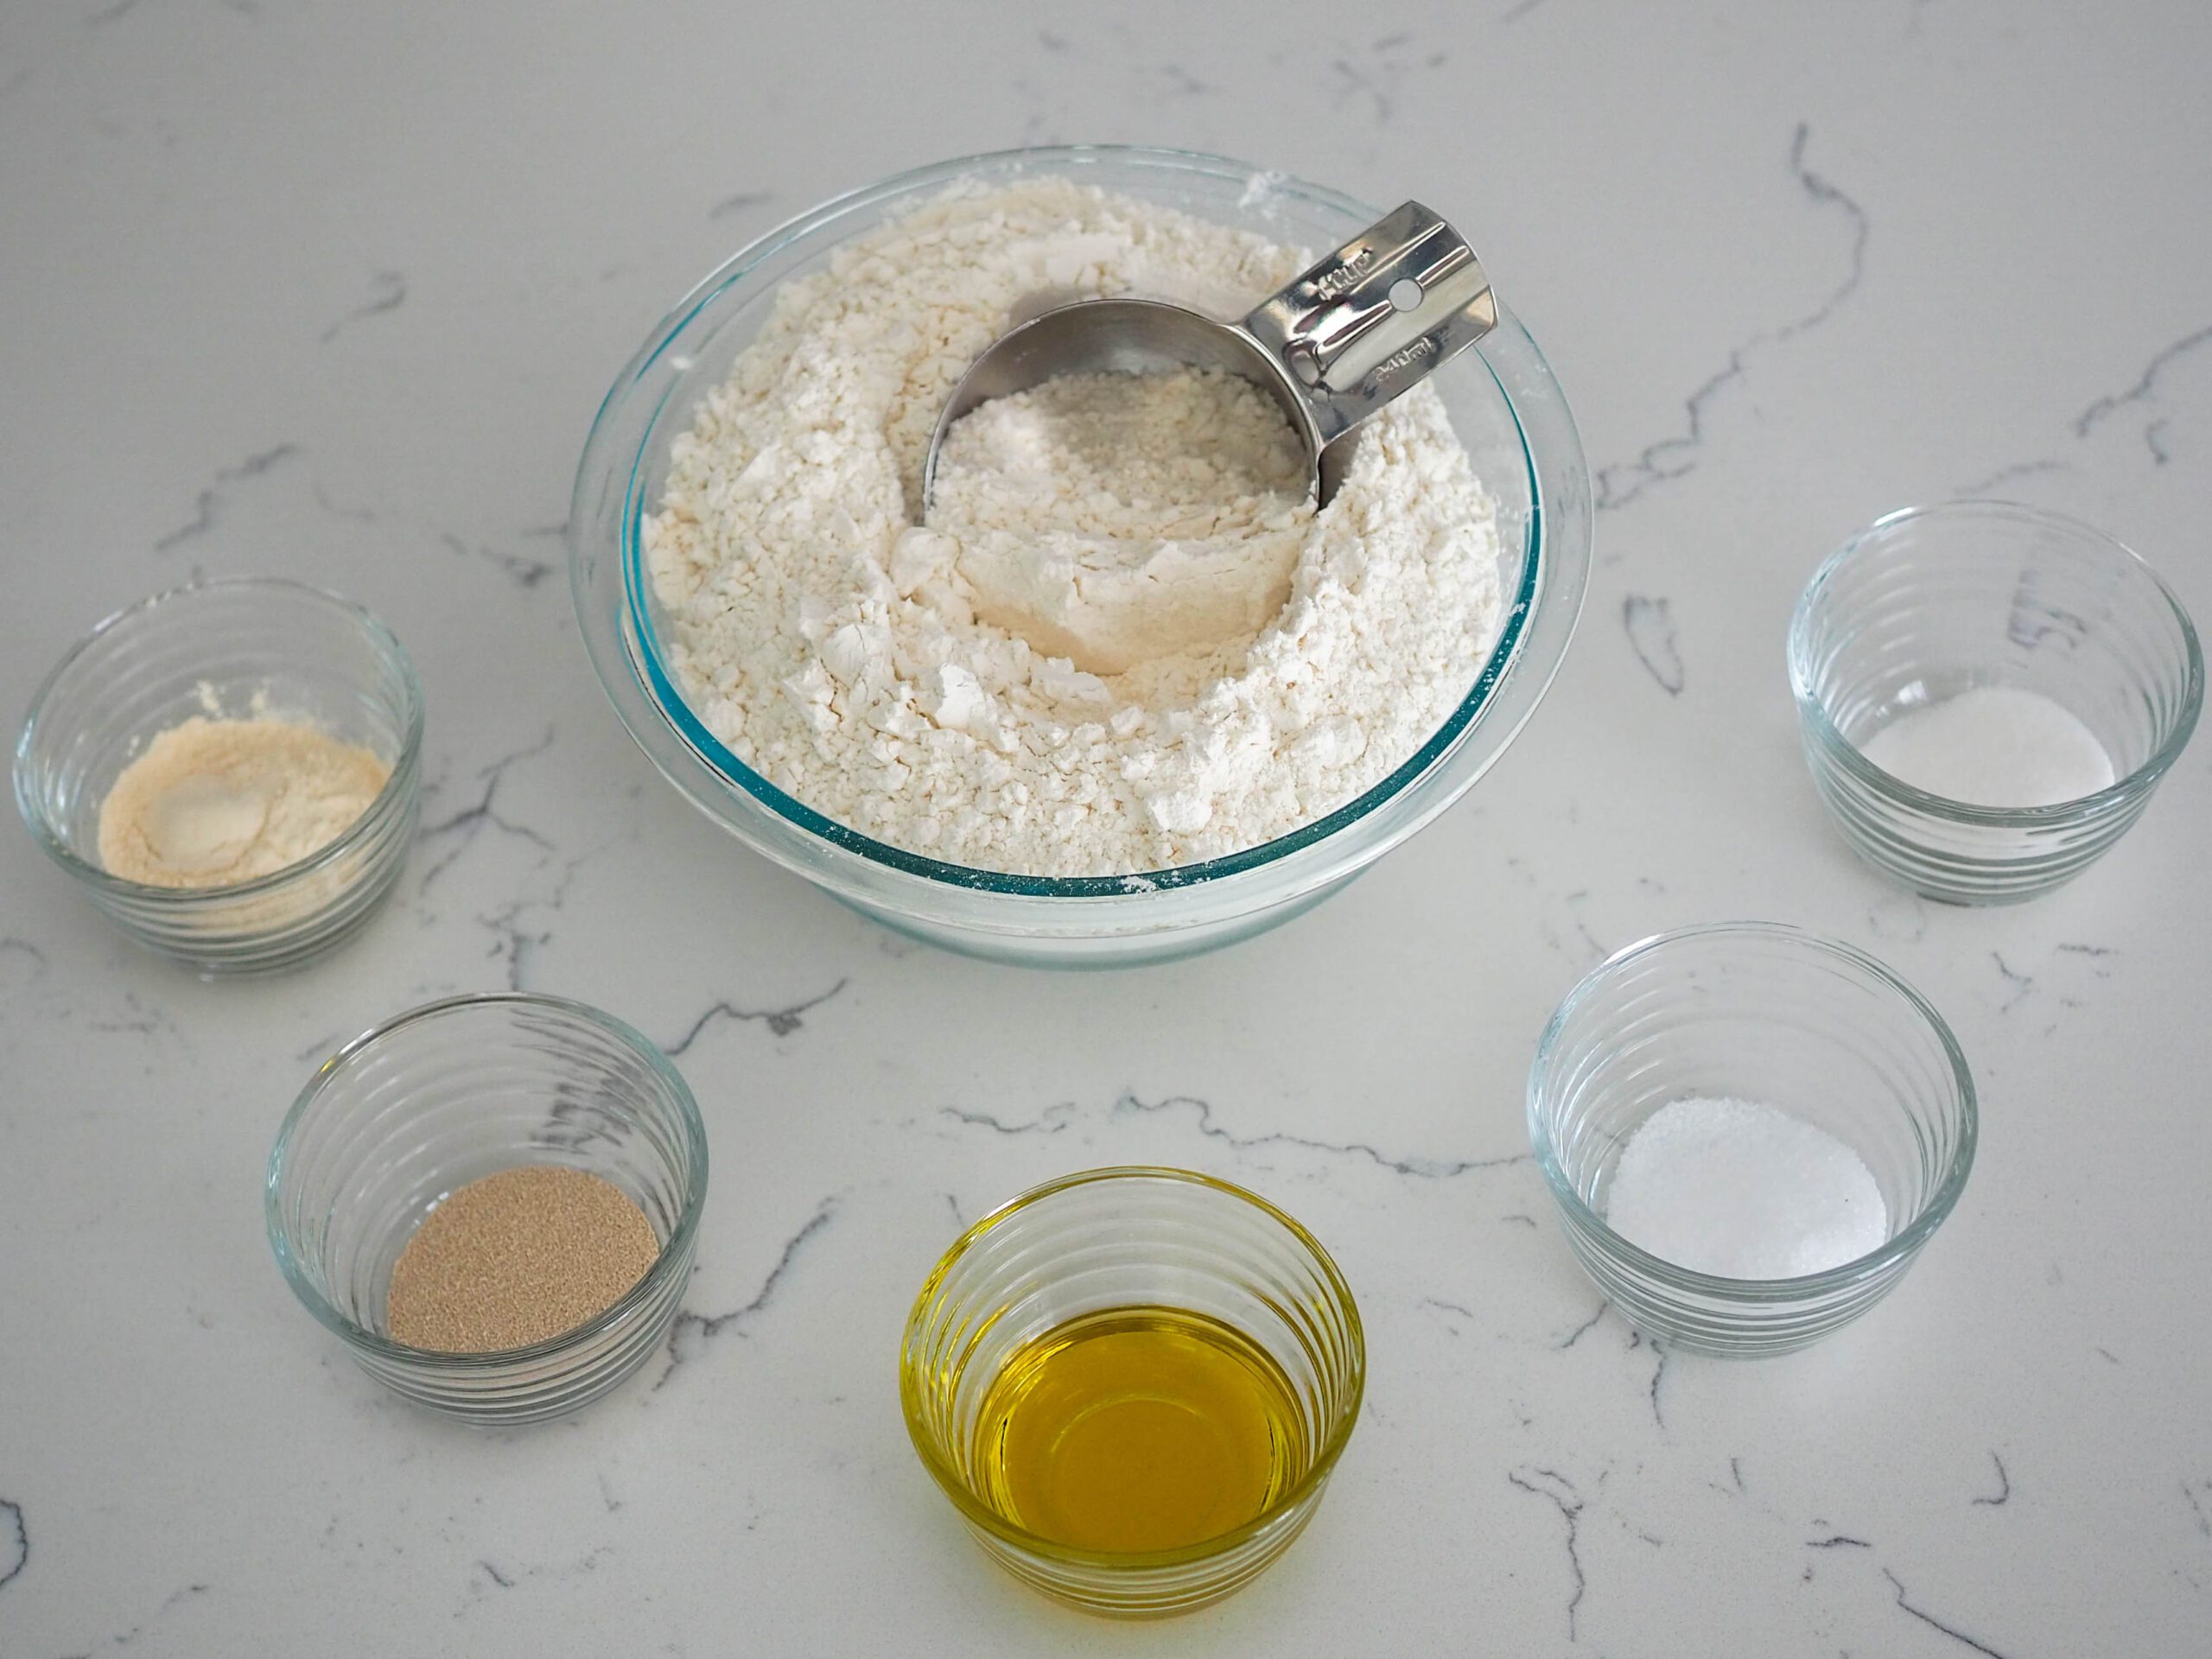
- 1 Tablespoon active dry yeast (11g)
- 1 Tablespoon sugar (17g)
- 2 cups warm water, at about 110°F (475ml)
- 1 Tablespoon salt (16g)
- 2 Tablespoons olive oil (30g)
- 6 cups flour (800g)*
- 2 Tablespoons garlic powder (18g)
Instructions
- Add yeast and sugar to the bowl of a stand mixer fitted with a dough hook. Pour 2 cups of warm water (about 110°F) into the bowl. Let stand for about 5 minutes, or until bubbly and yeasty smelling.
- Add salt, olive oil, and about half of the flour and stir. Add in the remaining flour one cup at a time. Stir after each addition until the dough forms a soft but sturdy ball around the hook and doesn't stick to the sides of the bowl. (You may not need all of the flour, or you may need a little more depending on your kitchen.) Knead for 2-3 minutes on medium until the dough is elastic.
- Cover with a kitchen towel or plastic wrap and let the dough rest at room temperature for about an hour, or until doubled in size. Prepare two baking sheets with parchment paper.
- Turn out the dough onto a lightly greased surface and divide into two. Shape each dough into a thick rectangle, about 9" inches wide and 12" inches long. Sprinkle the garlic powder evenly on top of each rectangle. Roll the dough up tightly into a log, starting on the long side.
- Transfer the logs to their own baking sheets, seam side down. Pinch the edges to seal, and tuck them underneath. Use a sharp knife or razor blade to score diagonal cuts in the top of each loaf about 2" apart. Cover with a damp towel or lightly greased plastic wrap and let rise for another hour until puffy and doubled in size.
- Preheat the oven to 375°F and bake for 25 minutes or until golden brown. Transfer to a wire rack and let cool before slicing.
Notes
*Depending on the humidity of your kitchen and the brand of all-purpose flour, you may need to use more or less flour than called for in the recipe. After you've added about 5 cups, judge the consistency of your loaf before adding any more.
Nutrition Information:
Yield:
30Serving Size:
1Amount Per Serving: Calories: 104Total Fat: 1gSaturated Fat: 0gTrans Fat: 0gUnsaturated Fat: 1gCholesterol: 0mgSodium: 213mgCarbohydrates: 20gFiber: 1gSugar: 1gProtein: 3g
The nutrition facts are estimated and may vary based on specific ingredients used.
Thanks for trying out this garlic French bread! I’d love to see how it turns out: Take a photo and tag me on Instagram @floralapronblog to share with me, or use #floralapronbakes.
Other Recipes You May Enjoy
Still working on finishing two loaves before they dry out? Turn one half of a loaf into my garlic herb croutons!
If you enjoyed this, here are a few of my other garlicky dishes:
Want something for dessert after a dinner with this bread? Look no further than my dessert recipes!
Happy baking!