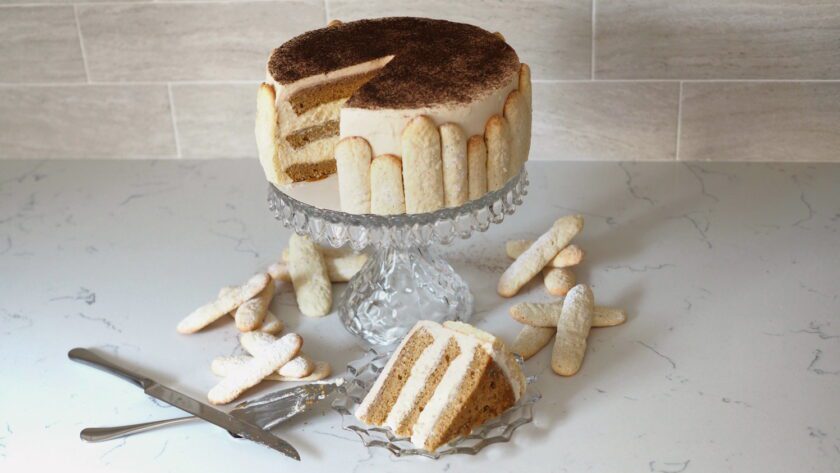
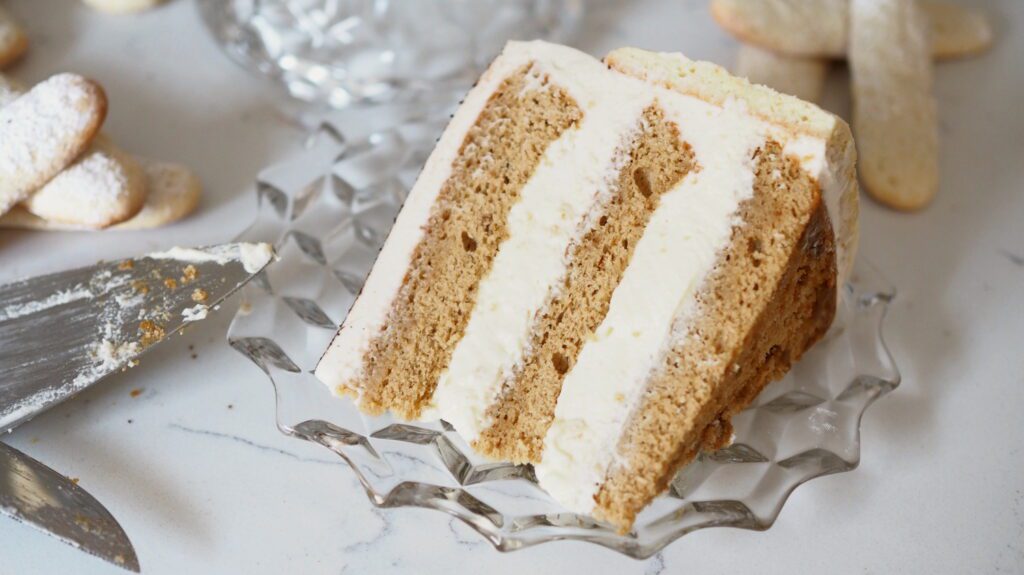
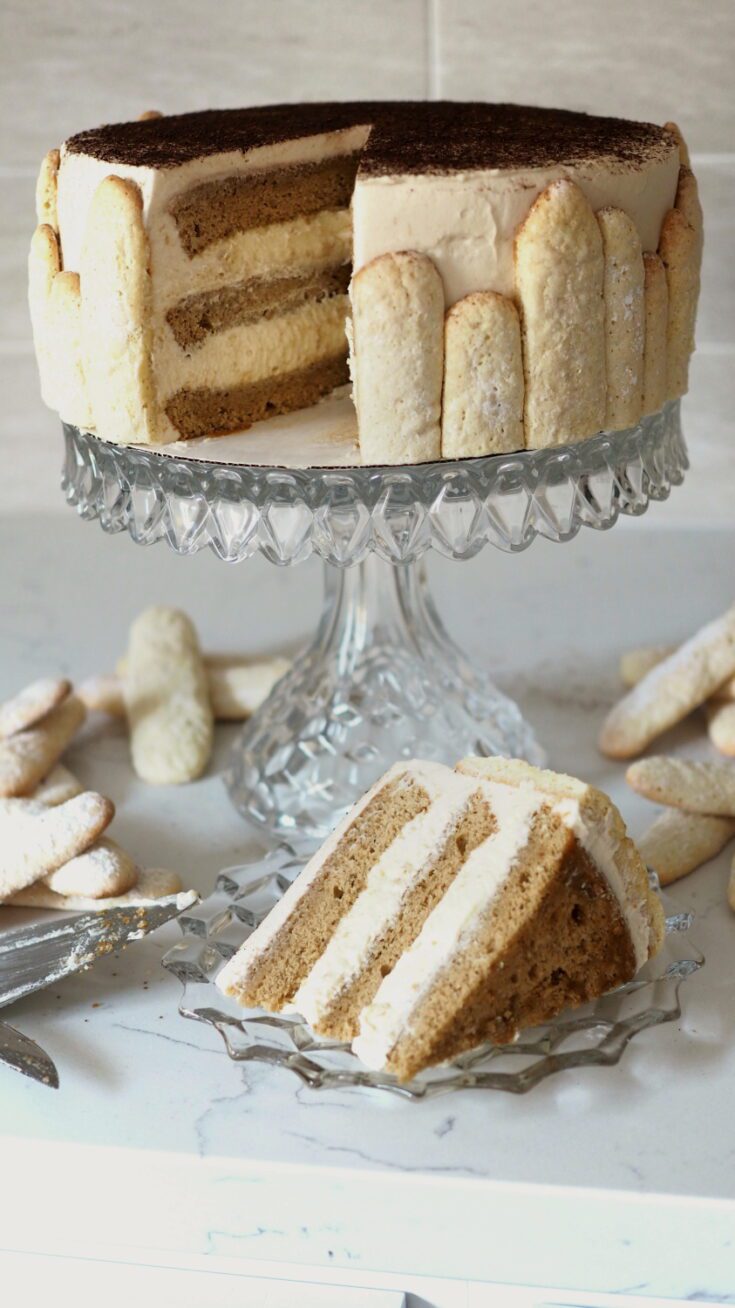
This tiramisu layer cake is a twist on the classic, with all the mascarpone creaminess and coffee liqueur in the original, plus a little extra cake! Throw in the addition of a mascarpone and coffee liqueur frosting, and you’ve got a cake that ends up as the favorite at any gathering.
This recipe uses a coffee-flavored sponge cake, which is similar in texture to ladyfingers. It also calls for a traditional tiramisu cream filling to give the layer cake a true tiramisu feeling.
Quick Tips for Prepping Tiramisu Layer Cake
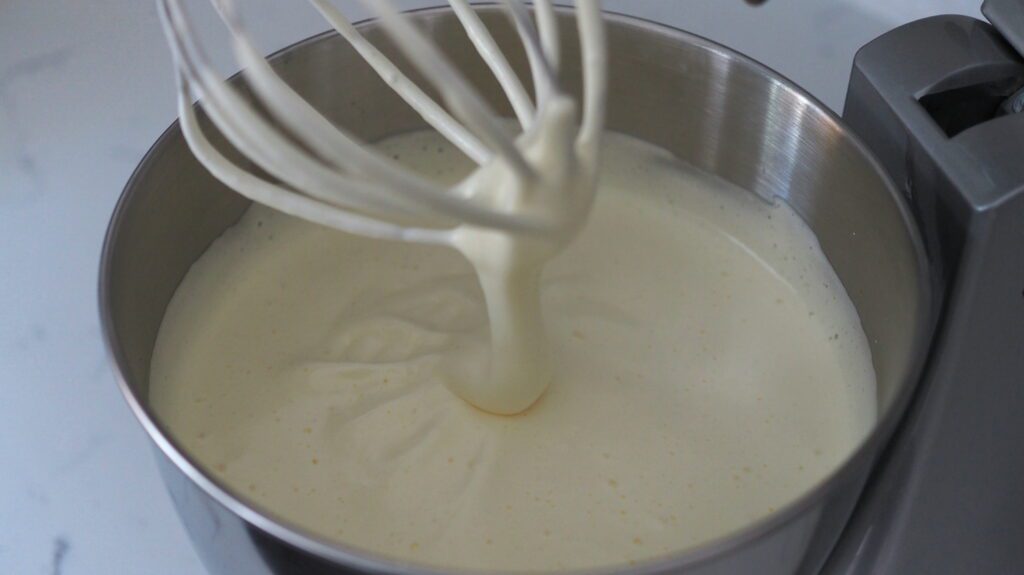
In order to get a light and fluffy sponge cake without leavening, incorporate as much air into the batter as possible. Beat together the eggs and the sugar for about 10 minutes, until tripled in volume. You can easily test if the eggs are voluminous enough by lifting the whisk out of the mixture. Some of the mixture should sit on the top for a few seconds before fading back into the batter (see photo).
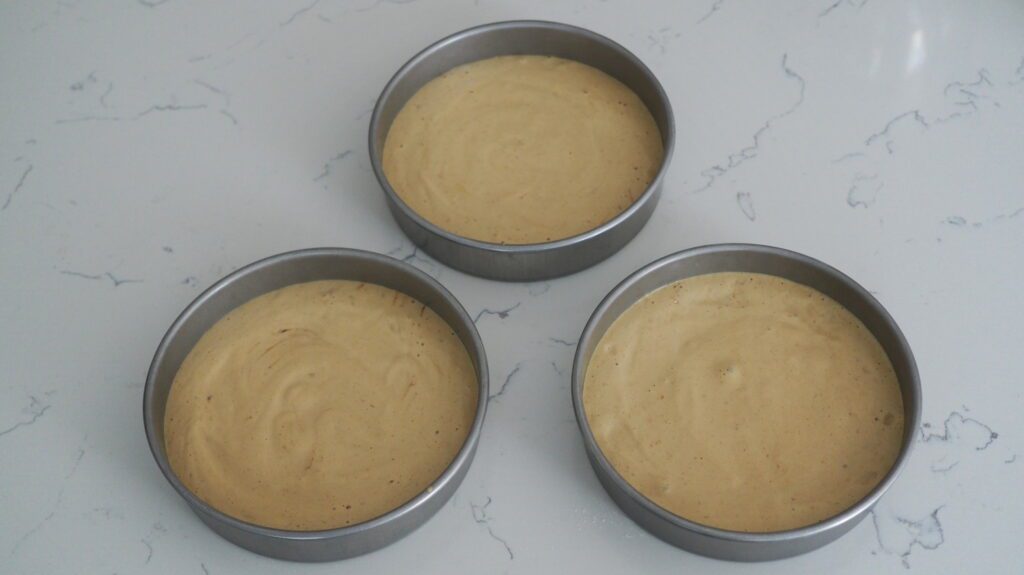
After you divide the batter into three cake pans, I recommend weighing each of them. I like my cake layers to be as identical as possible. Even after you smooth out the tops, sometimes what looks to be an even split isn’t. That can result in one cake being much taller than the others. Weigh them, then scoop some of the batter from the heaviest one into the lightest, reweigh, and repeat until all are within a few grams of each other.
It’s important to use cold mascarpone in this recipe. Mascarpone is a temperamental soft cheese that splits easily due to temperature changes and overwhipping. Don’t overbeat mascarpone in an attempt to aerate it and make it fluffy. That’s what the heavy cream is for. (Ironic, I know, that heavy cream makes the fillings lighter.)
If you want to get crafty, you can save cleaning a mixing bowl while making the cream filling: Whip the heavy cream in your stand mixer and transfer it back to the measuring cup. Then beat the mascarpone and kahlua together in the stand mixer, stir in the yolk mixture, and fold in the whipped cream.
Tips for Assembling Tiramisu Layer Cake
The edges of this sponge cake are pretty sturdy, however I still recommend chilling cake layers before decorating to cut down on any potential for crumbs.
Make full use of your mascarpone frosting! The frosting is meant to hold the tiramisu cream in, so pipe a thick dam of frosting around the edge of your cake layers. This will prevent any cream filling from sneaking out.

I wanted this cake to be easily identifiable from across a room, so I used ladyfingers around the edge as an homage. The only issue: The cake is round, yet homemade ladyfingers have imperfectly straight edges and flat bottoms. To get a gapless ring of ladyfingers around the cake, trim a pinch off of the sides of each ladyfinger at a 45° angle. This will give the cake a clean look and help the ladyfingers better nestle into each other.
I love the variety of heights of the ladyfingers on this cake, but you can also use a uniform height if you’d prefer. It’s beautiful both ways.
The cocoa powder will absorb some of the liquid in the frosting, so dust it right before serving if you want the most photogenic slices!
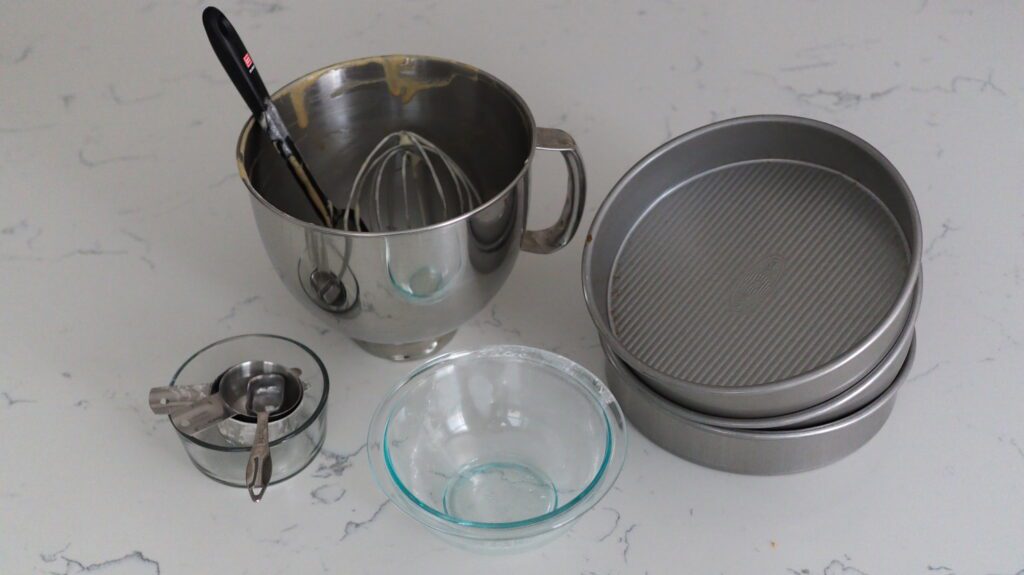
Dish Cleanup: Dish Mountain
I rank my recipe clean-ups on a scale of 1 to 5. 1 is only a handful of dishes, and 5 is everything including the kitchen sink.
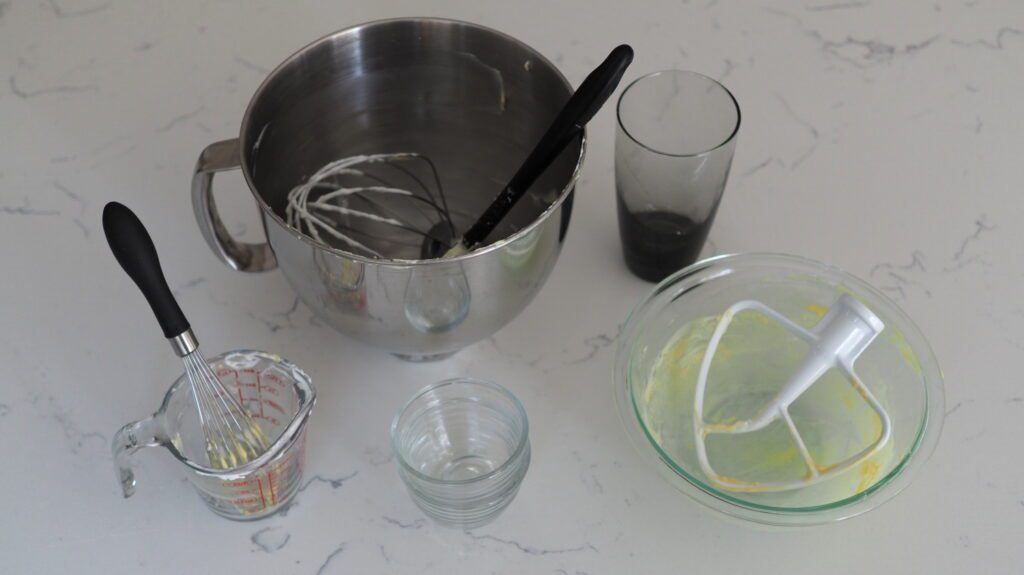
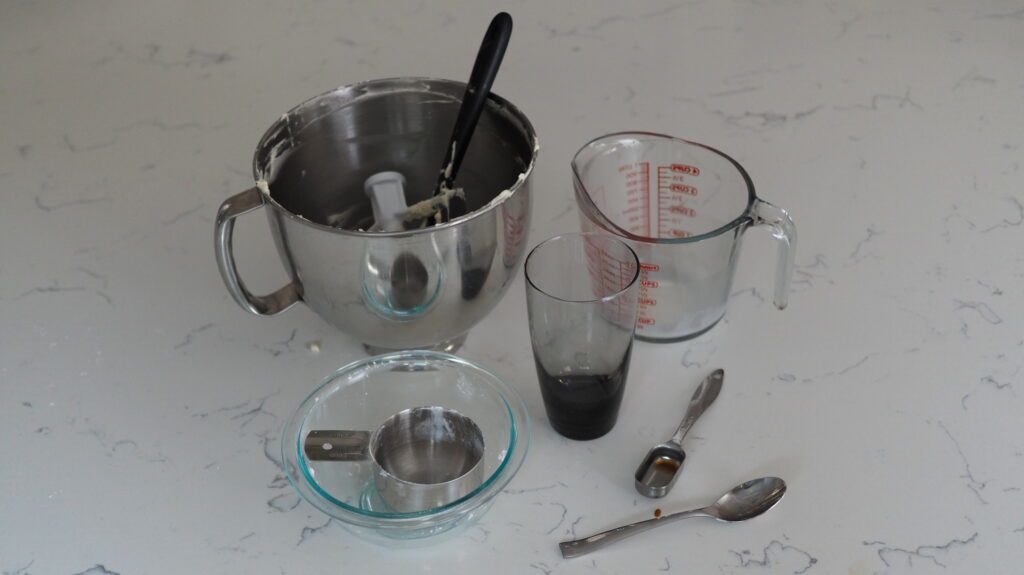
This tiramisu layer cake is a 5. The dishes after it were no joke. I had to wash the bowl for my stand mixer three times (four times, if you include the ladyfingers I made the day before). I used my whisk attachment twice, both beater attachments, and, like, five spatulas. My consolation prize: Each individual component (the cake, cream, or frosting) was only a 2 or a 3 on the cleanup scale.
Because of how evenly the dishes were distributed, it made the cake all the more enjoyable when I got to eat it. And for the record, the reception this cake received is worth twice as many dishes.

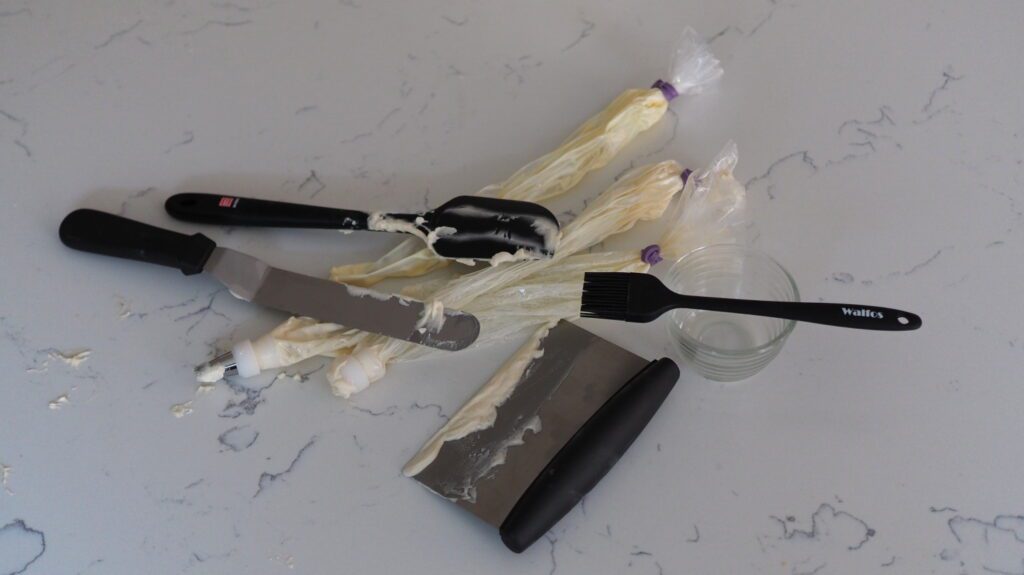
Cleanup for the sponge cakes. The cleanup for the tiramisu cream filling. Frosting cleanup. Spatulas, scraper, brush, and piping bags used for decorating.
Tiramisu Layer Cake
This twist on tiramisu has all the mascarpone creaminess and coffee liqueur of the classic, just with a little extra cake!
Ingredients
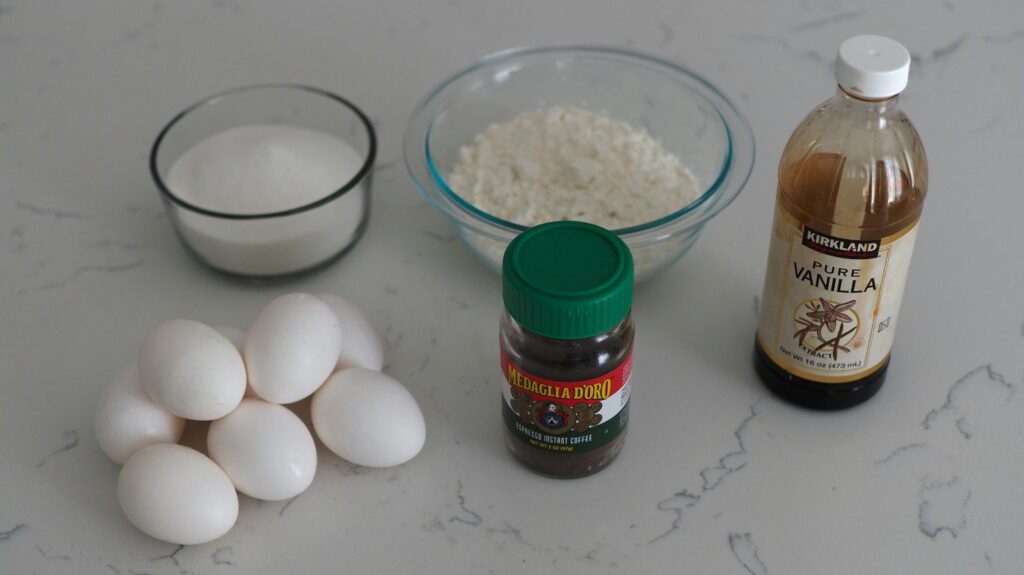
Coffee Sponge Cake
- 8 eggs
- 1 ⅓ cups sugar (250g)
- 1 Tablespoon instant espresso
- 1 1/2 cups all-purpose flour (205g)
- 1 teaspoon vanilla extract
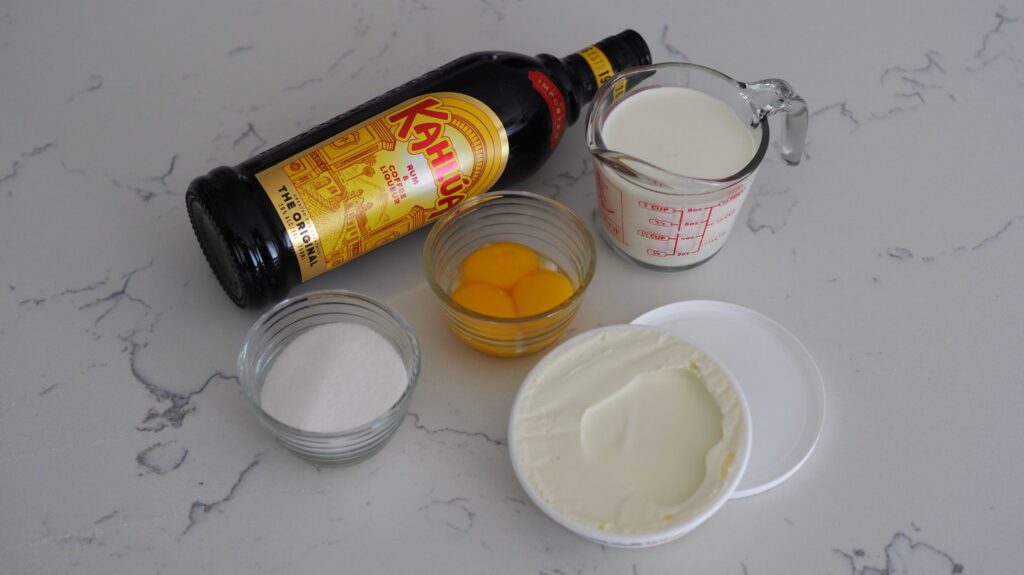
Tiramisu Cream Filling
- 3 egg yolks
- 1/3 cup sugar (80g)
- 8 oz mascarpone cheese (230g)
- 1 ½ Tablespoons Kahlua or coffee liqueur
- 1 cup heavy whipping cream (240ml)
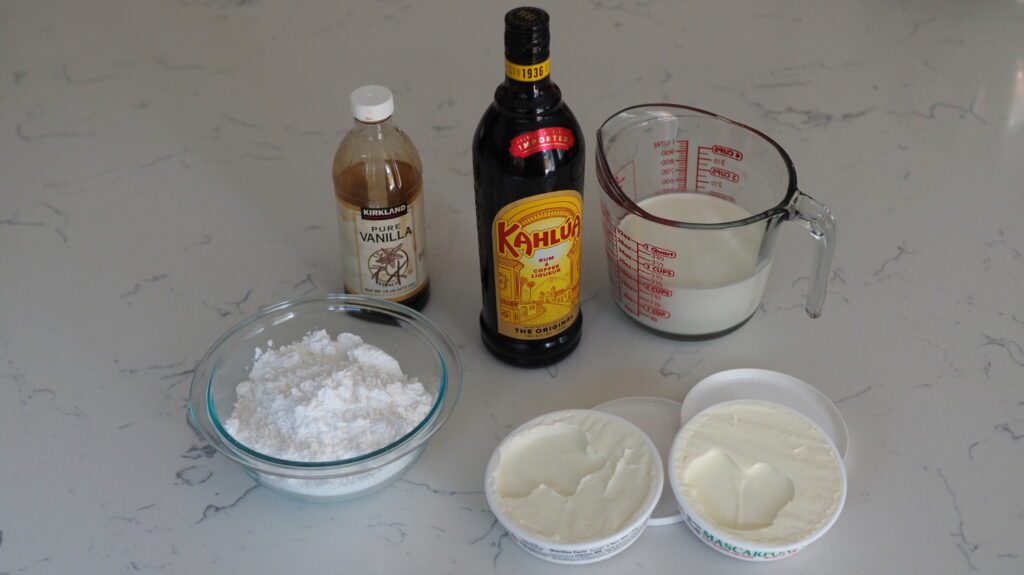
Mascarpone and Kahlua Frosting
- 16 oz mascarpone cheese (460g)
- 3 cups confectioners' sugar (345g)
- 2 cups heavy whipping cream (480ml)
- 4 Tablespoons Kahlua or coffee liqueur, or to taste
- 2 teaspoons vanilla extract
Milk and Kahlua Soak
- 1 cup milk (any kind)
- 3 Tablespoons Kahlua or coffee liqueur
Decoration
- 25-30 ladyfingers
- 1/2 cup cocoa powder
Instructions
For the Coffee Sponge Cake:
- Preheat the oven to 350°F. Prepare three 9-inch cake pans with parchment rounds and nonstick spray or butter and flour.
- Whisk together eggs and sugar in a stand mixer until tripled in volume, about 10 minutes.
- Add instant espresso and vanilla, and stir to combine.
- Remove the bowl from the stand mixer and sift in the flour. Fold in the flour gently with a spatula, scraping the sides and bottom to ensure there are no hidden pockets of flour.
- Divide the batter evenly between the prepared pans. Use a spatula or knife to spread the batter evenly to the edges.
- Bake for 13-15 minutes or until slightly golden and the cake just begins to pull away from the edges of the pan. Let cool to room temperature, then wrap each layer in plastic wrap and chill until assembly.
For the Tiramisu Cream:
- Whisk yolks and sugar in a medium bowl continuously over a double boiler until the mixture is lighter in color and no longer grainy, about 10-15 minutes. Set aside to cool.
- In a separate bowl, whip the heavy cream to soft peaks.
- In the bowl of a stand mixer, beat together mascarpone and liqueur until just combined.
- While still warm, slowly stream in the egg yolk mixture until fully combined.
- Gently fold the whipped cream into the mascarpone mixture. Transfer to a piping bag you can seal (or a zip-top bag) and chill until assembly.
For the Mascarpone Rum Frosting:
- In the bowl of a stand mixer, beat mascarpone with vanilla extract and liqueur until just combined.
- Add in the confectioners' sugar one cup at a time and mix until combined.
- Set the mixer speed to medium high and slowly stream in cold heavy whipping cream for 1-3 minutes until fully combined and fluffy. To thicken, add in confectioners' sugar ¼ cup at a time until it reaches a desired consistency. Cover and chill until assembly.
For the Milk and Liqueur Soak:
- Make just before assembly: Stir milk and coffee liqueur together in a glass.
Assembly:
- Fill two piping bags with the mascarpone frosting. I used a star tip (Wilton #2D) on one and just a coupler on another. Place a dollop of frosting in the center of a cake turner or stand, and then push a cake board into it to make it stick. Place another dollop of frosting in the middle of the cake board.
- Center your cake layer on the board. Using a pastry brush, thoroughly and evenly dab a third of the milk mixture onto the cake. Try not to brush the soak on, as it might loosen some crumbs.
- Pipe a tall and thick ring of frosting on the top edge of the cake to serve as a dam. Pipe about half of the tiramisu cream into the middle of cake. Even out with a knife if necessary.
- Repeat steps 2 and 3 for the second layer. Repeat step 2 for the third layer.
- Pipe frosting onto the edges of the cake, starting at the bottom, all the way to the top. Pipe the rest of the frosting onto the top of the cake. Use a scraper or offset spatula to smooth the frosting over. (The sides don't need to be perfect if you're using ladyfingers.)
- Cut the ladyfingers to three heights: One about as tall as the cake, one about ⅔ of the height, and one about half of the height. To help the ladyfingers fit snugly without any gaps, trim just a pinch off of the long edges at a 45° angle. Gently press each ladyfinger to the side of the cake to make it stick. Repeat the whole way around.
- Sift a light dusting of cocoa powder on top of the cake right before serving. For easy serving, cut each slice between ladyfingers.
Notes
- If desired, you may make both the cakes and the ladyfingers the day before assembly. After the cakes are cooled, simply wrap them tightly in plastic wrap or beeswrap and chill them overnight. Store the ladyfingers in an airtight container.
Nutrition Information:
Yield:
26Serving Size:
1Amount Per Serving: Calories: 449Total Fat: 26gSaturated Fat: 15gTrans Fat: 1gUnsaturated Fat: 8gCholesterol: 174mgSodium: 169mgCarbohydrates: 45gFiber: 1gSugar: 30gProtein: 7g
The nutrition facts are estimated and may vary based on specific ingredients used.
Thanks for trying out this tiramisu layer cake! I’d love to see how it turns out: Take a photo and tag me on Instagram @floralapronblog to share with me, or use #floralapronbakes.
Other Recipes You May Enjoy
If you enjoyed this, here are a few of my other cake recipes you may also want to try:
And if you’d like to take a look around, there’s always the full list of desserts on my blog. (I’m adding recipes every month!)
Happy baking!