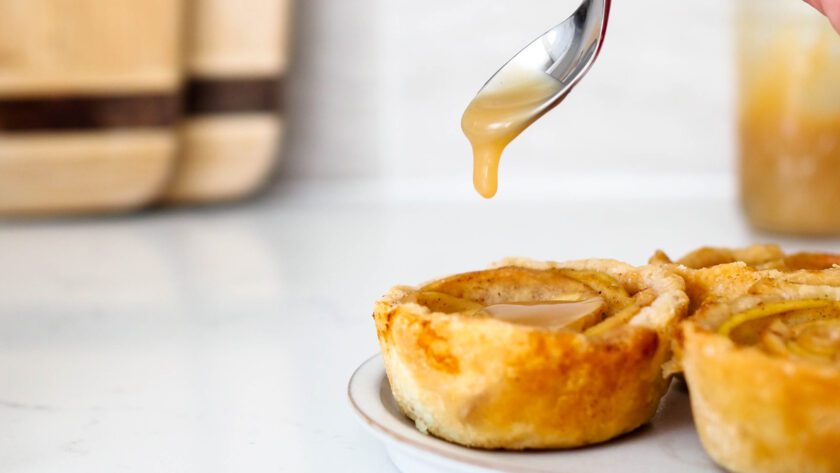
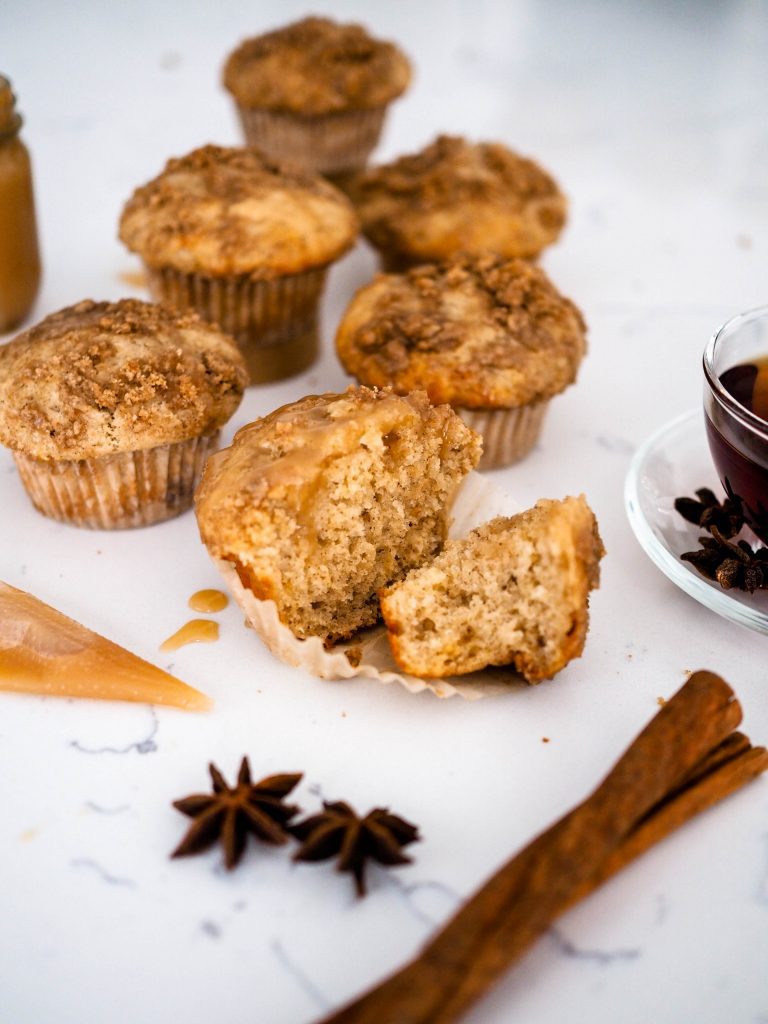
Sweet with a hint of salt, thick yet still pourable: This salted caramel sauce is the stuff dreams are made of! Use this easy homemade salted caramel drizzled over muffins, mixed into buttercream, used in pies, poured on top of ice cream, or dipped with apples.
I always welcome the beginning of autumn by making a batch (or two!) of this sauce because it goes well in everything. And food bloggers know this, because there’s always an abundance of recipes using salted caramel sauce around this time of the year. This recipe makes about 12 ounces, or 350 ml, of this autumnal kitchen staple.
Even better, this recipe uses only a handful of ingredients, dirties very few dishes, and come together quickly. You’ll have your delicious sauce ready in about 20 minutes!
Salted Caramel Sauce Ingredients
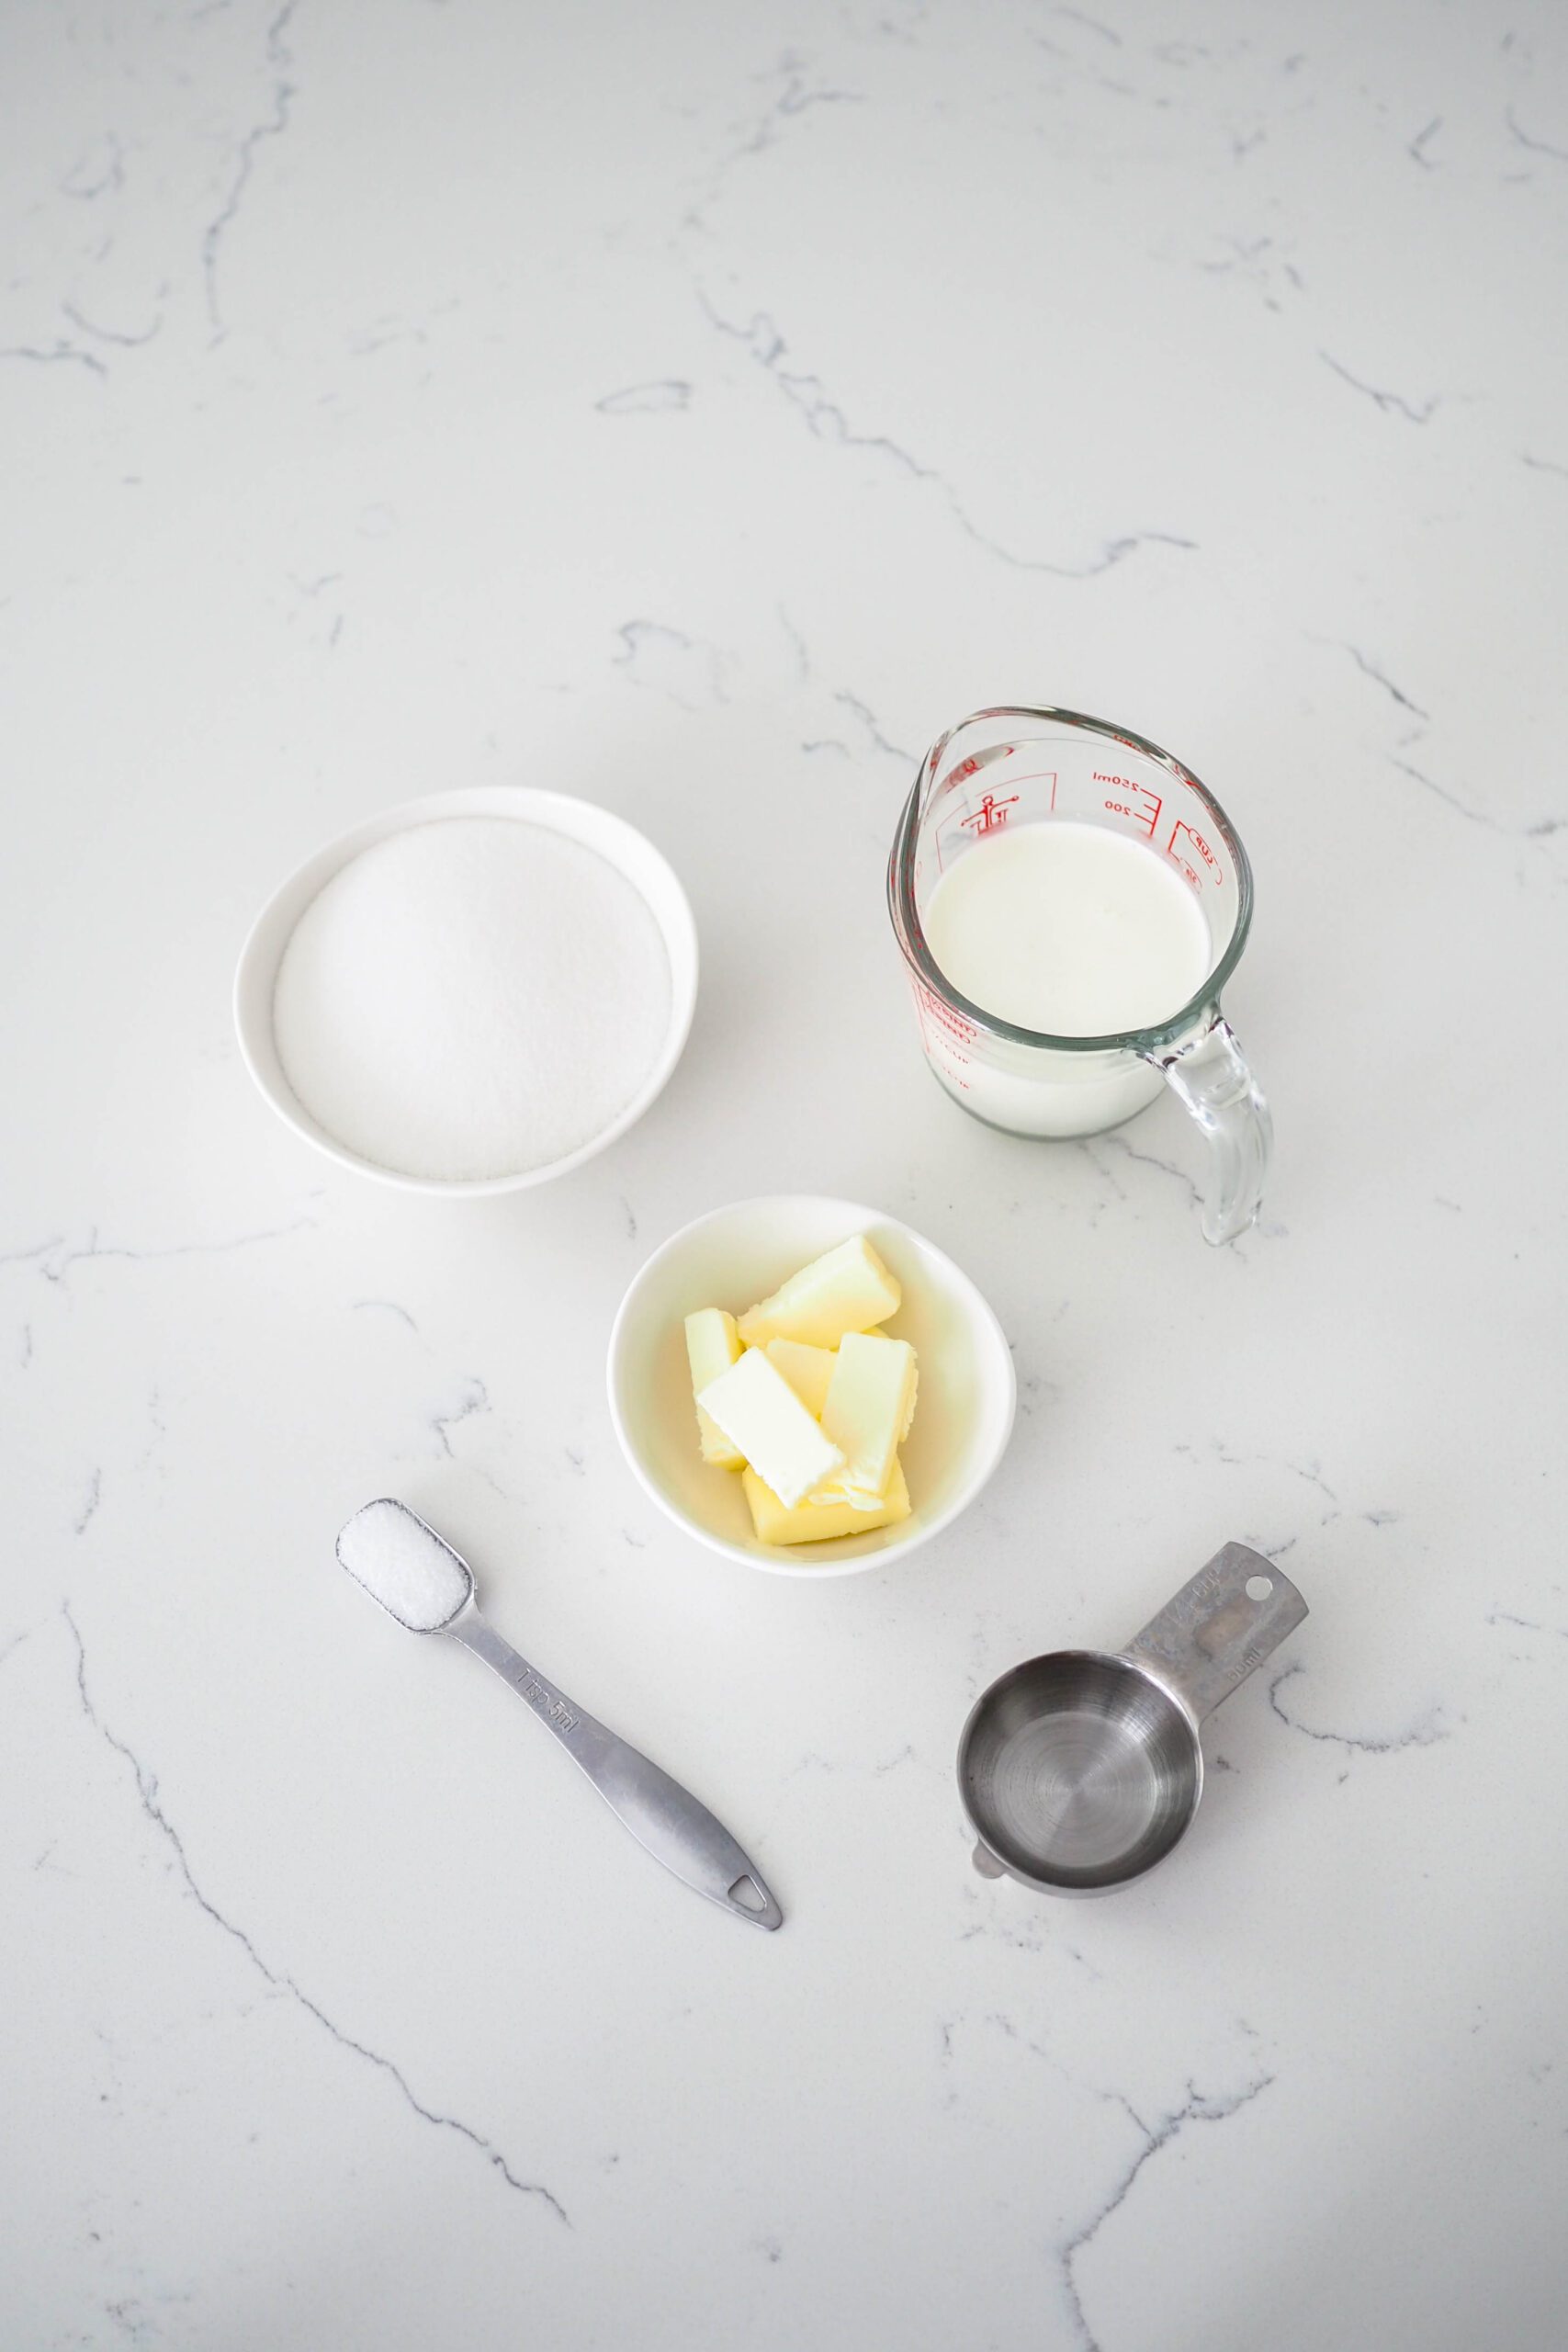
This salted caramel sauce is made with just four common ingredients, plus water:
- Granulated sugar. This is the base of the caramel sauce. Without it, you wouldn’t have caramel!
- Water. This will thin the sauce slightly so it’s not quite as thick.
- Butter. In addition to adding a rich flavor, the butter will also soften the caramel to a pourable consistency.
- Heavy cream. This will also soften the caramel. Rather than turning into hard candy, it will remain pourable.
- Salt. Adding salt to the caramel sauce will both cut some of the sweetness and enhance the flavor.
The Perfect Salted Caramel Sauce Consistency
My main use for salted caramel is drizzling on top of baked goods. I tried a few different caramel sauces, but a lot of them didn’t have the right consistency. They were either too thick or too thin or congealed together at room temperature.
I was looking for a sauce that is thin enough to remain pliable when refrigerated but thick enough to drizzle on top of baked goods at room temperature. Instead of finding a good and easy caramel sauce recipe, I made one! This salted caramel sauce has the perfect consistency.
The trick is to make a wet caramel (melted sugar dissolved with a little bit of water) instead of a dry caramel (simply melted sugar), then add just enough butter and heavy cream to get to the desired consistency.
Quick Tips for Prepping Salted Caramel Sauce
If you do it correctly, making caramel isn’t dangerous. In fact, I’d say it’s only slightly more dangerous than making a simple syrup. It’s nothing to be scared of, but it helps to know what to expect so that you’re prepared.
Rather than stirring the caramel with a spoon or whisk, gently swirl the pan. That will even out any hot spots. Even better, you won’t reintroduce any crystallized sugar that may have stuck to the utensil.
The best tips I can give for this recipe all revolve around the type of cookware and utensils you use:
Use a Heat-Resistant Spatula or Whisk
As mentioned earlier, caramel gets really hot (350°F/170°C!). You do not want to use a flimsy plastic spoon to stir the sugar, because it could melt. I have nonstick cookware, so I use a silicone-coated whisk that won’t damage the coating. If you have stainless steel or aluminum pots, you can use a long-handled metal whisk just fine. I’ve also heard that wooden spoons work well.
Dab at Crystallized Sugar
Keep a wet pastry brush at the ready to help ensure that your caramel doesn’t crystallize, or turn grainy. If you see dots of sugar splatter up onto the side of the pot, dab at them with your wet brush. The water will dissolve the crystals and prevent your caramel from crystallizing.
As mentioned above, swirling the pan will give you similar results to stirring by evening out any hot spots, but it comes with less risk of introducing crystallized sugar to the caramel. Only reintroduce your whisk when the caramel has darkened to your liking and you are ready to start adding in the butter.
I haven’t had an issue with this caramel sauce crystallizing, so dissolving those crystals must help.
Use a Big Saucepan
You could get away with using a smaller saucepan, but I recommend using a bigger saucepan than you think you’ll need.
Because the melted sugar is really hot, it releases a lot of steam when you add in cold or even room temperature ingredients. When butter is added, the caramel bubbles rapidly. When heavy cream is added, the caramel bubbles and releases steam. Using a bigger pan will give you more wiggle room to prevent boiling over. (I used a small saucepan when shooting this recipe originally, and I would have preferred more room to work with.)
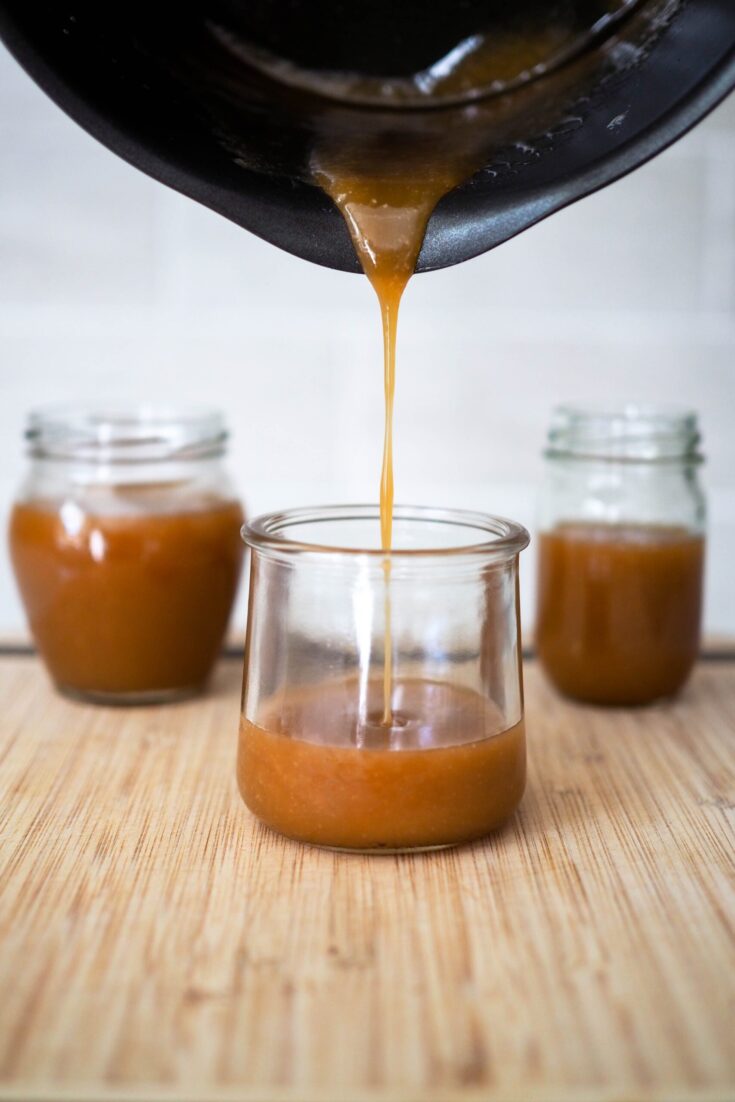
My saucepans have pour spouts, which make it convenient to pour the sauce into jars later.
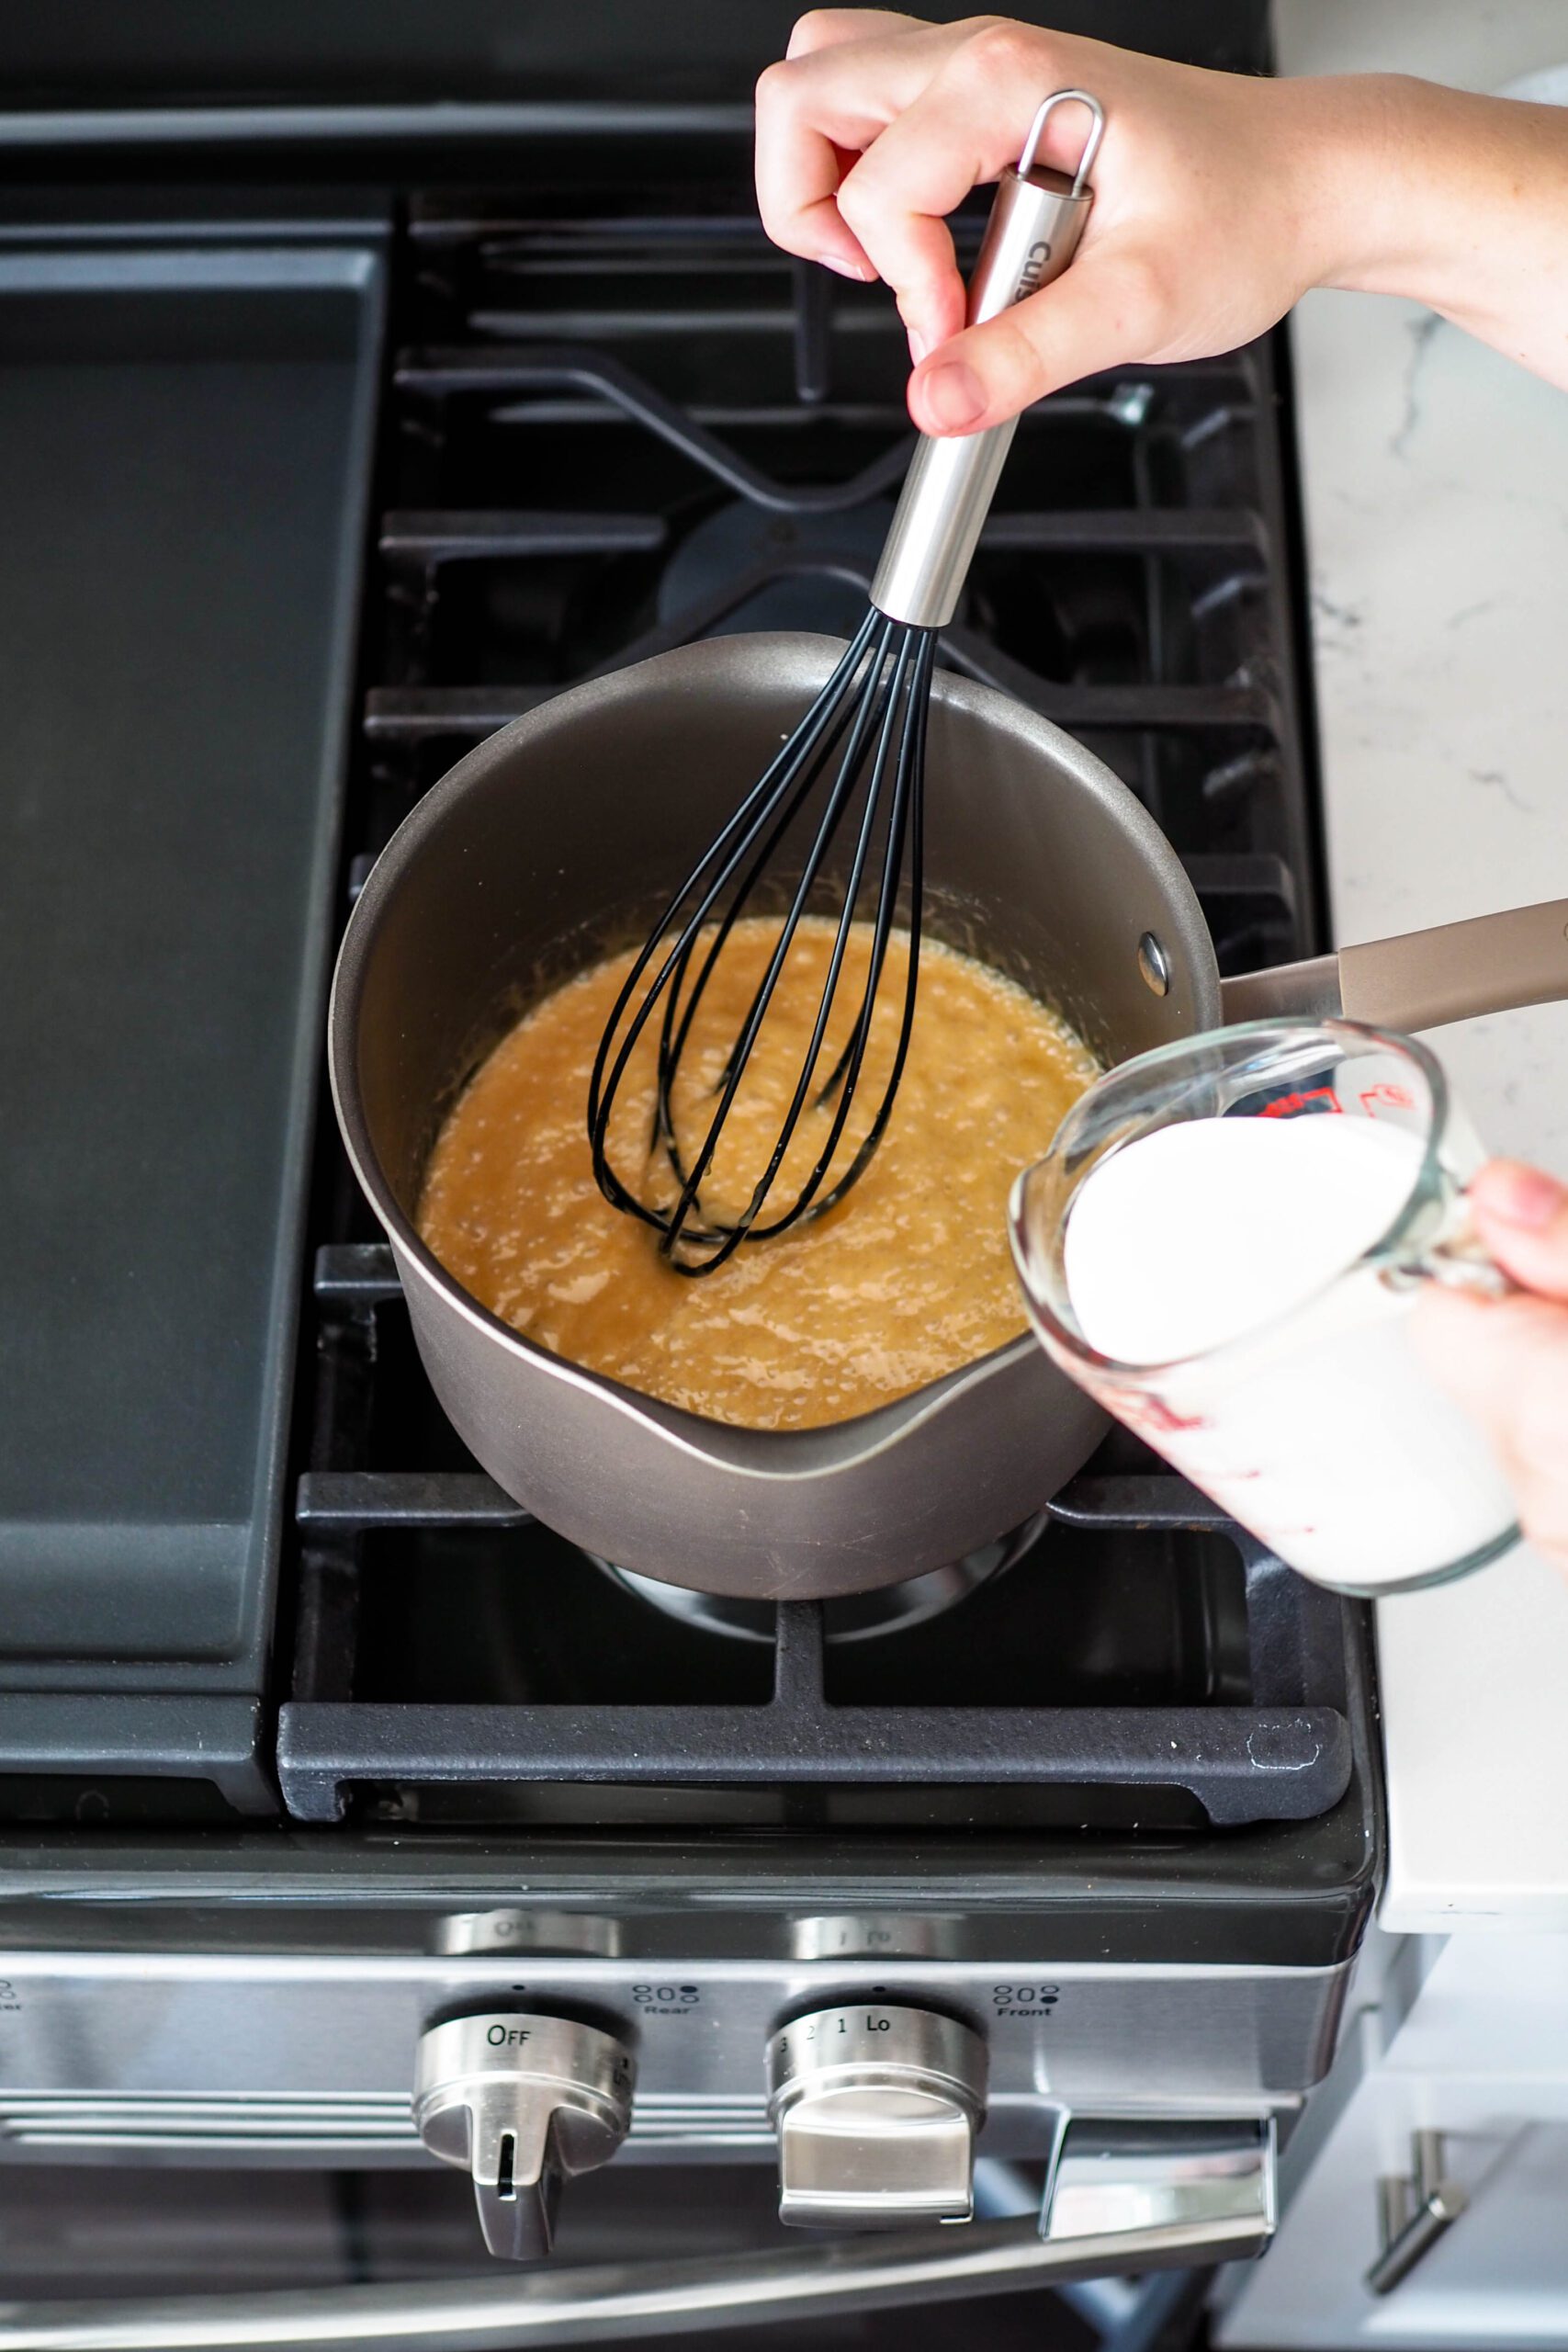
Use a Cup with a Pour Spout for the Heavy Cream
The caramel will bubble and begin releasing steam when you add in the heavy cream. If you can concentrate pouring the heavy cream to just one spot, the steam will only rise up from there. You can help dissipate the steam quickly by whisking vigorously to combine the ingredients together. Otherwise, if there’s a lot of heavy cream dripping off the measuring cup, it will continue to release steam when the cream drips into the caramel (even if you’re not actively pouring it!).
This is my favorite measuring cup with a pouring spout, if you’re in the market for one.
Recipes that Use Salted Caramel
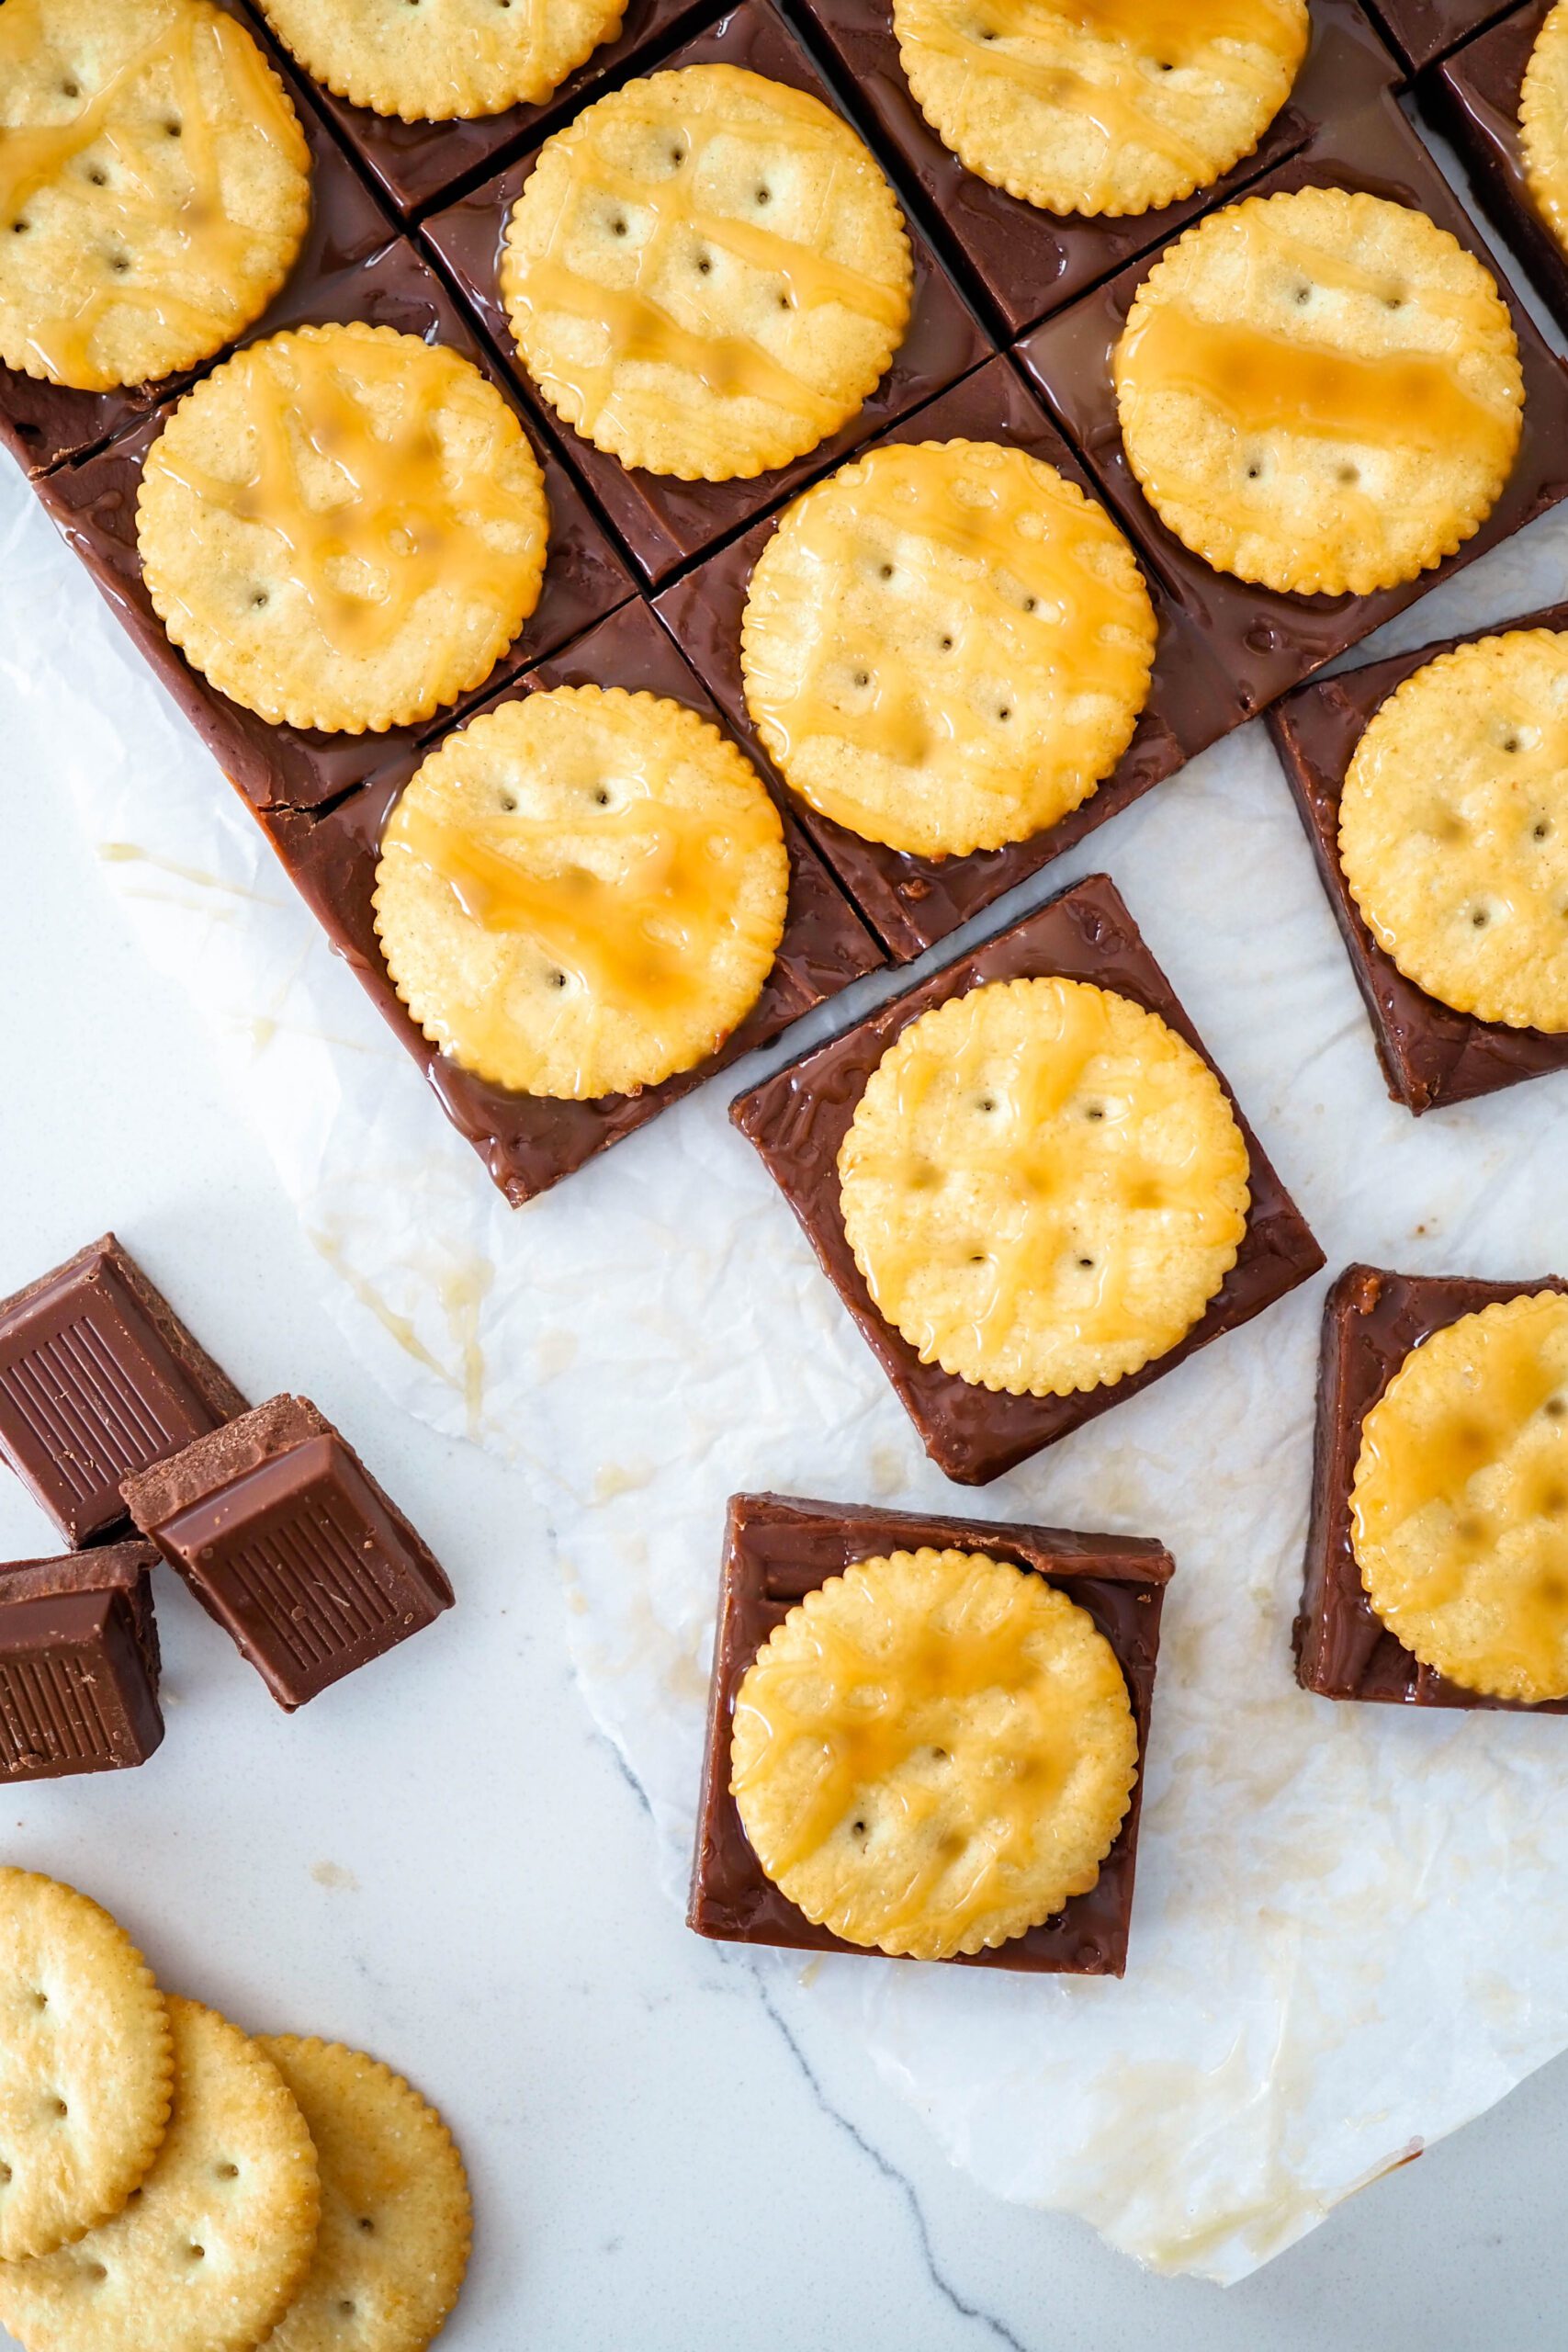
- Ritzy Fudge
- Caramel Chai Muffins
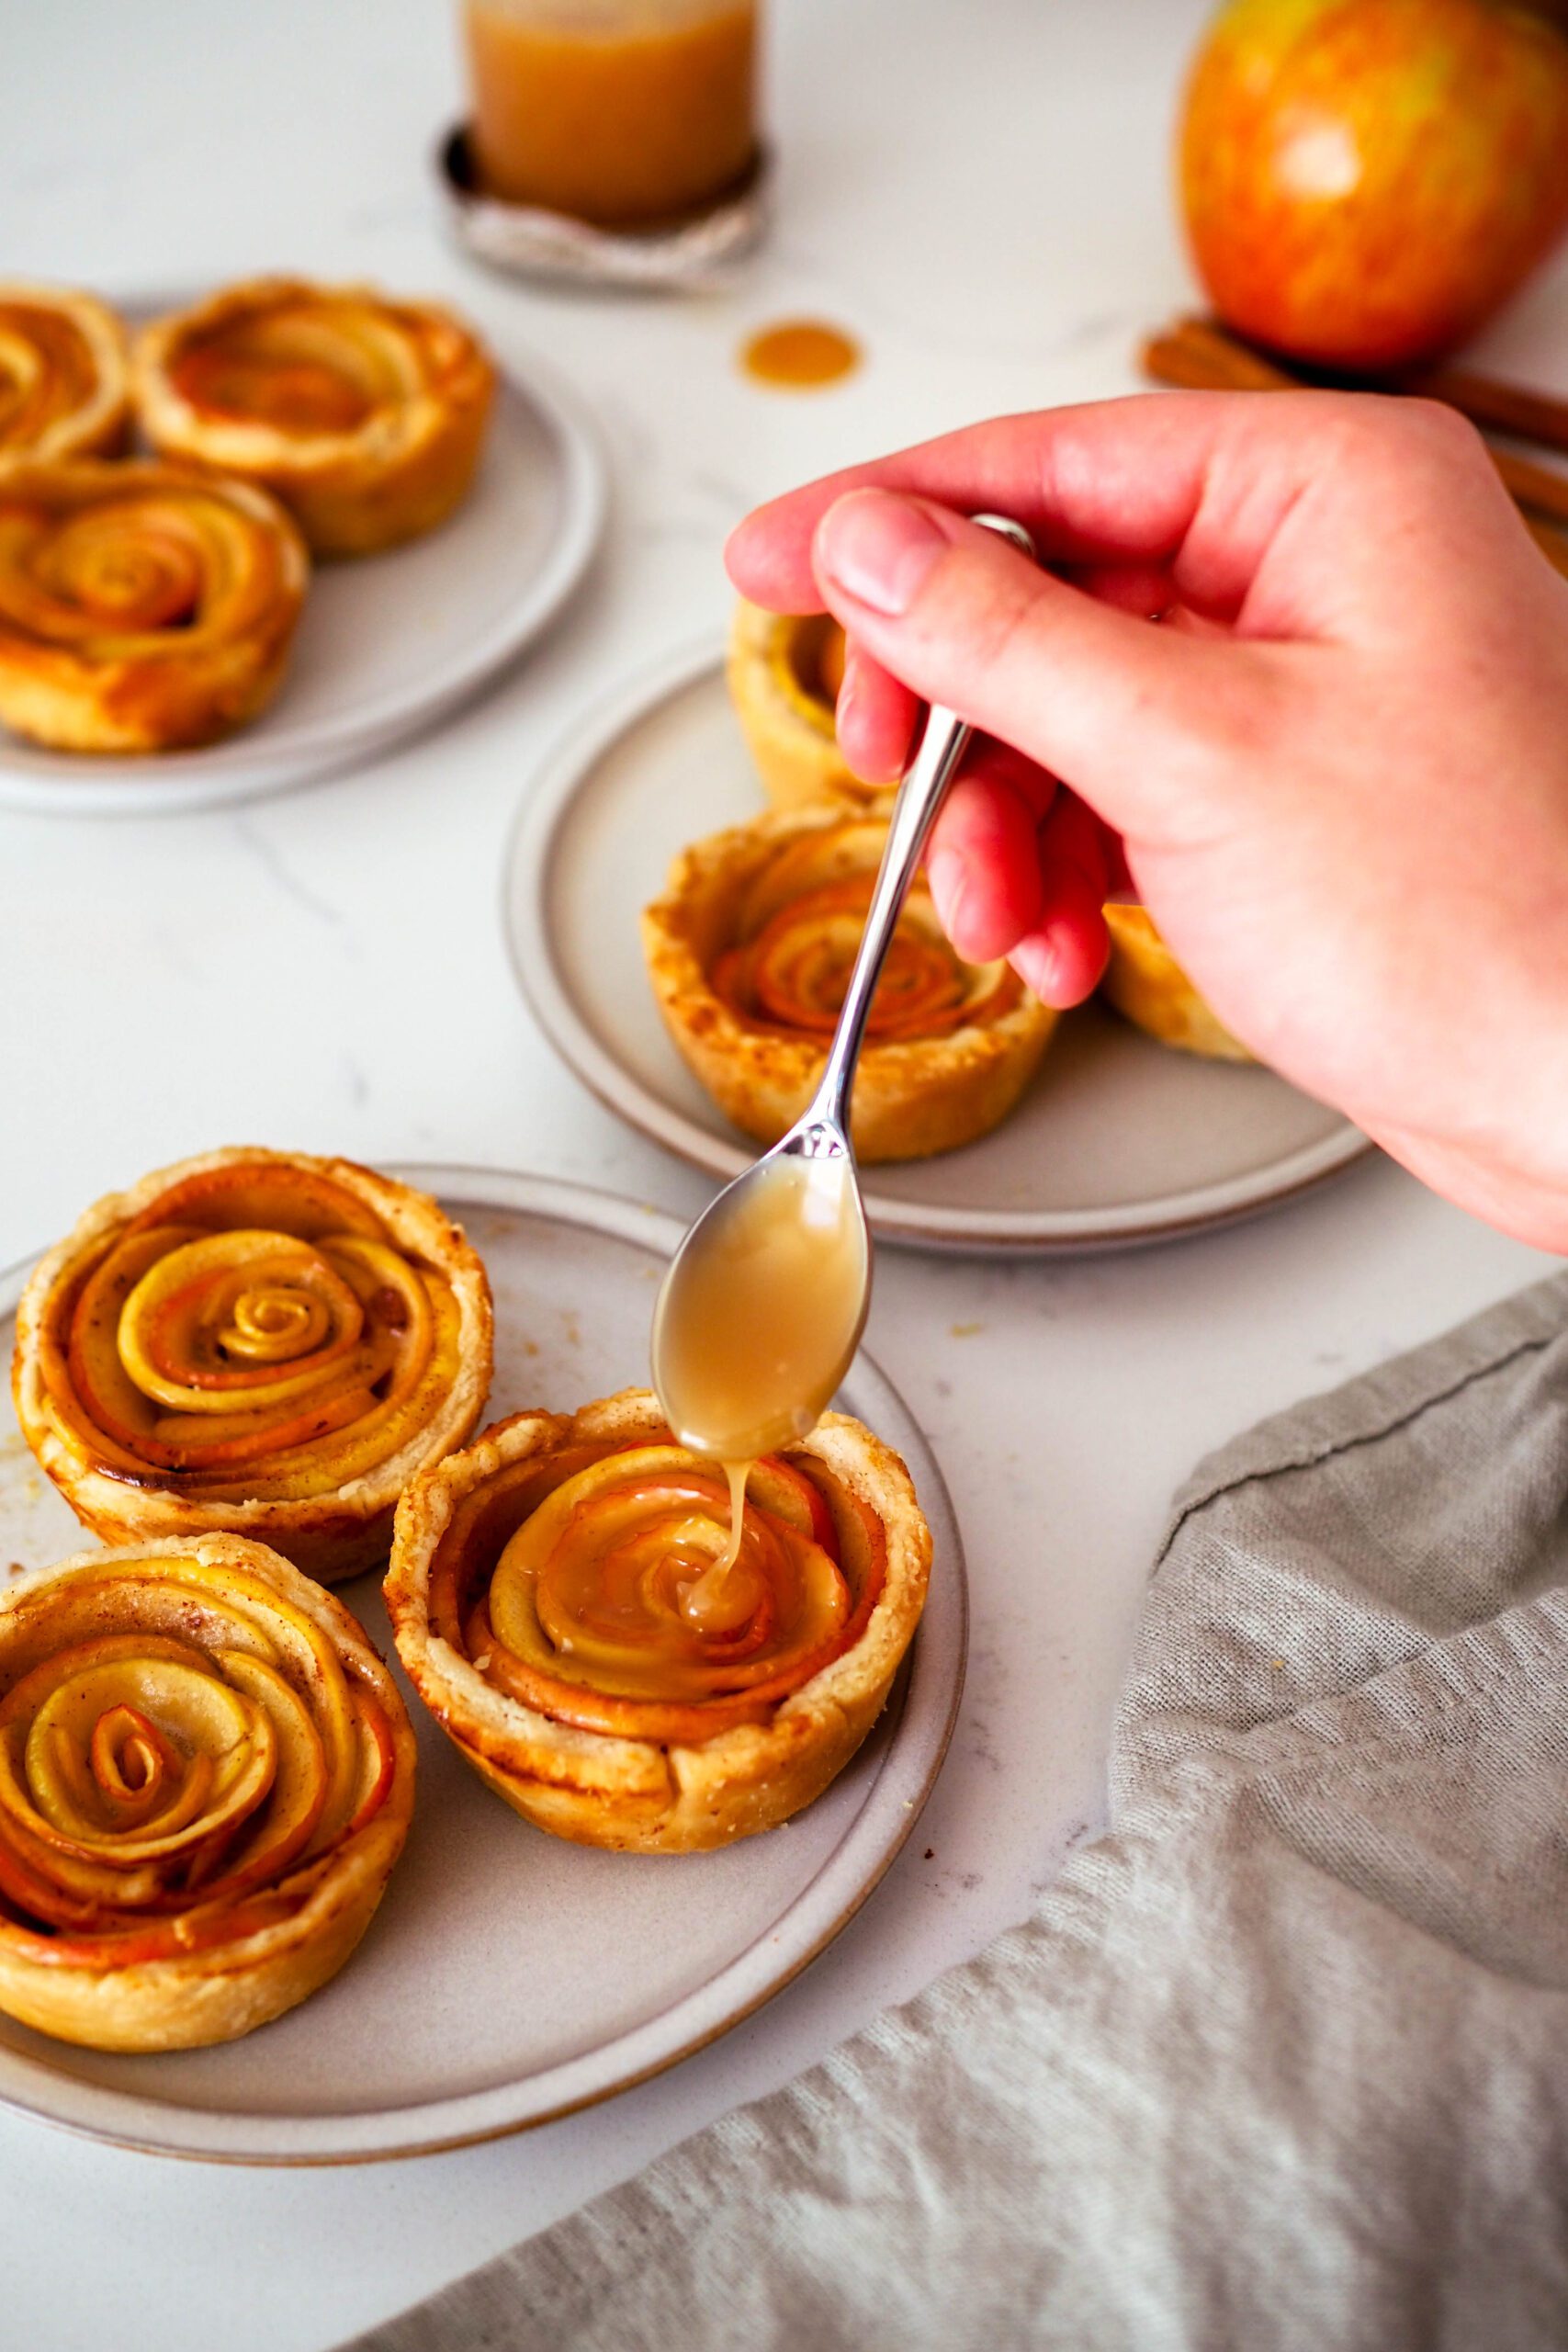
- Mini Caramel Apple Pies
- Salted Caramel Hot Chocolate
- Macarons (recipes coming soon!)
Dish Cleanup: Not Too Bad
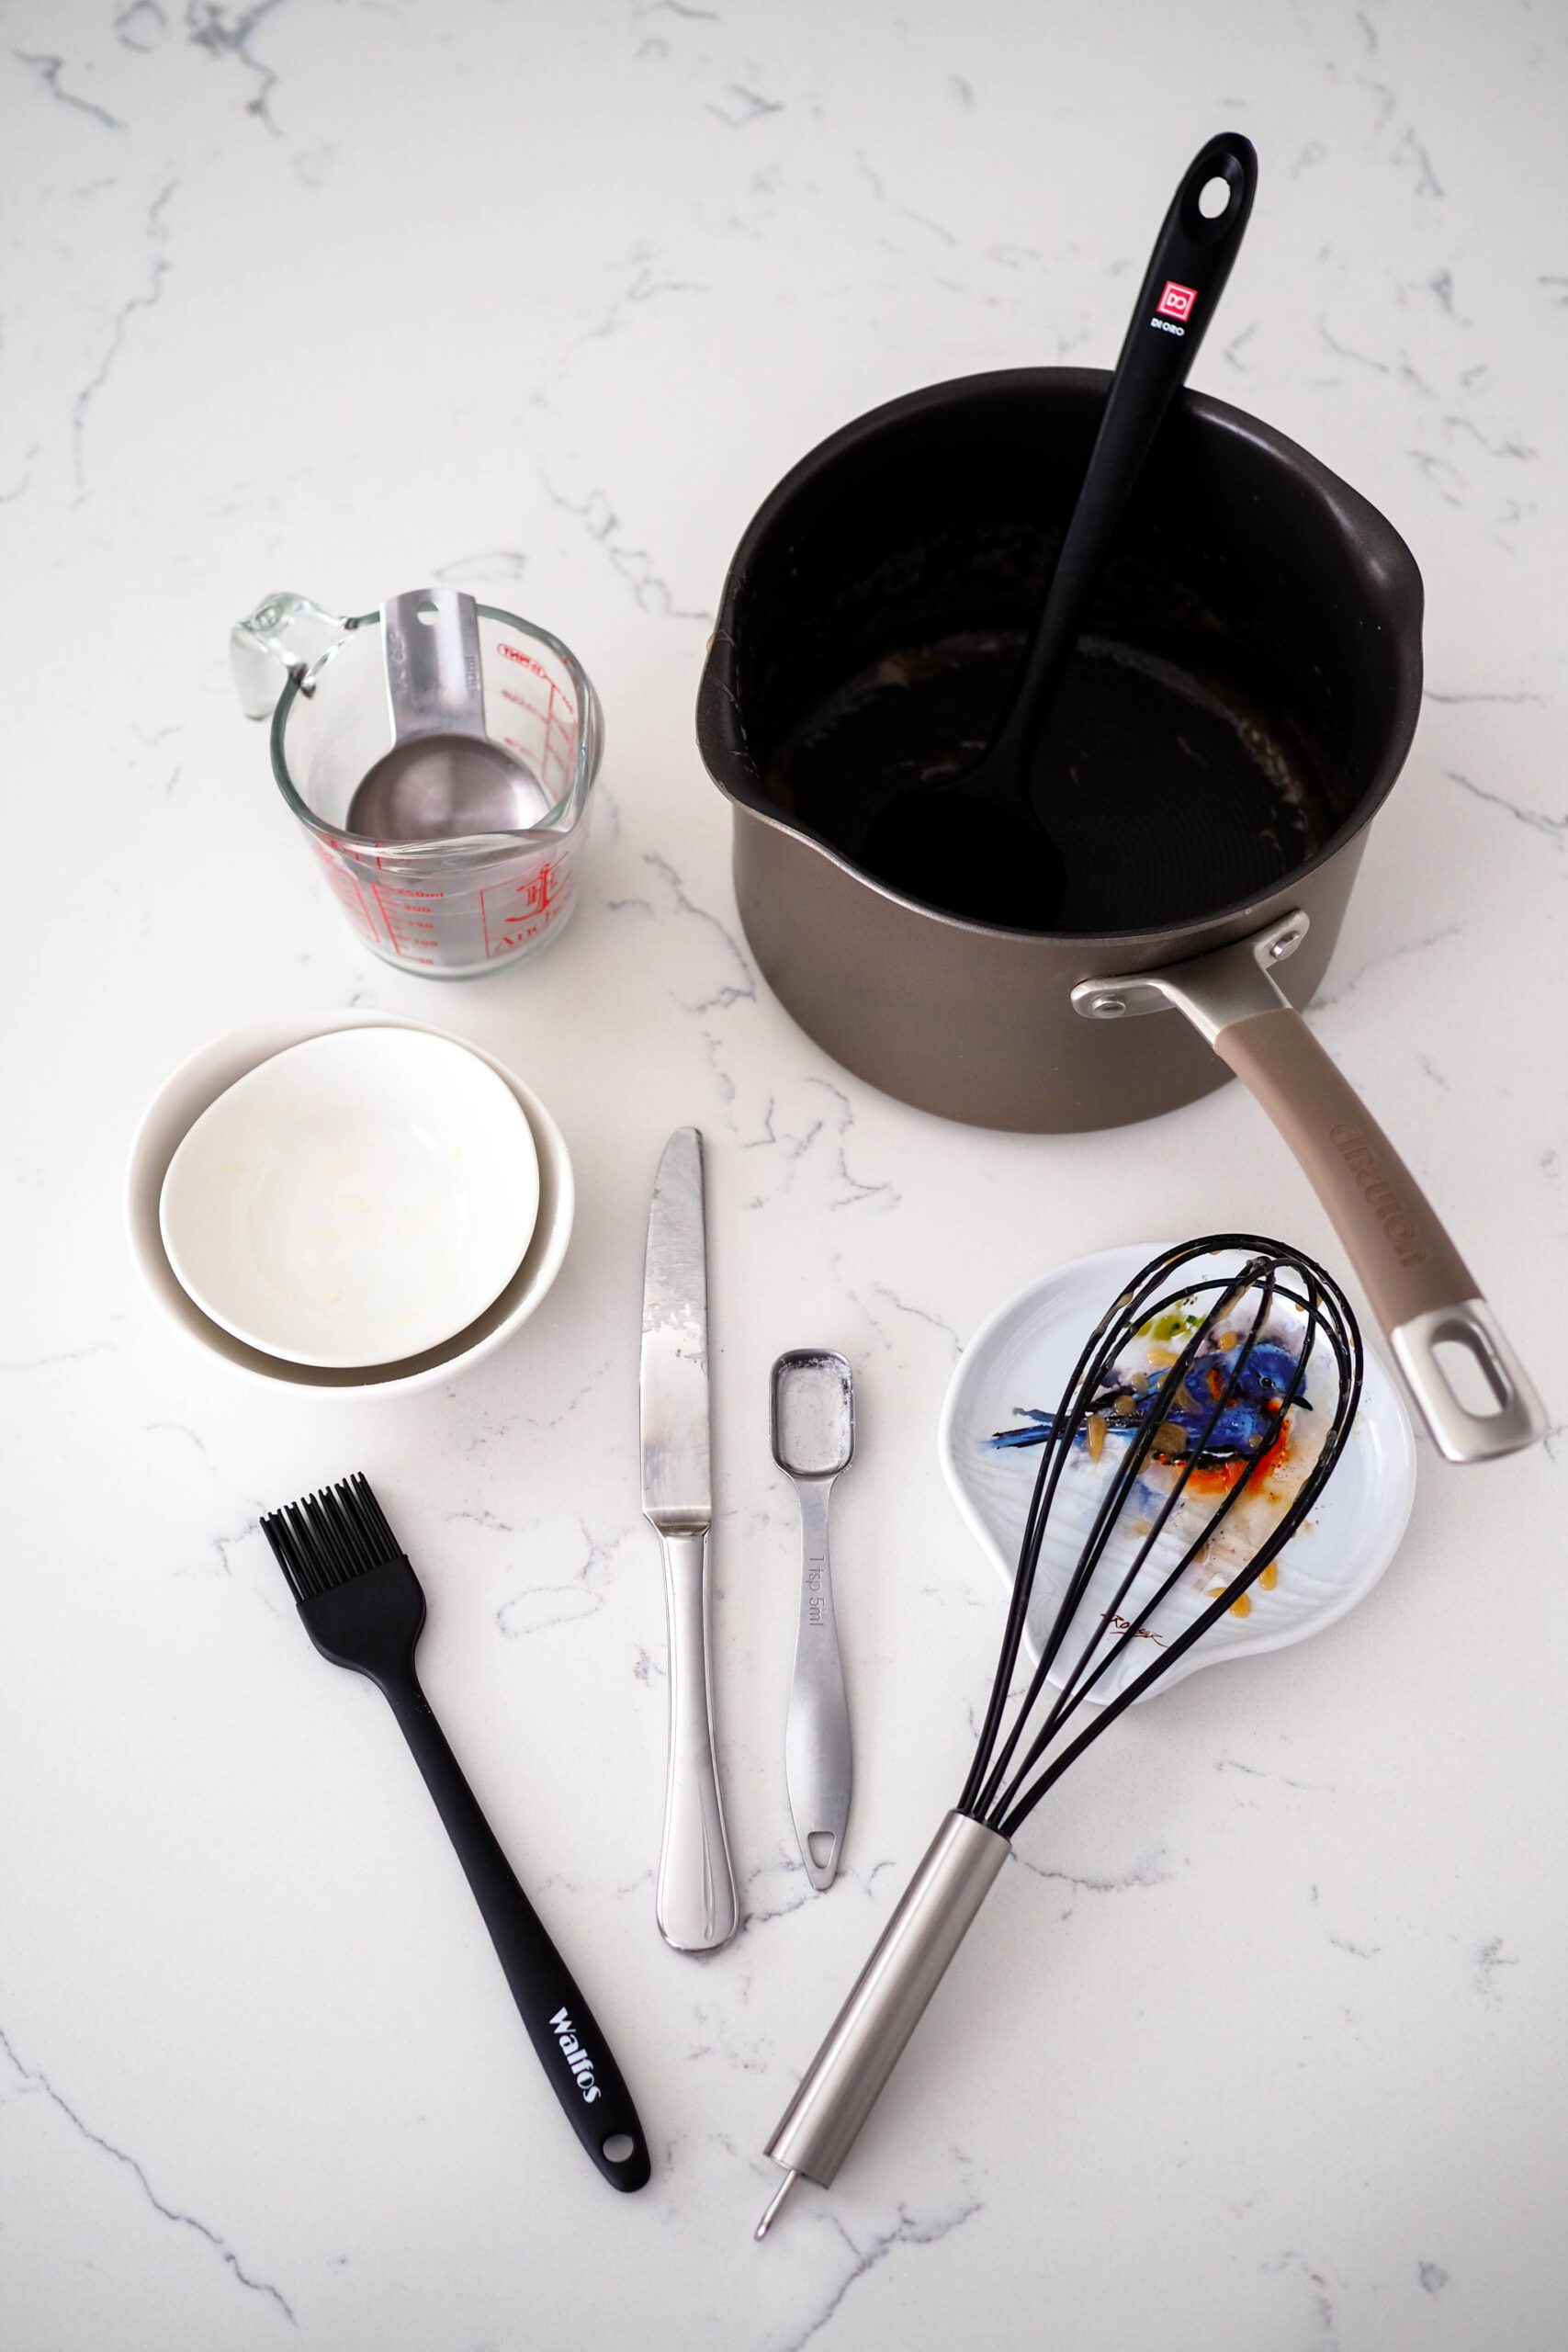
I rate my recipe cleanups on a scale of 1 to 5. 1 is only a handful of dishes, and 5 is everything including the kitchen sink.
This salted caramel sauce recipe has a cleanup rating of a 2. It requires one saucepan, a whisk, and a few measuring cups. You can use a kitchen scale to eliminate some of the measuring cups for fewer dishes (my personal favorite!).
The sauce will last for about a month in the fridge, and if you have a large family, a single batch will go quick! Simply double the recipe and size up your pan for a long-lasting sauce with low cleanup.
Salted Caramel Sauce
This traditional salted caramel sauce recipe is easy to make and comes together in just 20 minutes. Perfect for drizzling onto muffins, using inside pies, or topping ice cream!
Ingredients
- 1 cup granulated sugar (200g)
- 1/4 cup water (60 ml)
- 4 Tablespoons butter, cubed and near room temperature (50g)
- 2/3 cup heavy cream, near room temperature (175 ml)
- 1 teaspoon salt (6g)
Instructions
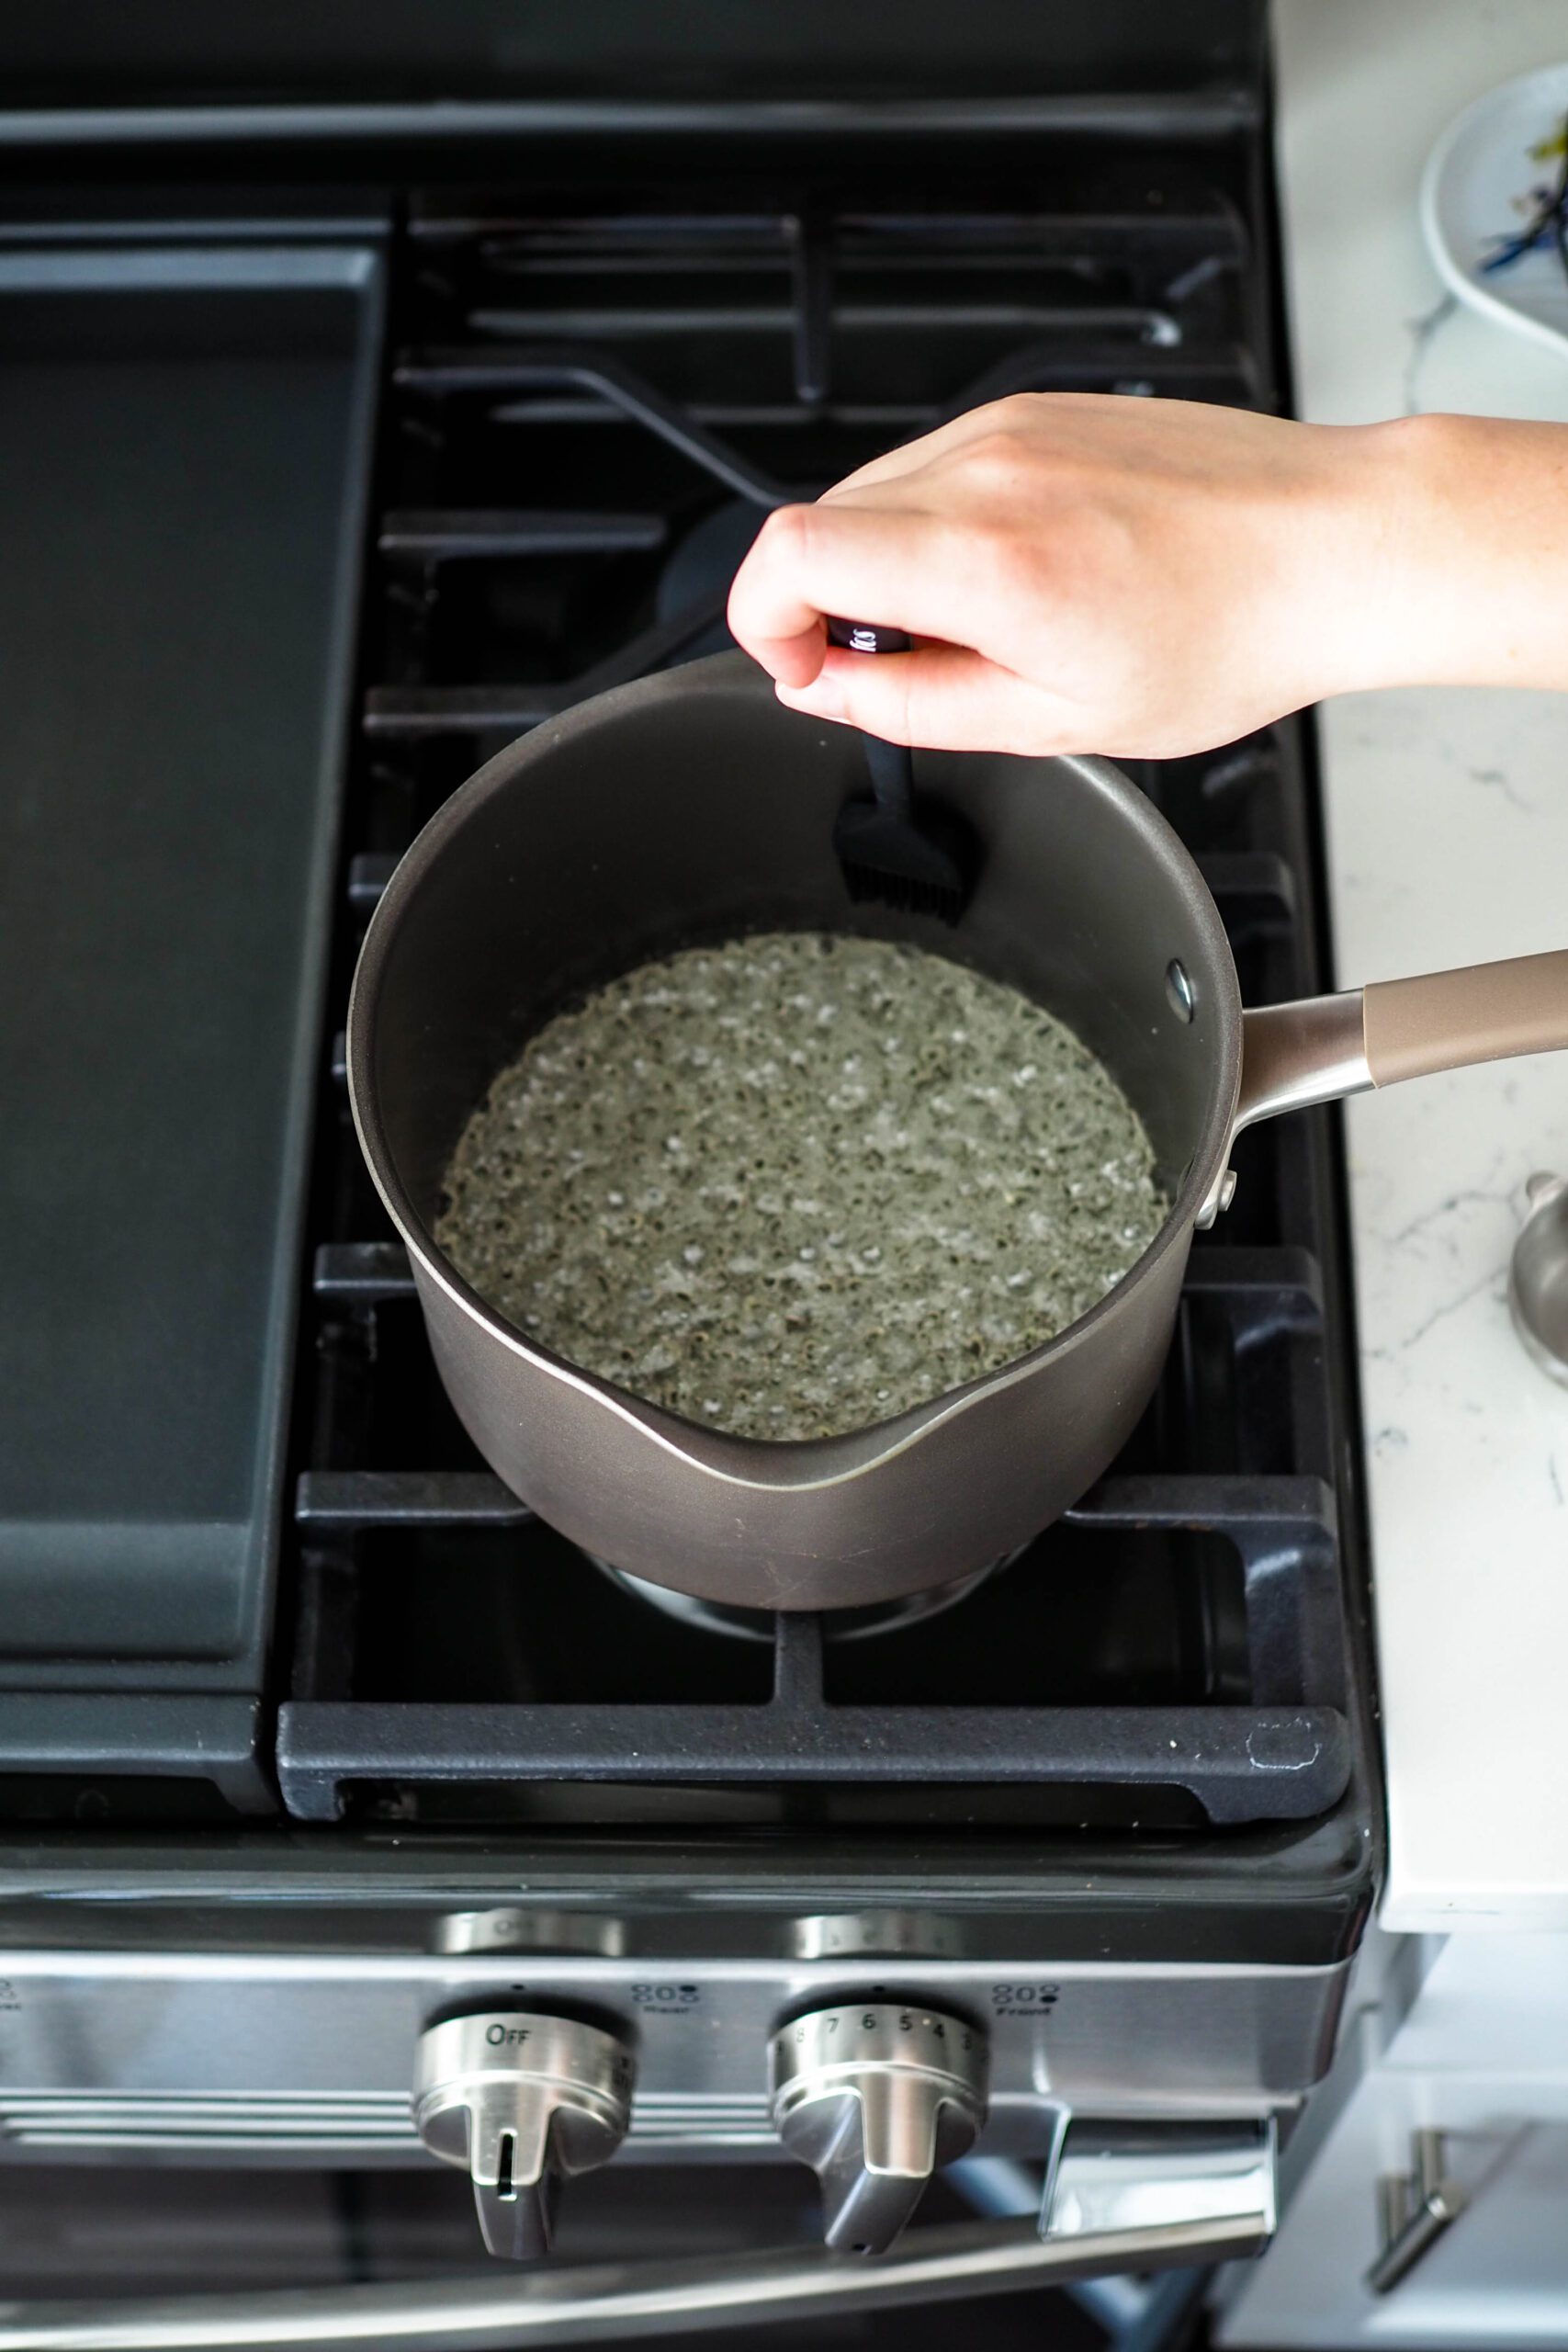
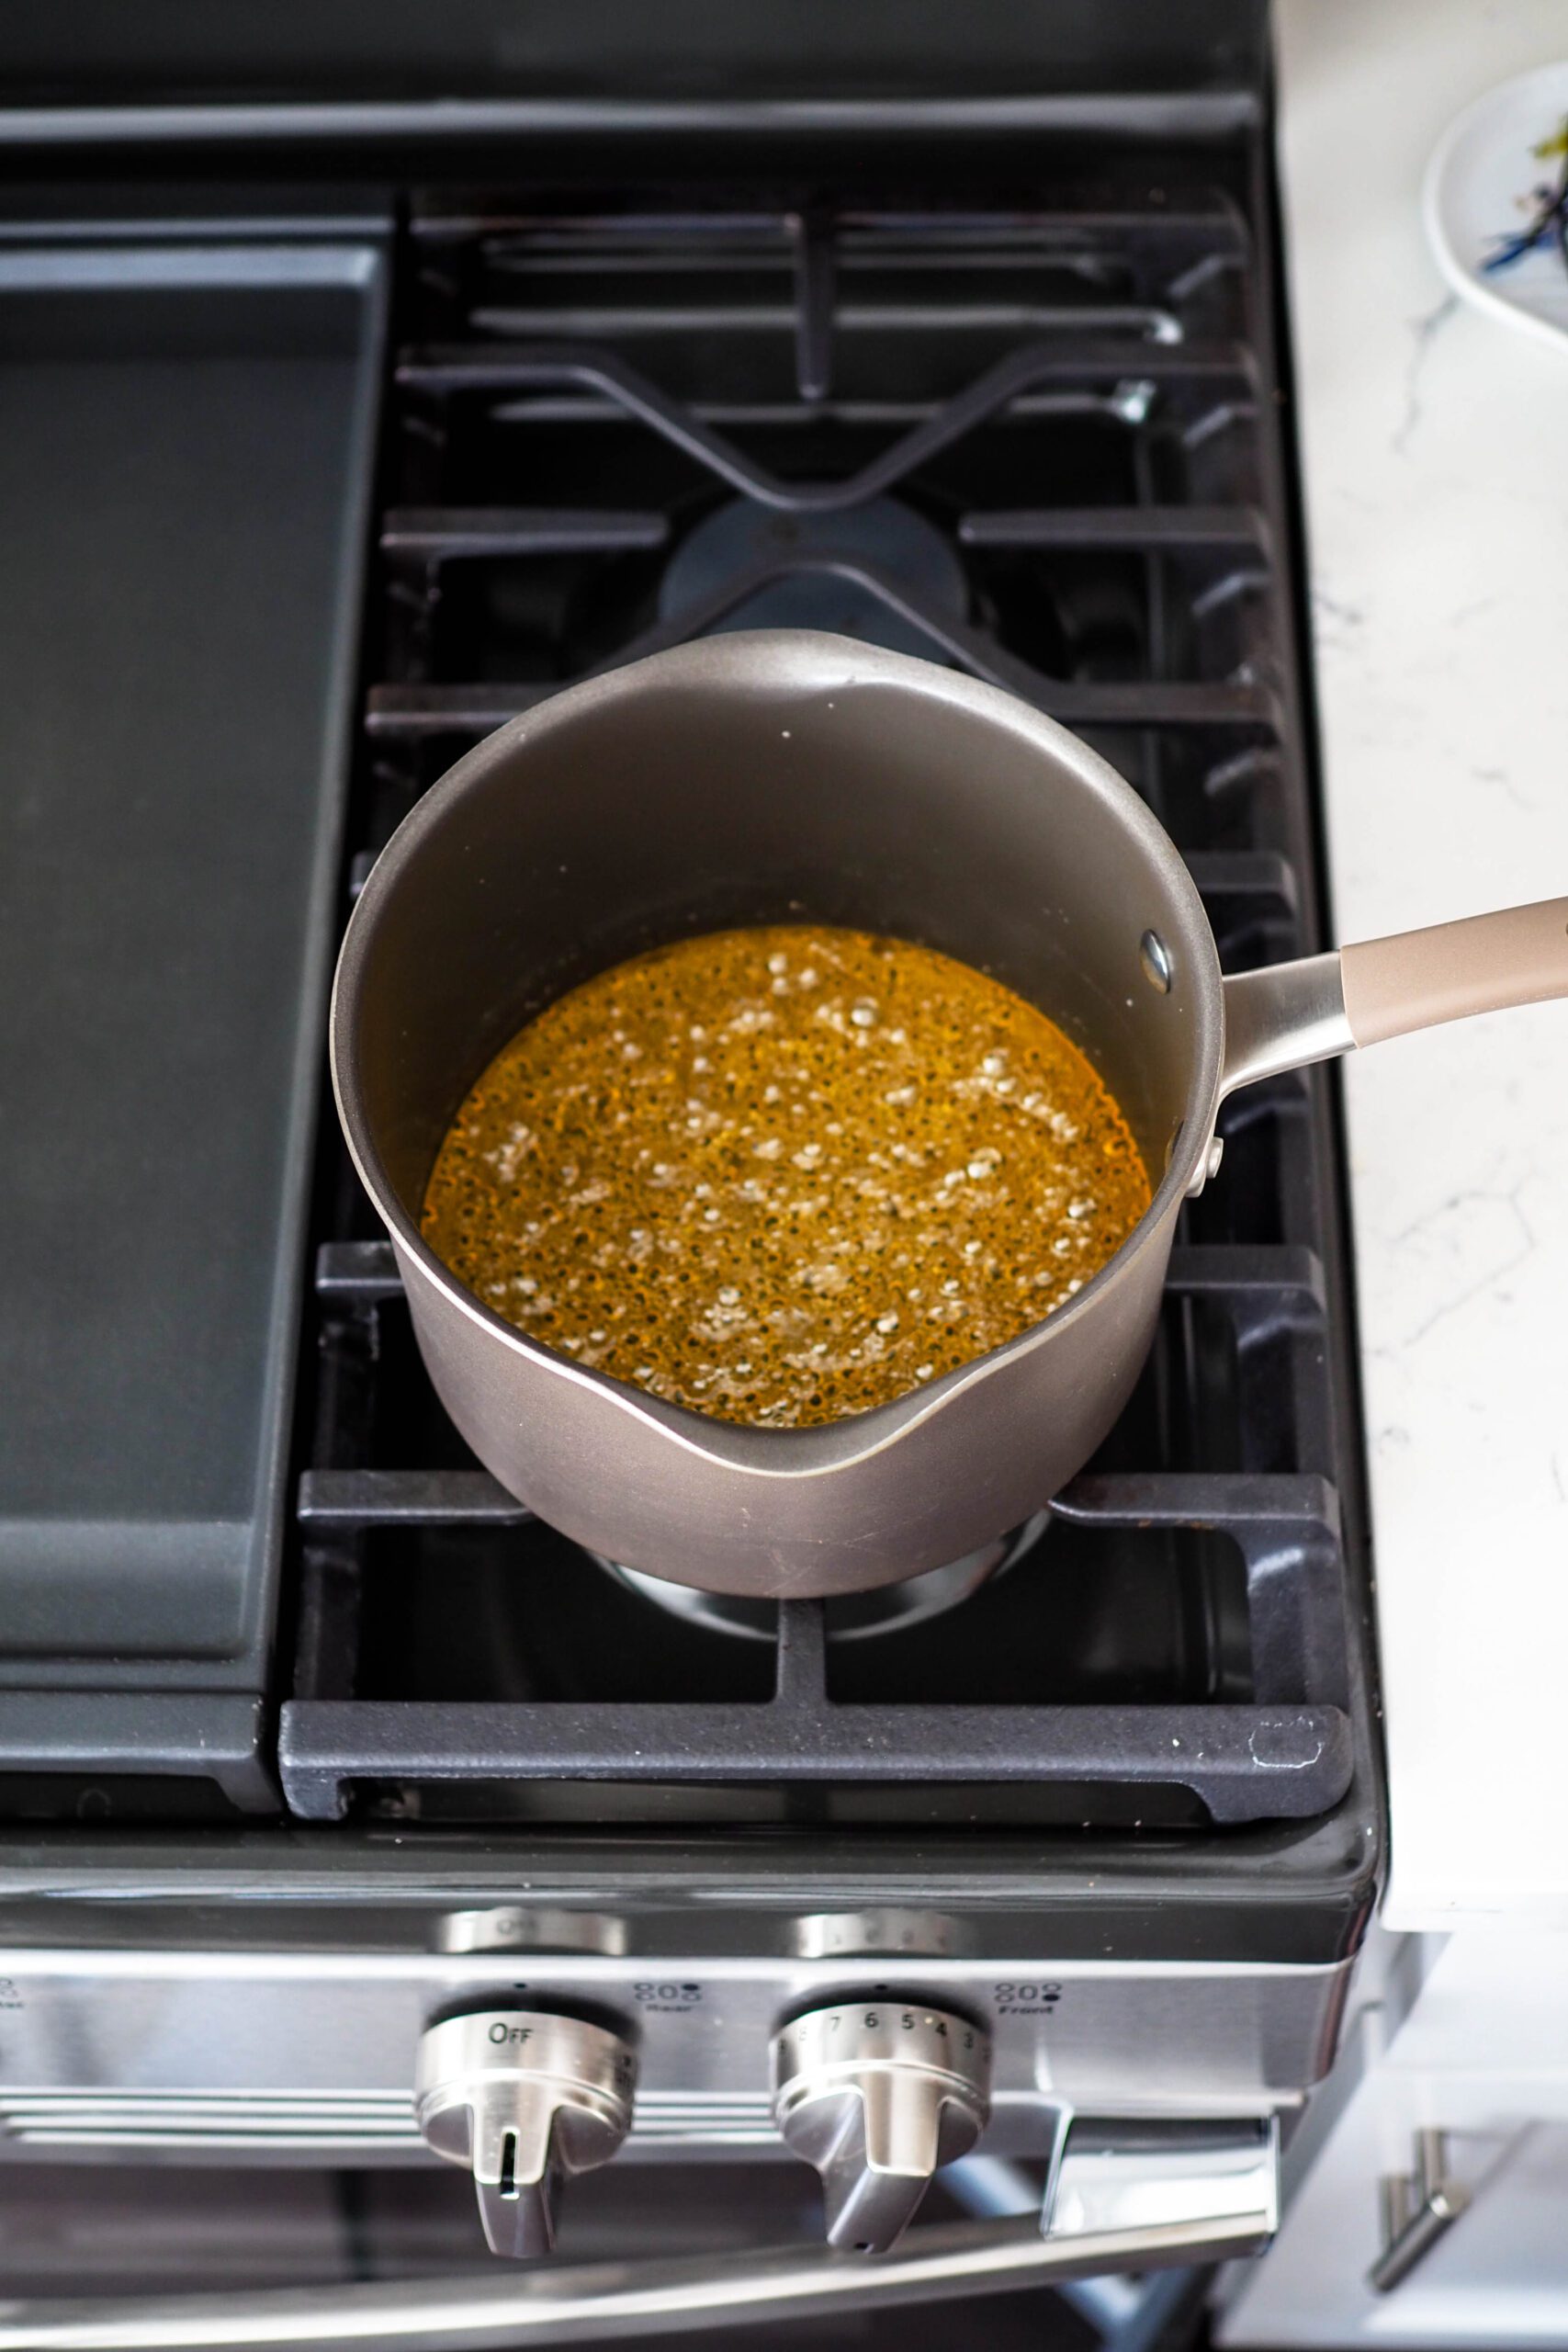
- Place the sugar and water in a medium-sized, heavy-bottomed pot on medium heat. Swirl the pot a few times until the sugar and water have mostly combined. Let the syrup bubble until it is a rich amber color (around 5-10 minutes depending on your stovetop). If sugar crystals begin to form on the side of the pot, dip a pastry brush in water and brush them away to prevent crystals from forming.
- Turn the heat down to low, and whisk in the butter vigorously, one cube at a time, until fully incorporated. The mixture will quickly bubble up each time a cube is added. If the mixture starts to separate at any point, stir vigorously to combine before adding in any more butter.
- Slowly add the heavy cream to the mixture, stirring until well-combined. The caramel will bubble and release steam, so be careful!
- Stir in the salt. Once fully combined, let the mixture cook for another minute on low before removing from heat.
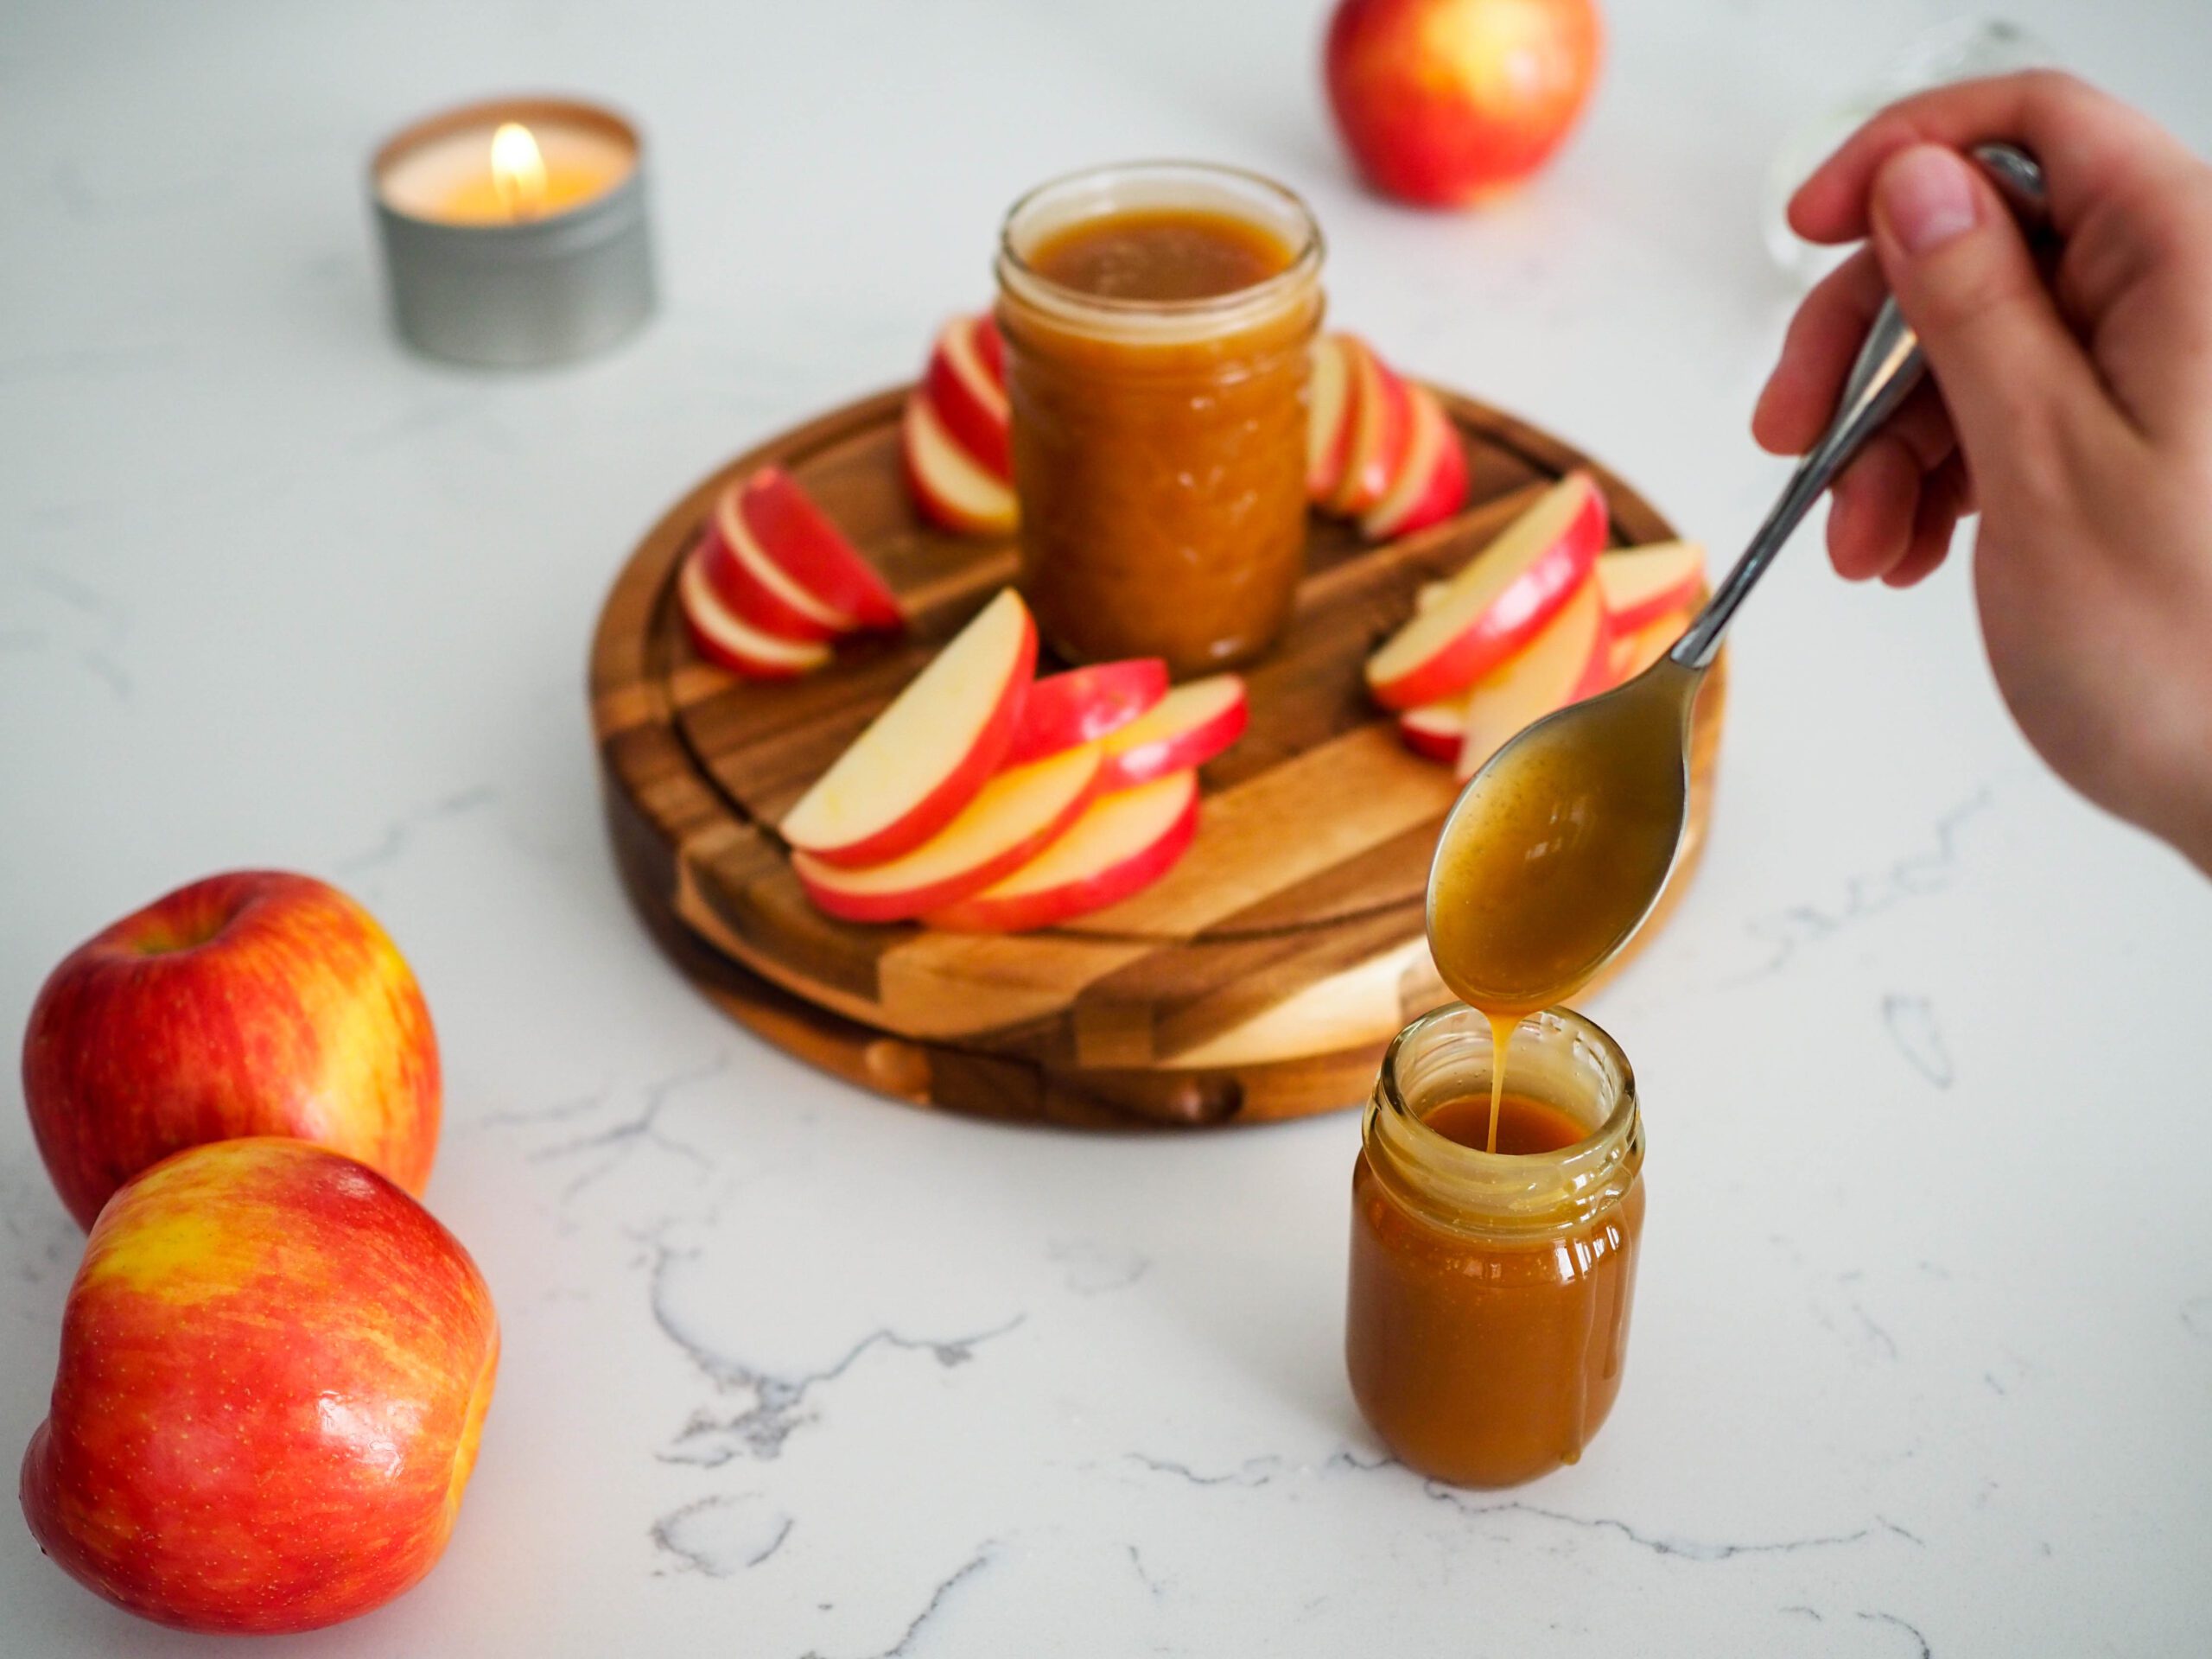
- Pour into jars and let cool to room temperature (about two hours, depending on the size of your jar) before sealing or using. The caramel will thicken when cooled. Store in the fridge.
Notes
This salted caramel sauce is the perfect consistency for drizzling over baked goods or ice cream. When room temperature, the salted caramel flows quickly off a spoon for a gorgeous, drippy drizzle. When chilled, the salted caramel flows slowly off a spoon to give you a thicker topping.
Store in the fridge for up to one month.
Nutrition Information:
Yield:
24Serving Size:
1Amount Per Serving: Calories: 72Total Fat: 4gSaturated Fat: 3gTrans Fat: 0gUnsaturated Fat: 1gCholesterol: 13mgSodium: 105mgCarbohydrates: 9gFiber: 0gSugar: 9gProtein: 0g
The nutrition facts are estimated and may vary based on specific ingredients used.
Thanks for trying out my salted caramel sauce recipe! I’d love to see how it turns out: Take a photo and tag me on Instagram @floralapronblog to share with me, or use the hashtag #floralapronbakes.
Other Recipes You May Enjoy
Try this sauce in the most beautiful mini caramel apple pies you’ve ever seen. They’re so much easier to make than they look!
If you’re looking for a cookie to dip into this sauce, my classic ladyfingers recipe is right up your alley!
Looking for a baked good to drizzle with this? My no-bake protein granola bars are the perfect option for a sweet and satisfying snack.