
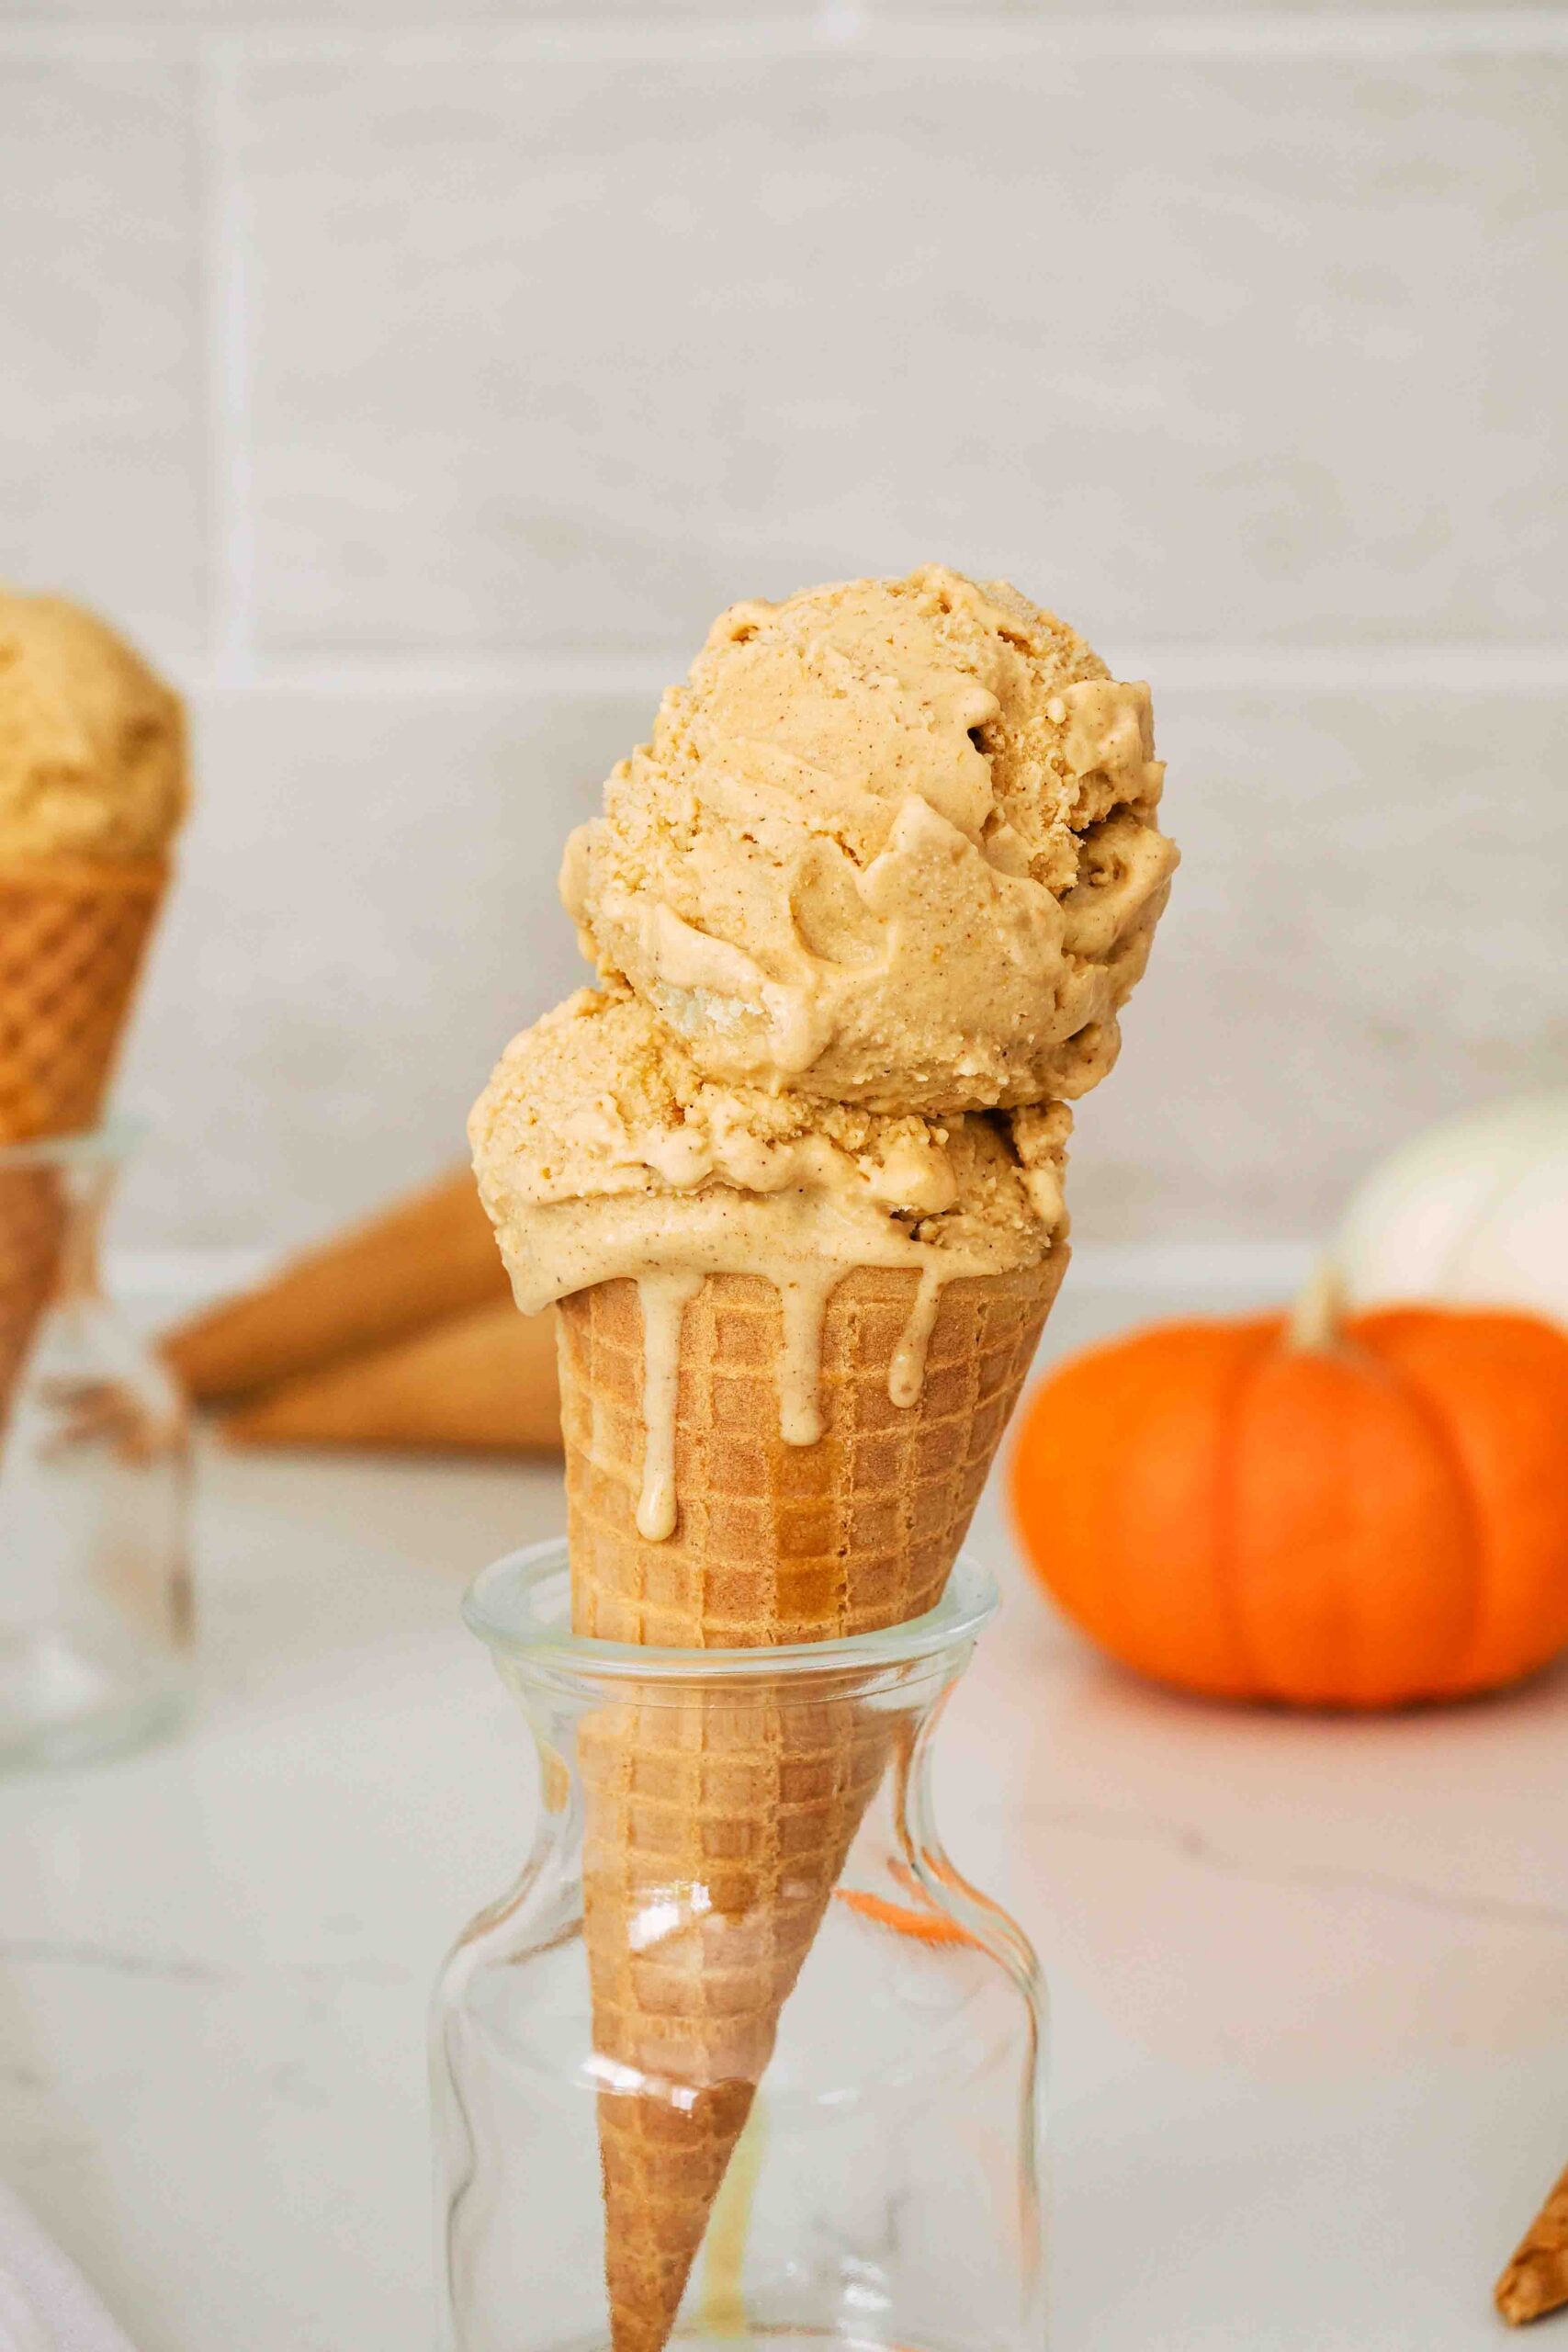
Custardy pumpkin pie ice cream tastes just like homemade pumpkin pie topped with whipped cream—pie crust and all! This fall-themed ice cream is flavored to perfection with pumpkin puree, pumpkin spice, and crispy pie crust pieces. There’s not much better than homemade pumpkin ice cream, especially when you want it to feel like fall outside but it’s still unseasonably warm.
Best of all, this recipe uses leftover pieces of pie crust and gives them a purpose! I bake the leftover pieces of pie dough after trimming the sides of my mini cherry pies or mini blueberry pies, then use those pieces in another recipe like this or my cherry pie ice cream so they don’t go to waste.
This post contains affiliate links. If you click through and make a purchase, I may receive a small commission at no cost to you. Thank you for helping to support The Floral Apron!
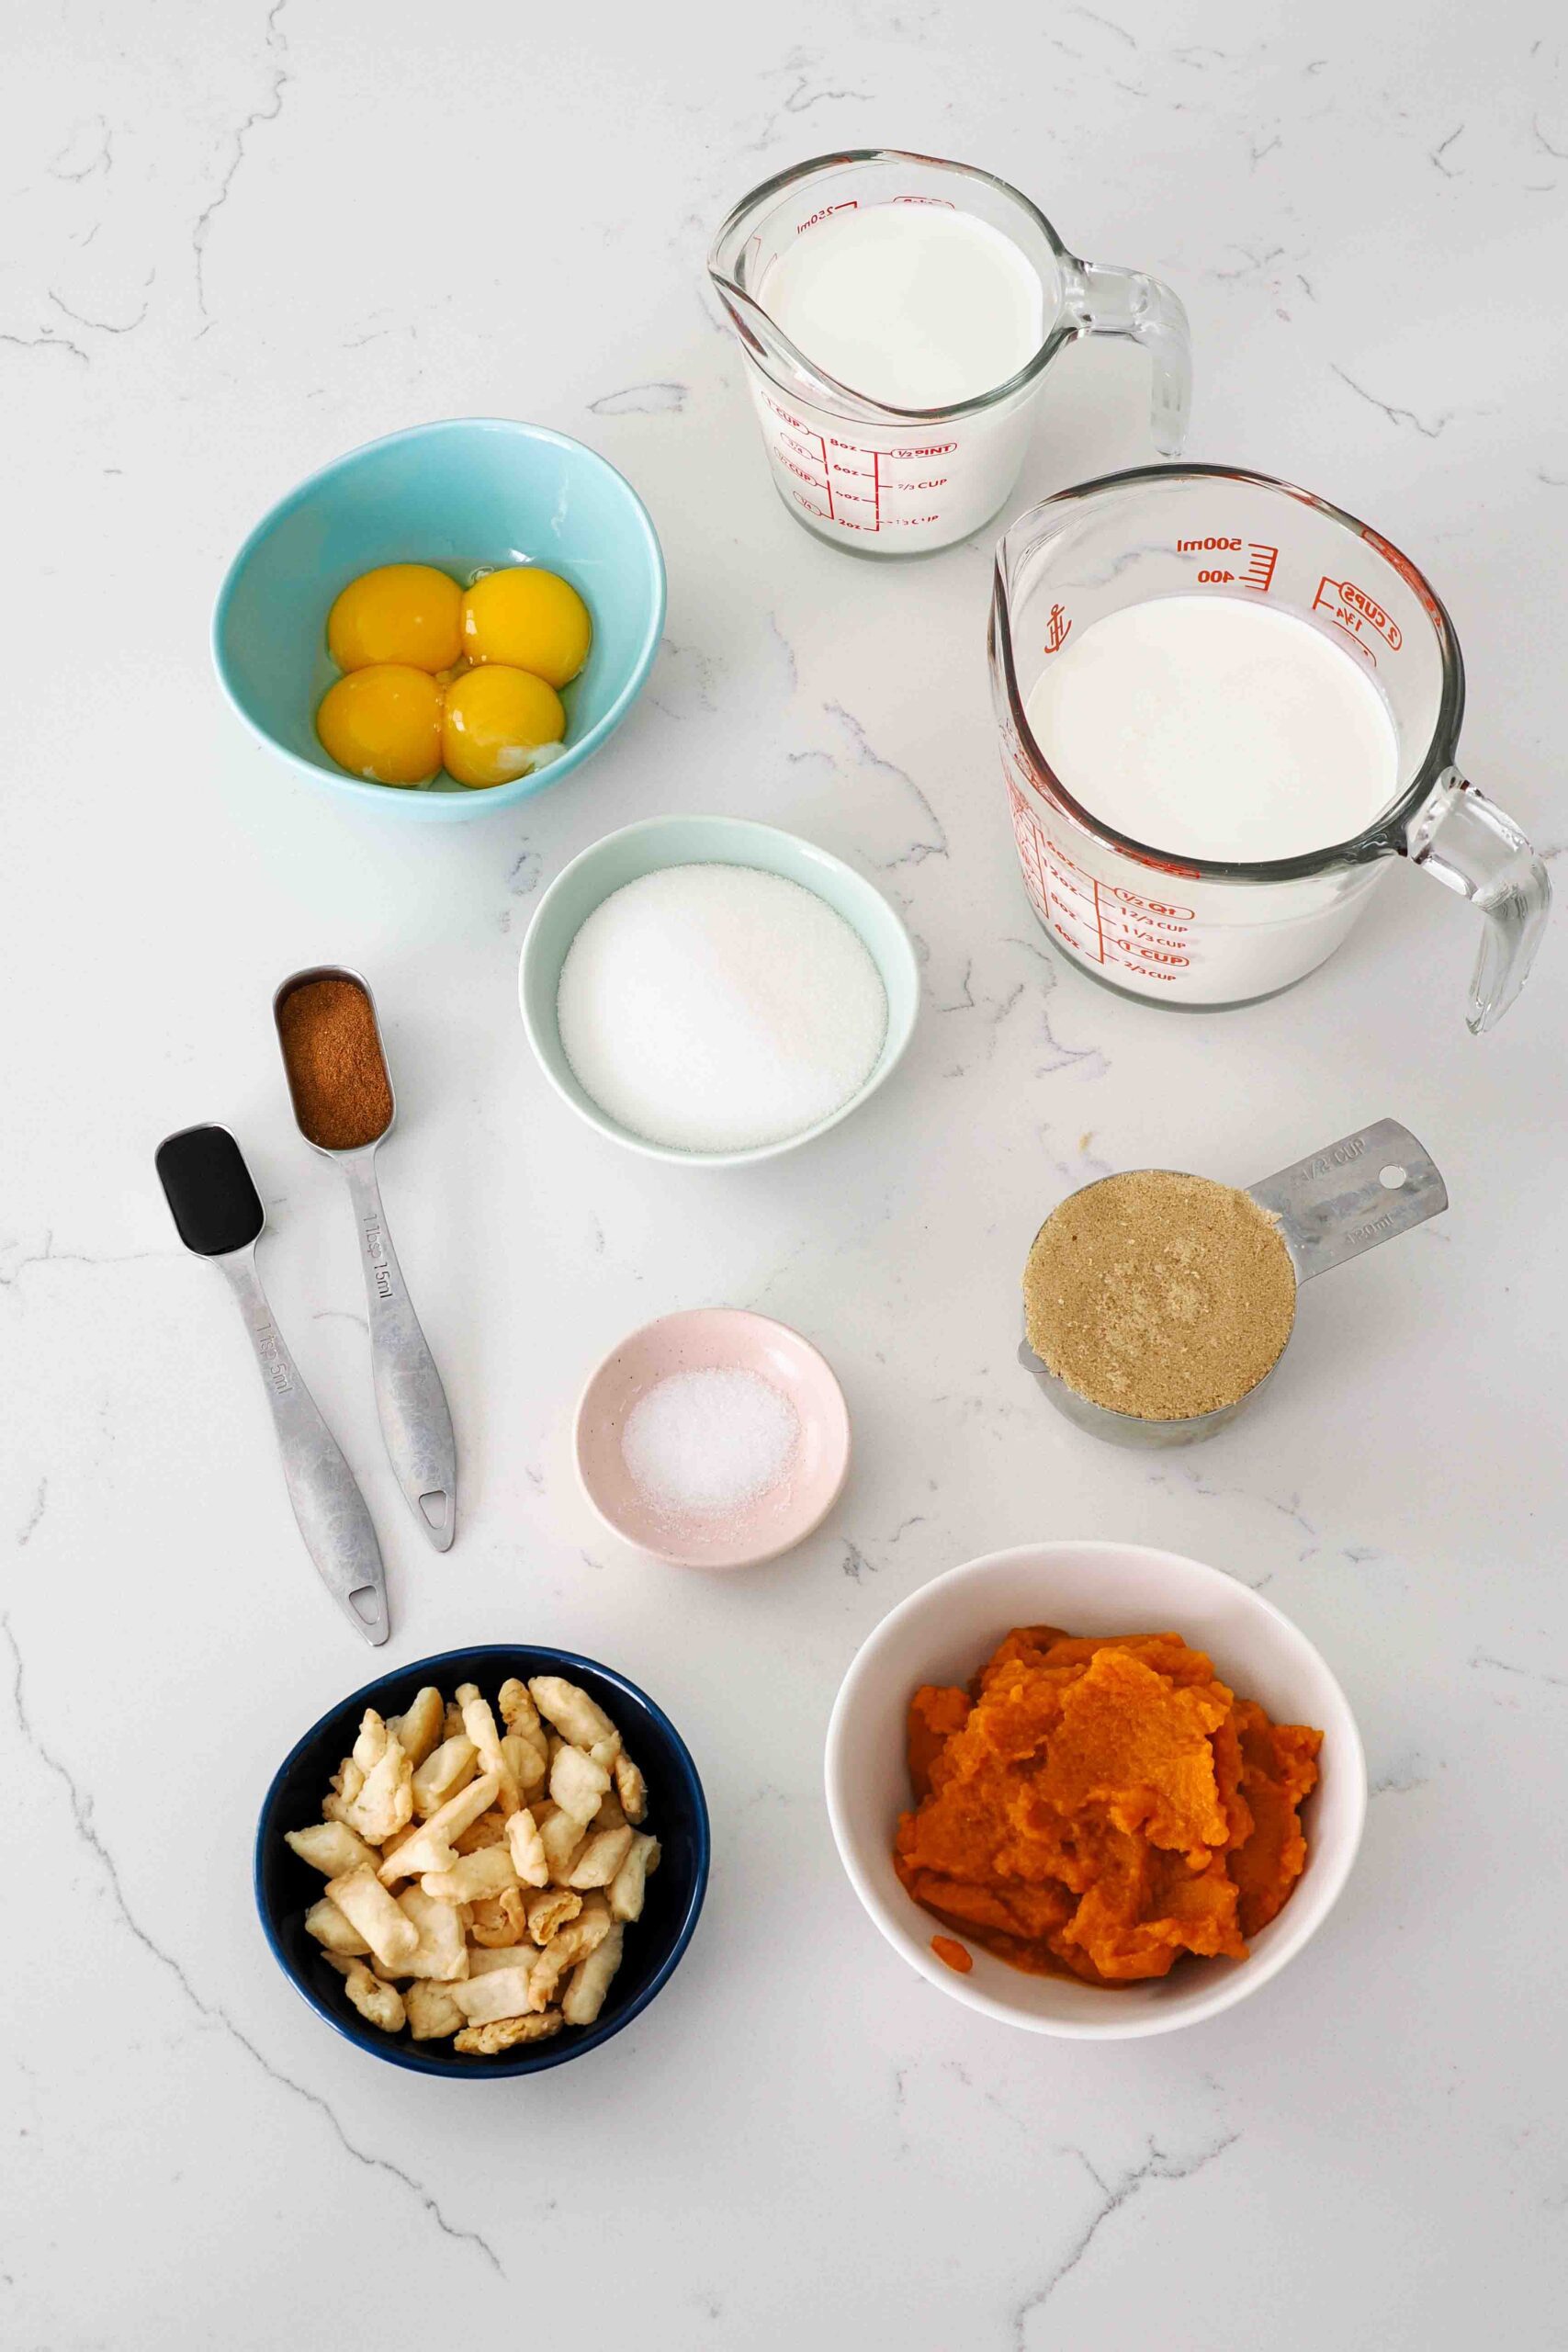
Ingredients for Pumpkin Pie Ice Cream
Homemade pumpkin ice cream is made from a custard base with just a handful of simple ingredients. Then, leftover pie crust pieces are added to make this ice cream taste just like pumpkin pie.
- Brown sugar. This gives the ice cream a richer, more molasses-y flavor that pairs perfectly with fall spices.
- Pumpkin puree. Use 100% pumpkin, not pumpkin pie filling, which has added sugar and flavoring.
- Pumpkin pie spice. This common spice mix is easy to make at home with cinnamon, nutmeg, ginger, and allspice. (Full quantities listed in the “Notes” section of the recipe.)
- Whole milk. There is a time and place for indulgence, and this is it. Whole milk will give your ice cream the best texture; a lower fat content will make your ice cream more icy than creamy.
- Heavy cream. The fat in heavy cream is essential to give us that creamy frozen custard with the perfect scoopable consistency.
- Salt. Just a pinch helps to enhance all the flavors.
- Egg yolks. The addition of egg yolks makes this a true frozen custard. Yolks contain emulsifiers that help all of the ingredients to bind together smoothly for a rich and creamy texture.
- Sugar. In addition to sweetening the frozen pumpkin custard, sugar also reduces the freezing point and helps make the final product nice and creamy.
- Vanilla bean paste or extract. Vanilla is a secondary flavor here, so feel free to use regular vanilla extract if you don’t want to splurge on the paste!
- Pie crust pieces. This is a great way to use up excess pie crust cuttings. It goes without saying, but use fully baked pie crust pieces.
Equipment for Making Ice Cream at Home
You will need to use an ice cream maker for velvety smooth frozen custard. I use Cuisinart’s 1.5-quart ice cream maker, but you can also use the KitchenAid ice cream bowl or a fancier compressor model.
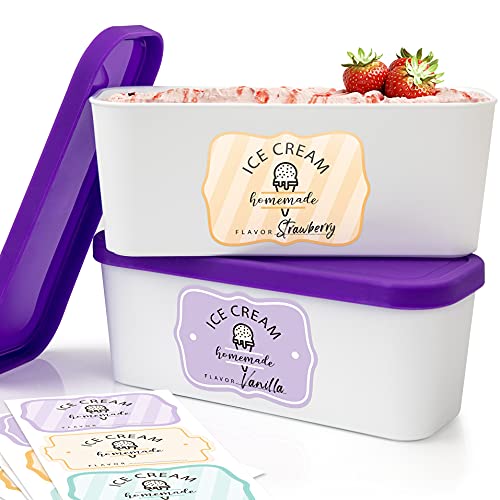
I like to store my ice cream in long, reusable ice cream containers with silicone seals. The seal keeps the ice cream fresh, and the length makes it easy to get picture-perfect scoops of ice cream for cones and bowls. And, as a bonus, these ones come with stickers to label your ice cream!
If you don’t already have an ice cream scoop you like, my husband found this heavy-duty ice cream scoop a few years ago, and it’s been our go-to ever since.
Quick Tips for Making Pumpkin Pie Ice Cream
If you’ve never made a custard or ice cream before, that’s okay! I include plenty of tips and instruction in the recipe card itself so that even beginner bakers should have success (if you follow the directions, of course).
I have a short video showing how to make pumpkin pie ice cream on my YouTube channel if you’d like to watch these instructions, too!
To make smooth and creamy homemade pumpkin ice cream, you’ll start with a custard base.
Making the Pumpkin Custard Base
Combine whole milk, heavy cream, pumpkin puree, brown sugar, pumpkin spice, vanilla extract, and a pinch of salt in a medium pot over medium heat. Stir occasionally, until the mixture is warm and steamy but not boiling. (If the mixture boils here, it’s not the end of the world. Let it cool back down to about 150°F/65°C before pouring on top of the eggs, though.)
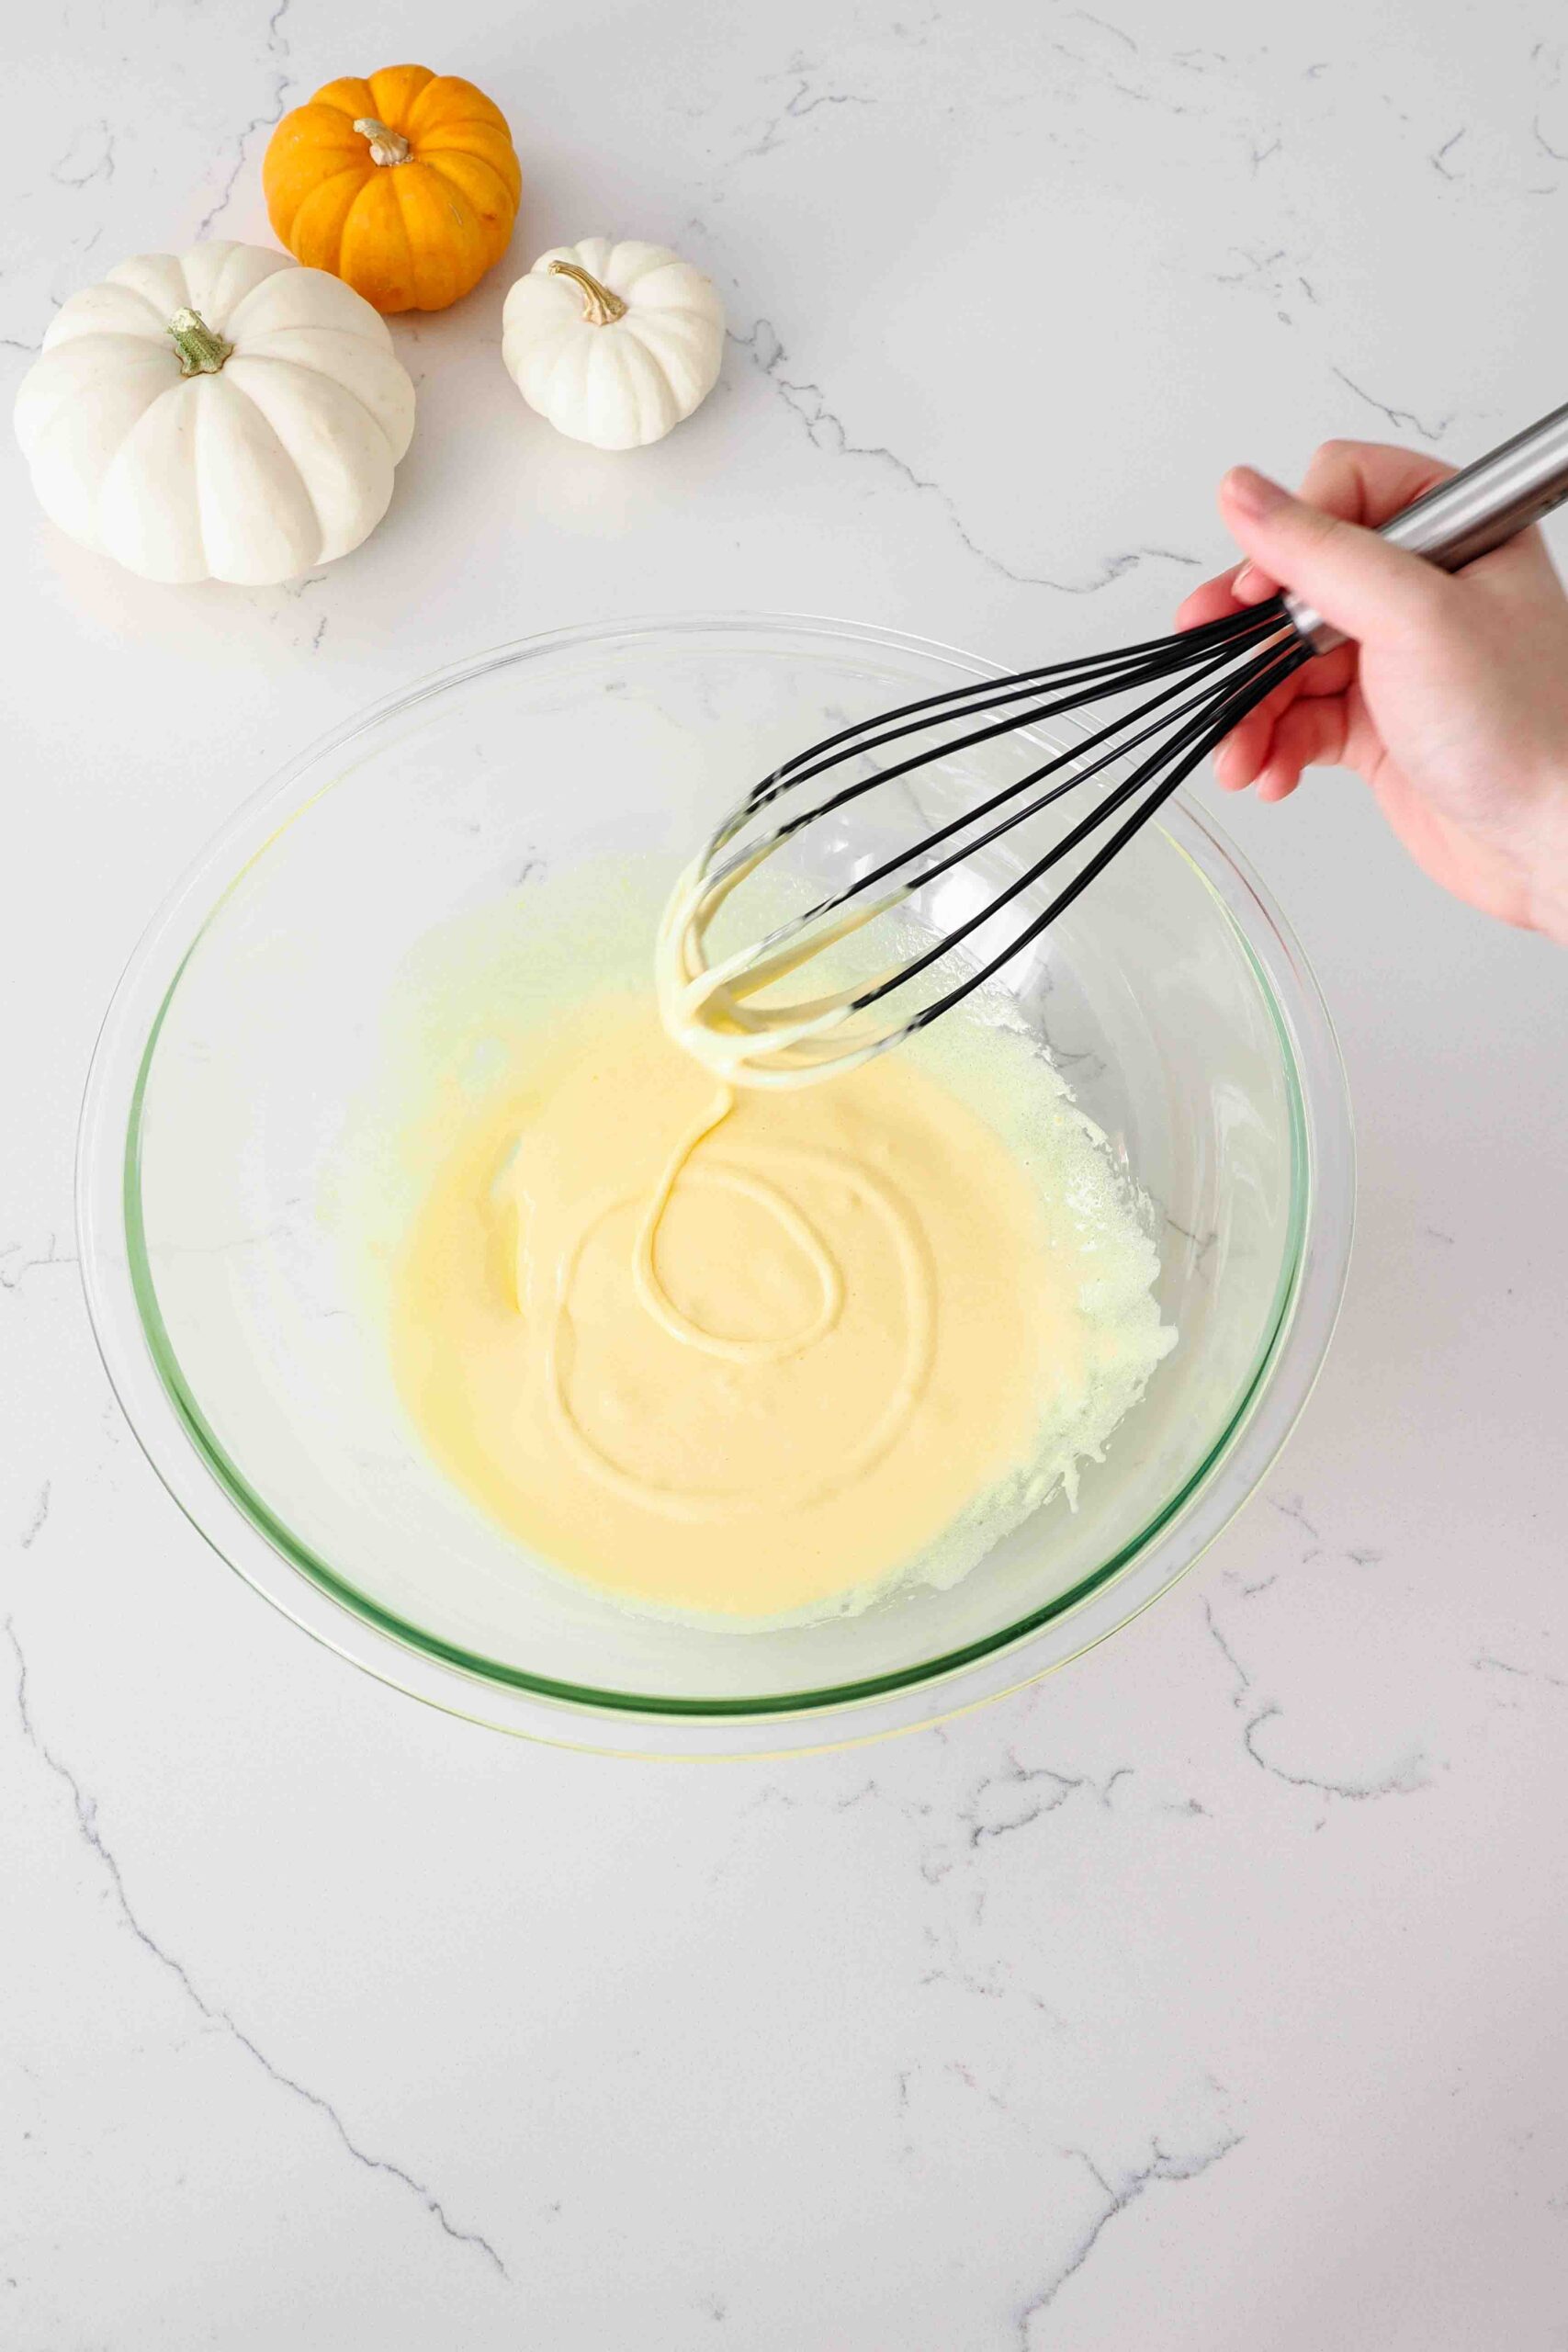
Next, in a large bowl, whisk together egg yolks and granulated sugar. It will start off gluey, but as more air is incorporated into the mixture, it will turn into a voluminous batter.
It’s important to whisk the yolks to this stage. The addition of air in the yolk mixture makes it more difficult for the eggs to curdle during the next step.

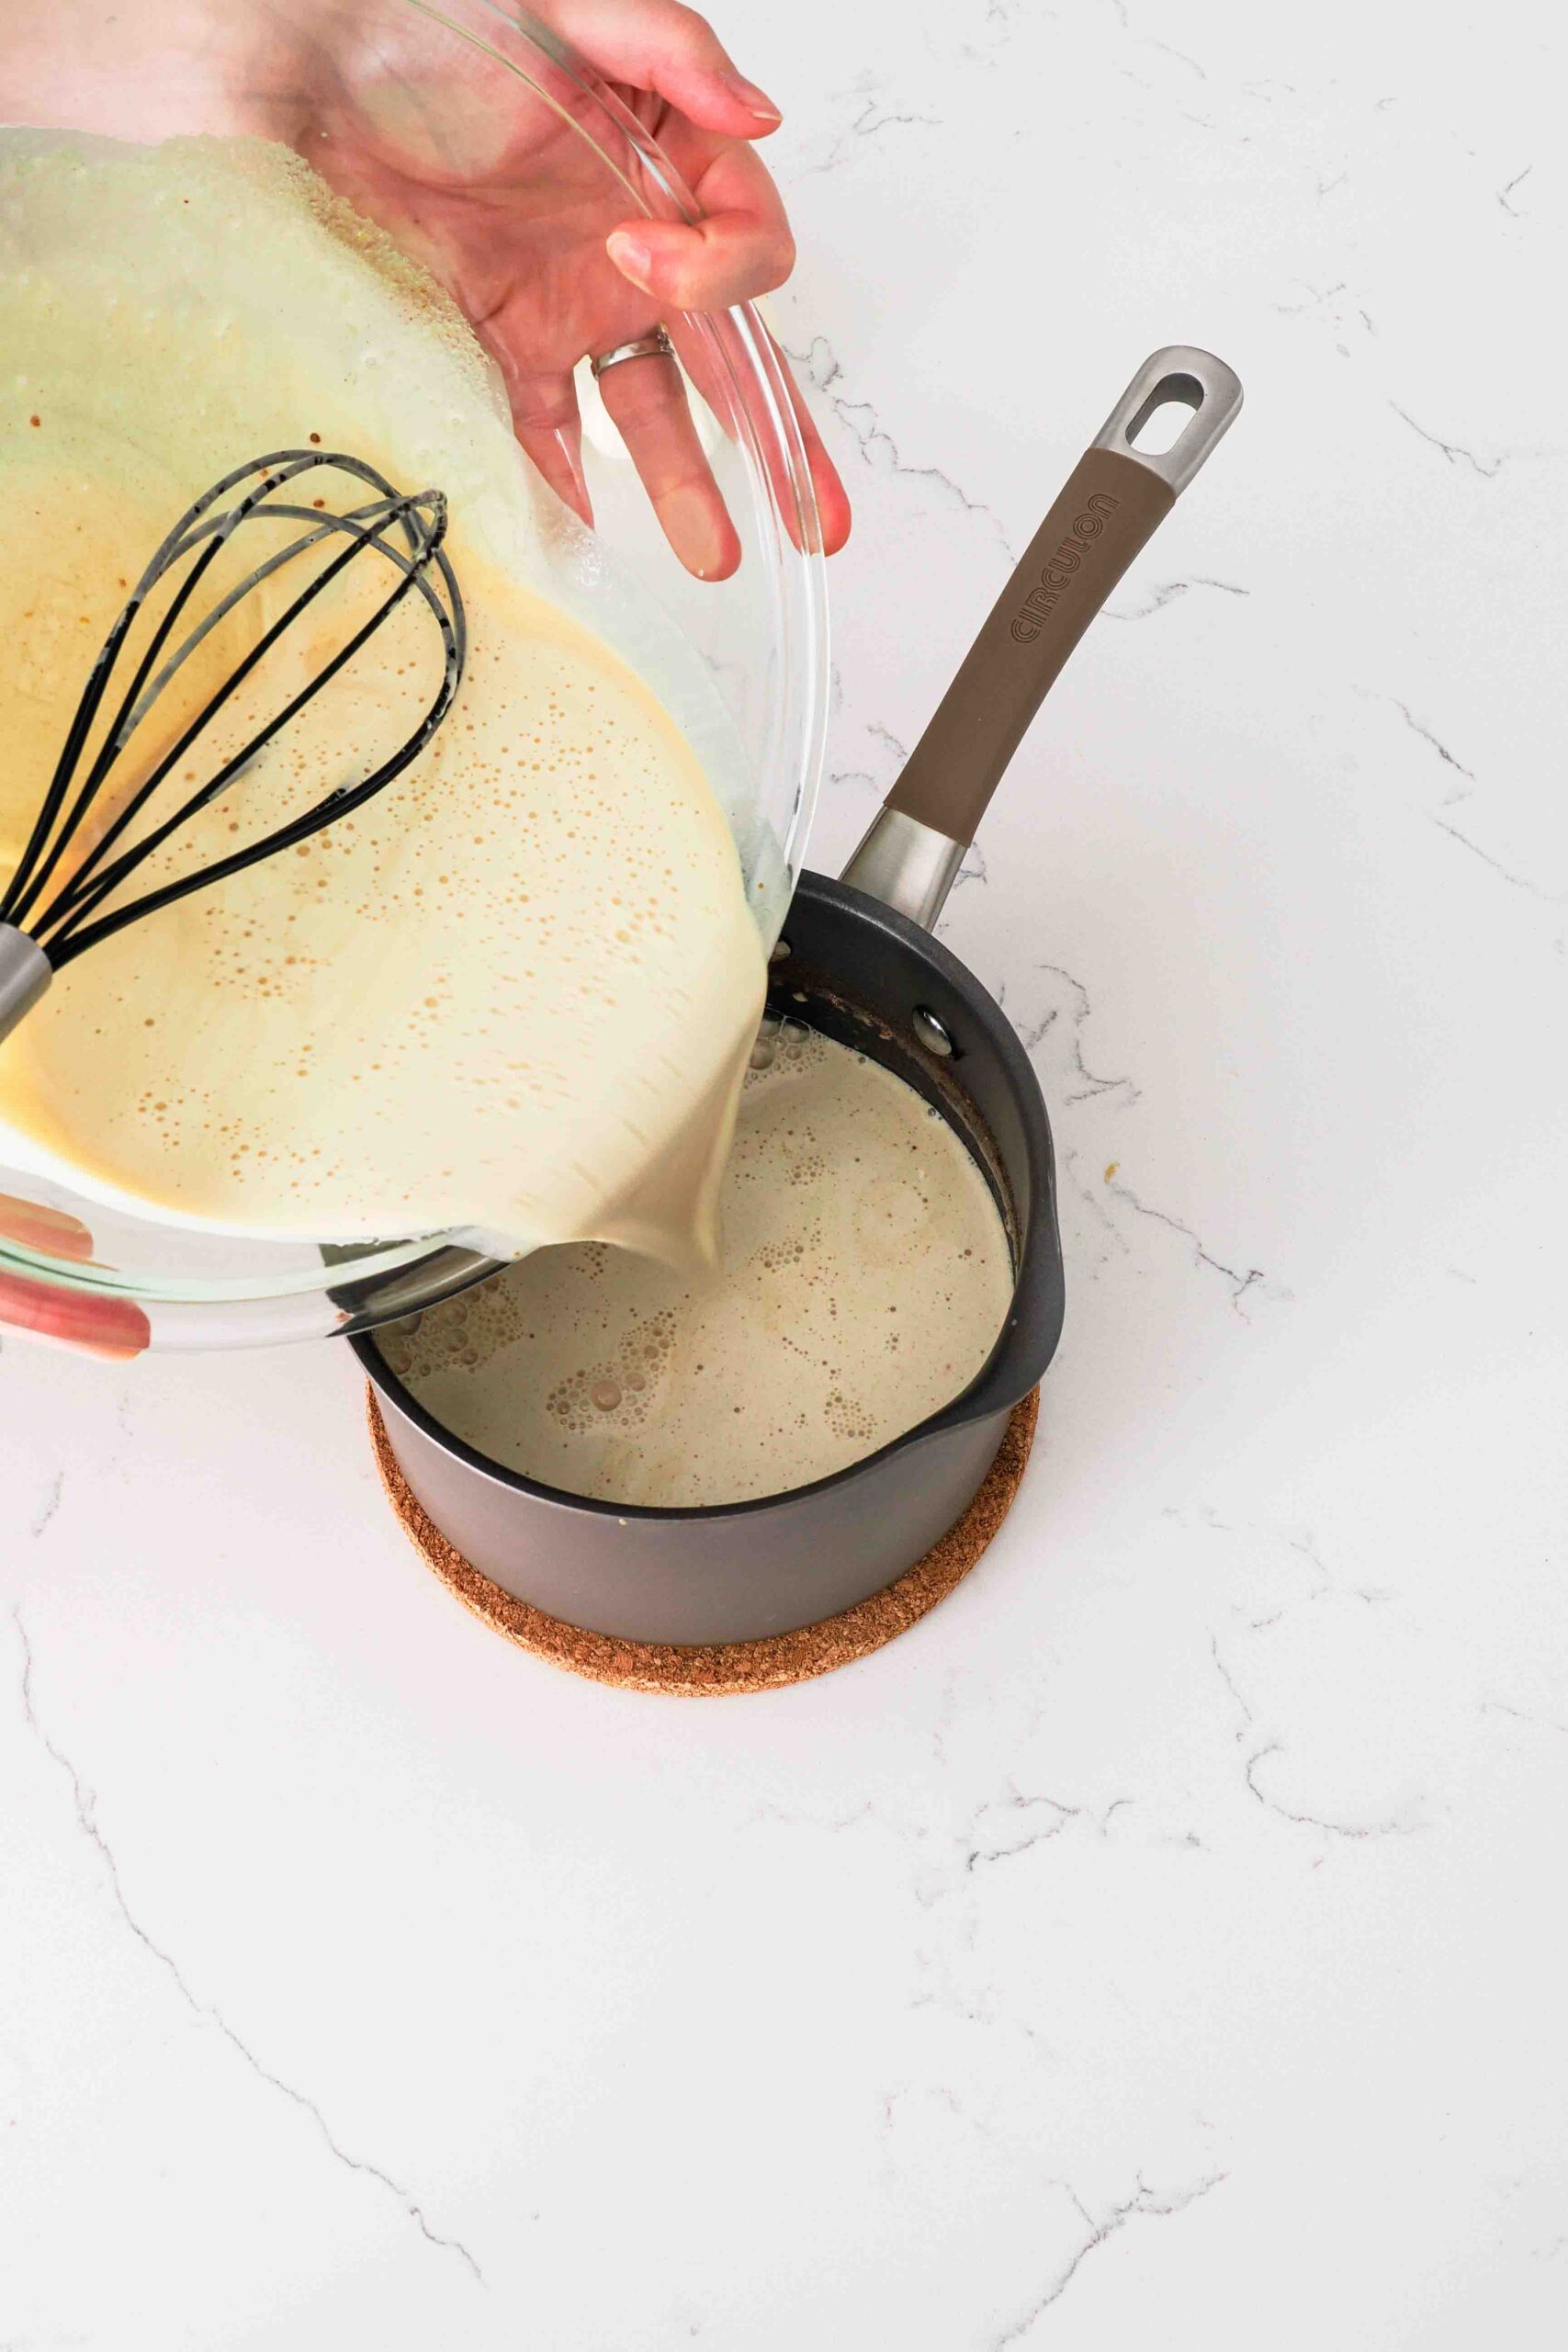
Tempering the Egg Yolks
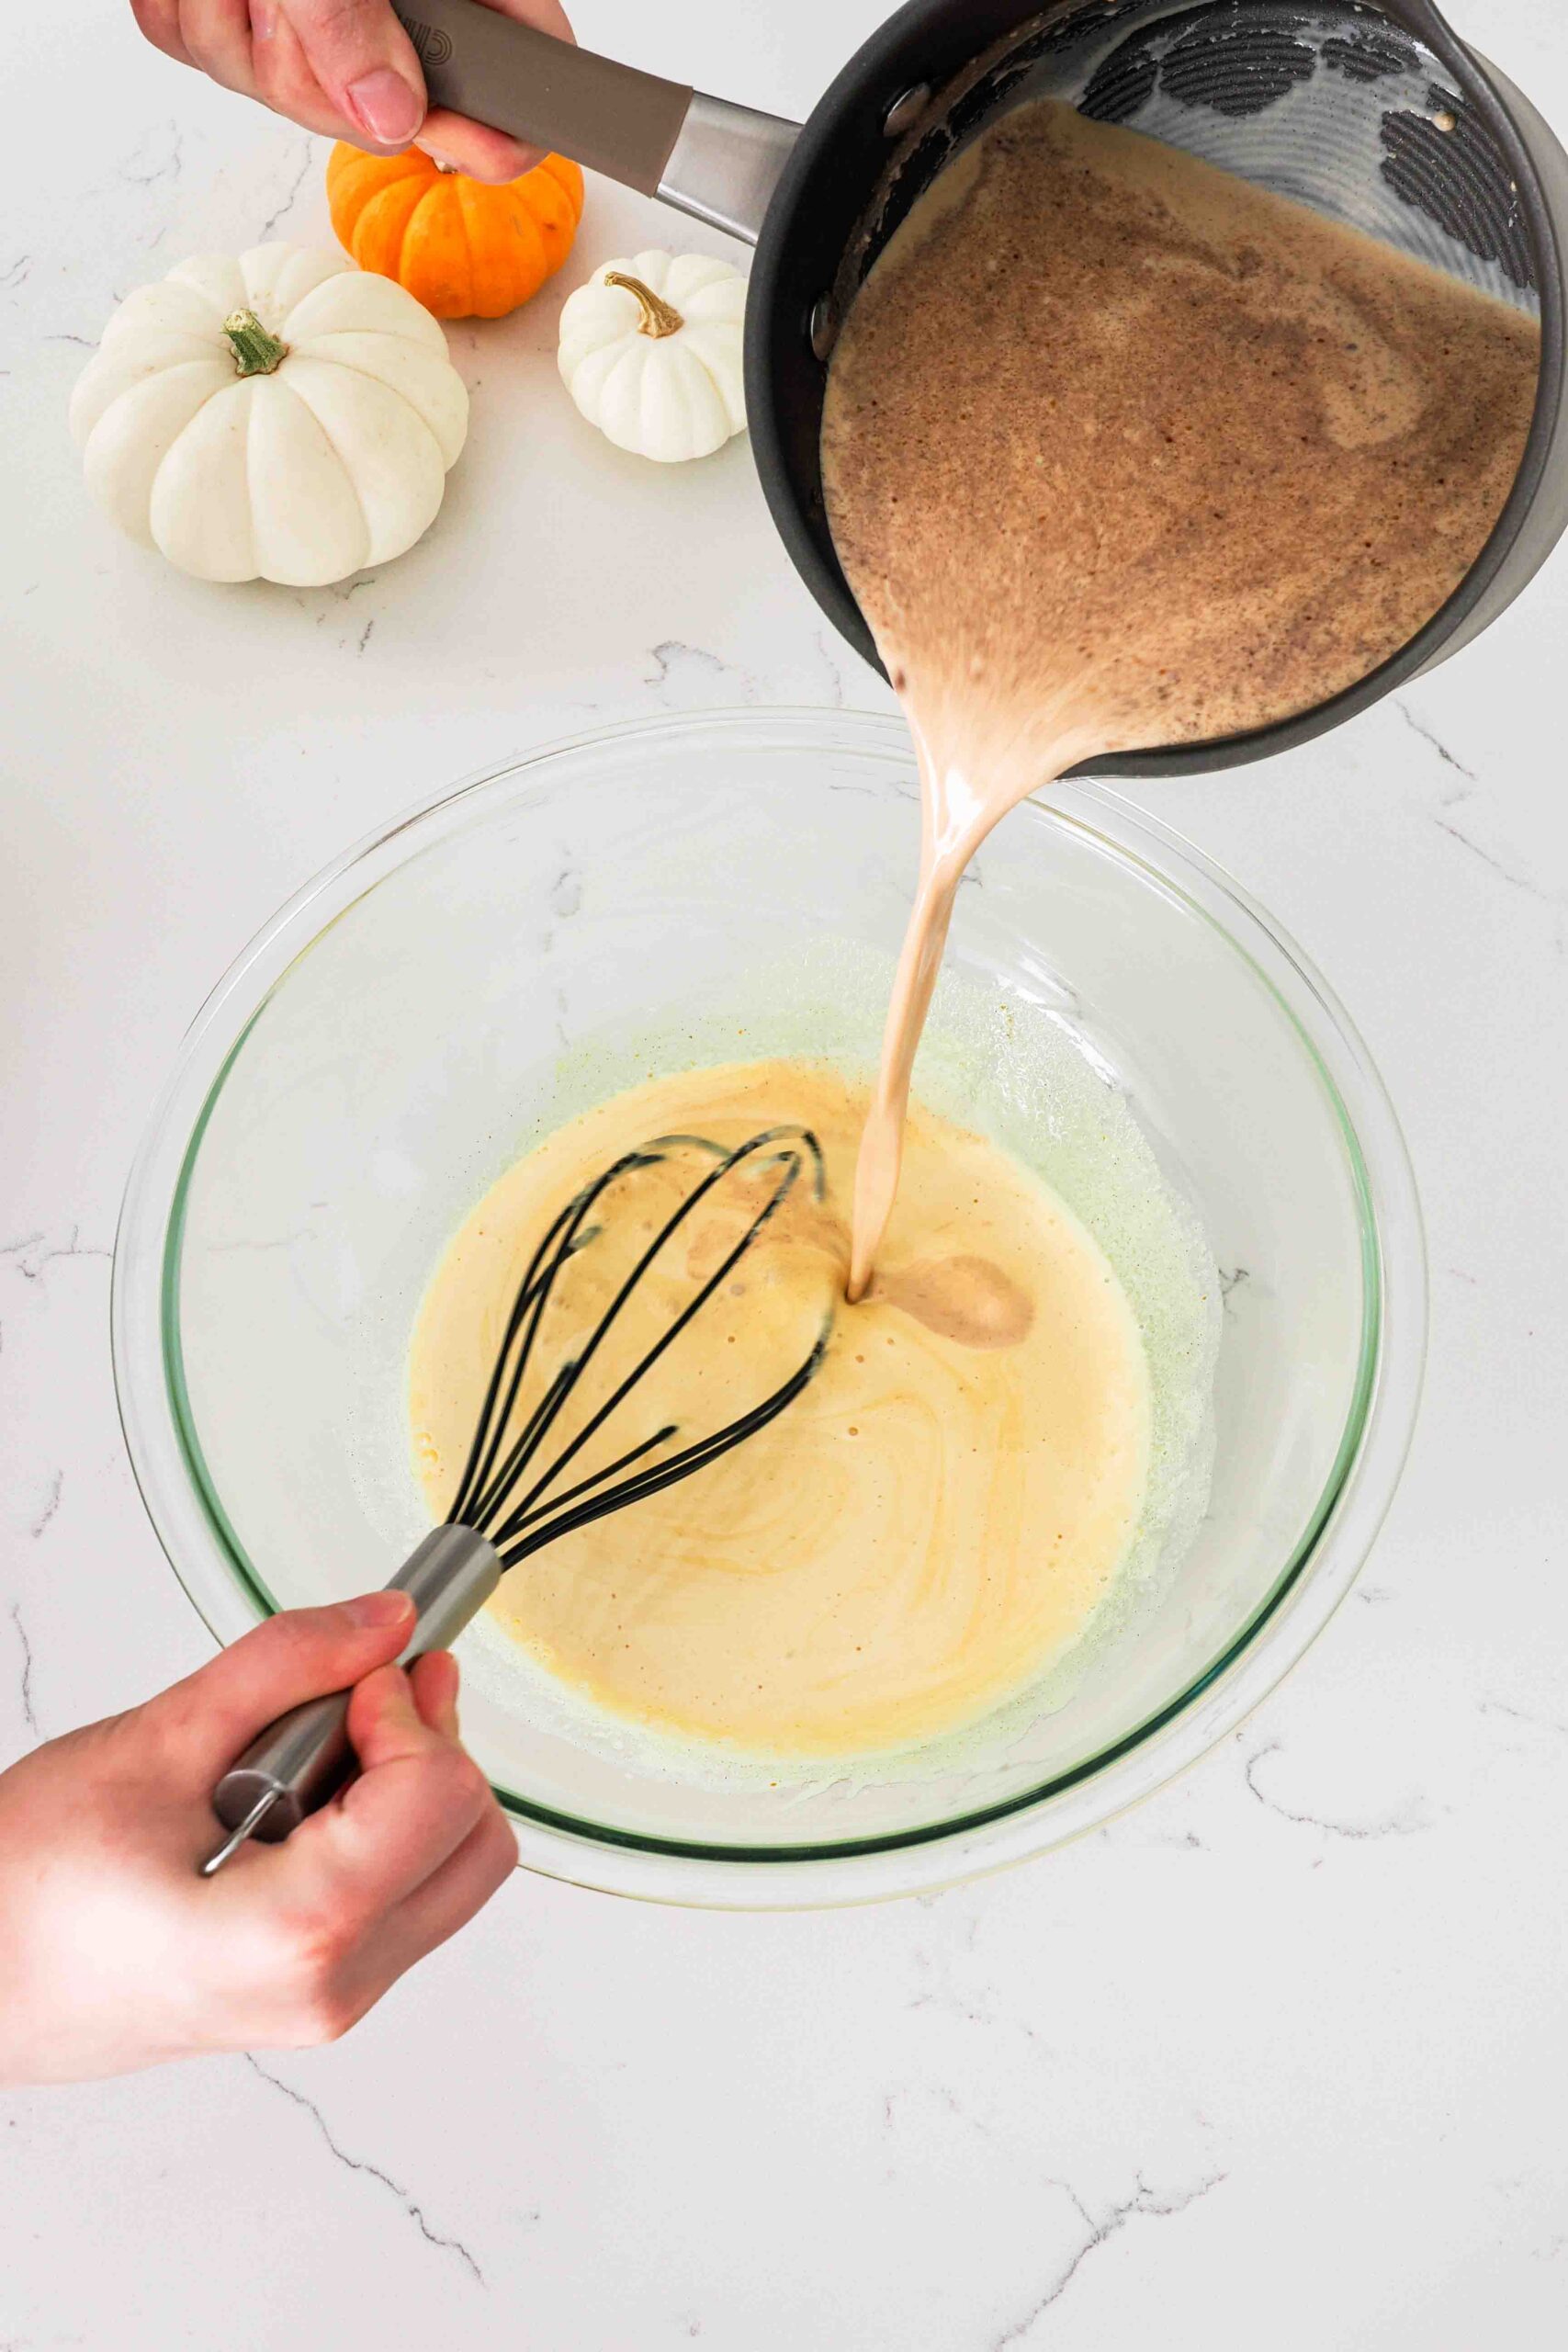
Next, pour the warmed pumpkin cream into the yolk mixture one to two Tablespoons at a time, whisking constantly. Once that cream has been fully incorporated, add another splash of the cream and whisk until incorporated. It is helpful but not necessary to use a pot with a pour spout.
Repeat this process until at least half of the pumpkin cream has been added to the yolk mixture. Then, pour the yolk mixture into the pot with the rest of the cream. Scrape the bowl with a spatula to get any leftover drops into the pot, then return the pot to medium heat.
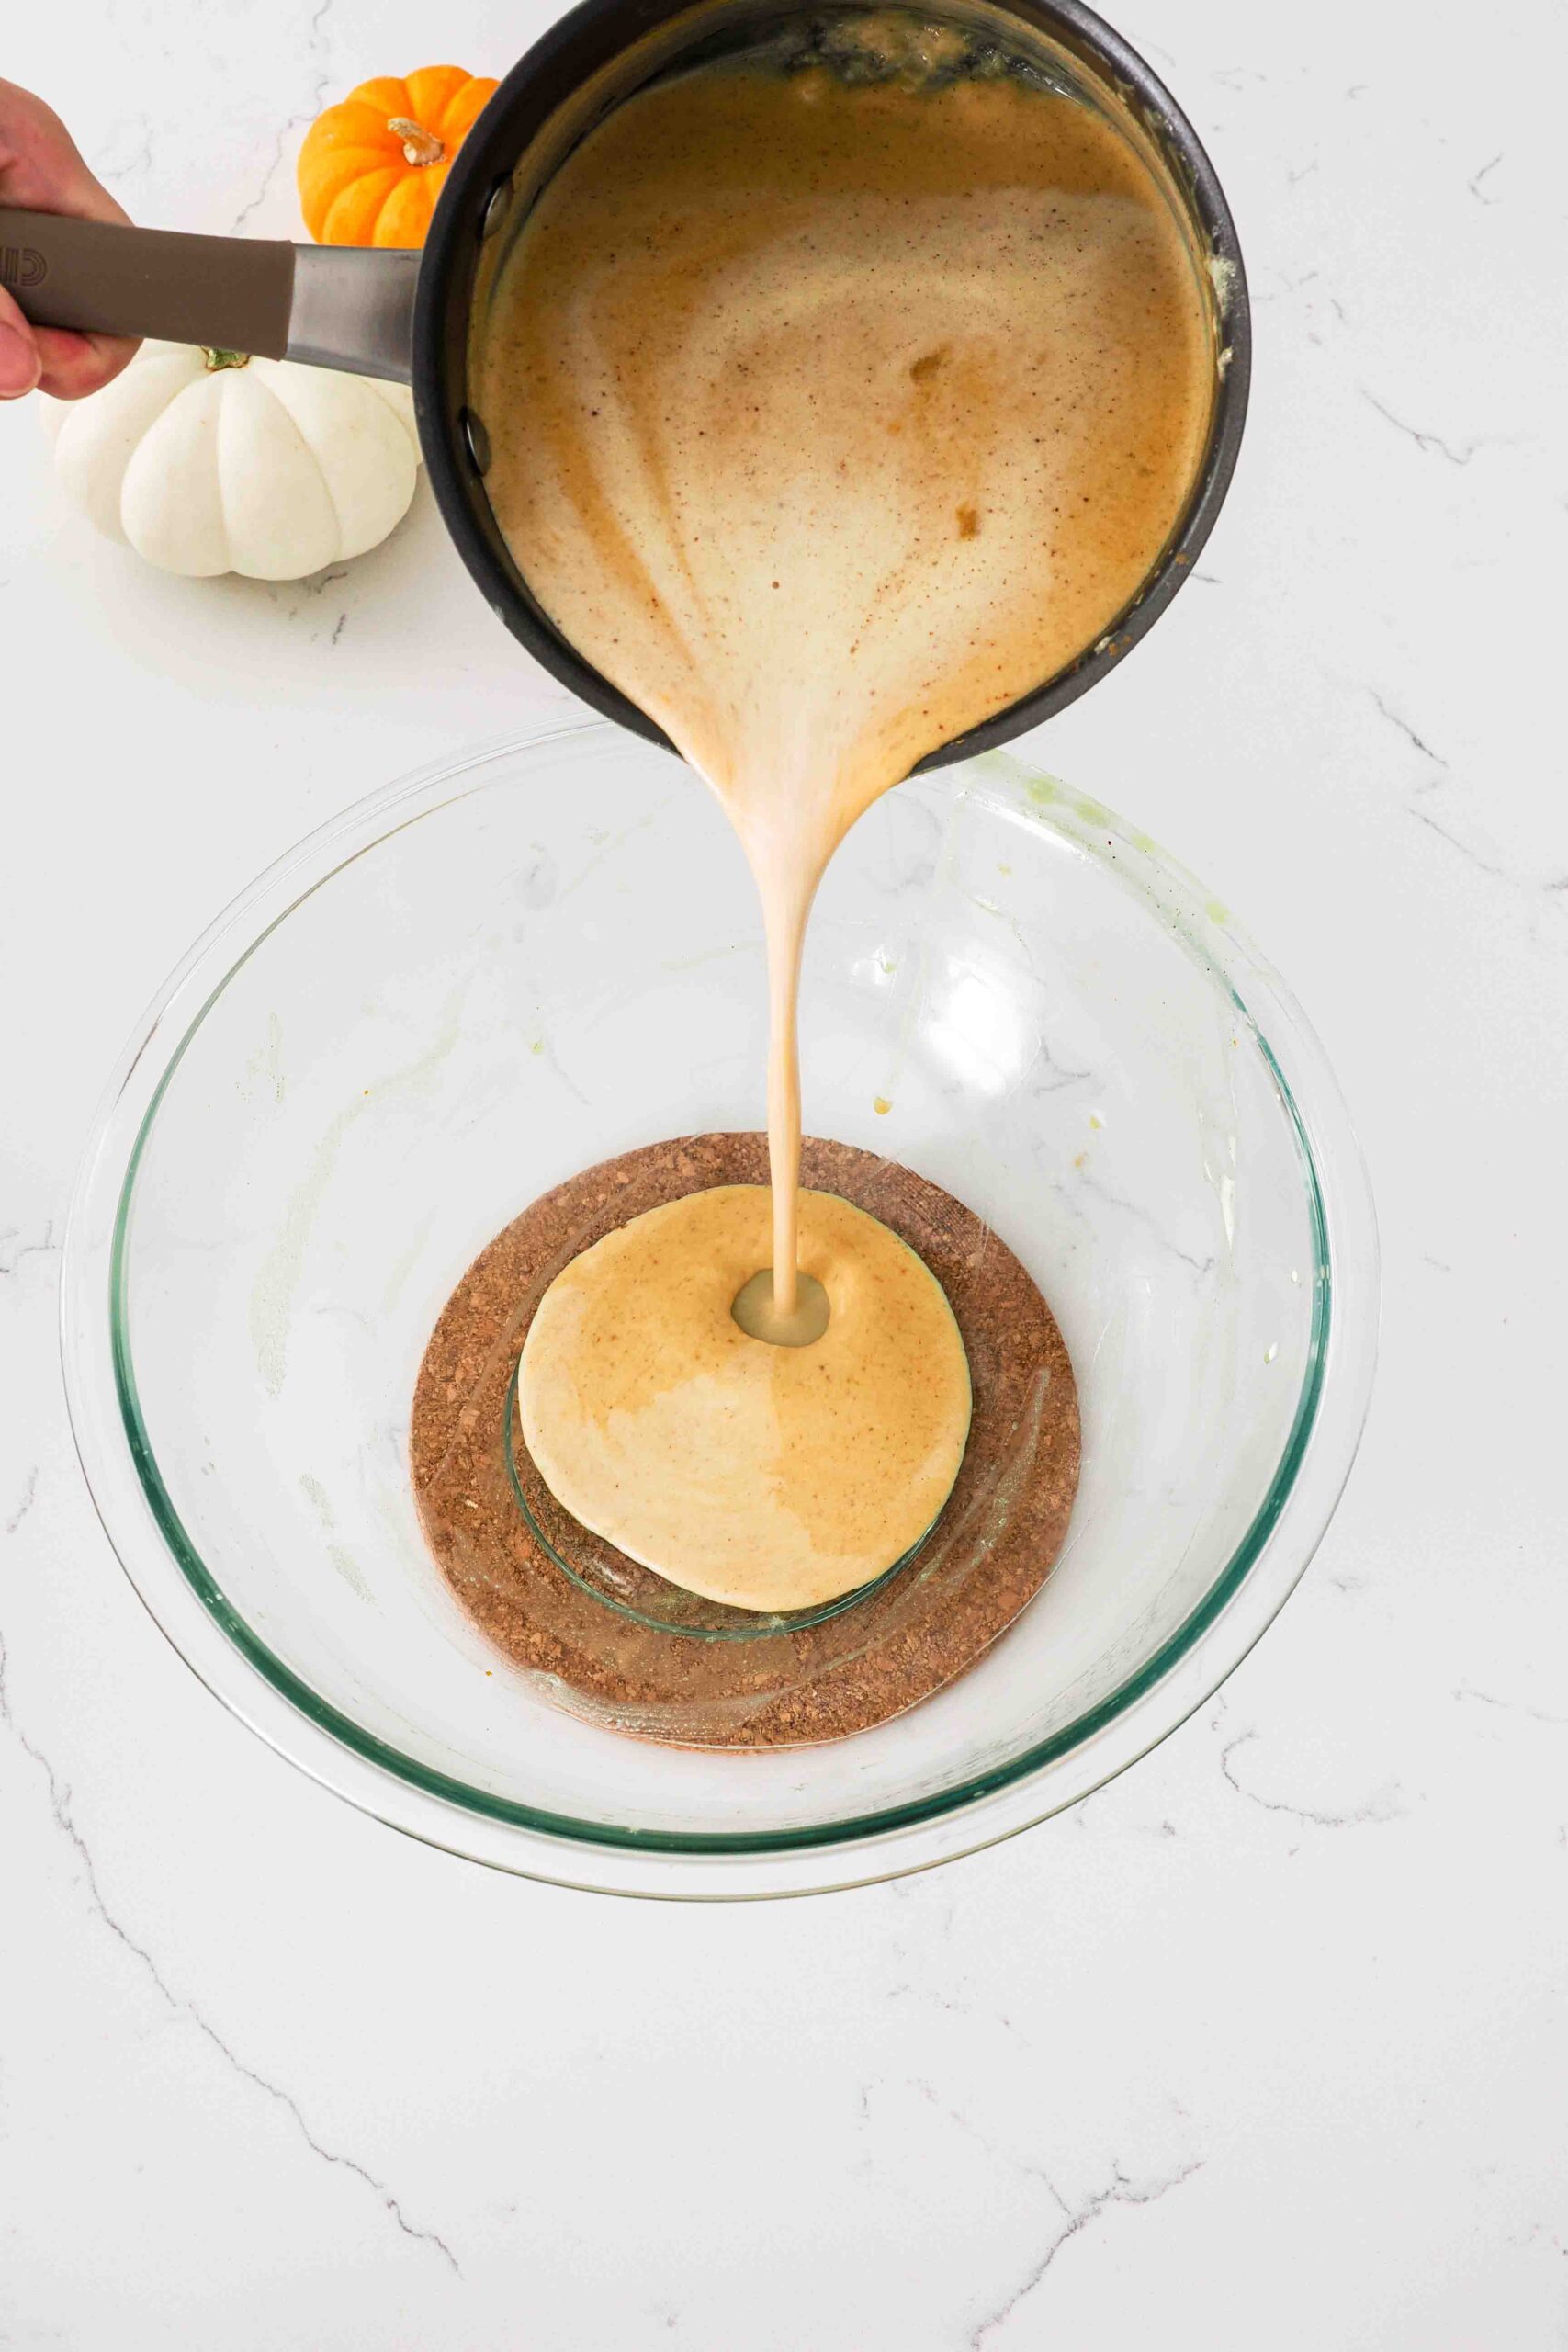
Cooking the Pumpkin Custard
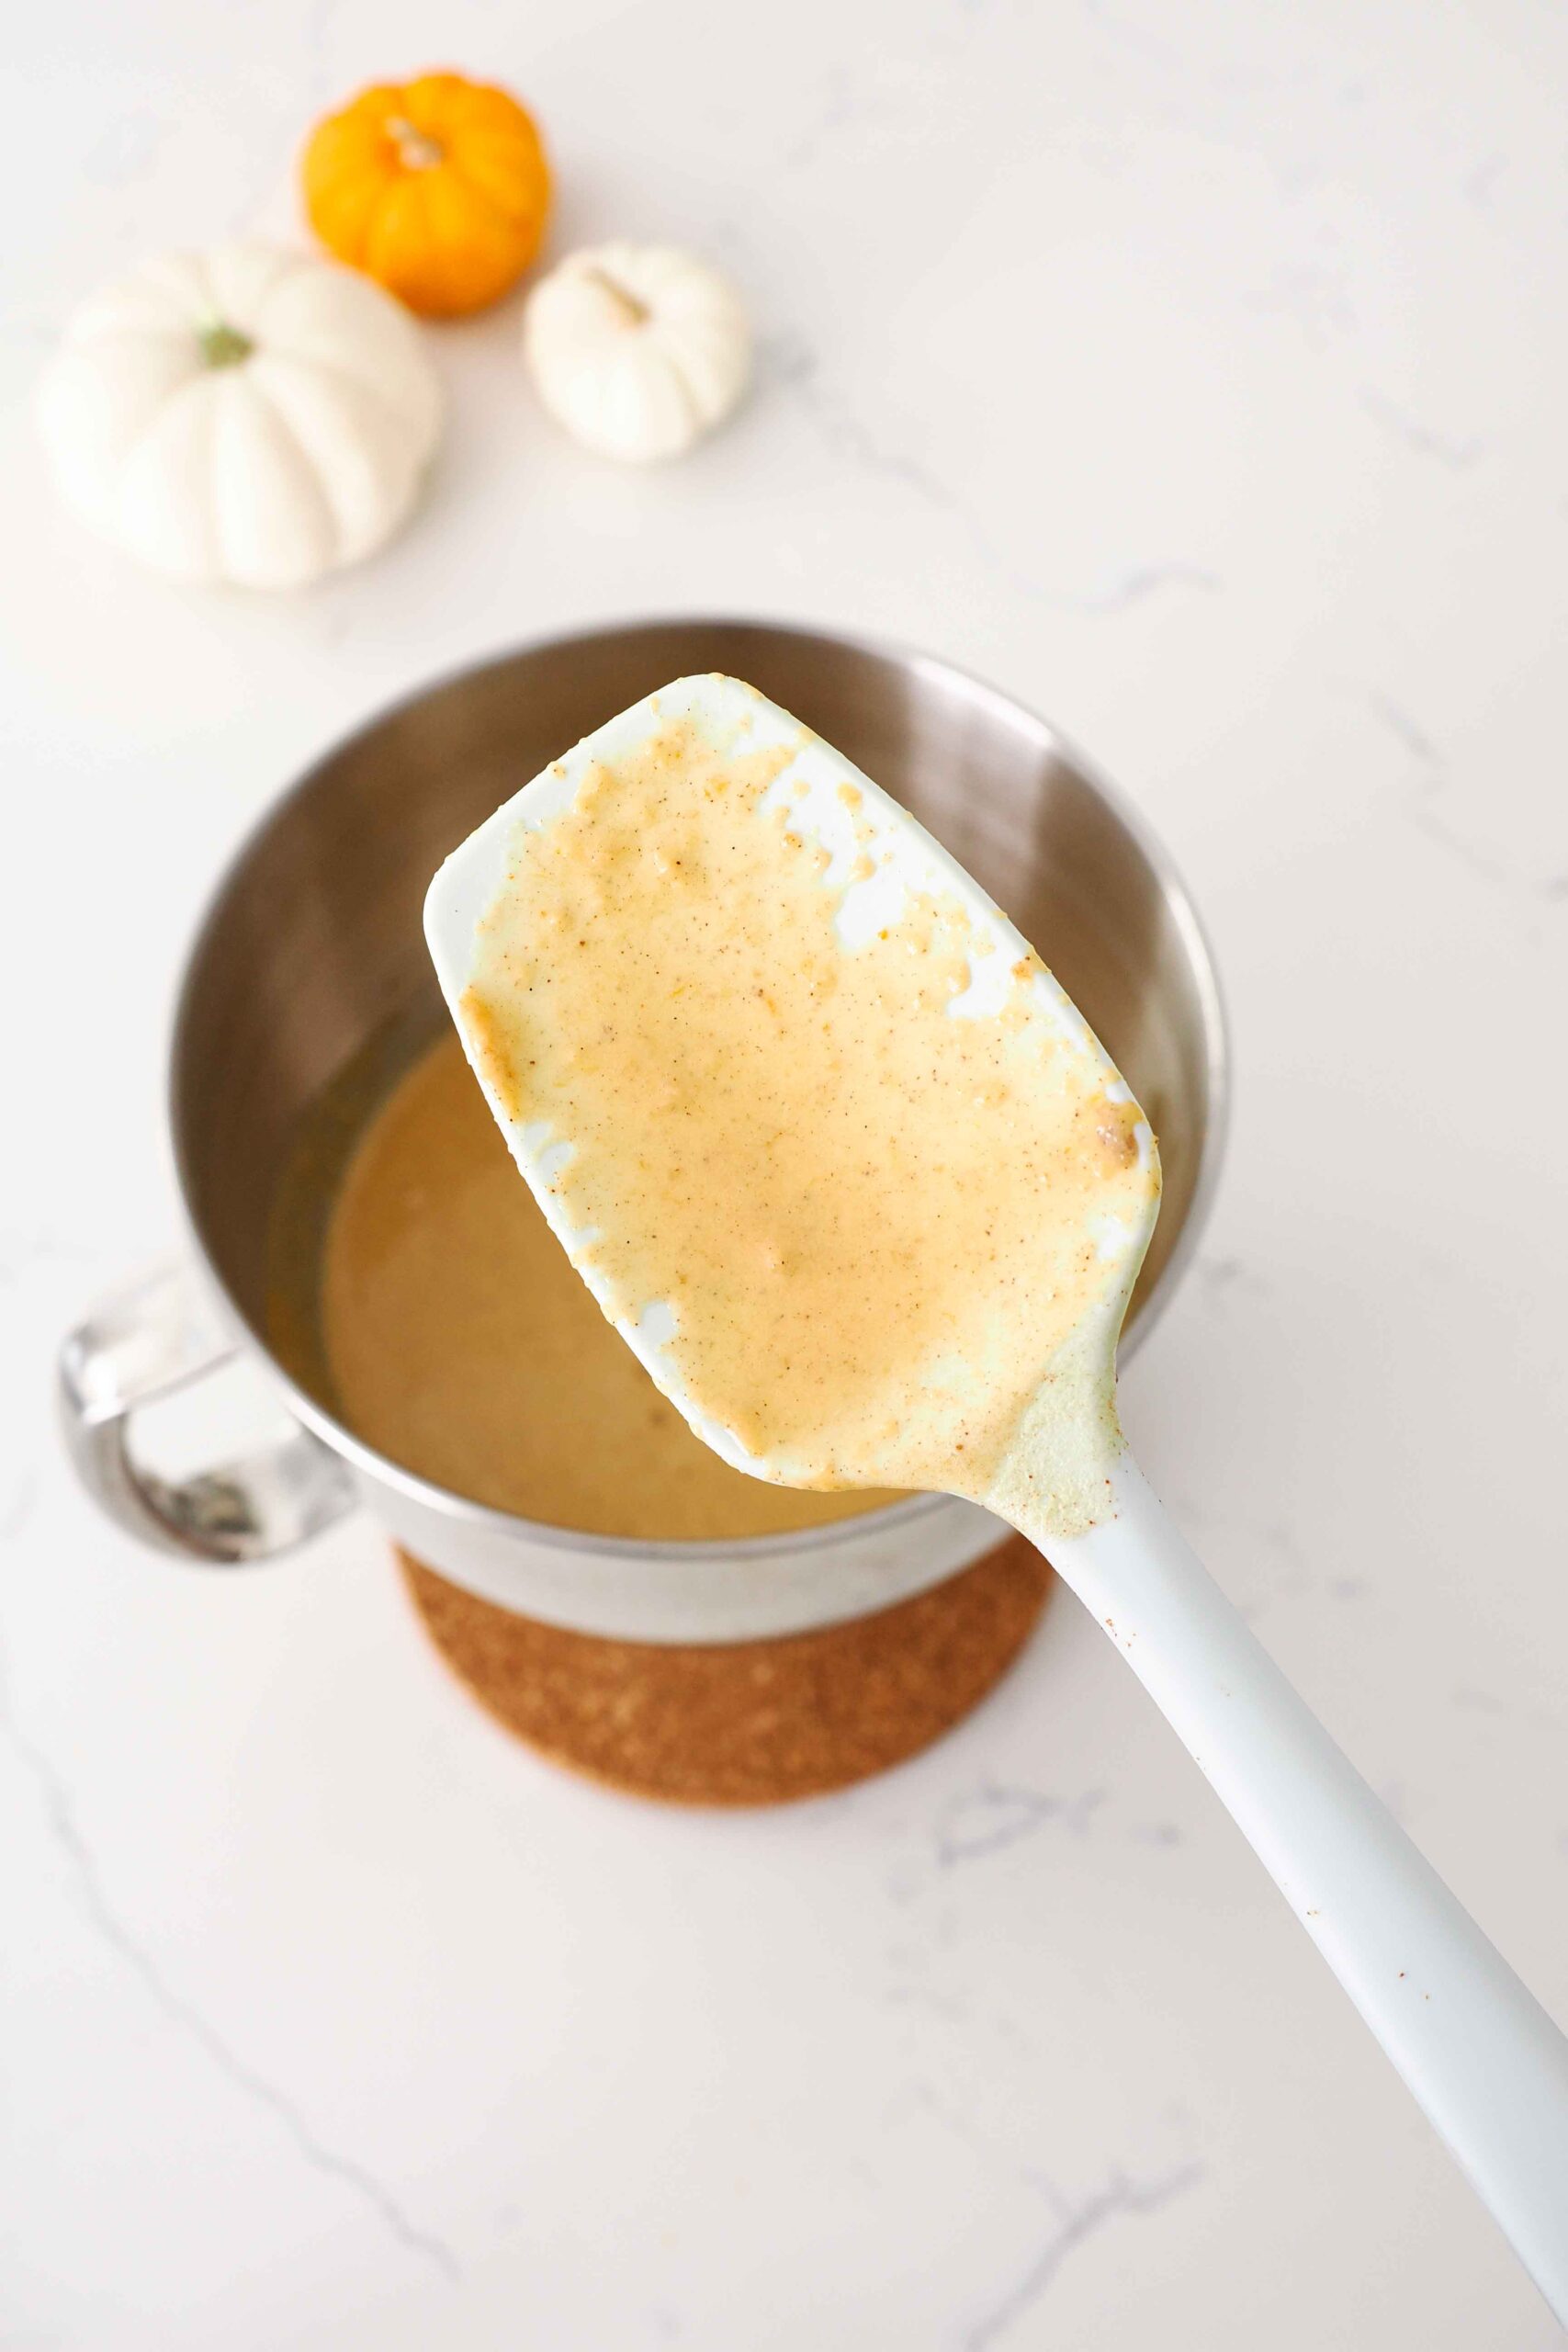
Cook the custard over medium heat, stirring occasionally, until the mixture has thickened slightly and is thick enough to coat the back of a spoon. (This is about 170°F/75°C if you like to check with a thermometer.)
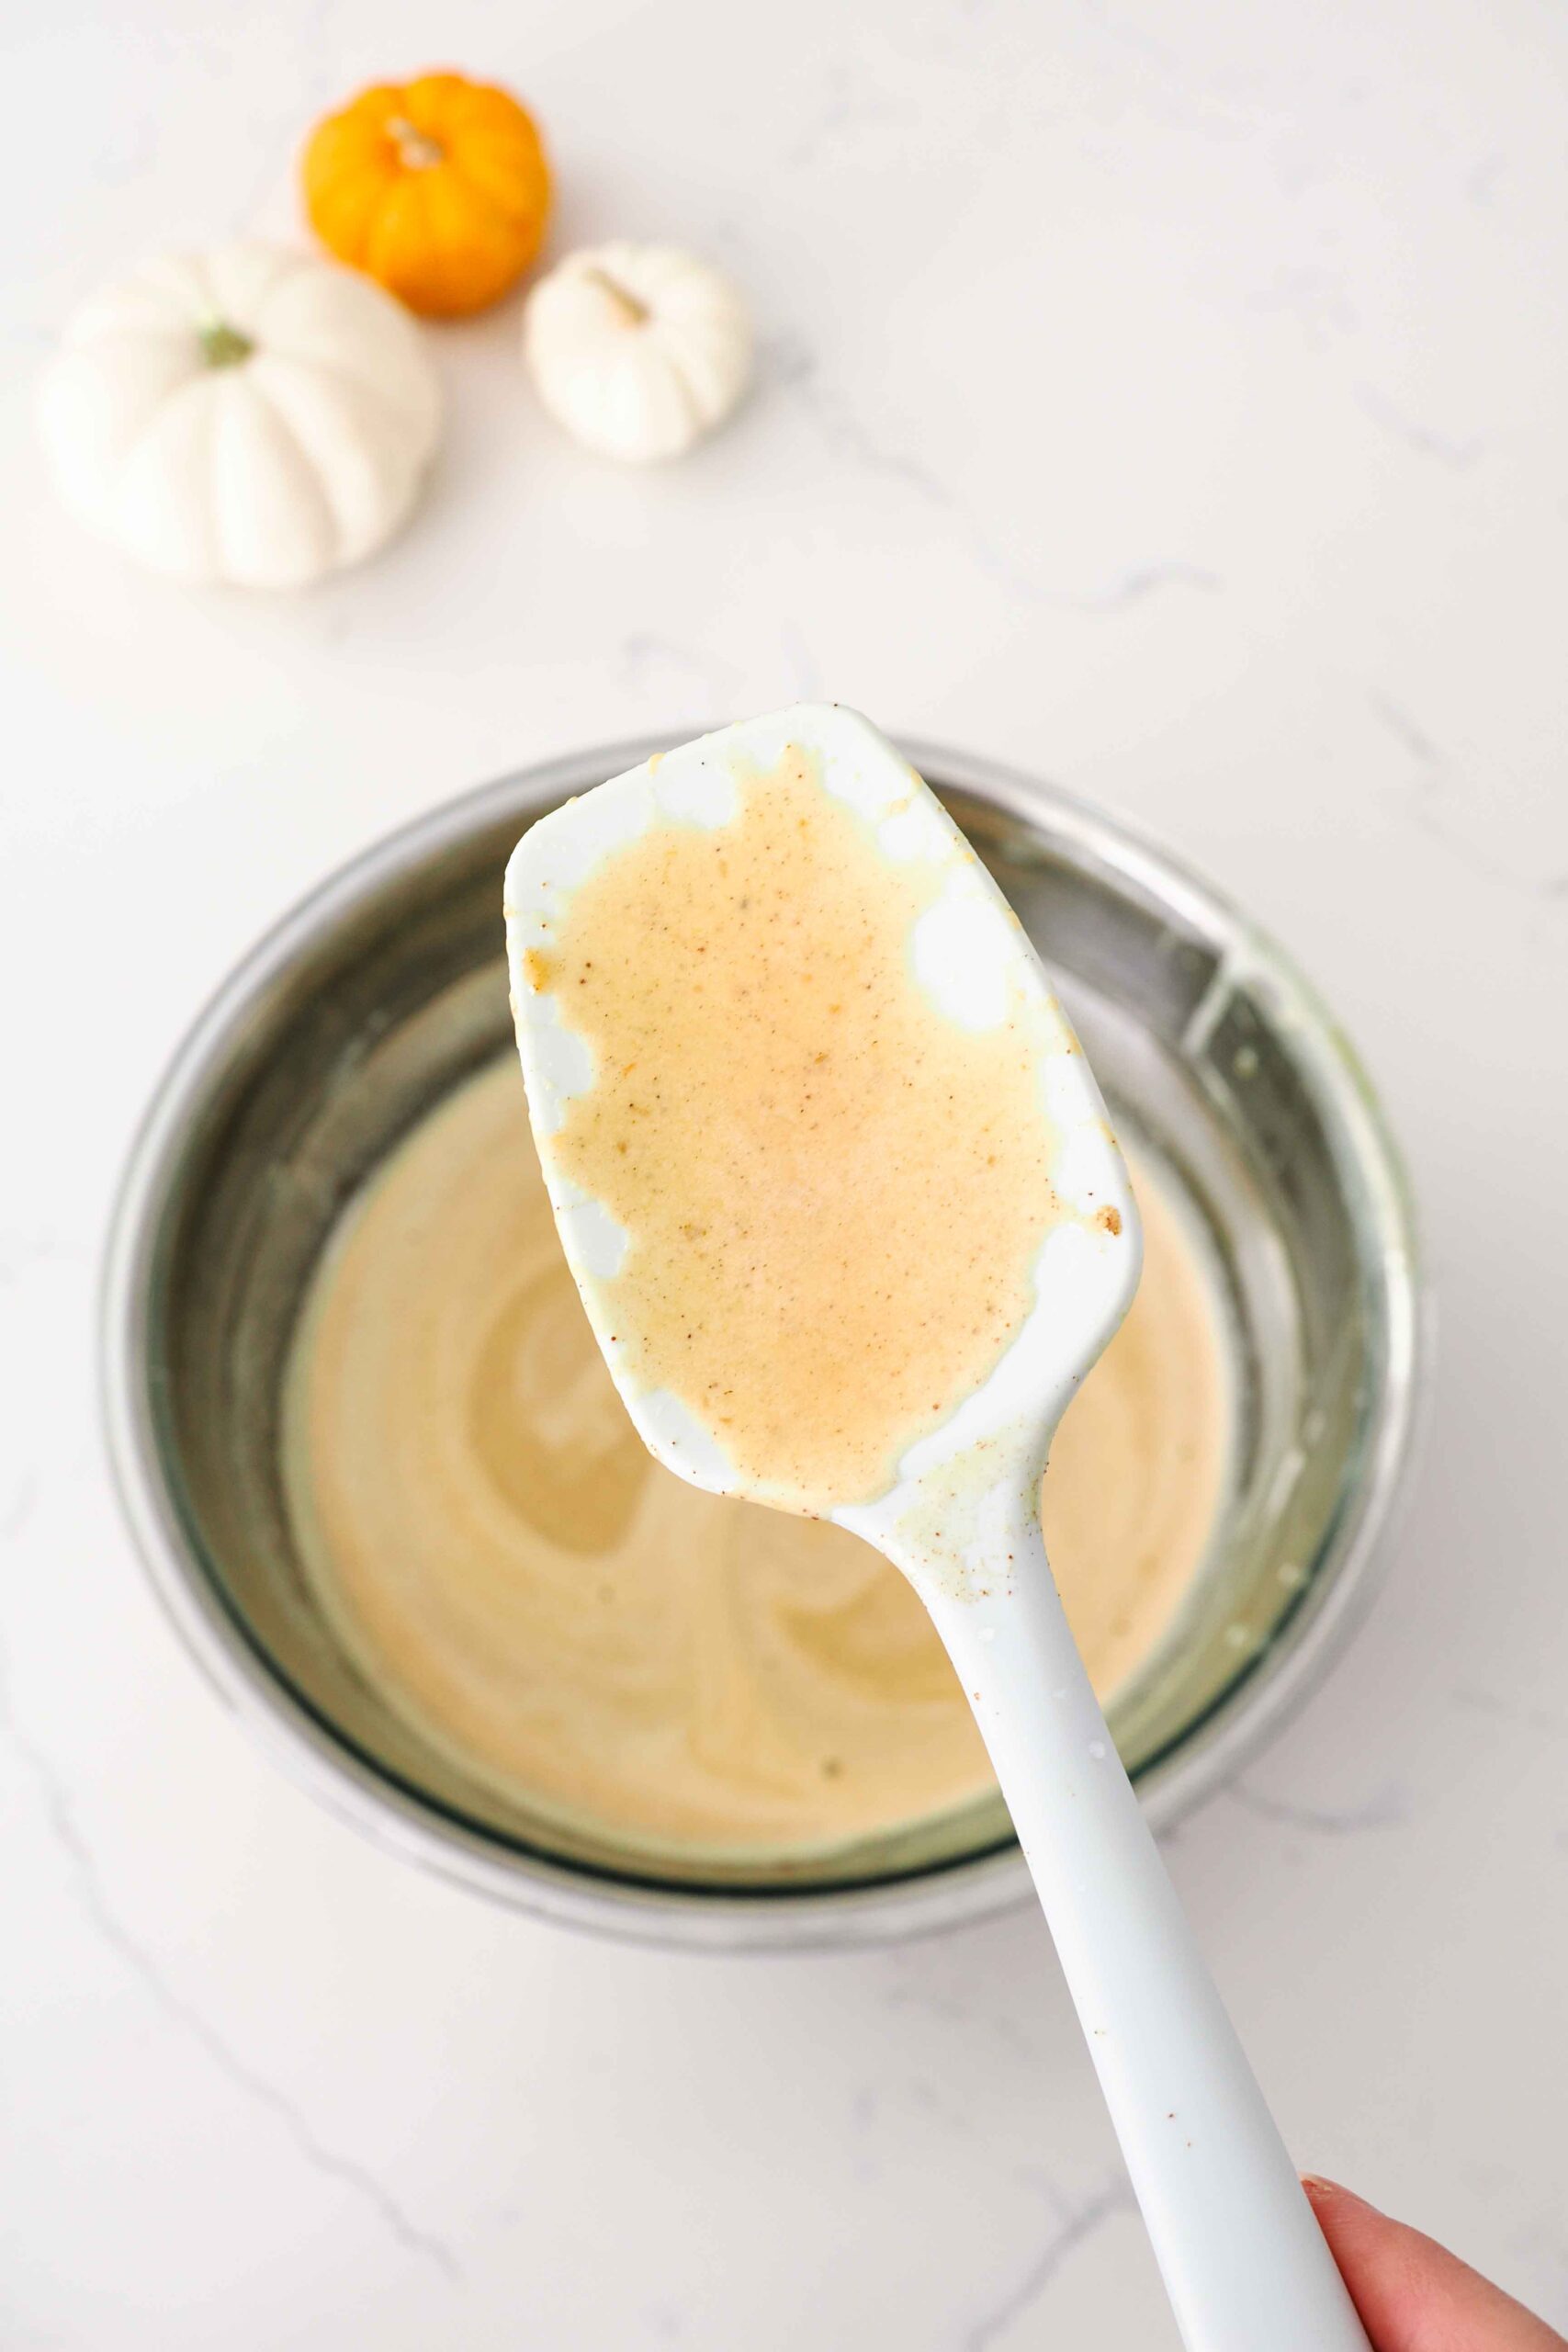
Transfer the custard into a heat-safe bowl, preferably one with a lid. It’s perfectly fine to transfer the custard back to the same bowl you whisked the eggs in originally without washing it (I do it all the time). You are welcome to use a clean bowl or wash it out, if you prefer.
How Can I Tell if My Custard Ice Cream Has Split?
If your custard gets too hot and boils, it has probably split. Your custard can also partially split if you don’t stir it often enough while heating.
A good custard will be thick and smooth, whereas a split custard will be thinner with small clumps of egg, like in the image on the right below.
You can still make the ice cream as directed, but I would recommend straining the custard through a fine mesh sieve before chilling it. The overall result may be a little thinner than you expect, but it will still taste fine and is safe to eat.
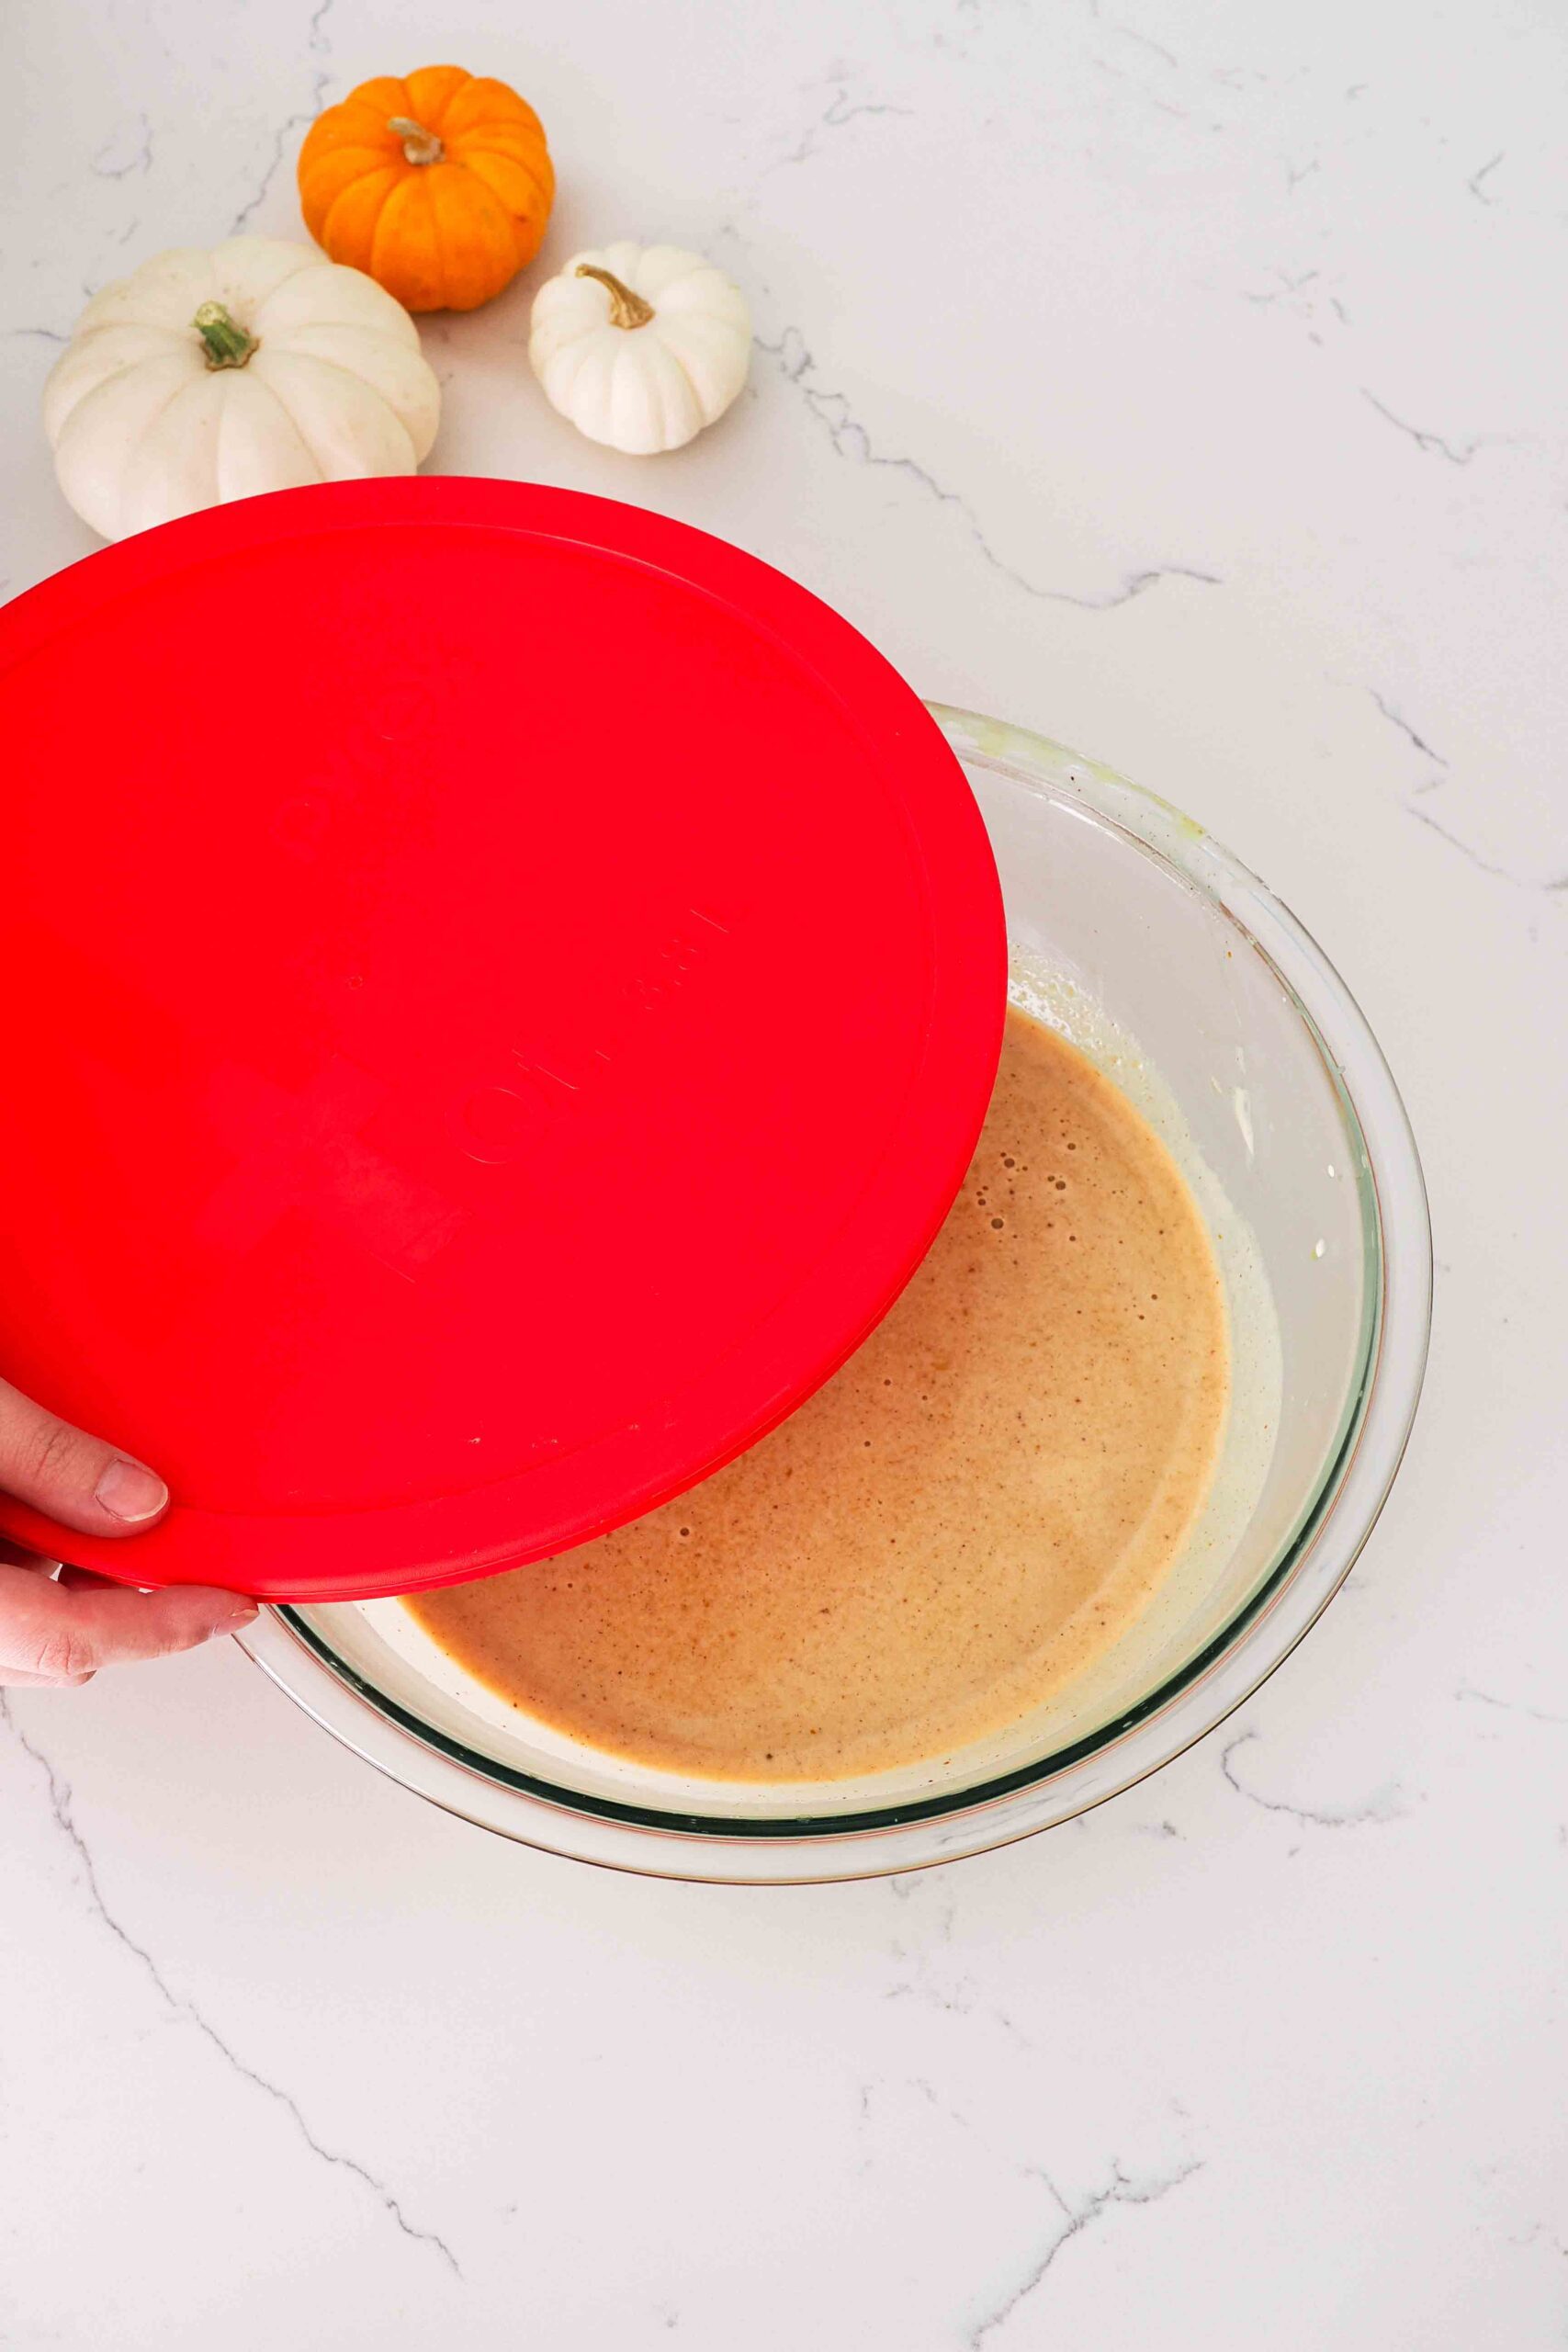
Final Steps before Chilling
Some recipes call for placing a layer of plastic wrap right against the top of the custard to prevent it from forming a skin as it chills. I personally have never found that necessary, as the churning from the ice cream maker immediately after chilling tends to break up any skin that does form.
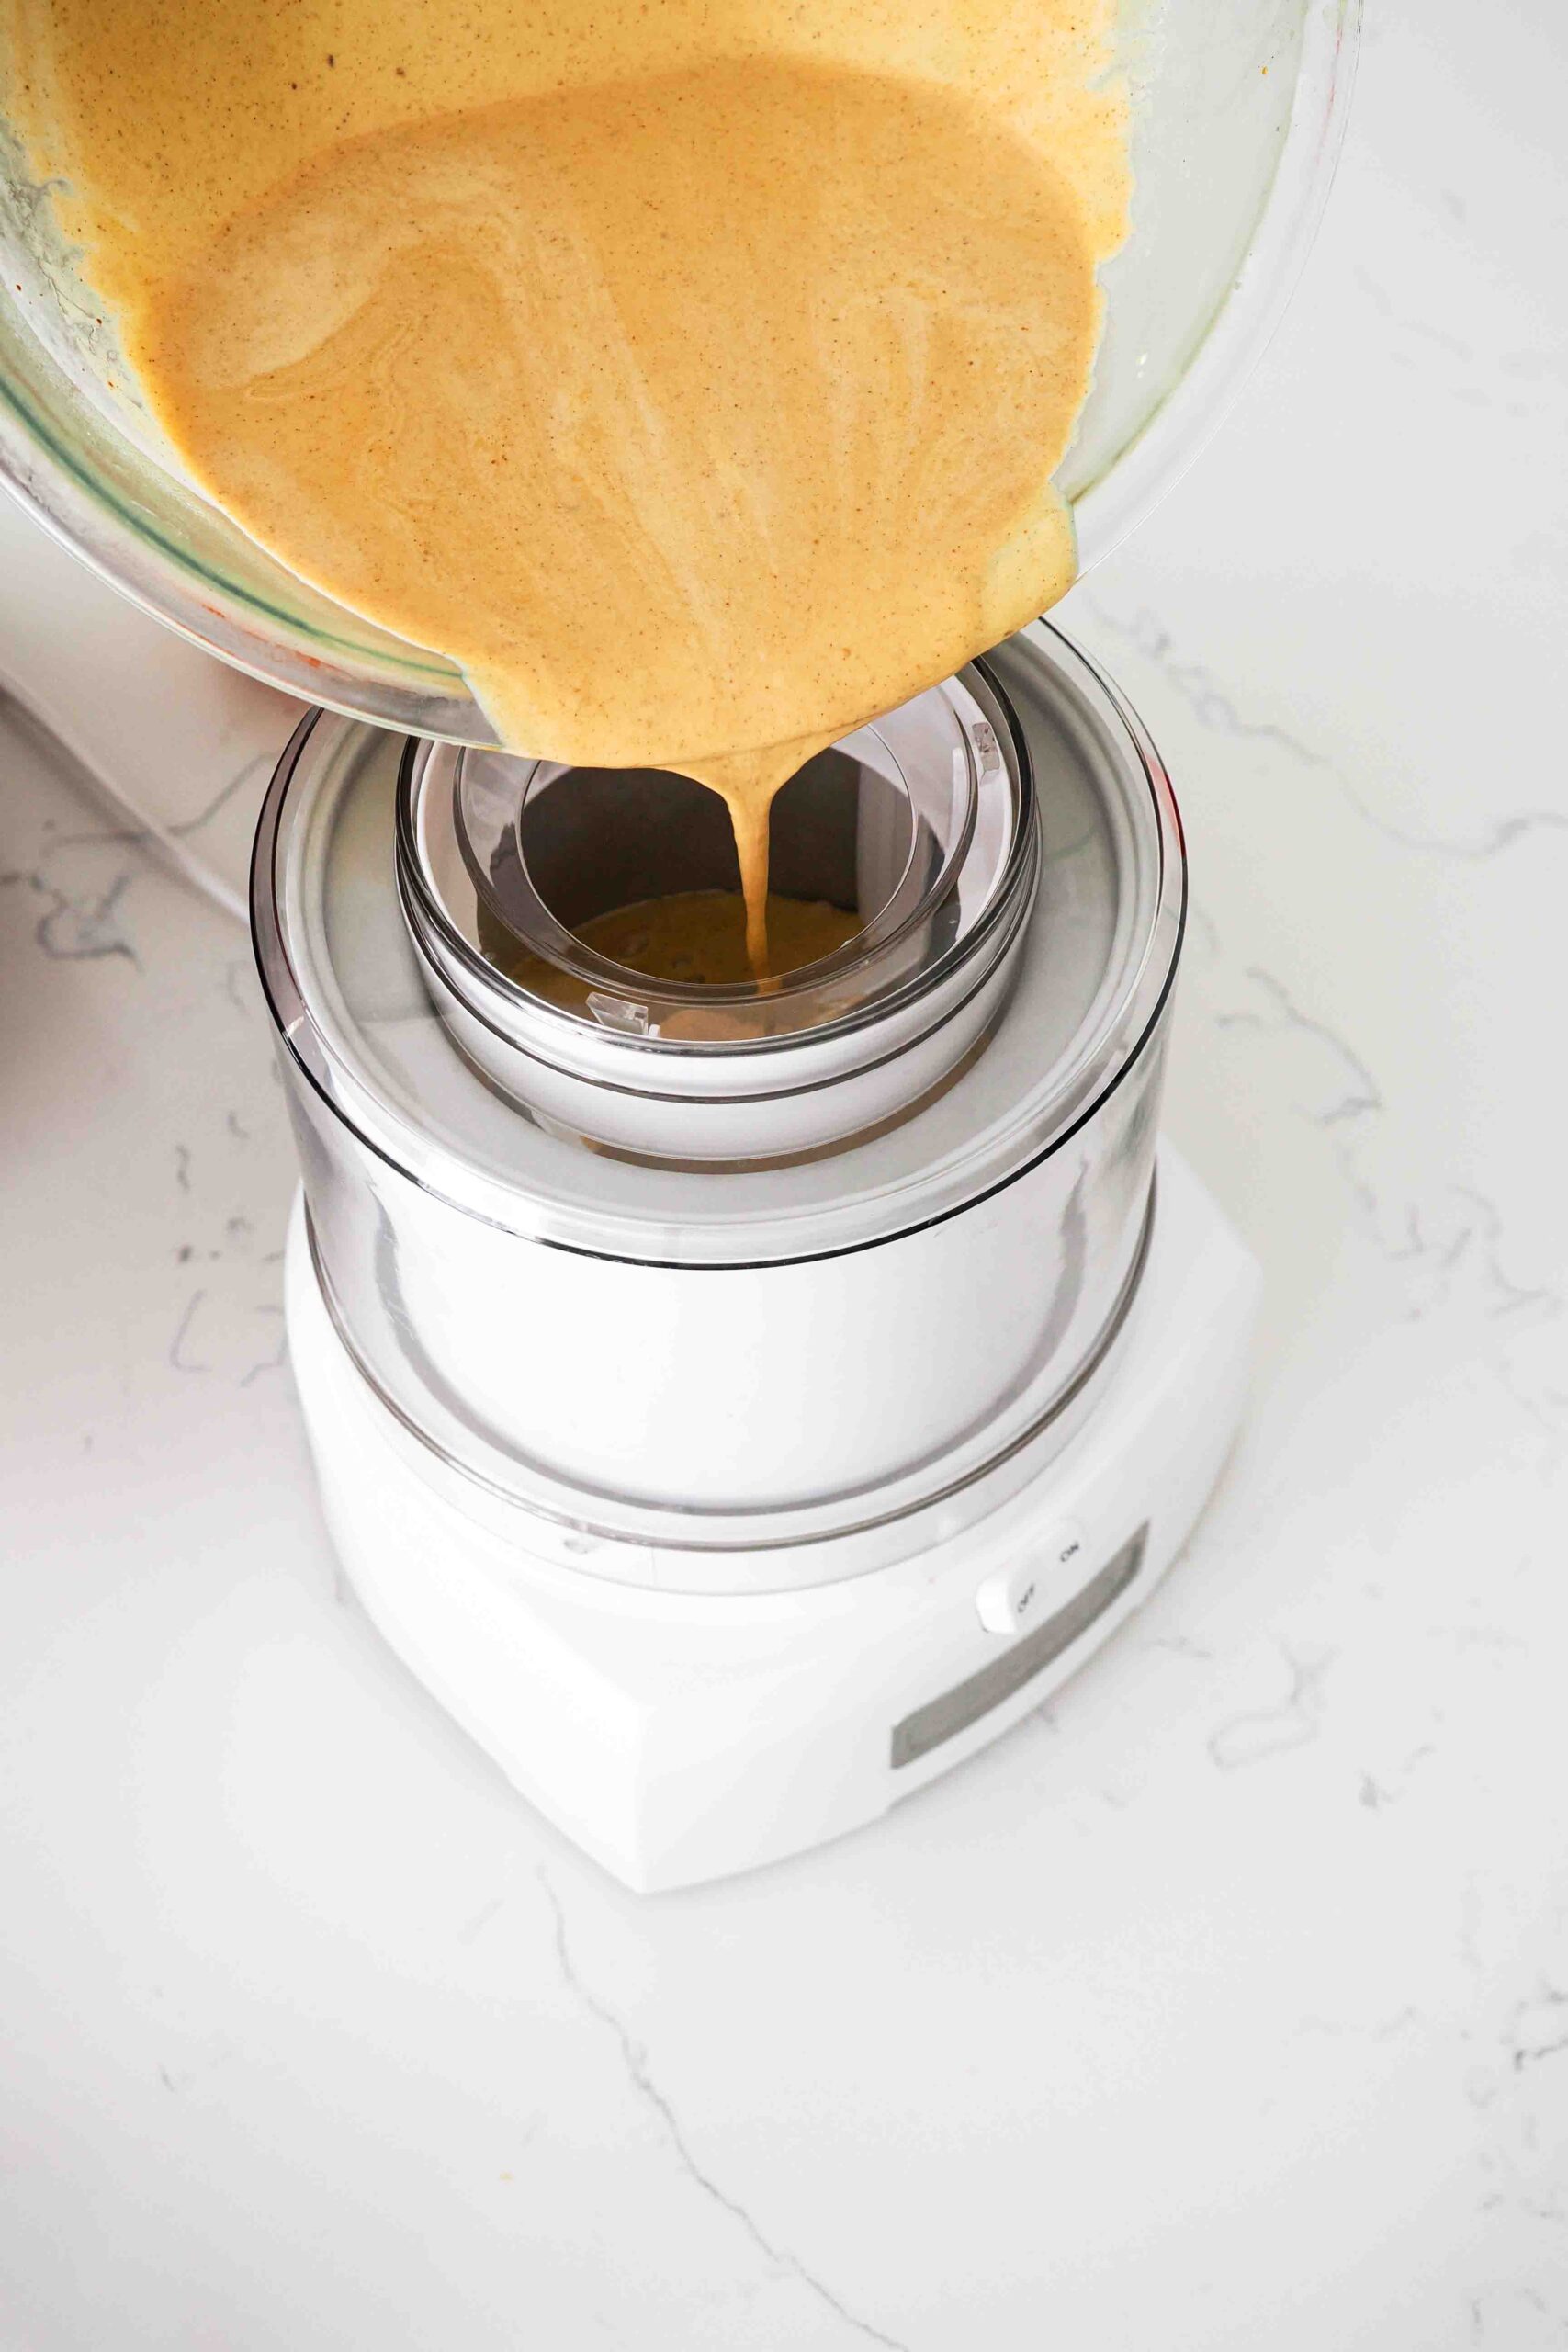
Cover the custard and chill in the fridge until the entire bowl and its contents are cold to the touch. How long this takes depends on the size of your bowl: Using a larger bowl means the custard will cool faster; a smaller bowl will take longer to chill. Keep the custard refrigerated and churn into ice cream within a day for best results.
Churning the Pumpkin Pie Ice Cream
Right before adding the custard to the ice cream maker, place the container in which you plan to store the ice cream in the freezer. This will allow it to chill and prevent the ice cream from melting on contact during transfer later.
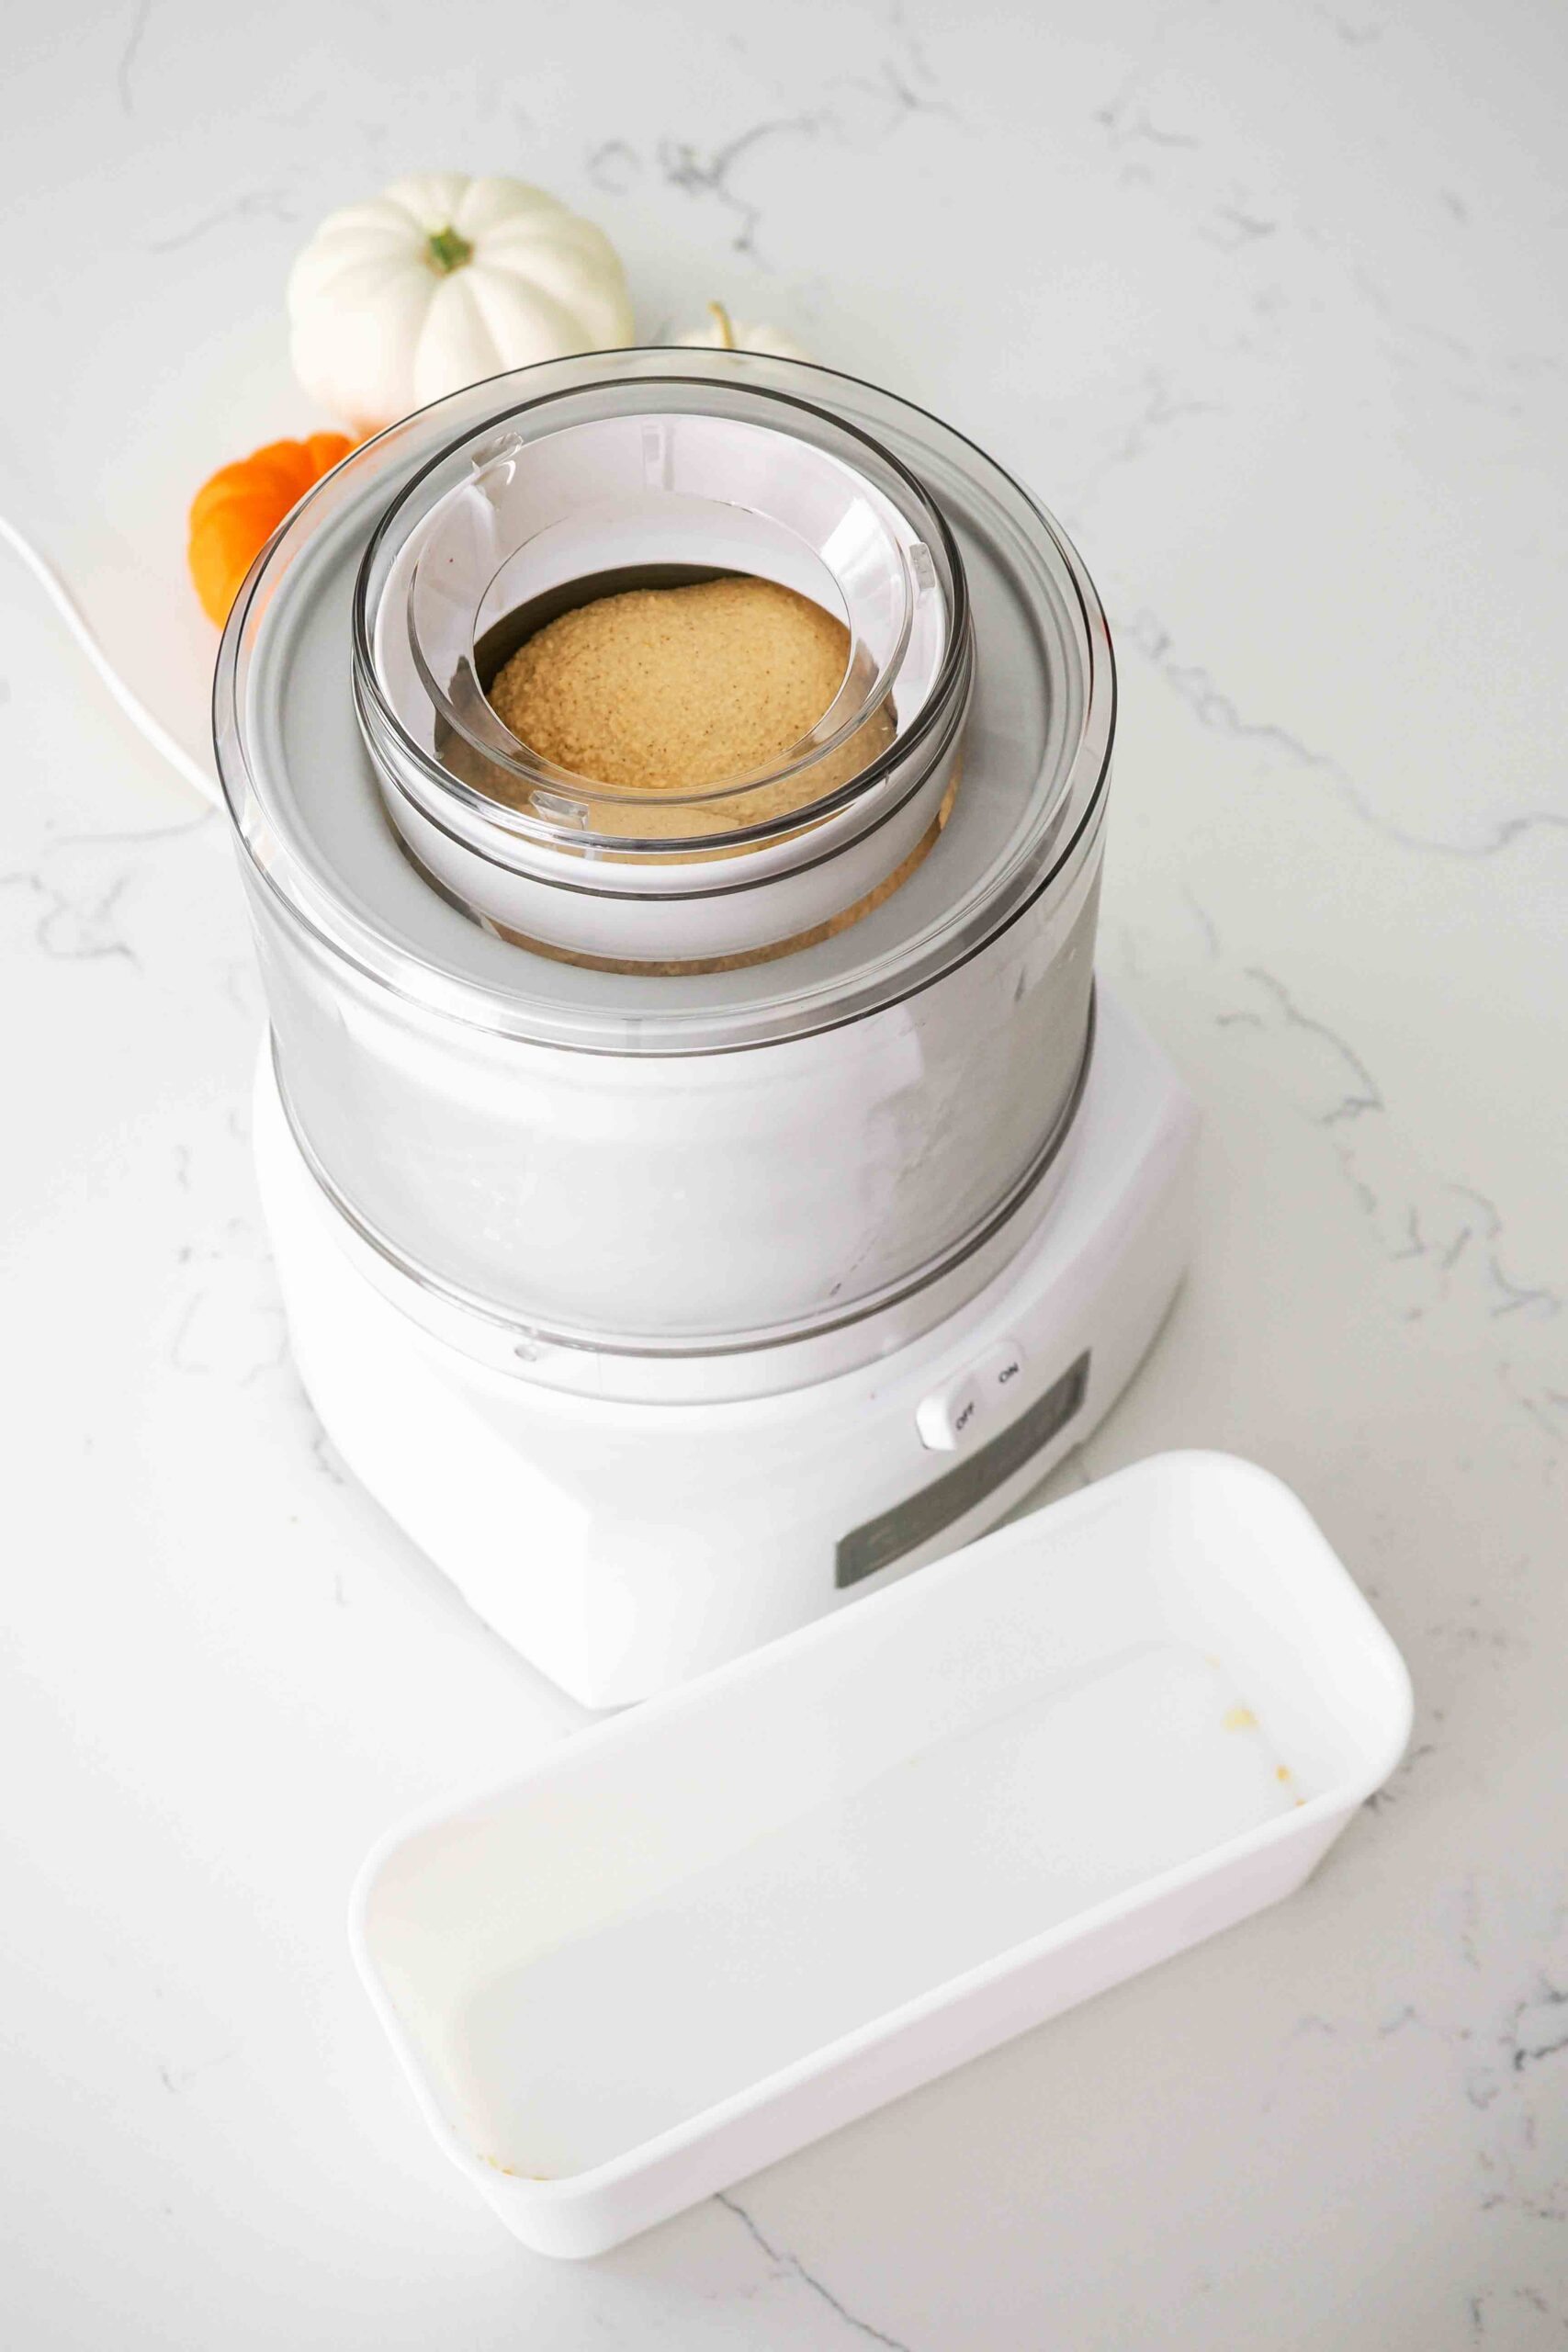
Let the ice cream churn according to the manufacturer’s instructions (or a little longer if you read the next section), until the ice cream forms rounded domes above the sides of the paddle.
The Secret to Scoopable Homemade Ice Cream
My ice cream maker manual says that most ice creams are ready to go in the freezer after just 15-20 minutes of churning. That is technically true, but oftentimes, the ice cream is really difficult to scoop and needs to soften in the fridge or on the counter for a bit.
Fortunately, I have achieved a much softer and silkier ice cream going by look rather than time! (See images below for reference.)
At the 20-minute mark, my ice cream is normally far more voluminous than it started, but it melts somewhat as soon as I start scooping it into the container. By letting the ice cream maker churn for an extra 5-10 minutes, it creates a finer network of ice crystals that doesn’t melt as quickly and stays soft in the freezer!
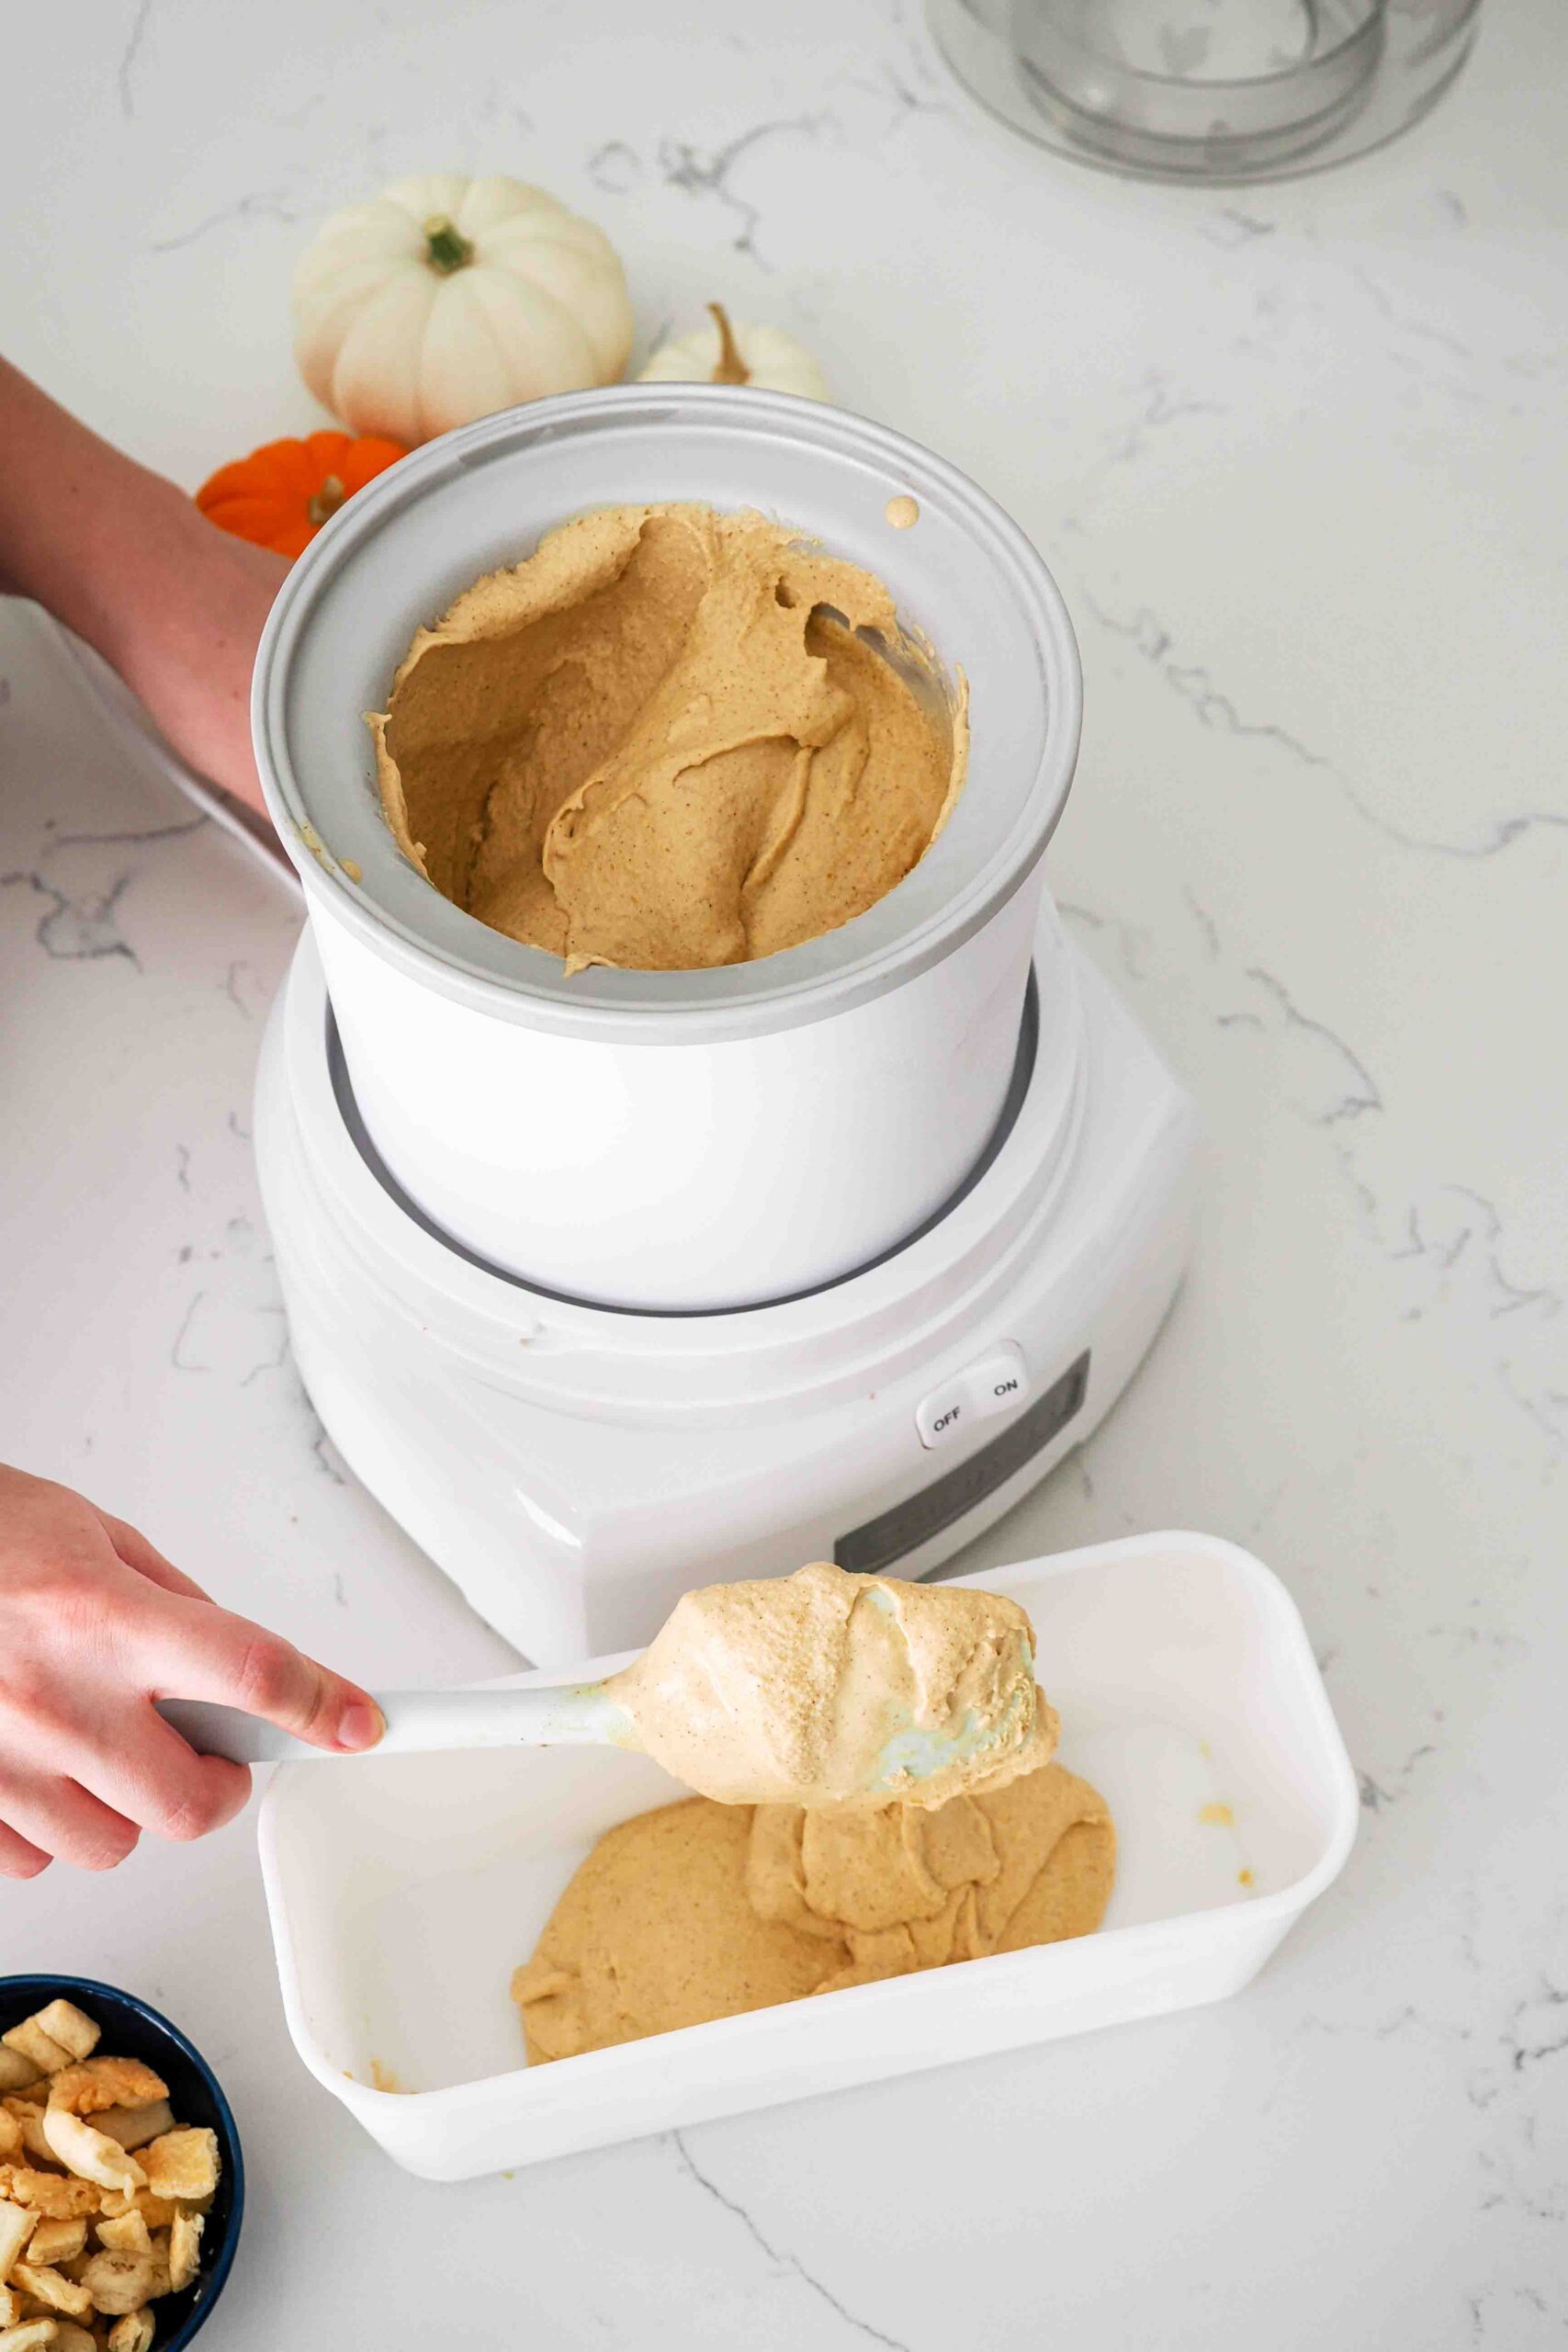
Then, remove the empty container from the freezer and use a heavy-duty spatula to transfer the ice cream into the cold container. It takes quite a bit of force to scrape down the sides of my ice cream canister, so a heavy-duty spatula that won’t break is ideal.
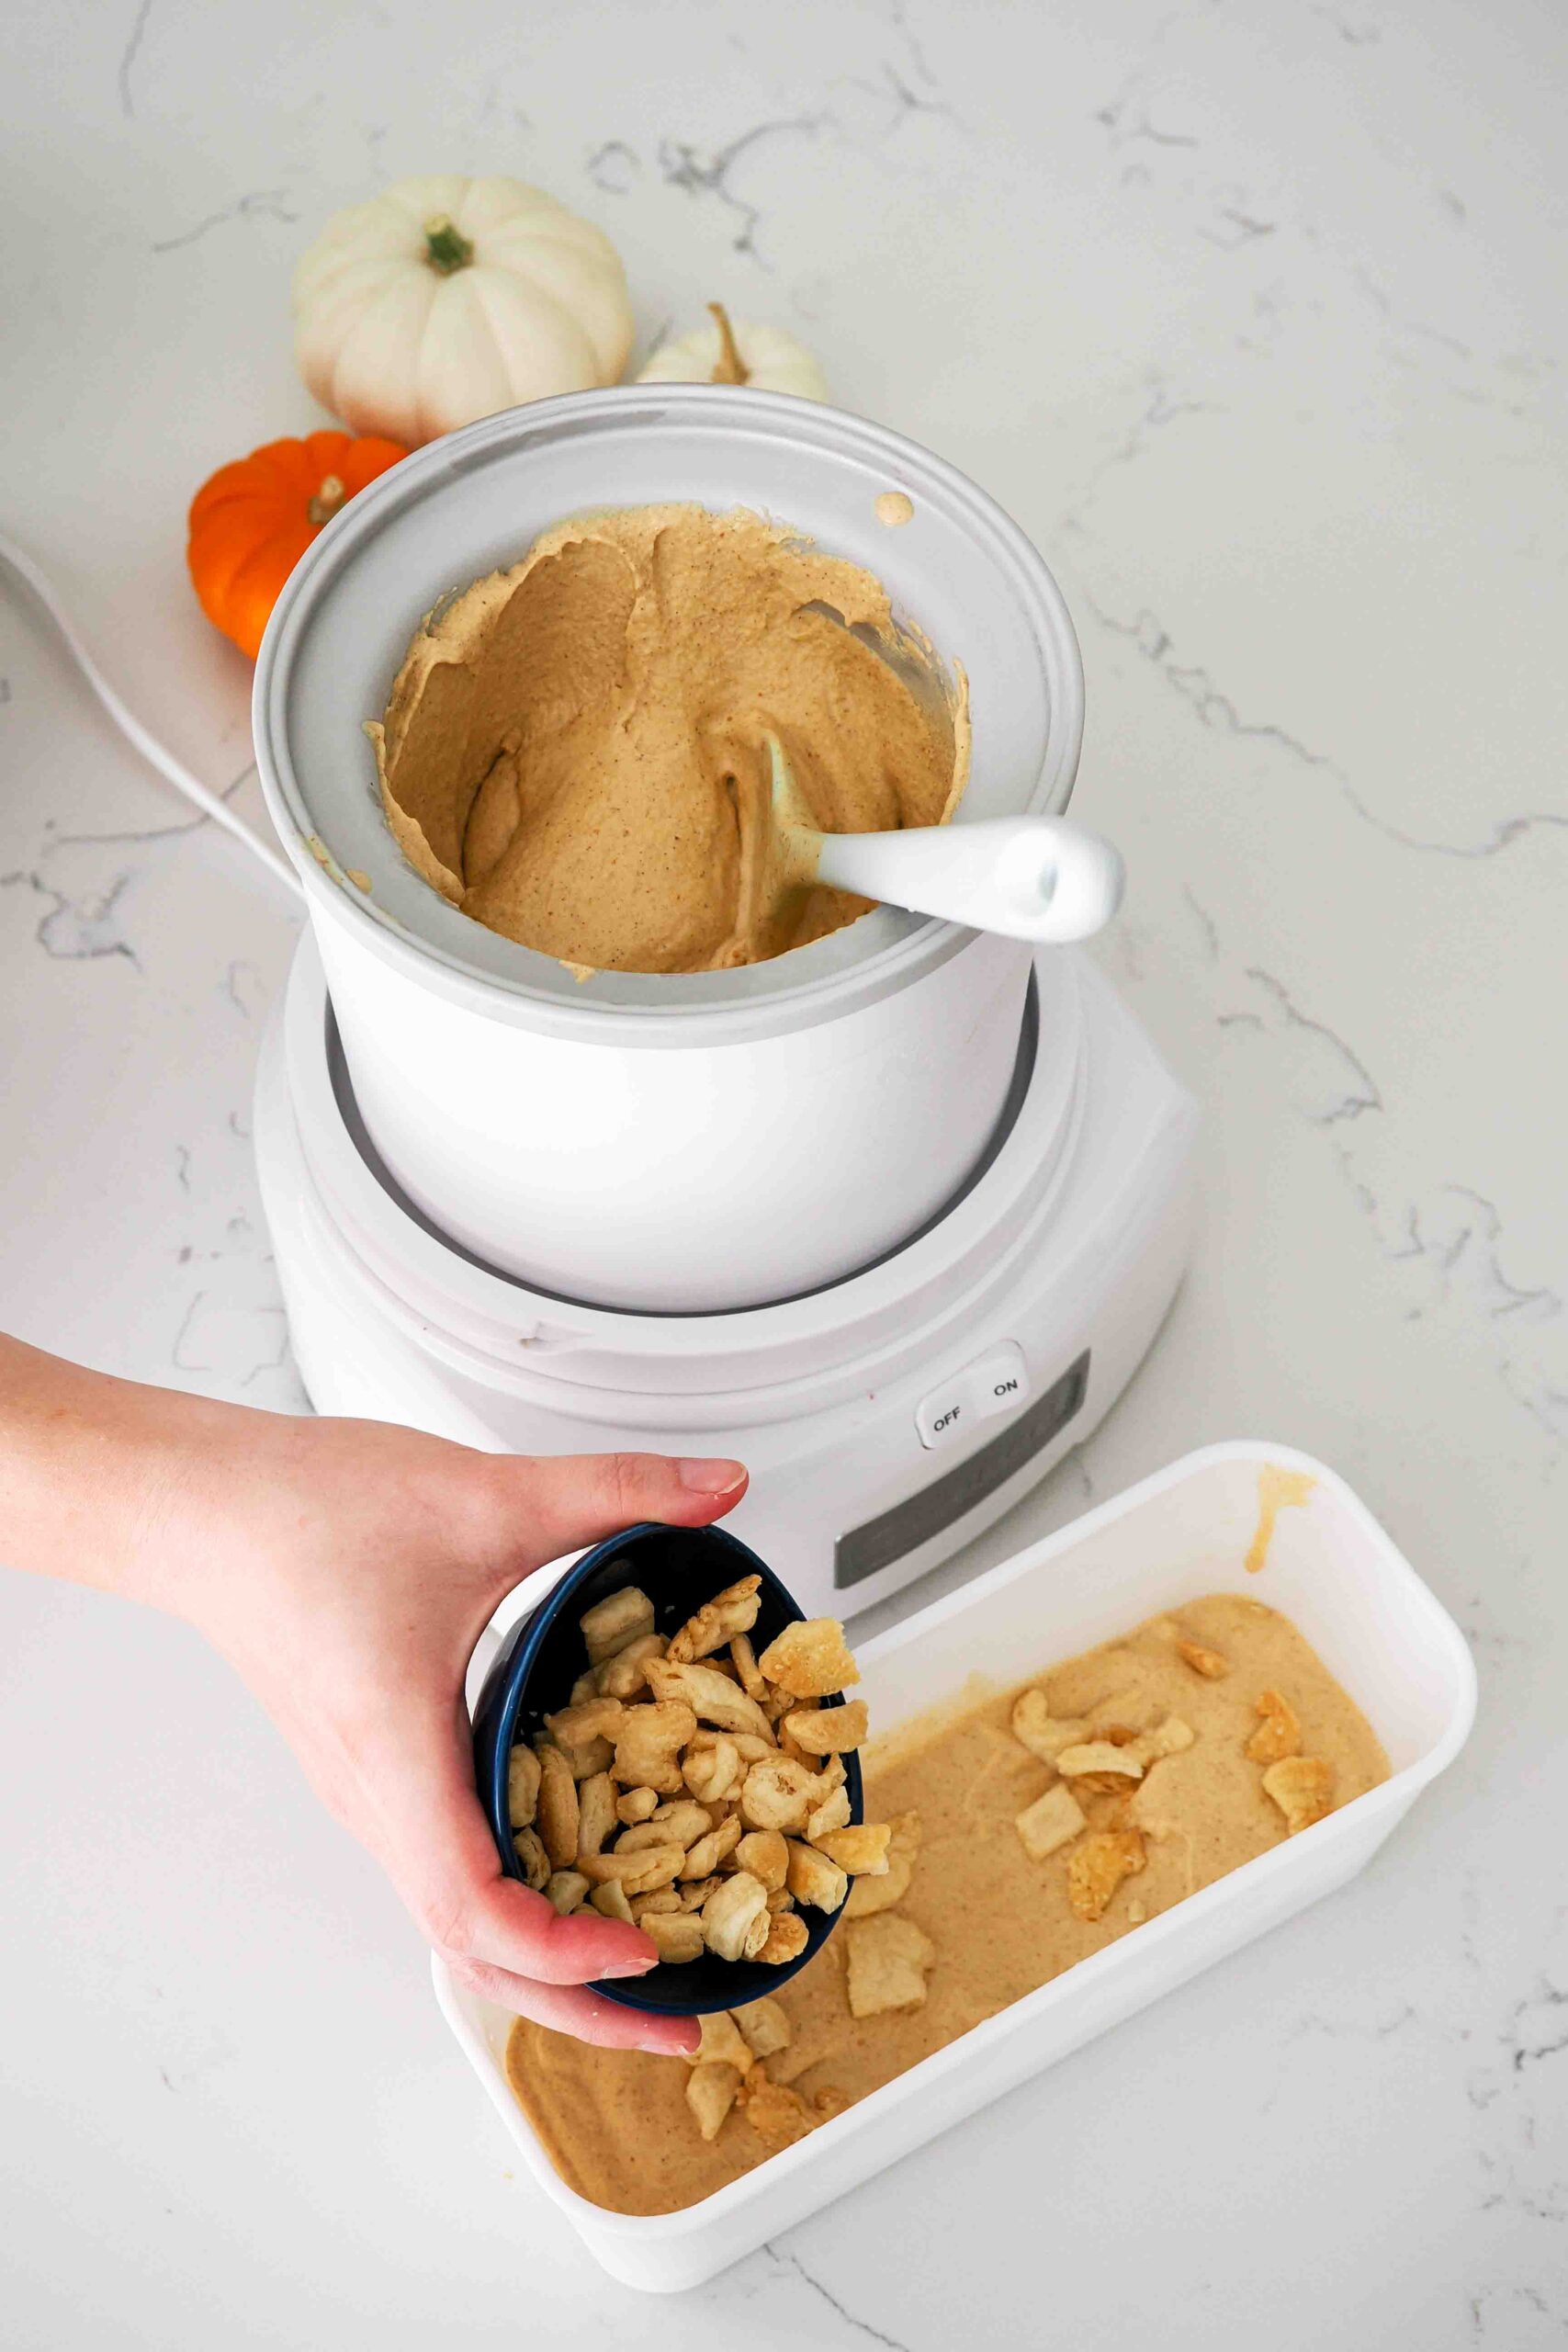
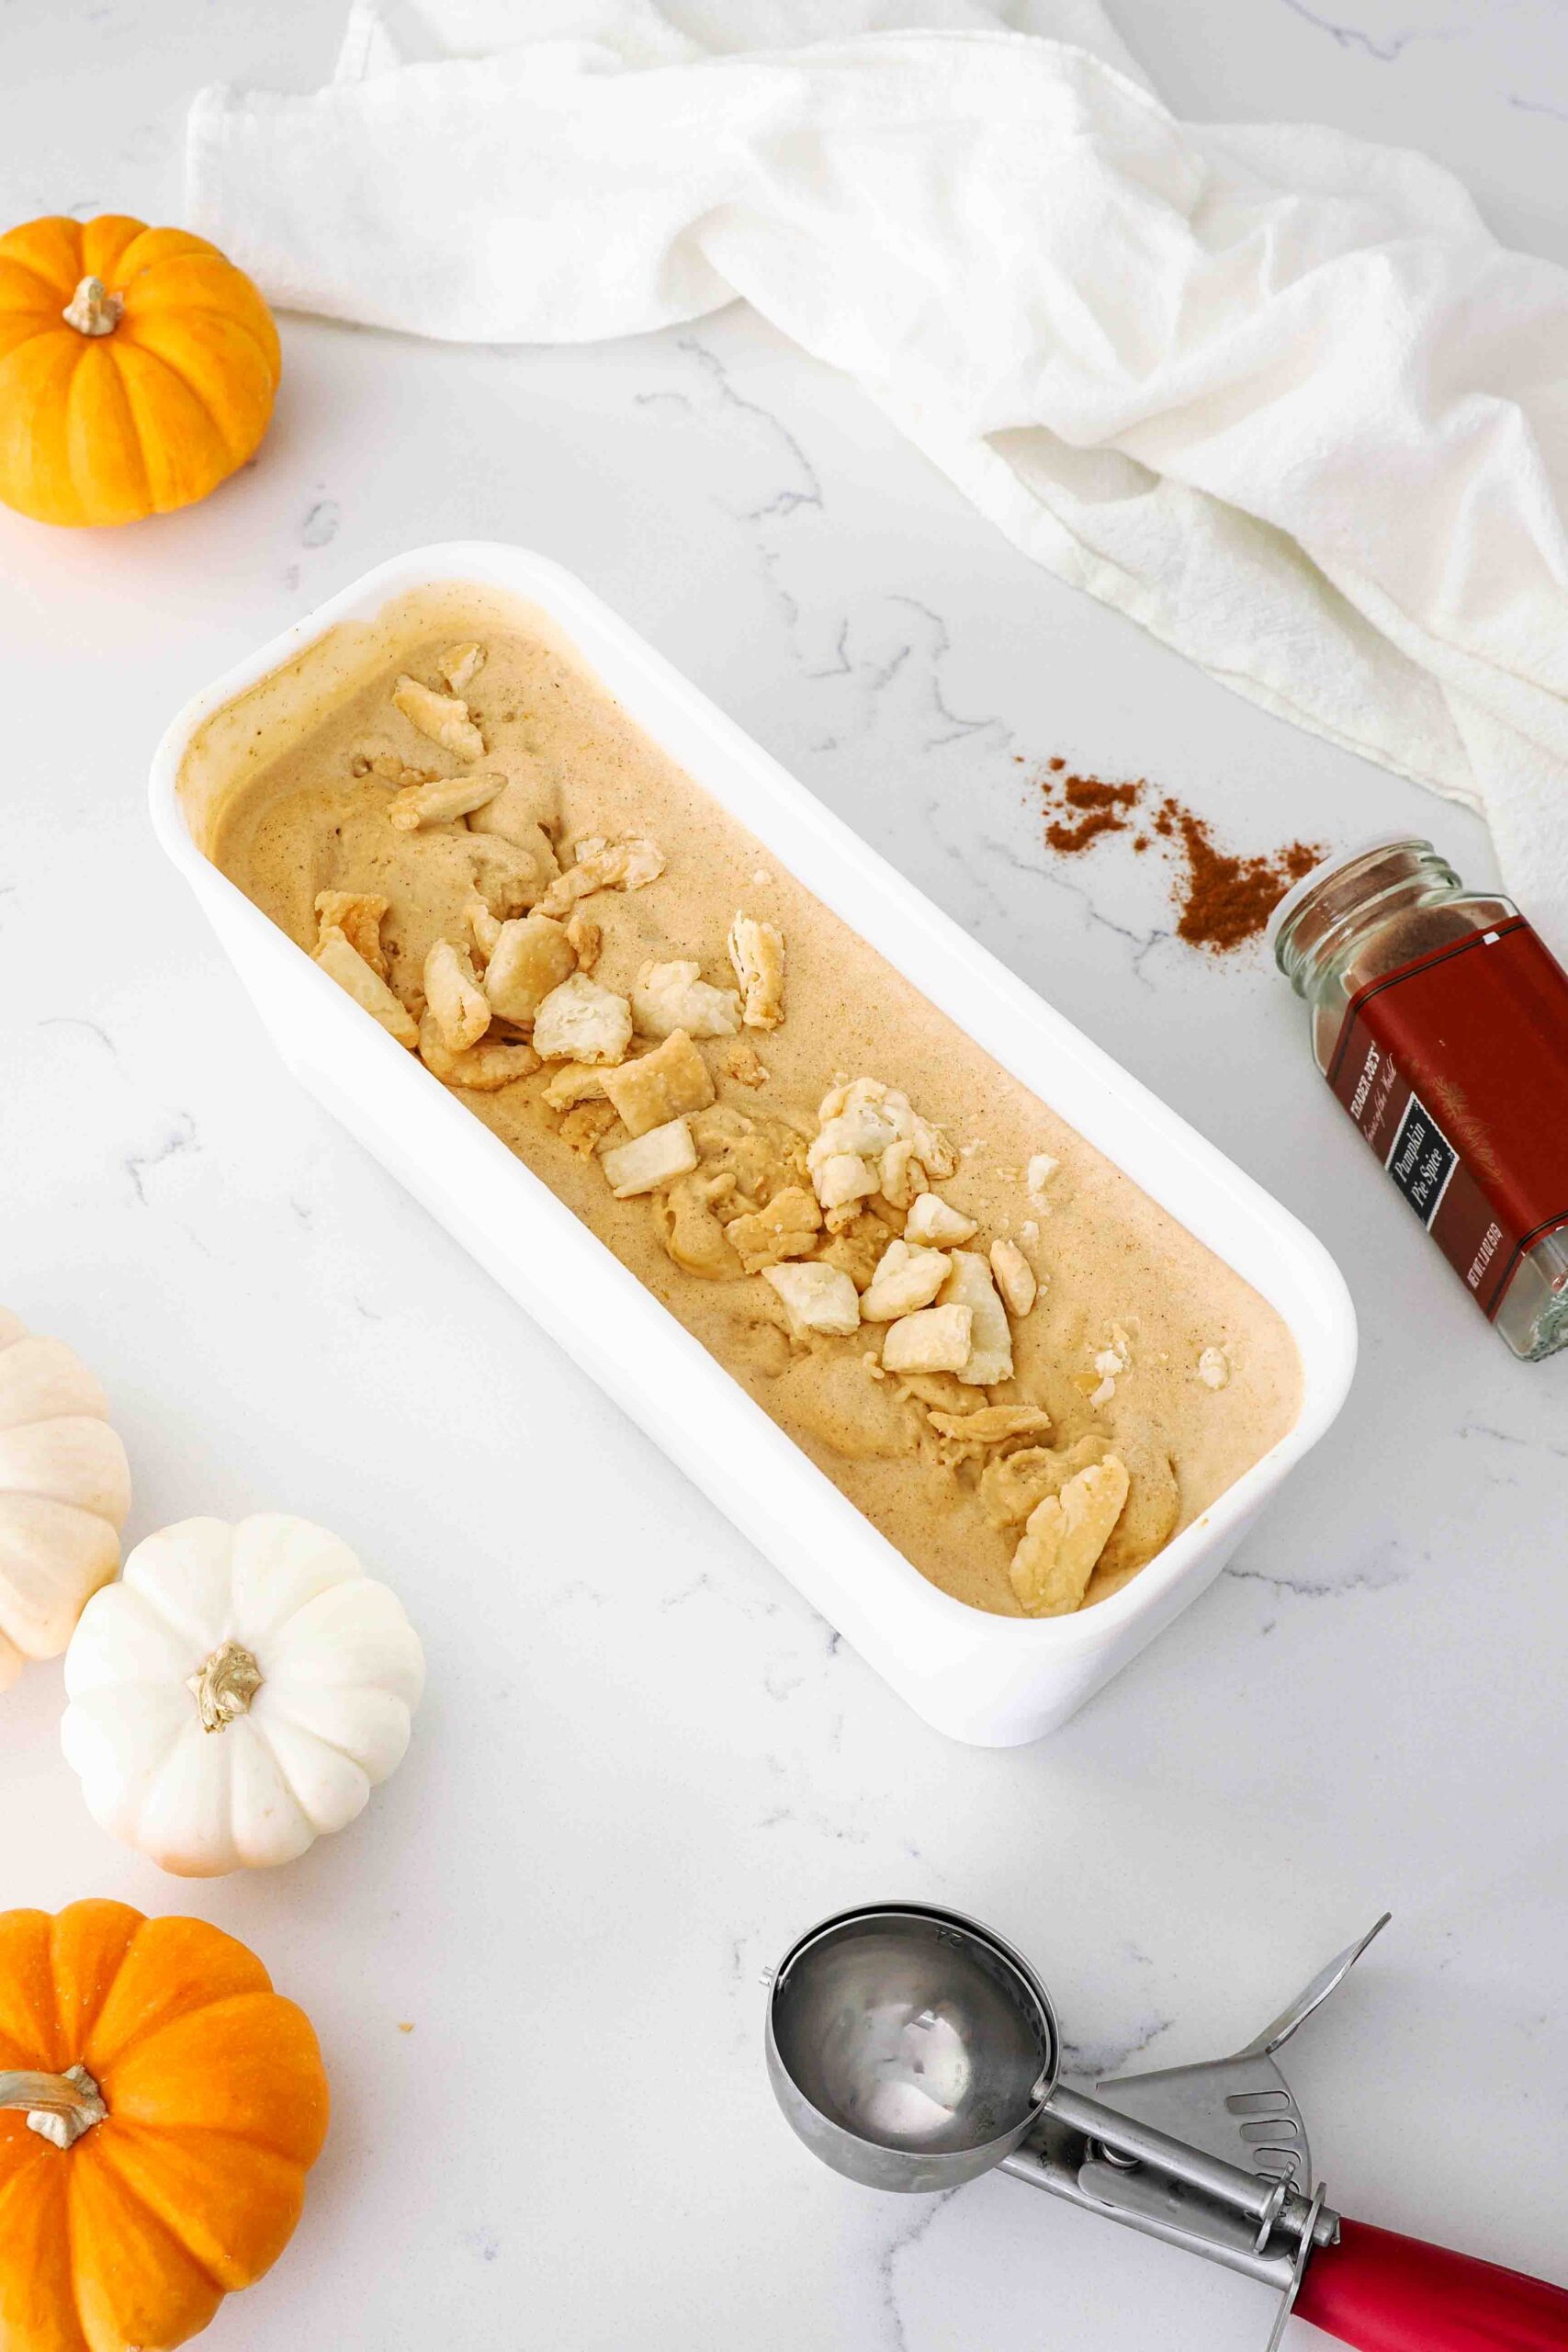
Adding Pie Crust Pieces to Pumpkin Ice Cream
I like to cover the bottom of the container with ice cream, then sprinkle on a layer of pie crust pieces. Scoop more ice cream into the container until the pie crust pieces are covered, then add another layer and repeat. To make the ice cream easy to identify later on, I sprinkle the last pie crust pieces on top.
Place a lid on the container and freeze the ice cream for at least four hours, or until fully set, then enjoy!
FAQs about Pumpkin Ice Cream
This pumpkin pie ice cream tastes exactly like you’re biting into a frozen piece of pumpkin pie with a large dollop of whipped cream on top!
You absolutely can! I’ve made ice cream with up to six yolks after some extensive macaron baking and did not taste a noticeable difference.
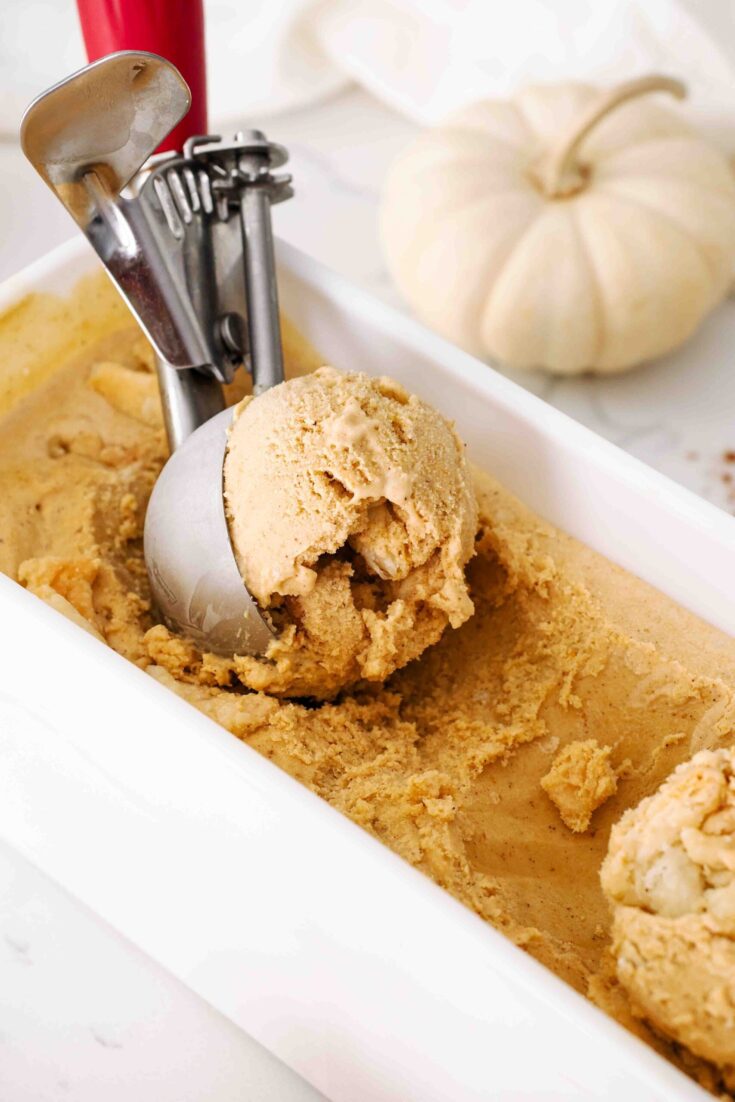
This recipe, with the crumbled pie crust pieces, makes about 1.5 quarts.
This ice cream is a little thicker than my French vanilla ice cream and has chunks, but it will scoop nicely. Follow my secret to scoopable homemade ice cream a few paragraphs above this.
Other Recipes You May Enjoy
This is the first recipe for Pumpkin Month 2023, and I’m adding new pumpkin recipes each week! You can find all of my recipes with pumpkin here.
My pumpkin spice cheesecake macarons are well-loved by pumpkin lovers everywhere.
In a similar vein to this pie-themed ice cream, my easy cherry pie ice cream is popular in summer, as is my classic French vanilla ice cream.
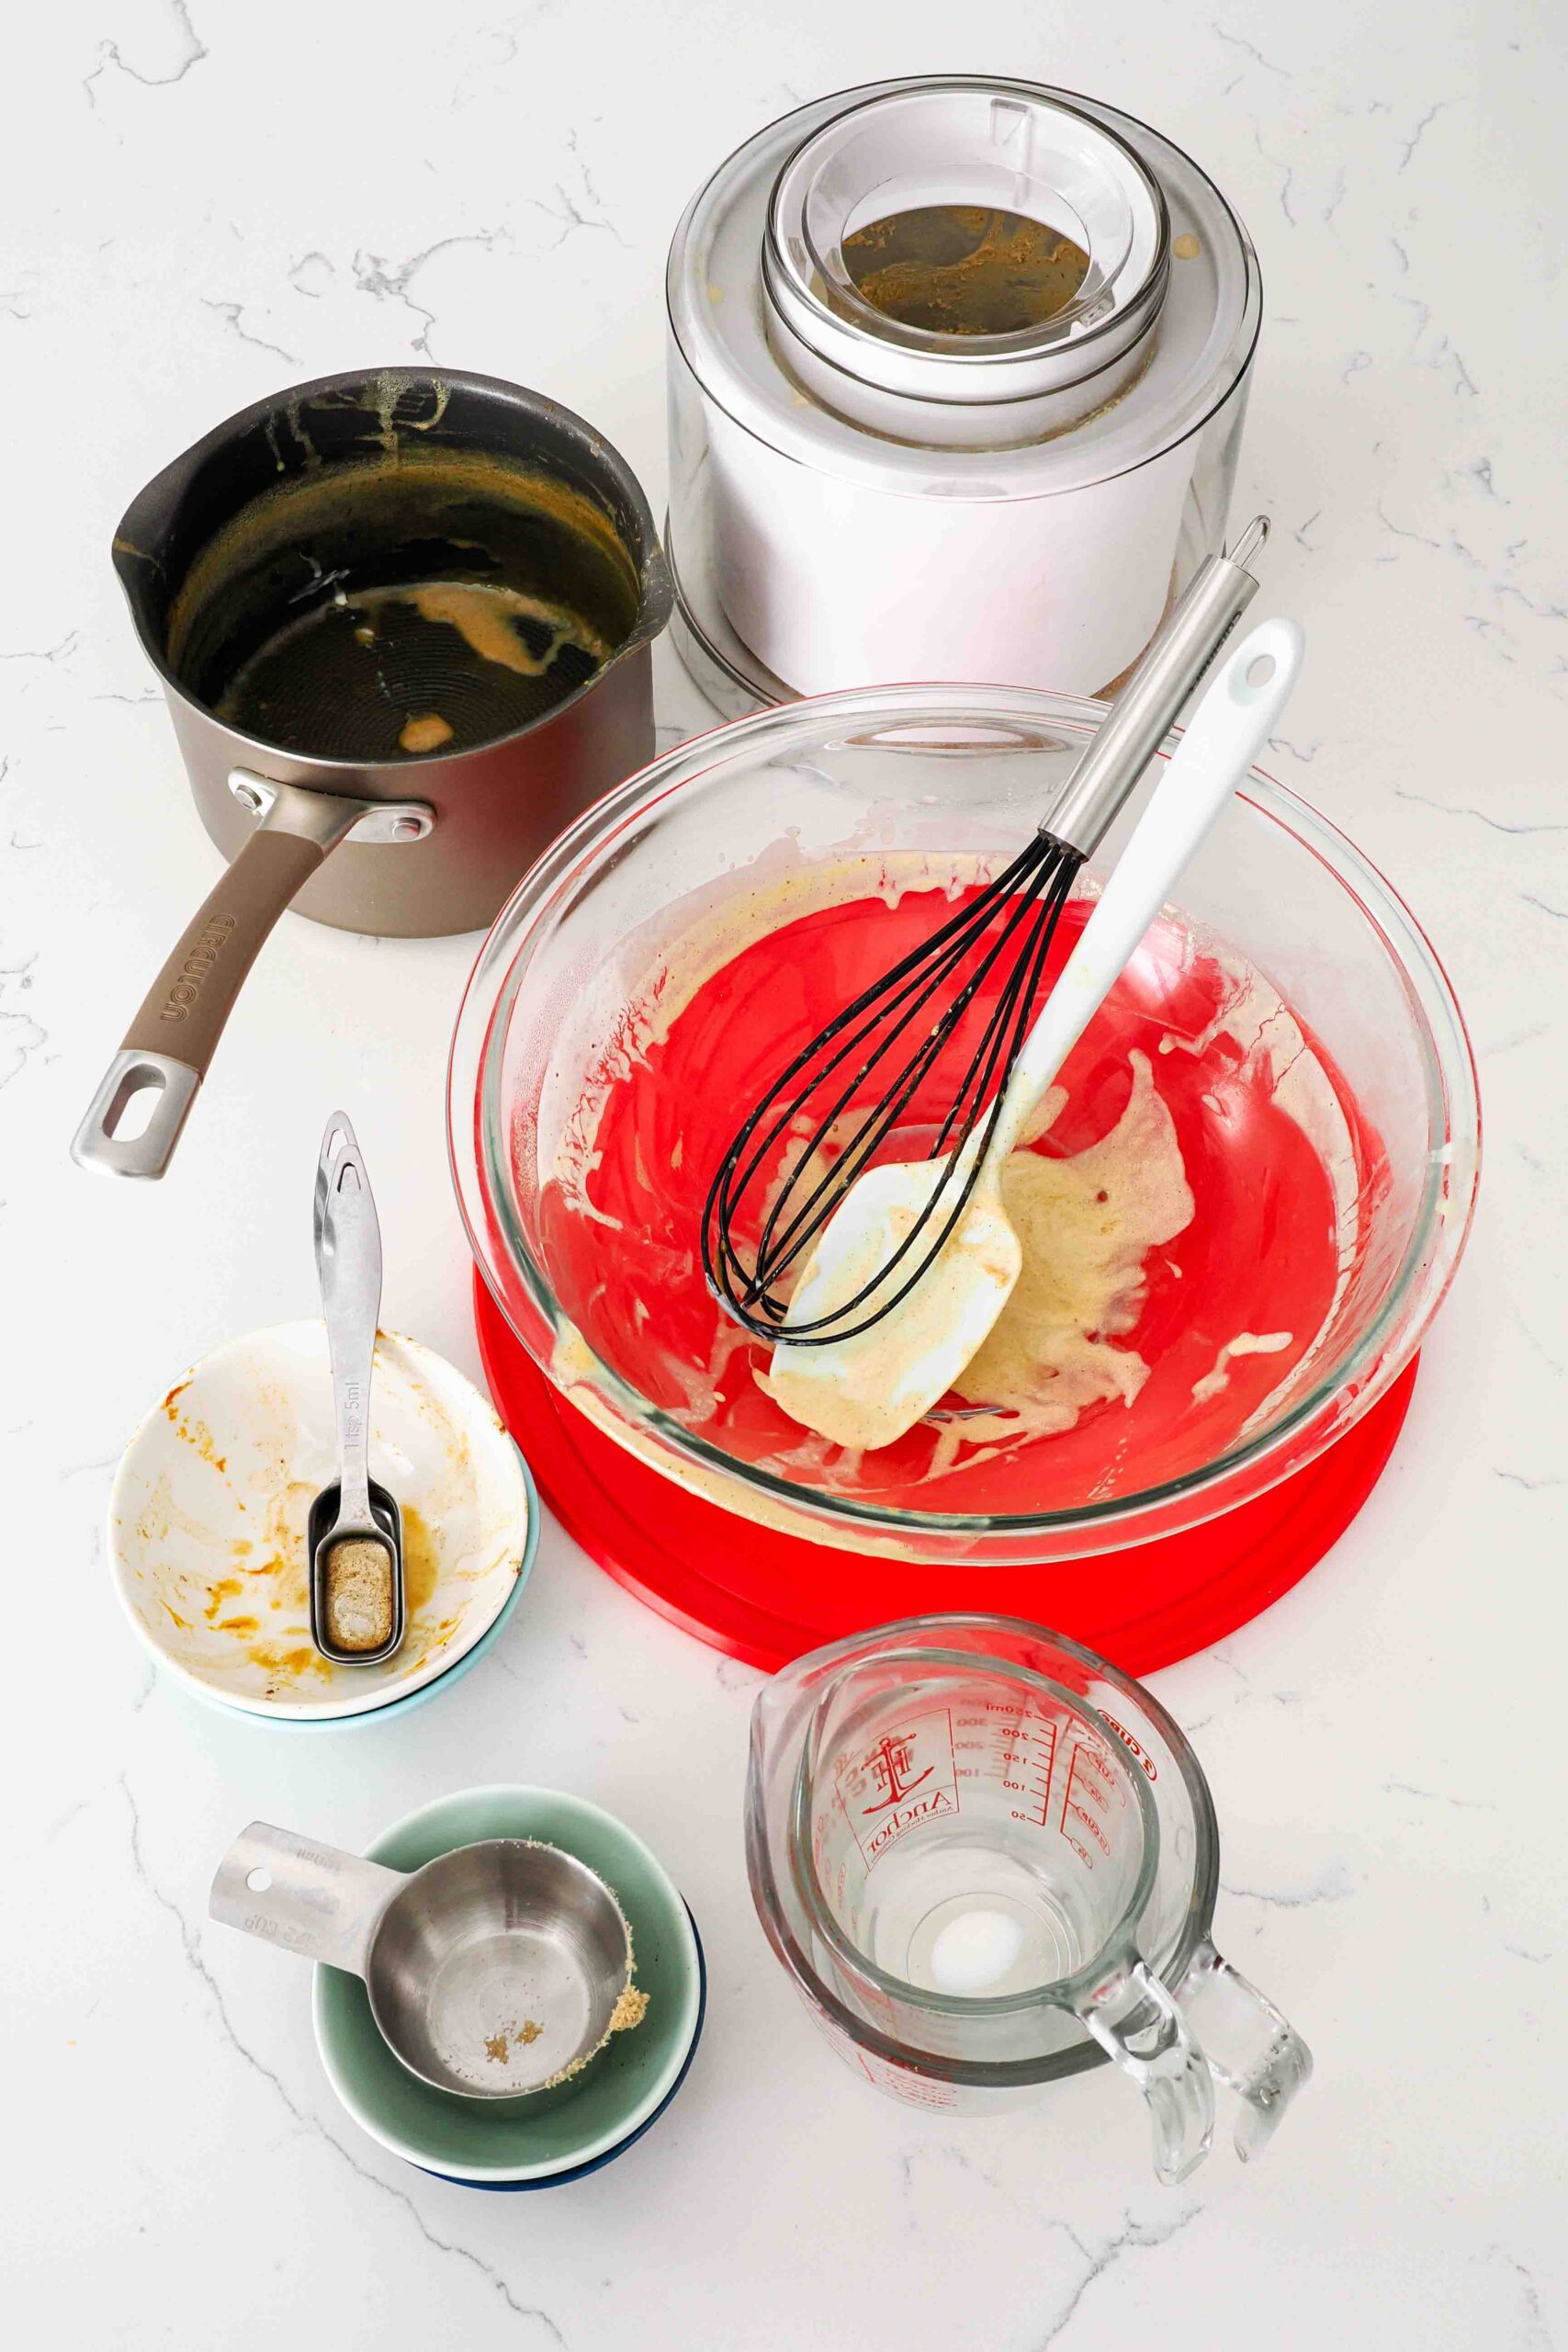
Dish Cleanup: Gonna Take a While
I rate my recipe cleanups on a scale of 1 to 5. 1 is only a handful of dishes, and 5 is everything including the kitchen sink.
This pumpkin pie ice cream recipe has a cleanup rating of a 4. A word of advice: It’s much easier to rinse everything while the pumpkin custard is still wet. Otherwise, you may have to scrub at the dried-on portions.
My only exception is the frozen canister, as I let it warm up to room temperature before cleaning it (the soapy water can freeze to the sides, even if you’re using warm water). I always seem to get a drop or two of ice cream on the outer ice cream cage, so I wash that up, too.
Homemade Pumpkin Pie Ice Cream Recipe
Pumpkin Pie Ice Cream
Custardy pumpkin pie ice cream tastes just like homemade pumpkin pie topped with whipped cream—pie crust and all!—and is flavored to perfection with pumpkin spice and crispy pie crust pieces.
Ingredients
- ½ cup brown sugar, firmly packed (106 g)
- ¾ cup pumpkin puree (190 g)
- 2 teaspoons pumpkin pie spice* (see note for substitution) (4 g)
- 1 cup whole milk (240 ml)
- 2 cups heavy whipping cream (480 ml)
- 1 teaspoon vanilla bean paste or extract (5 ml)
- Pinch of salt
- 4 large egg yolks
- ½ cup granulated sugar (100 g)
- 1 cup leftover pie crust pieces (about 50 g)
Instructions
Making the Pumpkin Custard Base
- In a medium pot over medium heat, stir together the brown sugar, pumpkin puree, pumpkin pie spice*, whole milk, heavy cream, vanilla bean paste or extract, and a pinch of salt. Stir occasionally, until the cream mixture is warm and steamy and just about simmering, about 8-10 minutes. Do not let the mixture boil.
- Meanwhile, whisk together four yolks and the granulated sugar in a large heat-safe bowl. Whisk until the yolk mixture becomes pale yellow and thick. This is known as the ribbon stage, where the mixture falls off the whisk in ribbons that are clearly visible for a few seconds before disappearing back into the mixture.
Tempering the Egg Yolks
- Remove the warm pumpkin mixture from heat and carefully pour about 1-2 Tablespoons (15-30 ml) into the yolk mixture at a time, whisking vigorously until incorporated. Repeat 1-2 Tablespoons (15-30 ml) at a time until you've added about half of the cream mixture.
- Pour the egg yolk mixture back into the pot with the pumpkin mixture and return to medium heat. Cook, stirring occasionally, until the custard is thick enough to coat the back of a spoon or is about 170°F/75°C, about 5-10 minutes. Again, do not let the custard boil. If the custard boils, it will split.**
- Pour the custard into a large heat-safe bowl. (I always use the same one the egg yolk mixture was in, but you're welcome to use a clean bowl.) Cover the bowl and chill in the fridge for at least four hours or up to one day, until the mixture is cold to the touch.
Churning the Pumpkin Custard Ice Cream
- Once chilled, place the pie crust pieces in container in which you'll store the ice cream in the freezer. Then, pour the custard into a ice cream maker and churn according to manufacturer's instructions. This usually takes around 20-30 minutes. I allow the ice cream to churn until it forms rounded domes above the paddle for soft and scoopable ice cream even straight out of the freezer. (Reference images above in blog post.)
- You can either add the pie crust pieces directly into the ice cream maker in the last five minutes of churning, or layer them into the container as you scoop the ice cream. I prefer the second method, but both work well.
- For pumpkin pie soft serve, enjoy right away. For traditional pumpkin pie ice cream, transfer to an airtight container and freeze for at least four hours to allow the ice cream to firm up before serving.
Notes
*If you don't have a pumpkin pie spice mix, use ¾ teaspoon ground cinnamon, ¼ teaspoon ground nutmeg, ¼ teaspoon ground allspice, and ¼ teaspoon ground ginger.
**If the custard gets too hot and splits, I recommend straining the mixture through a fine mesh sieve before adding it to the bowl to reduce the potential for graininess. The ice cream may not be as thick as usual, but it will still taste delicious!
Store in the freezer in an airtight container for up to three months.
Recommended Products
As an Amazon Associate and member of other affiliate programs, I earn from qualifying purchases.
-
 Cuisinart Ice Cream Maker Machine, 1.5 Quart Sorbet, Frozen Yogurt Maker, Double Insulated, White, ICE-21P1
 -
Set of 2 Reusable Ice Cream Tub Containers For Homemade Ice Cream 1.6 Quart - Stackable Storage Containers, Stickers, And Lids
-
Spring Chef Heavy Duty Ice Cream Scoop
-
Pyrex Prepware 2-1/2-Quart Glass Mixing Bowl
-
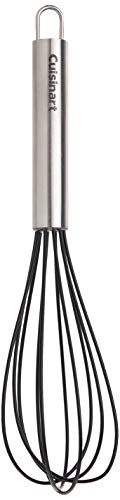
Cuisinart Silicone Whisk, 10-Inch, Black
-
Rodelle Paste, Vanilla, 4 Fl Oz


Nutrition Information:
Yield:
12Serving Size:
1 scoopAmount Per Serving: Calories: 340Total Fat: 22gSaturated Fat: 12gTrans Fat: 1gUnsaturated Fat: 9gCholesterol: 124mgSodium: 146mgCarbohydrates: 30gFiber: 1gSugar: 19gProtein: 6g
The nutrition facts are estimated and may vary based on specific ingredients used.
Thanks for trying out my pumpkin ice cream recipe! Please consider rating this recipe so others find it, too.
I’d love to see how your recipe turns out: Take a photo and tag me on Instagram @floralapronblog to share with me, or use the hashtag #floralapronbakes.