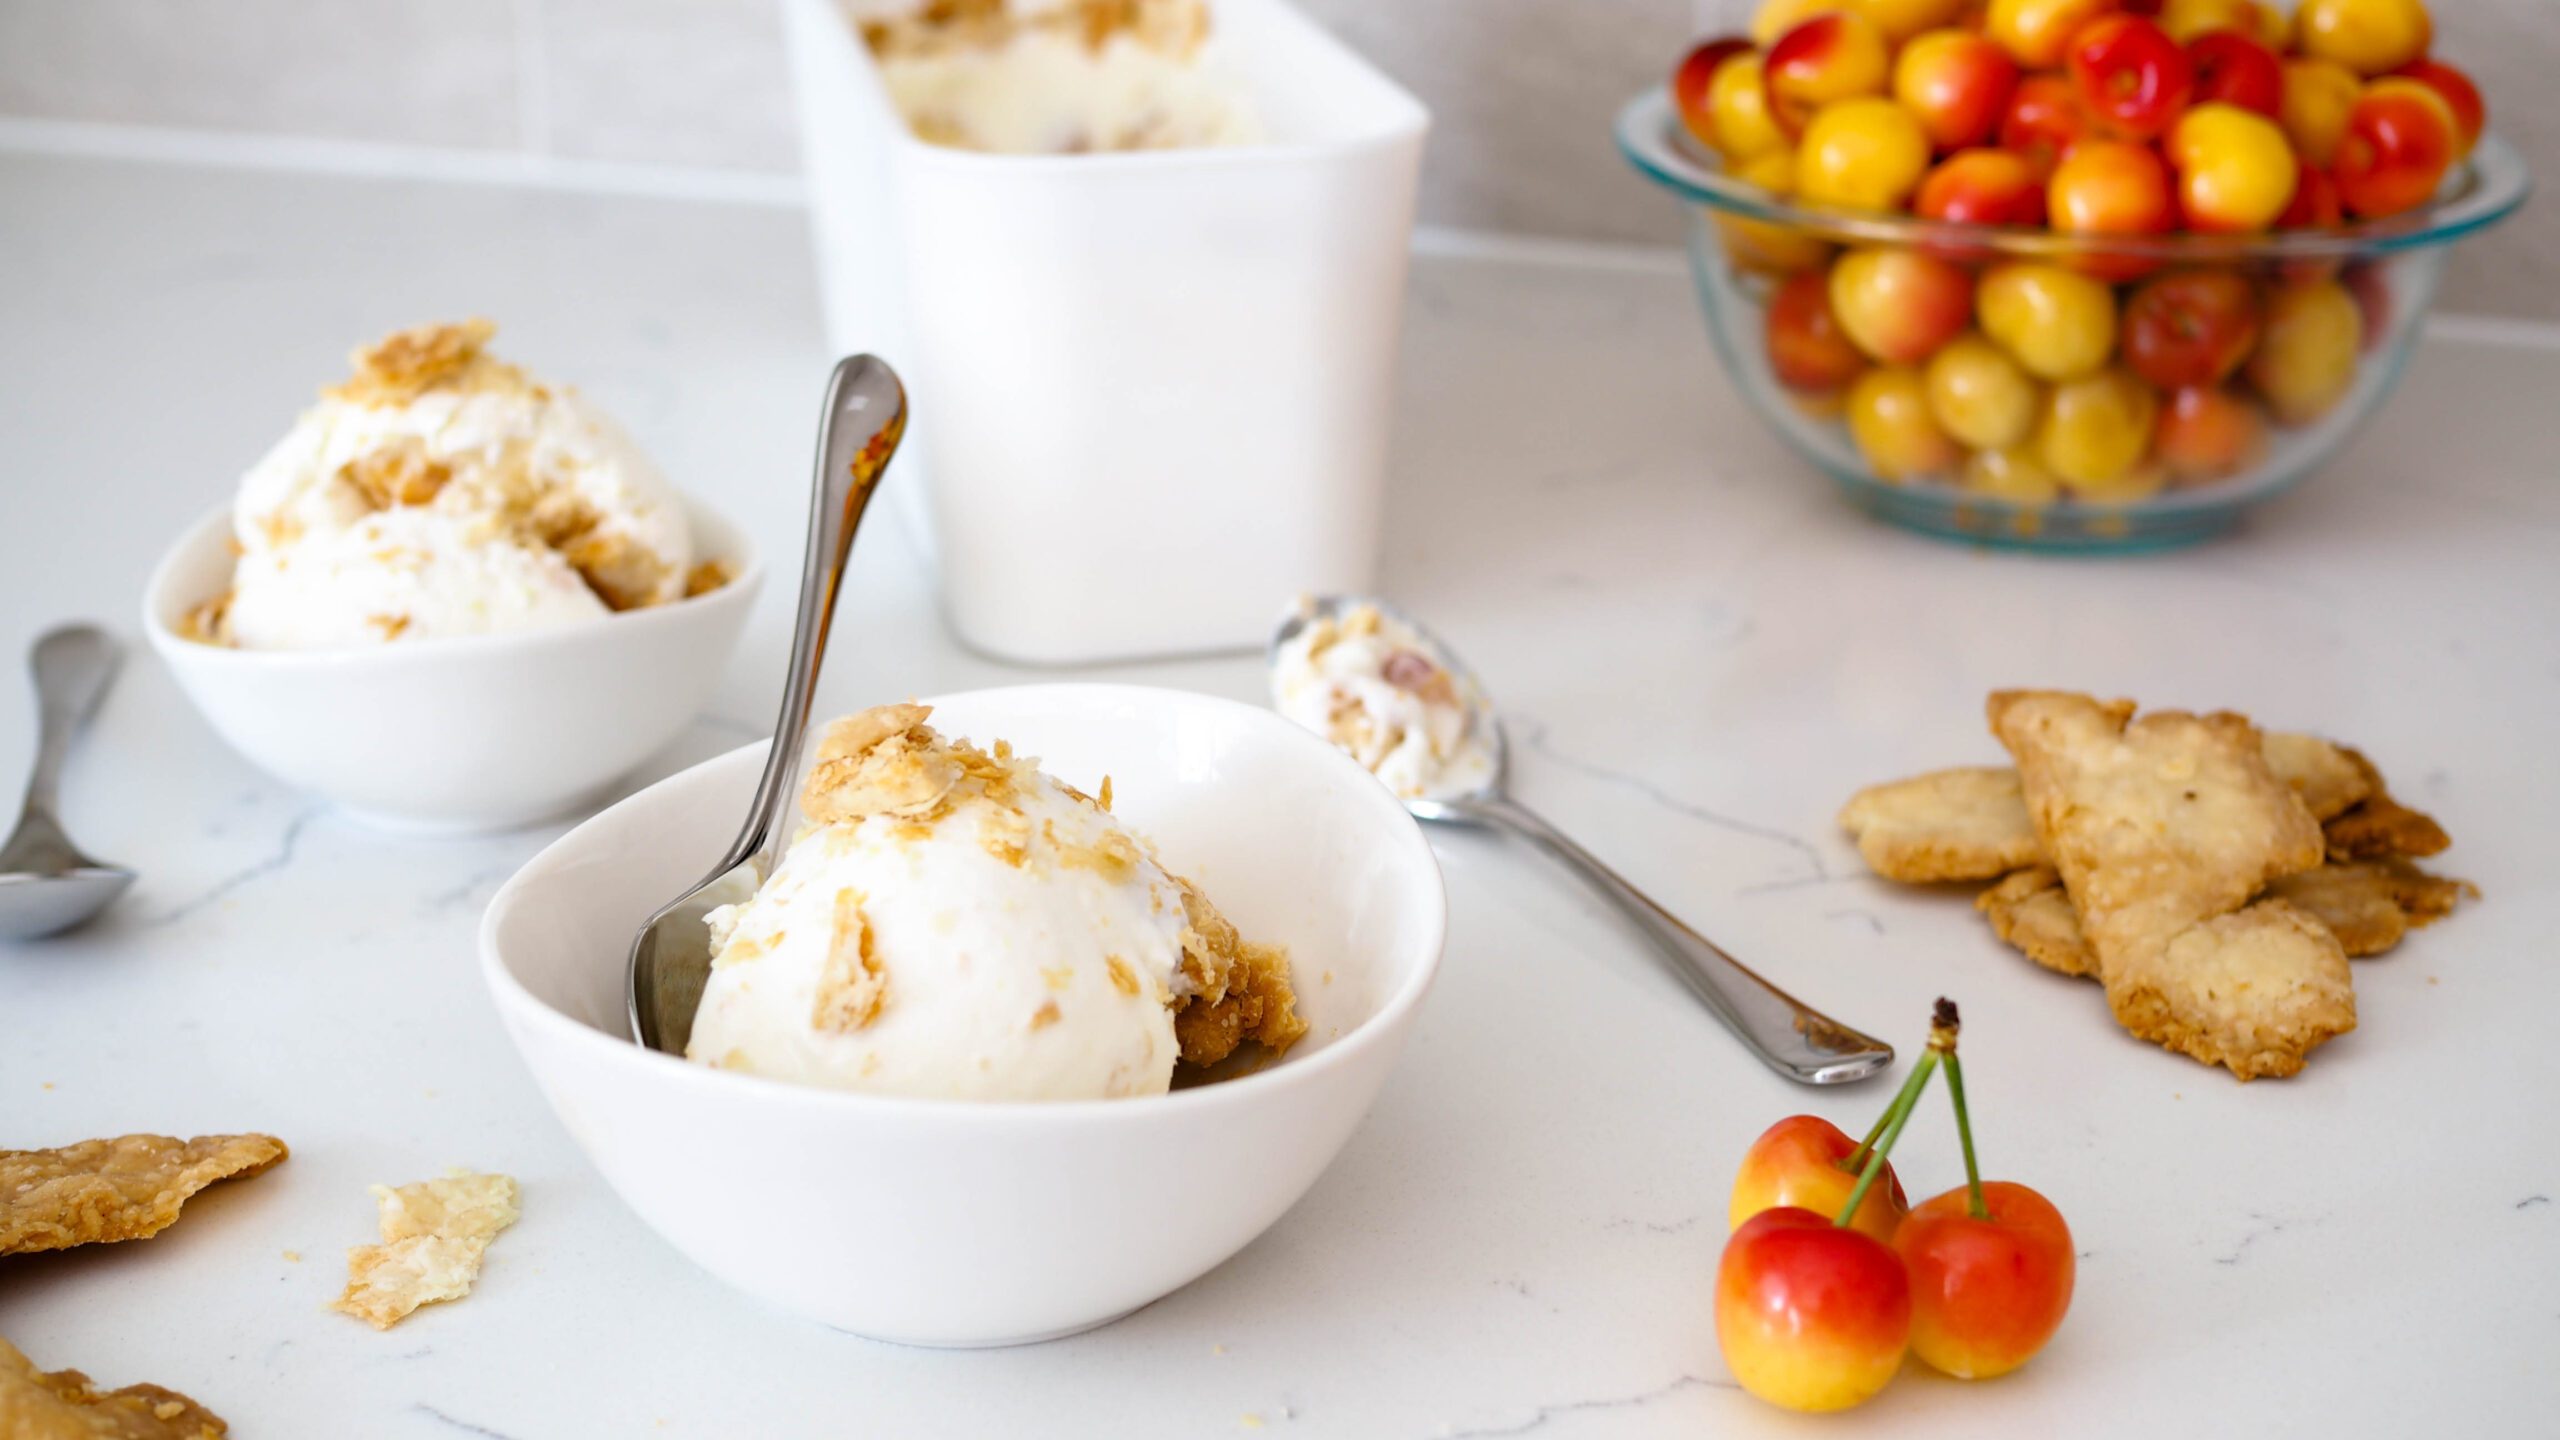
This recipe is cherry pie à la mode reinvented. A simple and easy-to-make vanilla ice cream gets a homemade cherry sauce and leftover pie crust pieces added in for the best cherry ice cream recipe you could ask for. And yes, the pie crust pieces stay crispy for a crunch in every bite!
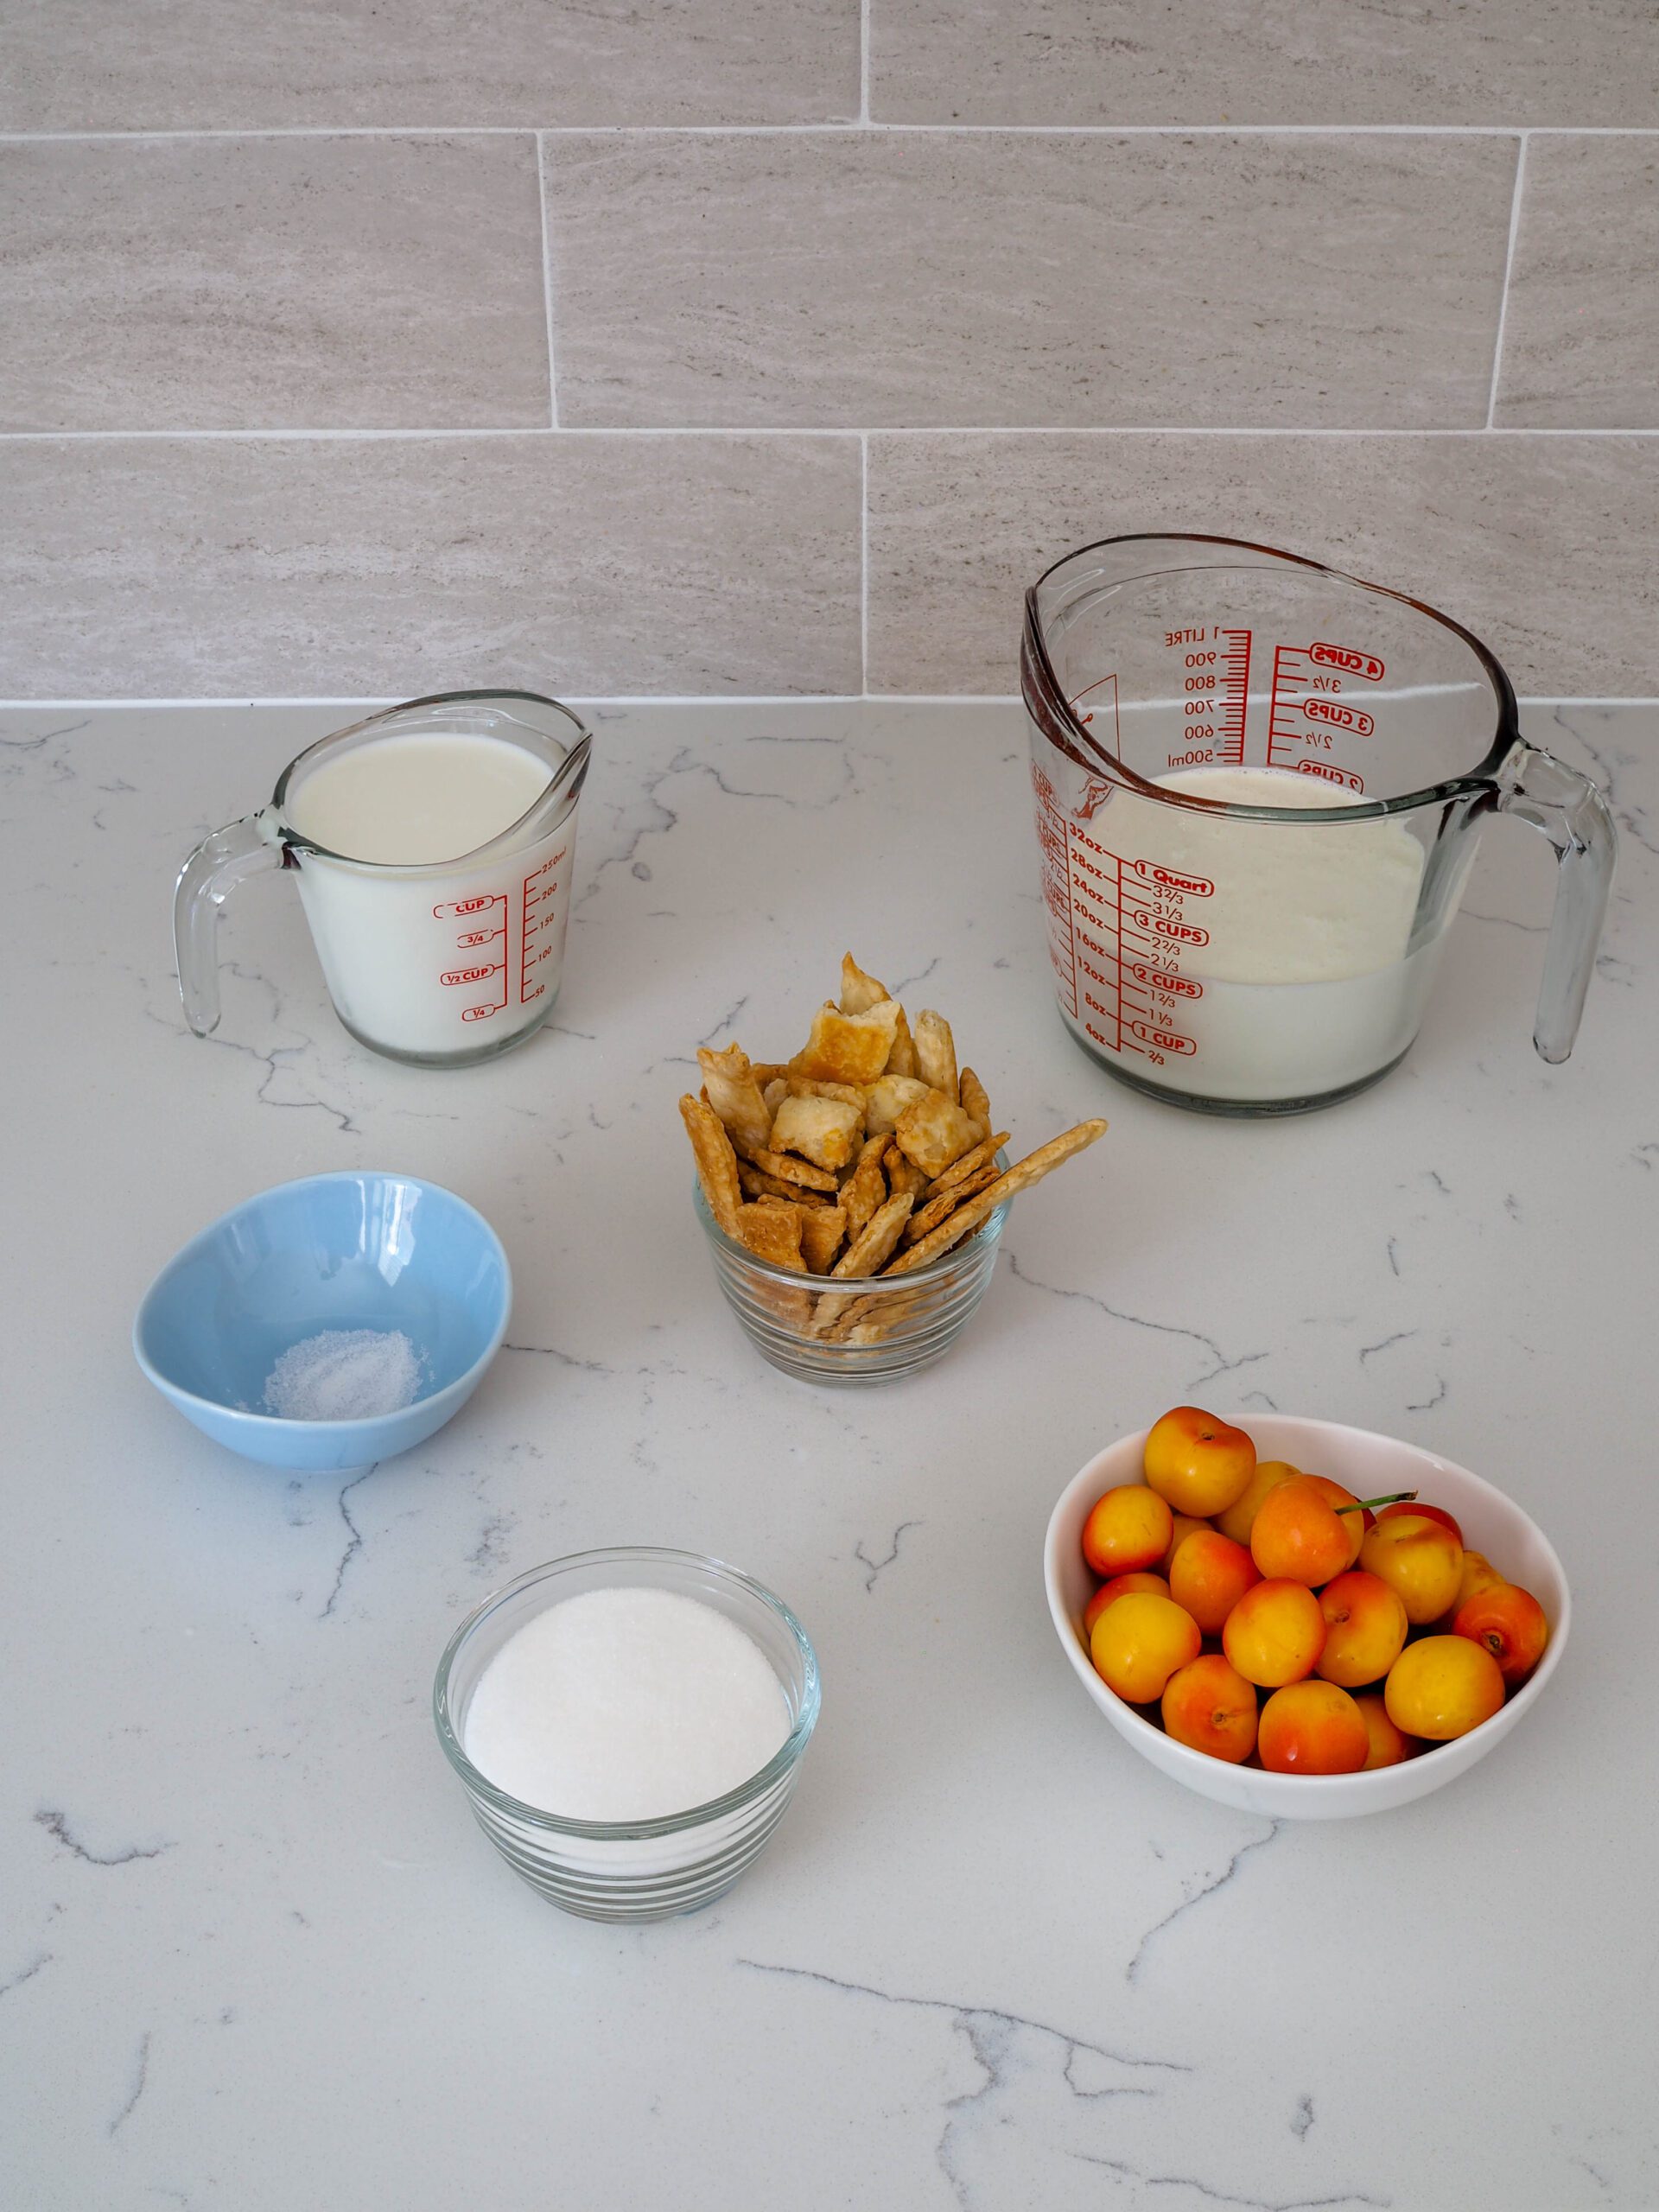
Ingredients for Cherry Pie Ice Cream
If you have the ingredients for a cherry pie (and some milk and heavy cream), you have the ingredients for this cherry pie ice cream! I use my homemade all-butter vanilla pie crust recipe for an extra kick of vanilla, but you can use any kind of homemade or store-bought pie crust.
- Cherries, fresh or frozen
- Heavy cream
- Whole milk
- Sugar
- Leftover baked pie crust pieces
- Vanilla extract (not pictured)
- Almond extract (not pictured)
- Salt
Quick Tips for Prepping Cherry Pie Ice Cream
There are a few tips and tricks I like to use for best results when making ice cream at home.
In short, keep everything cold, if not frozen in advance. That includes the container you’ll be storing the ice cream in, the cherries, and the pie crust pieces.
Canister-style ice cream makers—the most common kind of household ice cream makers—work well and are inexpensive compared to compressor-style ice cream makers. They work with limited coolability (for lack of a better term), so keep that in mind the entire time you’re making ice cream.
Homemade ice cream right out of the canister is typically much softer set (read: warmer!) than your store-bought ice cream. Homemade ice cream is only just barely frozen by the time you put it in the freezer. Your ice cream will need quite some time to fully freeze in the freezer before it’s at its best consistency.
Because your ice cream is just barely frozen after the churning process, adding in anything warmer than freezing will result in a bit of a meltdown. Yes, even refrigerated items!
To reduce the chances of a meltdown, pre-freeze the container you’ll be storing the ice cream in. That will prevent each scoop you transfer from the canister to the container from melting upon contact.
That’s also why I recommend separately chilling the cherries and freezing the pie crusts in advance.
Can I Use Frozen Cherries for this Recipe?
Yep! Since the cherries are going to be frozen in the ice cream anyway, feel free to use fresh or frozen cherries. Both will work equally deliciously.
The sauce may take longer to get to a boiling point with frozen cherries. That will not affect the flavor or texture.
Be sure to chill the cherries separate from the ice cream base. The cherries will be added into the ice cream in the last five minutes of churning. If you add in the cherries early, they may gather at the bottom of the canister and freeze together in a clump.
Ensuring Crispy Pie Crust Pieces in Your Ice Cream
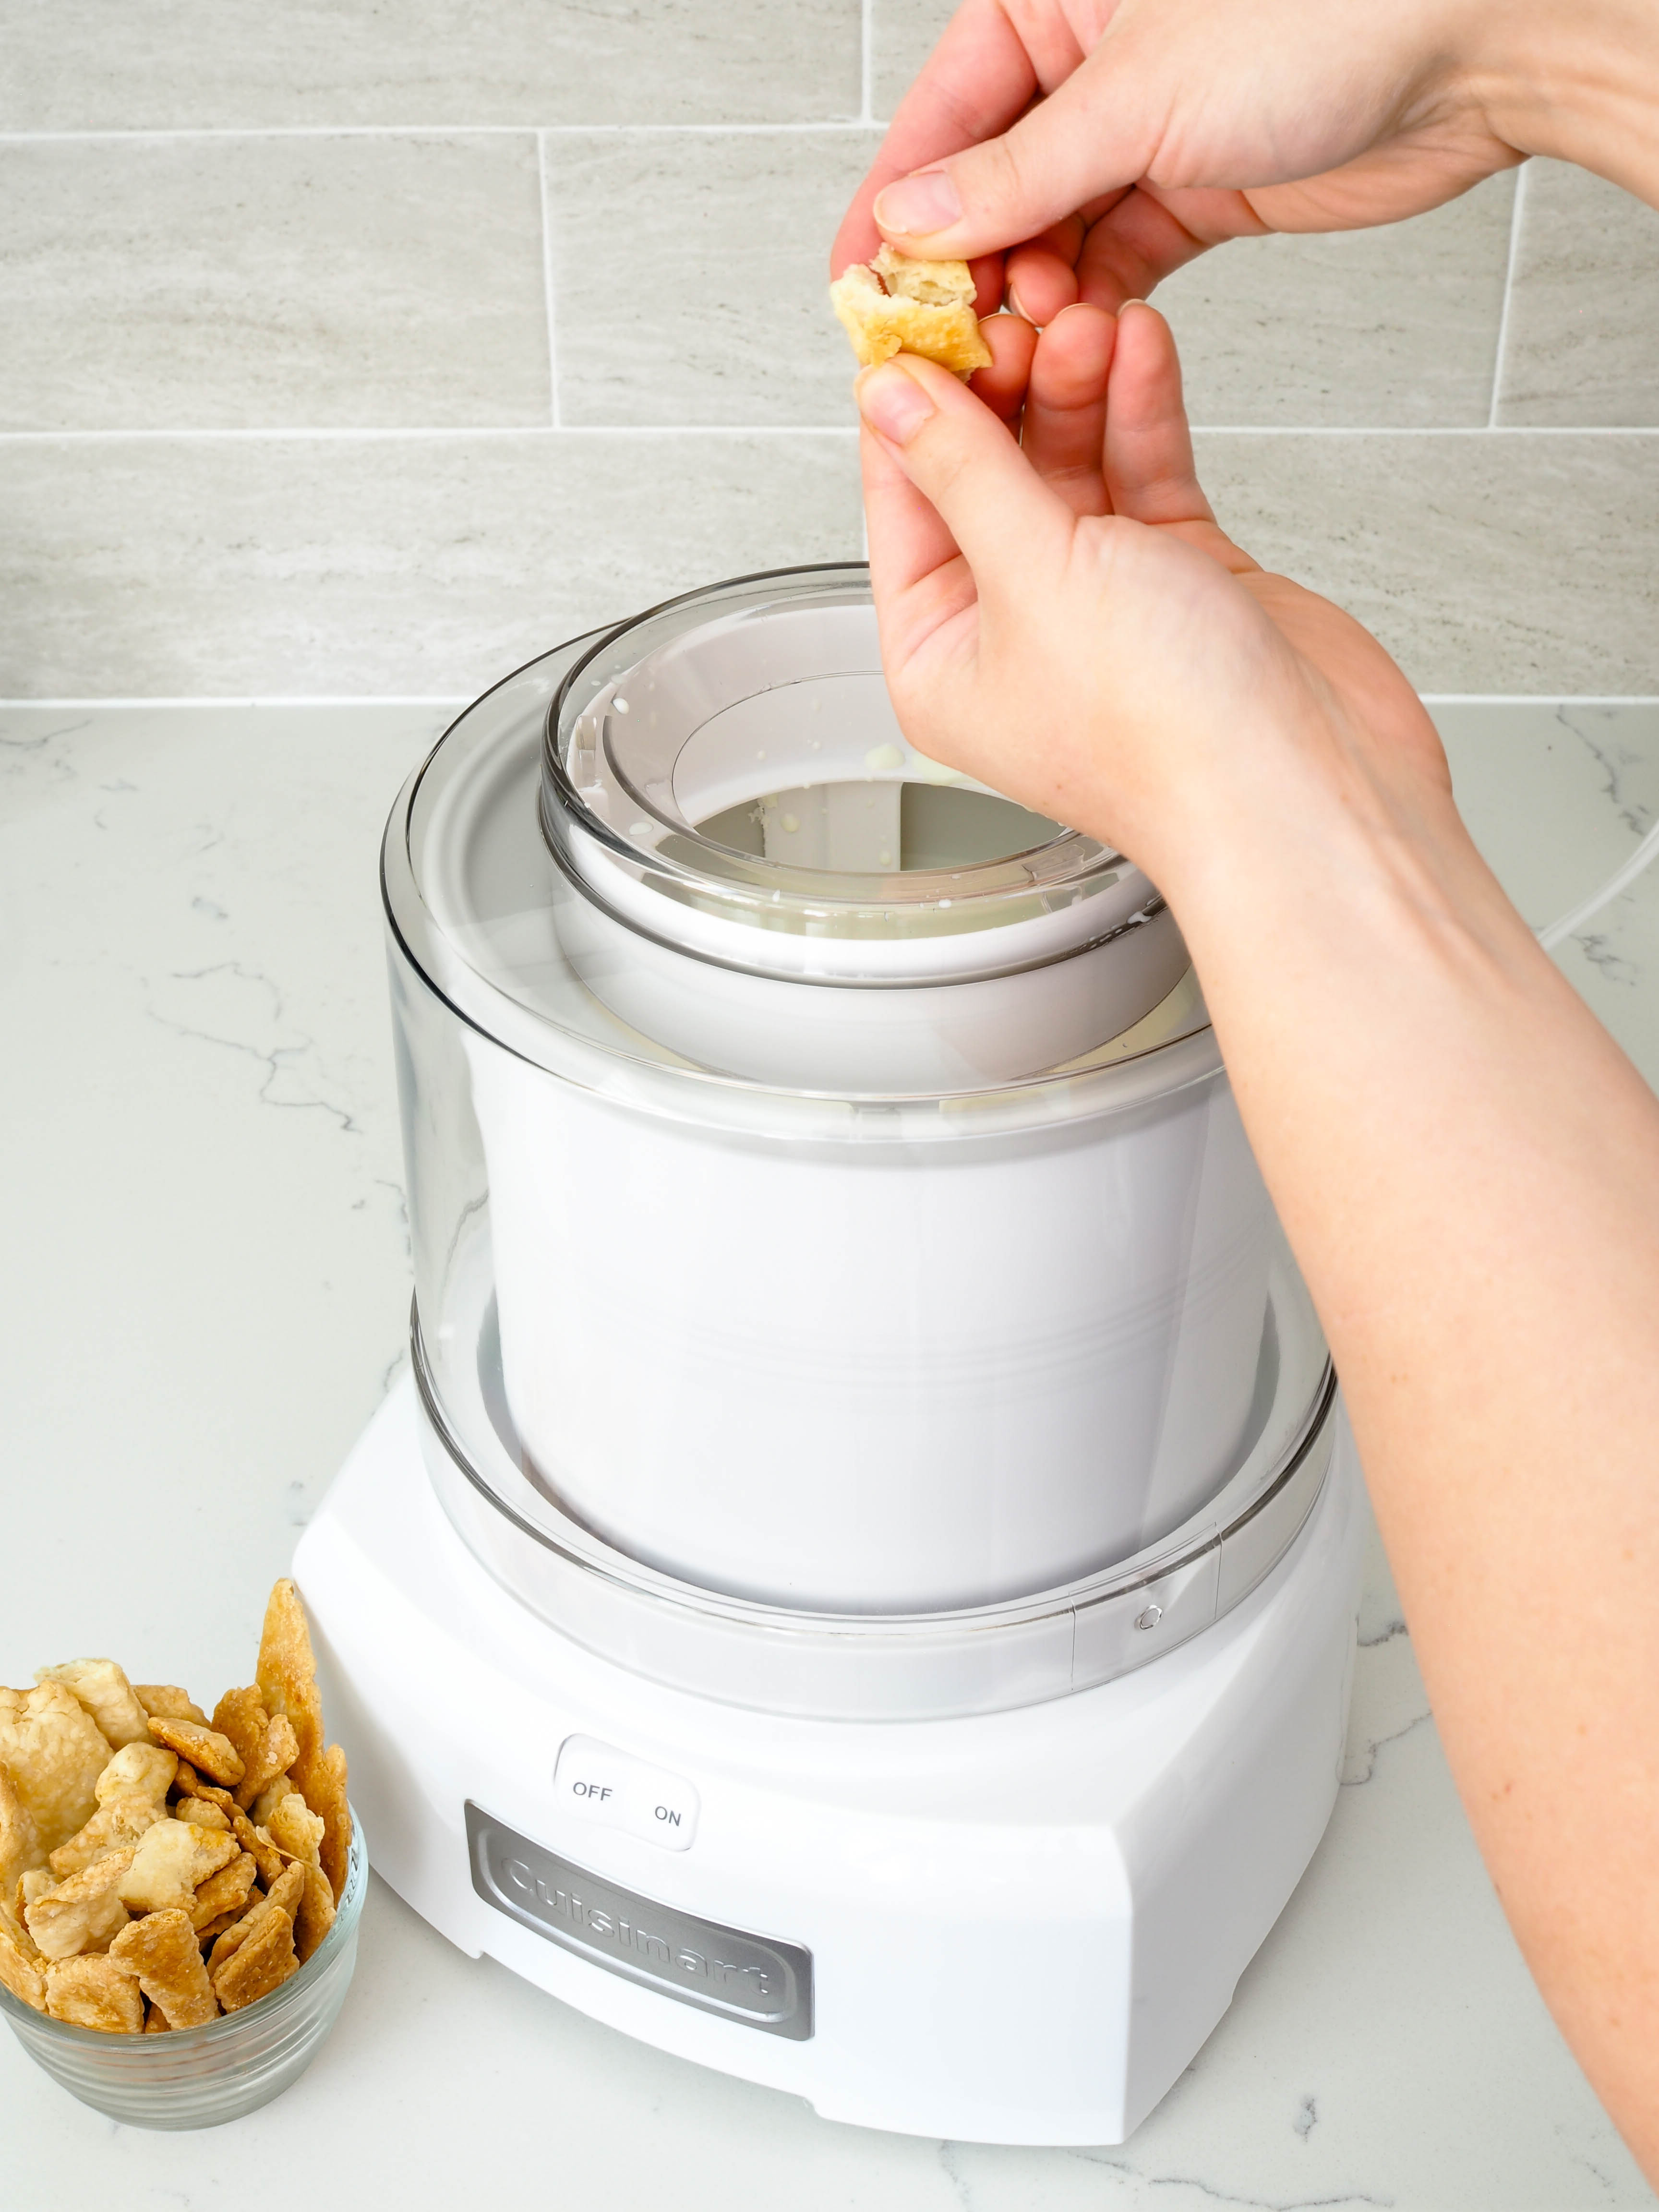
If you want crunchy pie crust pieces in your ice cream, you need to freeze them in advance. Then, only add the pie crust pieces to the ice cream in the last five minutes of churning.
The ice cream will melt around the pie crust pieces if they are not fully frozen. If the ice cream melts, the crust pieces will absorb that liquid and become slightly mushy. They’ll still taste great, but they won’t be crunchy.
Do I Need to Use Both Vanilla and Almond Extracts?
Technically speaking, no, but you’ll be missing out on a huge flavor boost. I have made this ice cream with and without the extracts (accidentally, of course). The ice cream was still good, but it was incredible with the extracts.
Do I Need an Ice Cream Maker to Make This Recipe?
It is possible to make this recipe without an ice cream maker, but the texture will be a little different, and it is a bit inconvenient.
To make this ice cream without an ice cream maker, follow the recipe through Step 3, then place the bowl in the freezer. Whisk it for a minute (by hand or with a hand mixer) every half hour until it is fully frozen, about three to four hours. Stir in the mix-ins once the ice cream is mostly solid, then freeze until solid.
I have a canister-style ice cream maker from Cuisinart that I love. It’s compact, relatively inexpensive, and—most importantly—makes good ice cream!
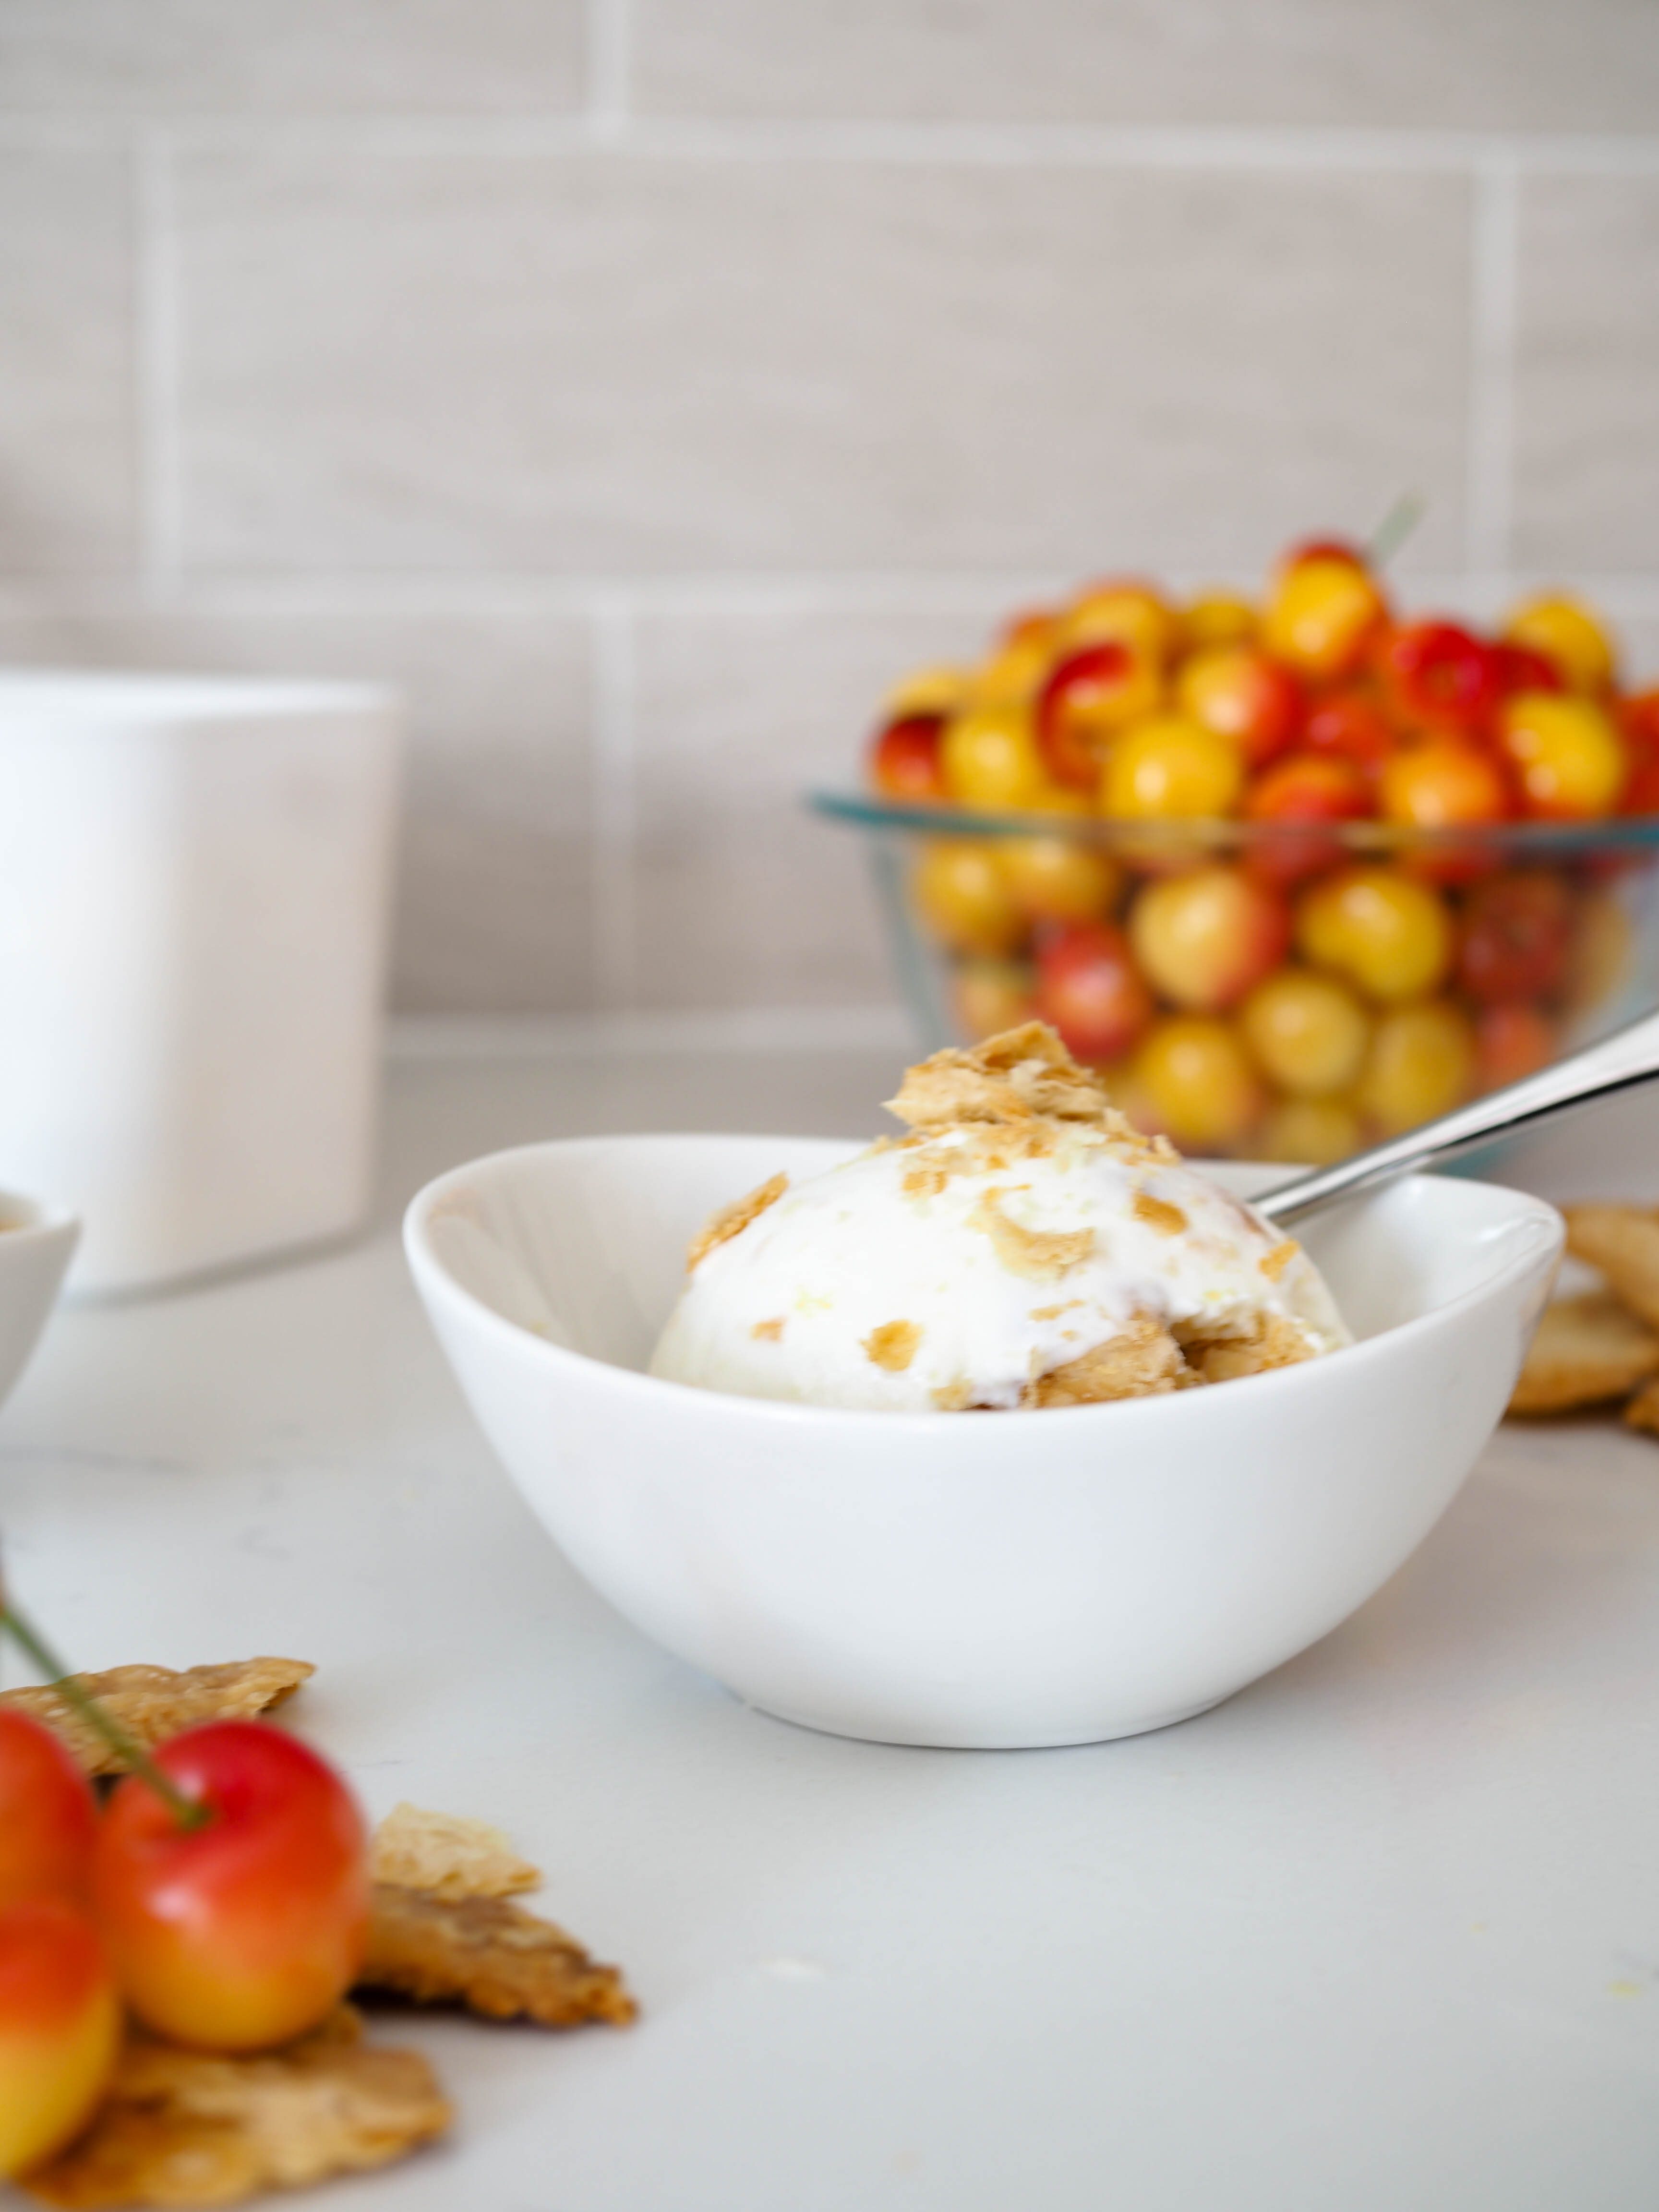
How to Get the Perfect Scoop
Getting a picture-perfect scoop of ice cream is difficult with small-mouthed containers. I use long, narrow containers that let me drag the scoop for a ways, and they work really well! The containers pre-freeze beautifully, and I haven’t experienced freezer burn on my ice cream yet (although that’s probably more a testament to my ice cream than the container haha).
And speaking of scoops, my husband will never use another ice cream scoop again. This scoop is heavy duty and a bit heavy to give you perfectly scooped ice cream every single time.
Dish Cleanup: A Lil Messy
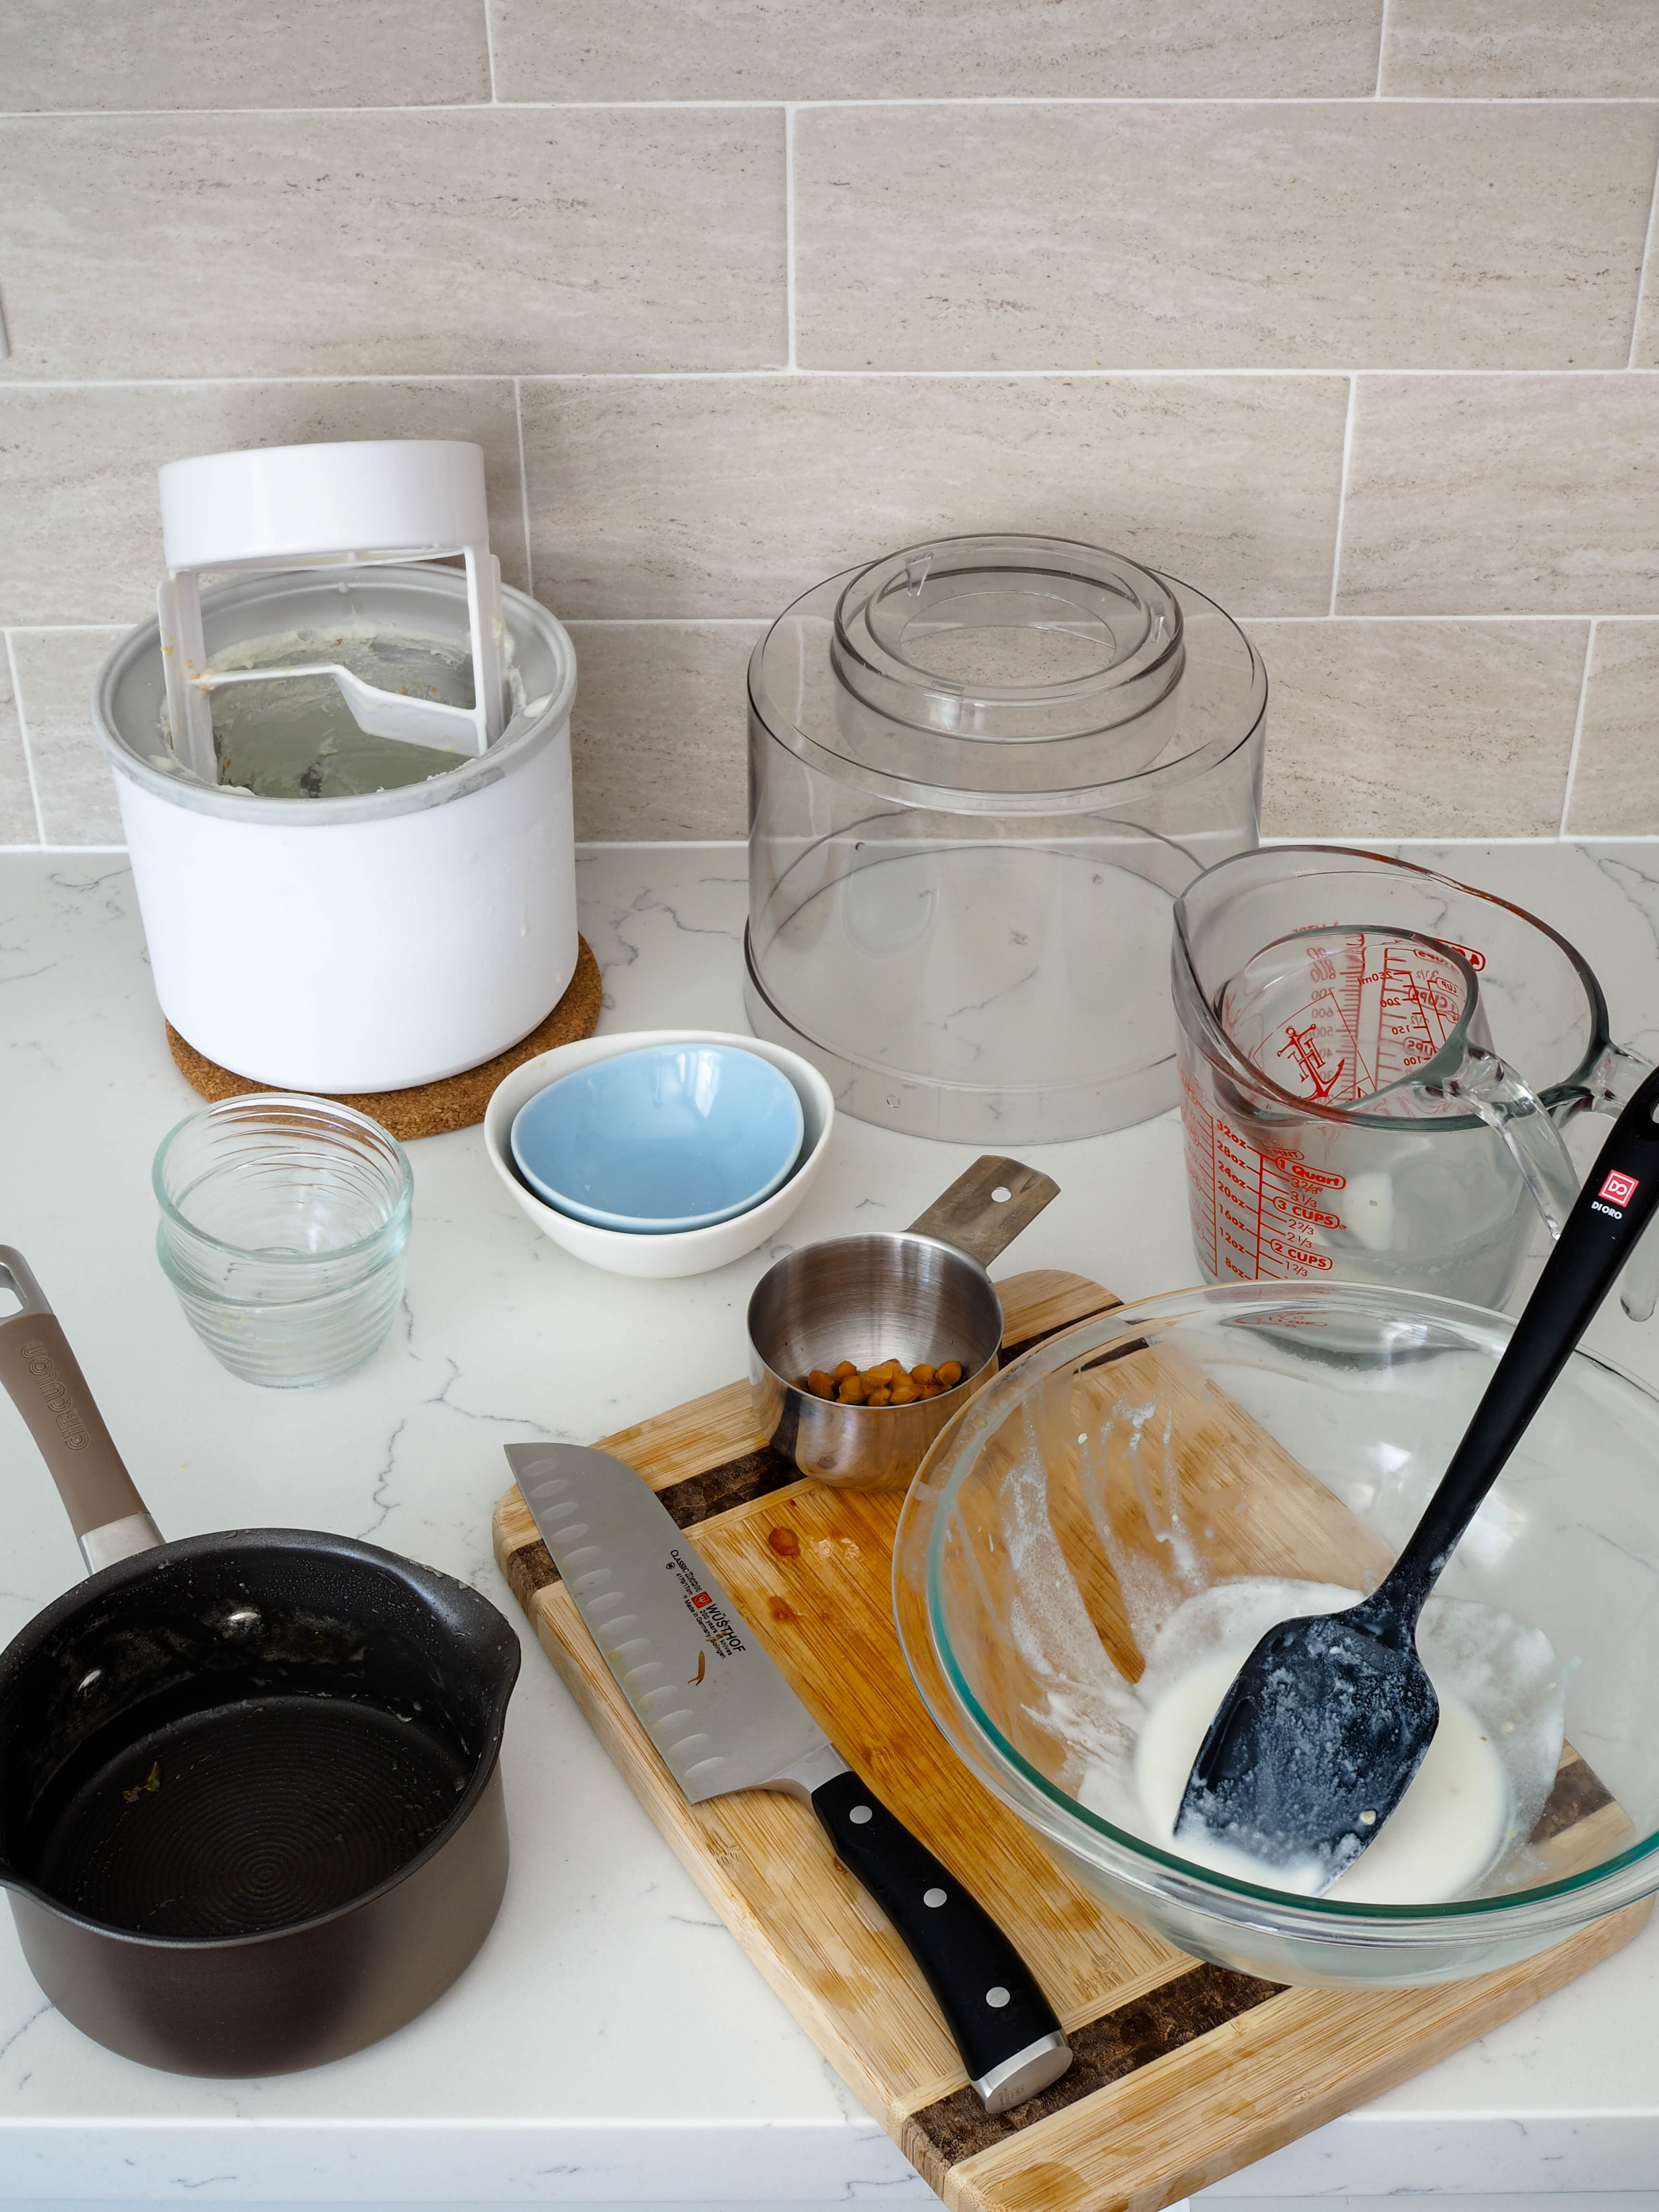
I rate my recipe cleanups on a scale of 1 to 5. 1 is only a handful of dishes, and 5 is everything including the kitchen sink.
My cherry pie ice cream has a cleanup rating of a 3. It sounds like a lot for just one container of ice cream, but this is gourmet ice cream that everyone is going to rave about. These dishes took up quite a bit of space on my counter, but most items weren’t difficult to clean. It also helps that most of the dishes were big, so it looks like more than it really is.
Cherry Pie Ice Cream
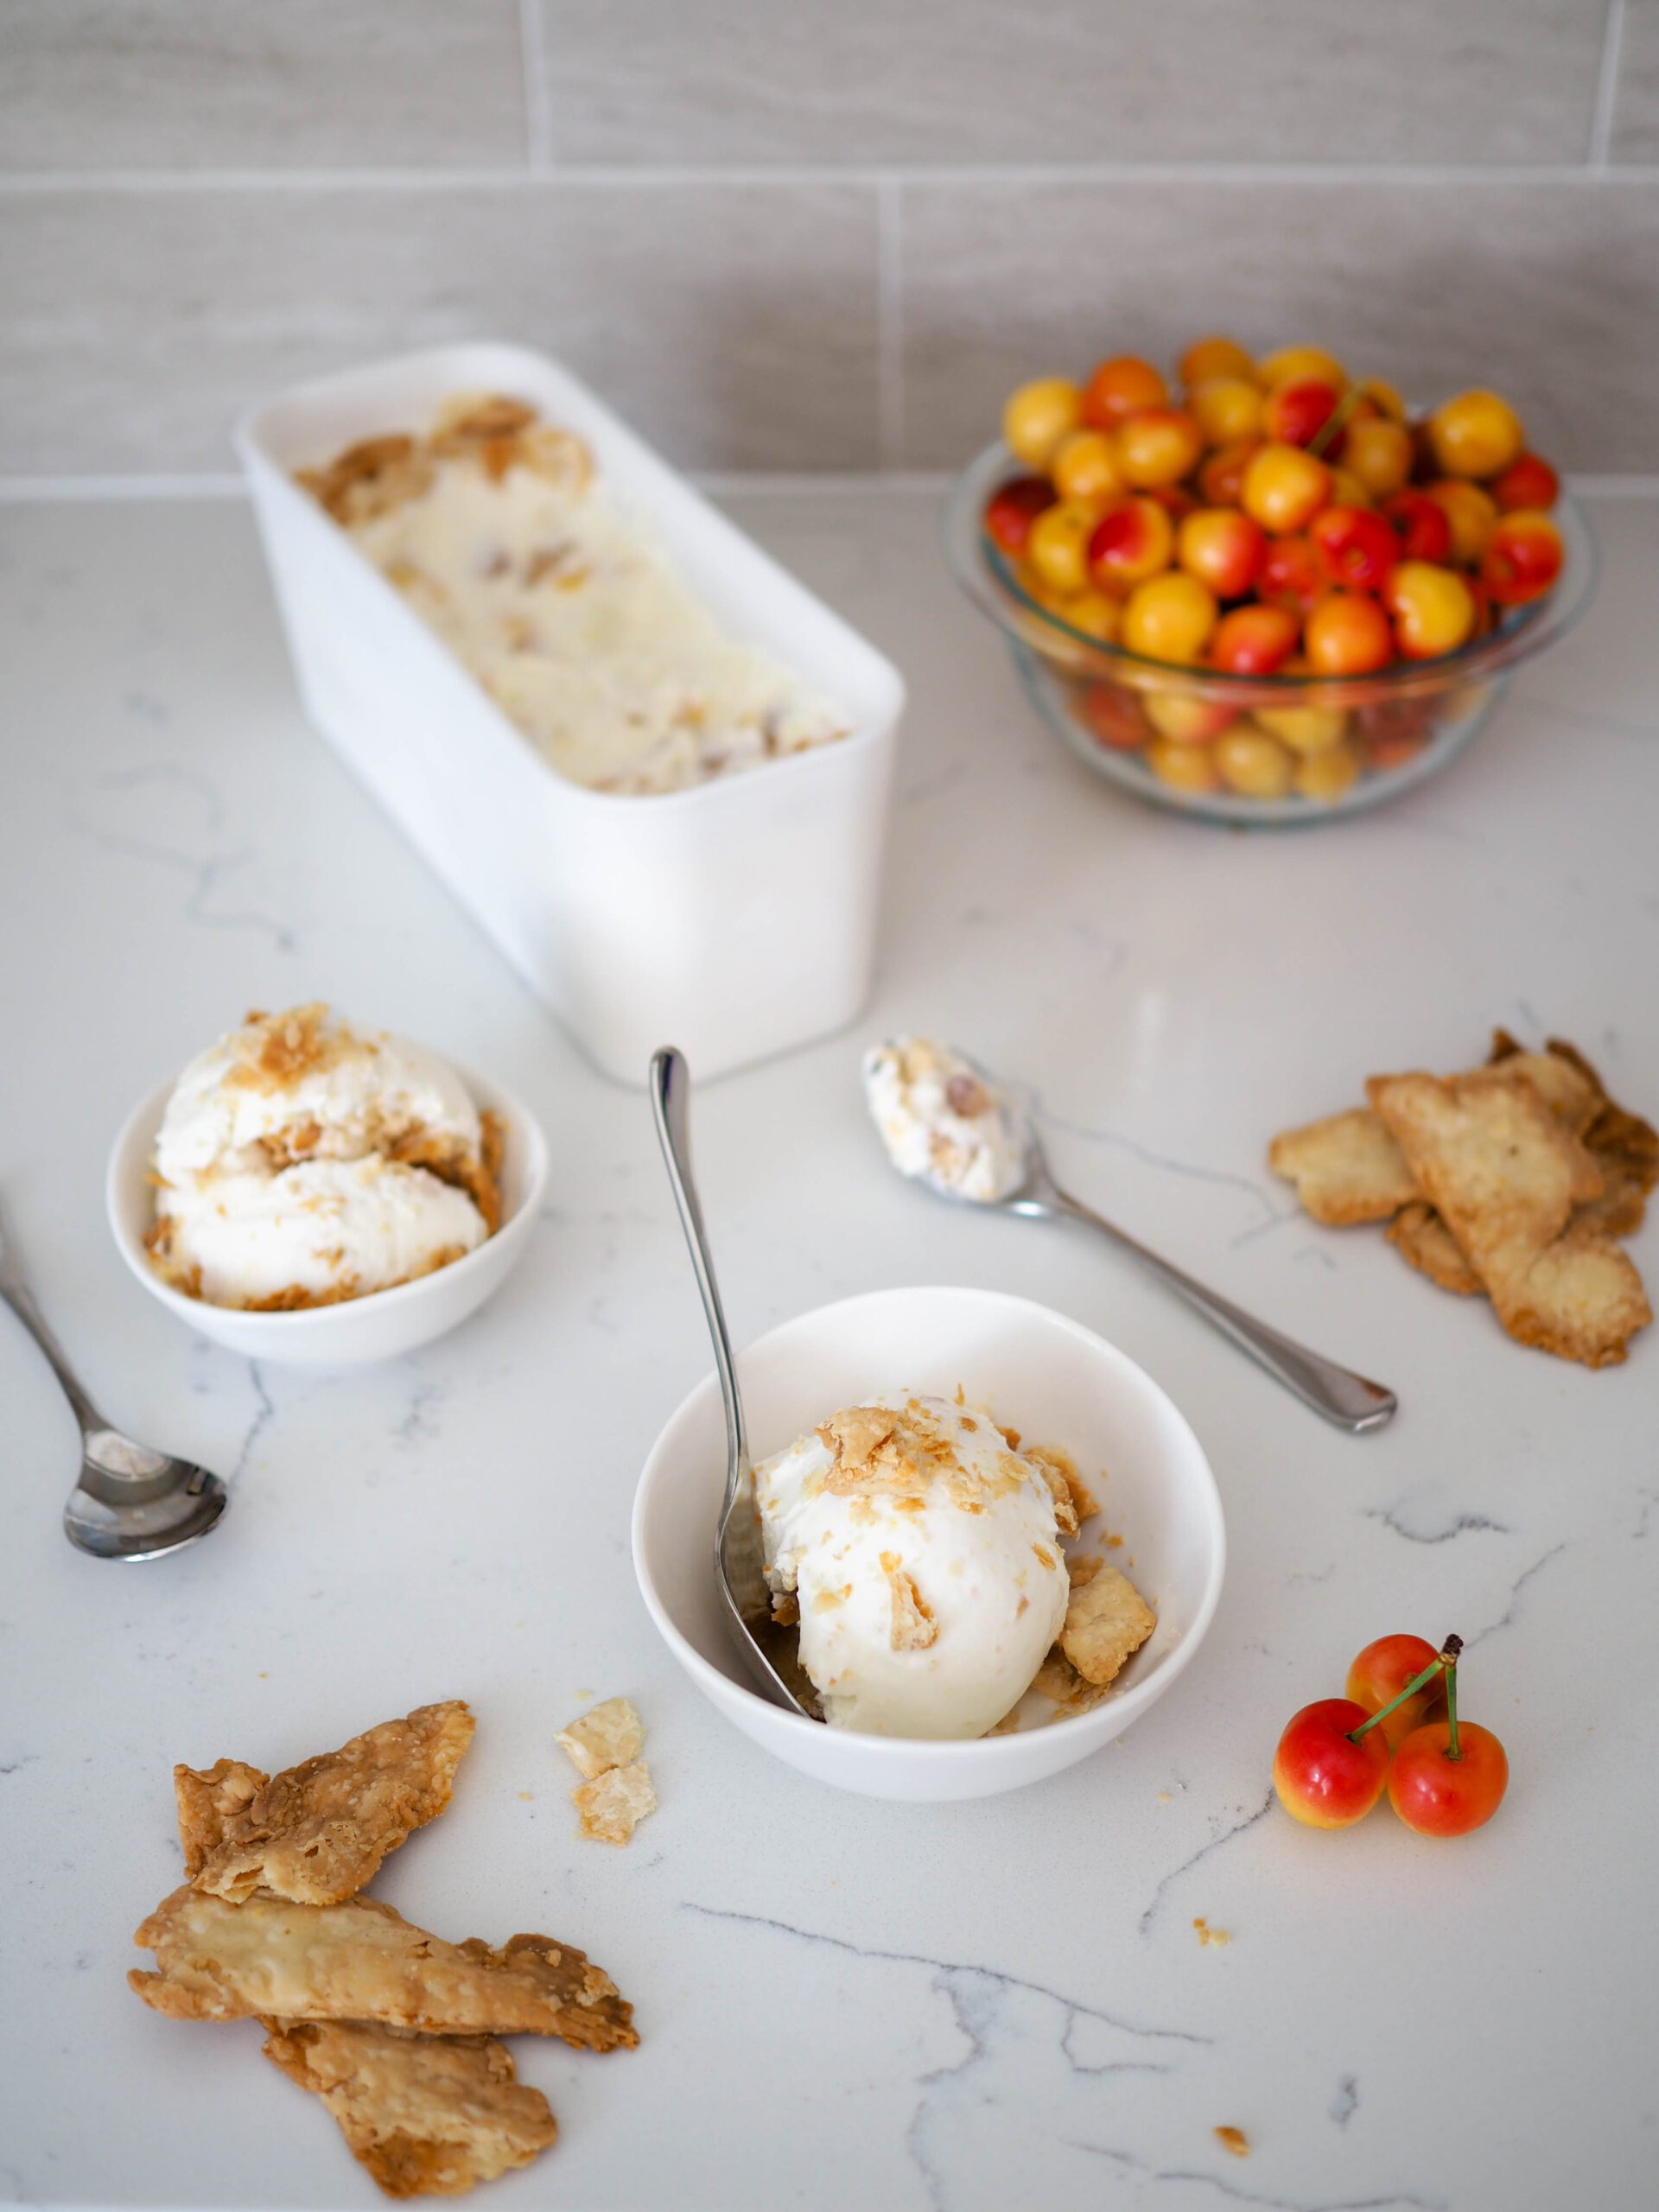
Crispy pie crust pieces and chunks of real cherry mixed into an easy vanilla ice cream, topped with more pie crust pieces for a crunch in every bite.
Ingredients
- 1 ¼ cups cherries (about 30) (220g)
- ½ cup sugar
- pinch salt
- 2 cups heavy cream
- 1 ¼ cups whole milk
- 2 teaspoons vanilla extract
- ½ teaspoon almond extract
- 1 ½ cups baked pie crust leftovers (about 100g)
Instructions
- Break up the baked pie crust leftovers into bite-size pieces, then put in an airtight container or plastic bag in the freezer. This will ensure the pie crust doesn't get soggy while the ice cream finishes freezing later.*
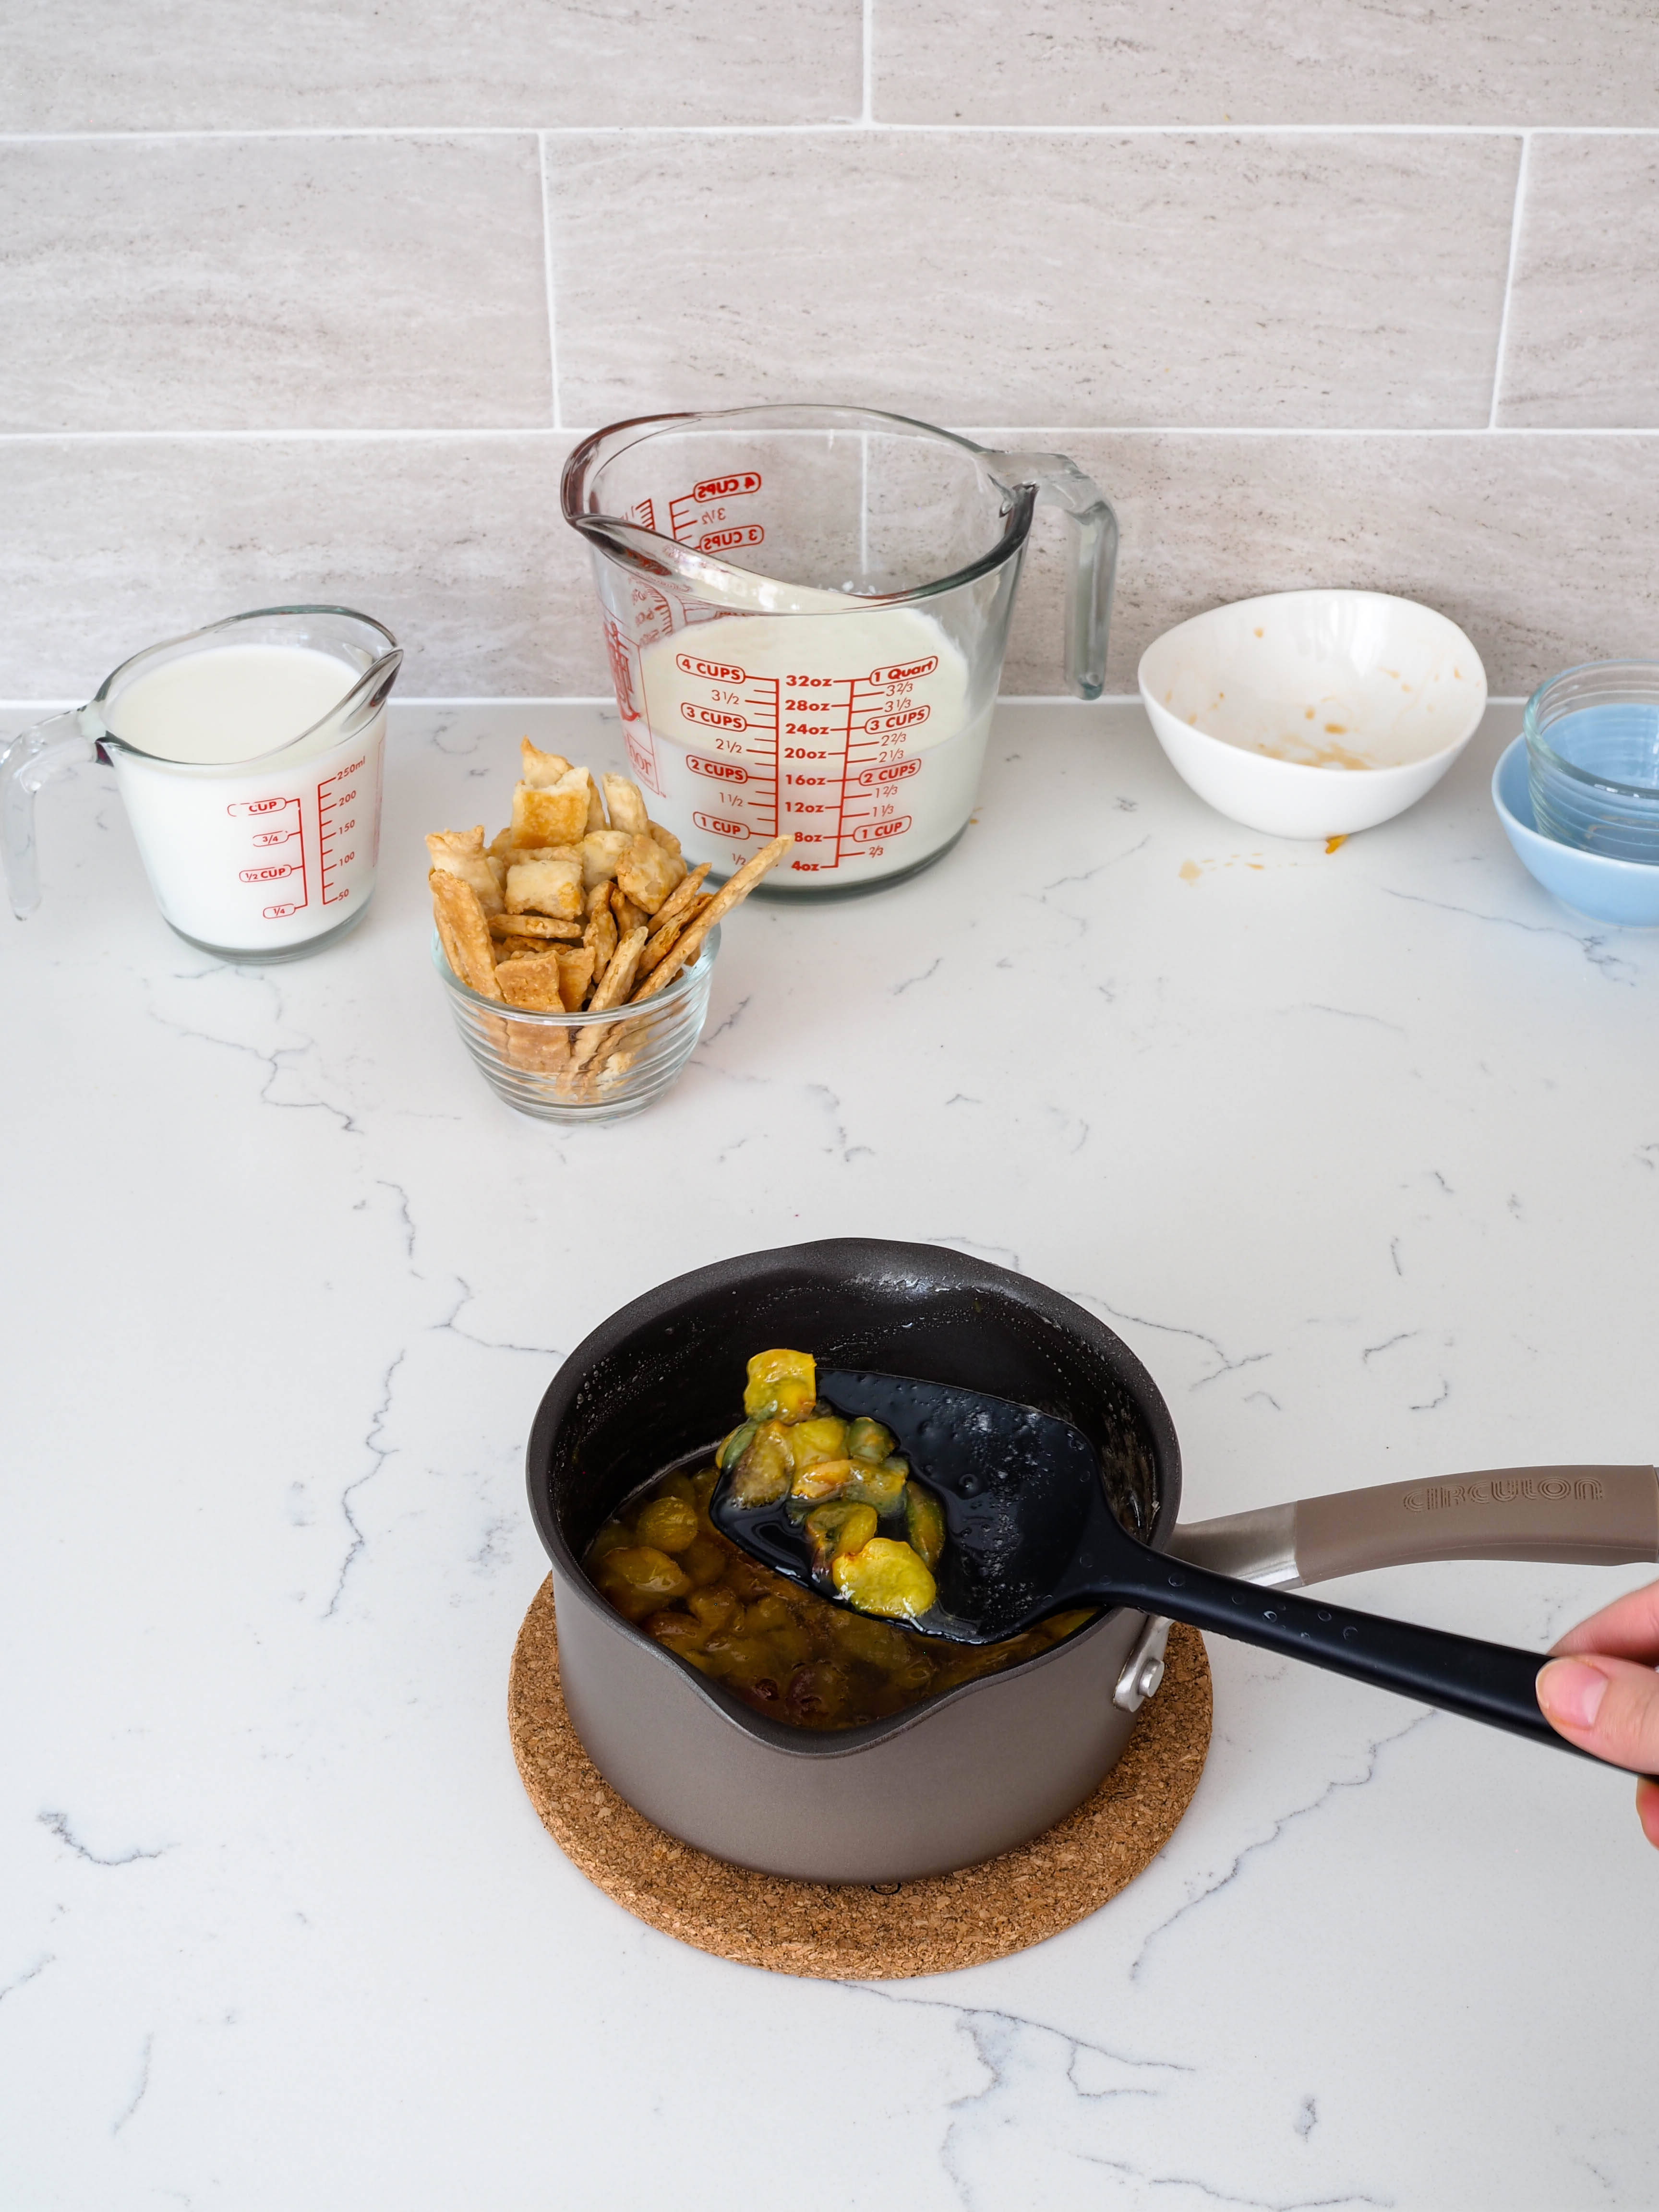
- Wash, pit, and roughly chop the cherries into bite-sized pieces. Place cherry pieces into a small saucepan with sugar and salt. Bring the mixture to a boil over medium heat, stirring occasionally. Cook it for another two minutes, then remove from heat. The cherries should be soft but not mushy. Strain the cherries from the cherry sauce, reserving the liquid. Put the cherries in an airtight container in the fridge (preferably in a single layer so they chill faster).
- In a medium bowl, whisk together the heavy cream, whole milk, extracts, and cherry sauce. Place the whole bowl in the fridge, covered, until the bottom of the bowl is cold to the touch, about two hours.
- Pour the mixture into the canister of your ice cream maker and follow the manufacturer's instructions, typically around 15-20 minutes. In the last five minutes of churning, add in the cherries and about two-thirds of the frozen pie crust pieces.**
- Once the ice cream has frozen to a soft-serve consistency, transfer to an airtight ice cream container. Top with the remaining pie crust pieces and freeze for at least four hours (preferably overnight).
Notes
*I also recommend pre-freezing the container you'll be storing the ice cream in. That will help make sure the ice cream doesn't begin melting as you transfer it from the canister to the container before you can put it in the freezer.
**Keeping some of the pie crust pieces as a topping makes sure that there is plenty of pie crust in every bite. Sometimes, mix-ins can sink to the bottom of the container if the container wasn't cold.
Nutrition Information:
Yield:
11Serving Size:
1Amount Per Serving: Calories: 370Total Fat: 25gSaturated Fat: 13gTrans Fat: 1gUnsaturated Fat: 10gCholesterol: 52mgSodium: 180mgCarbohydrates: 32gFiber: 1gSugar: 15gProtein: 4g
The nutrition facts are estimated and may vary based on specific ingredients used.
Thanks for trying out my cherry pie ice cream recipe! I’d love to see how it turns out: Take a photo and tag me on Instagram @floralapronblog to share with me, or use the hashtag #floralapronbakes.
This post contains affiliate links. If you click through and make a purchase, I may receive a small commission at no cost to you. Thank you for helping to support The Floral Apron!
Other Recipes You May Enjoy
Looking for the cherry pie recipe to beat out all the others? Look no further than my cherry pie with almond extract recipe, which has a teaspoon of almond extract.
Still craving cherry almond flavors? Try my cherry almond cupcakes, made with canned and fresh cherries and topped with a swirl of cherry- and almond-flavored buttercreams (yes, plural!).