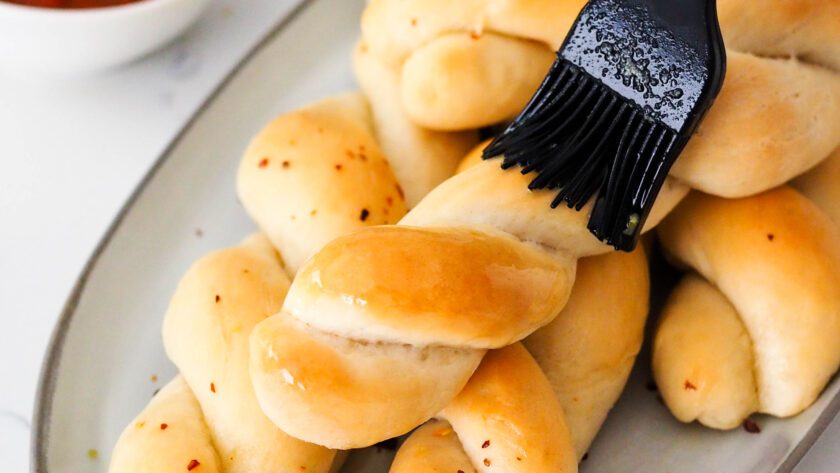
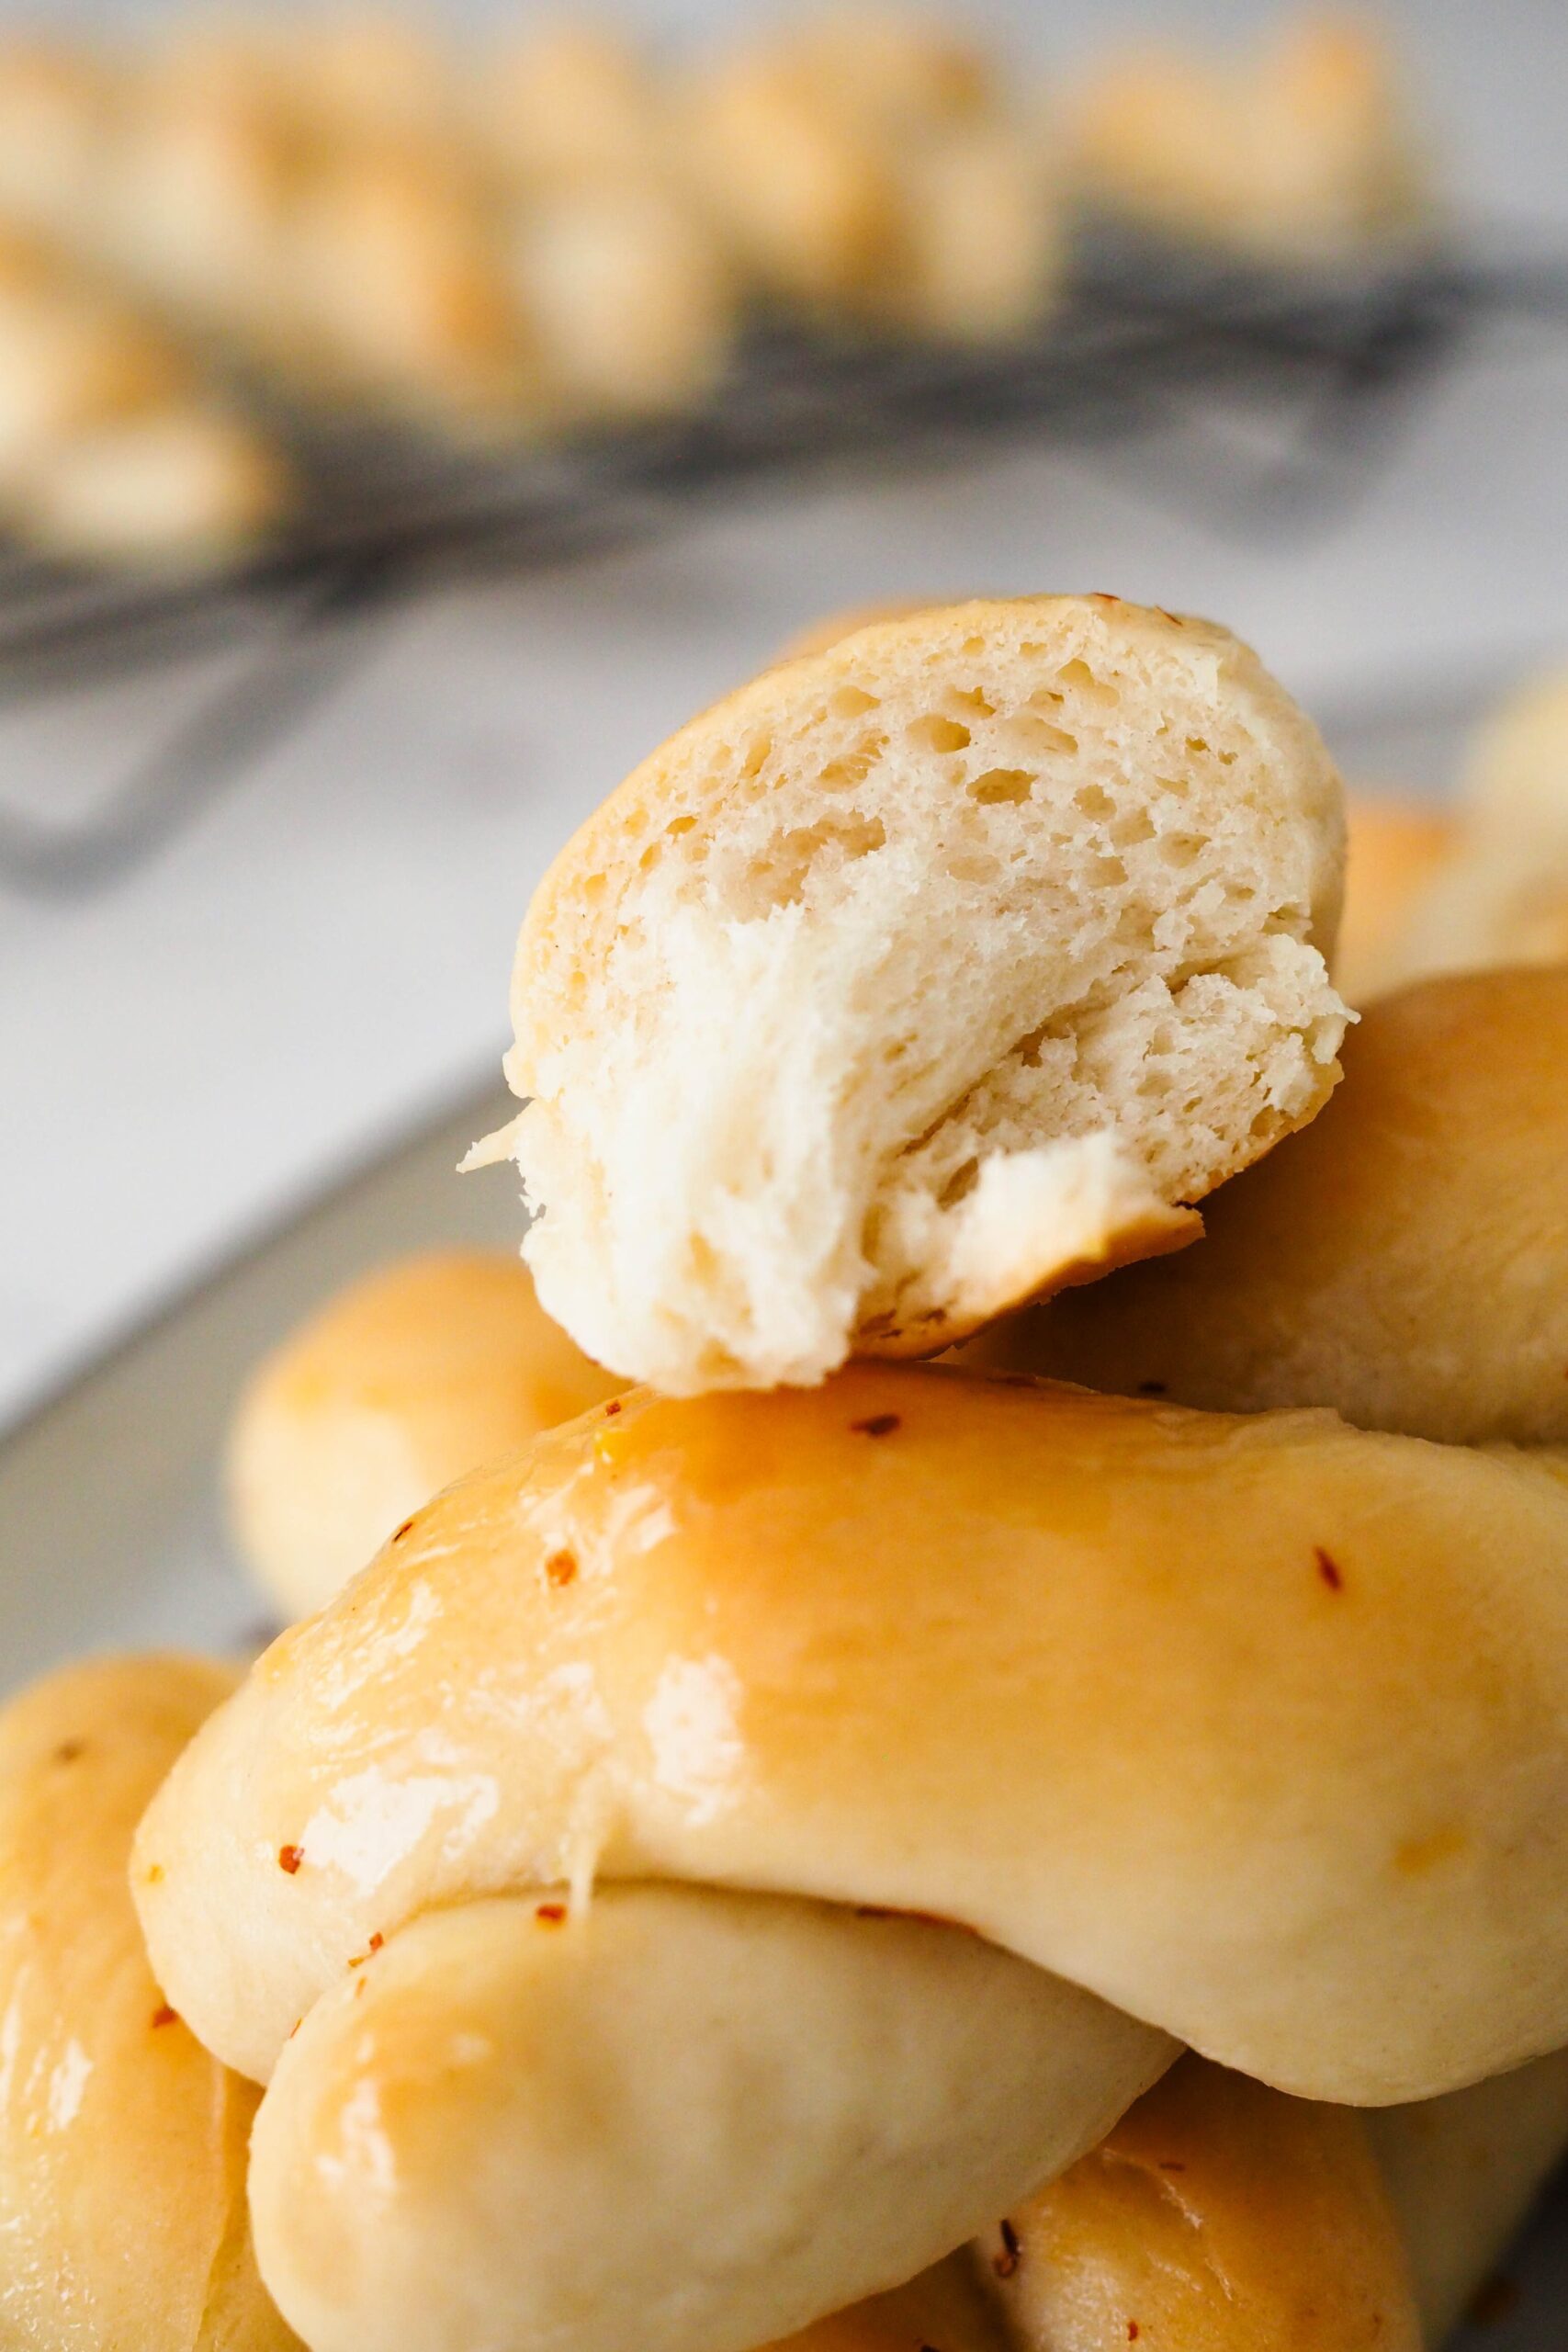
Made with an easy enriched dough and brushed with garlic butter right after baking, these twisted garlic breadsticks are soft, fluffy, and delicious. Two kinds of garlic give these homemade garlic breadsticks a well-rounded garlicky flavor without being overpowering!
Twisted garlic breadsticks are best served as a side with creamy pesto pasta, simple thin crust pizza, your favorite soup, or a hearty salad (but I won’t blame you if you eat them by themselves).
There’s just the right amount of garlic in these homemade breadsticks, and they pair well with marinara– or pesto-based pasta dishes. I also like adding a few pinches of red pepper flakes to the garlic butter for a little extra spice.

This post contains affiliate links. If you click through and make a purchase, I may receive a small commission at no cost to you. Thank you for helping to support The Floral Apron!
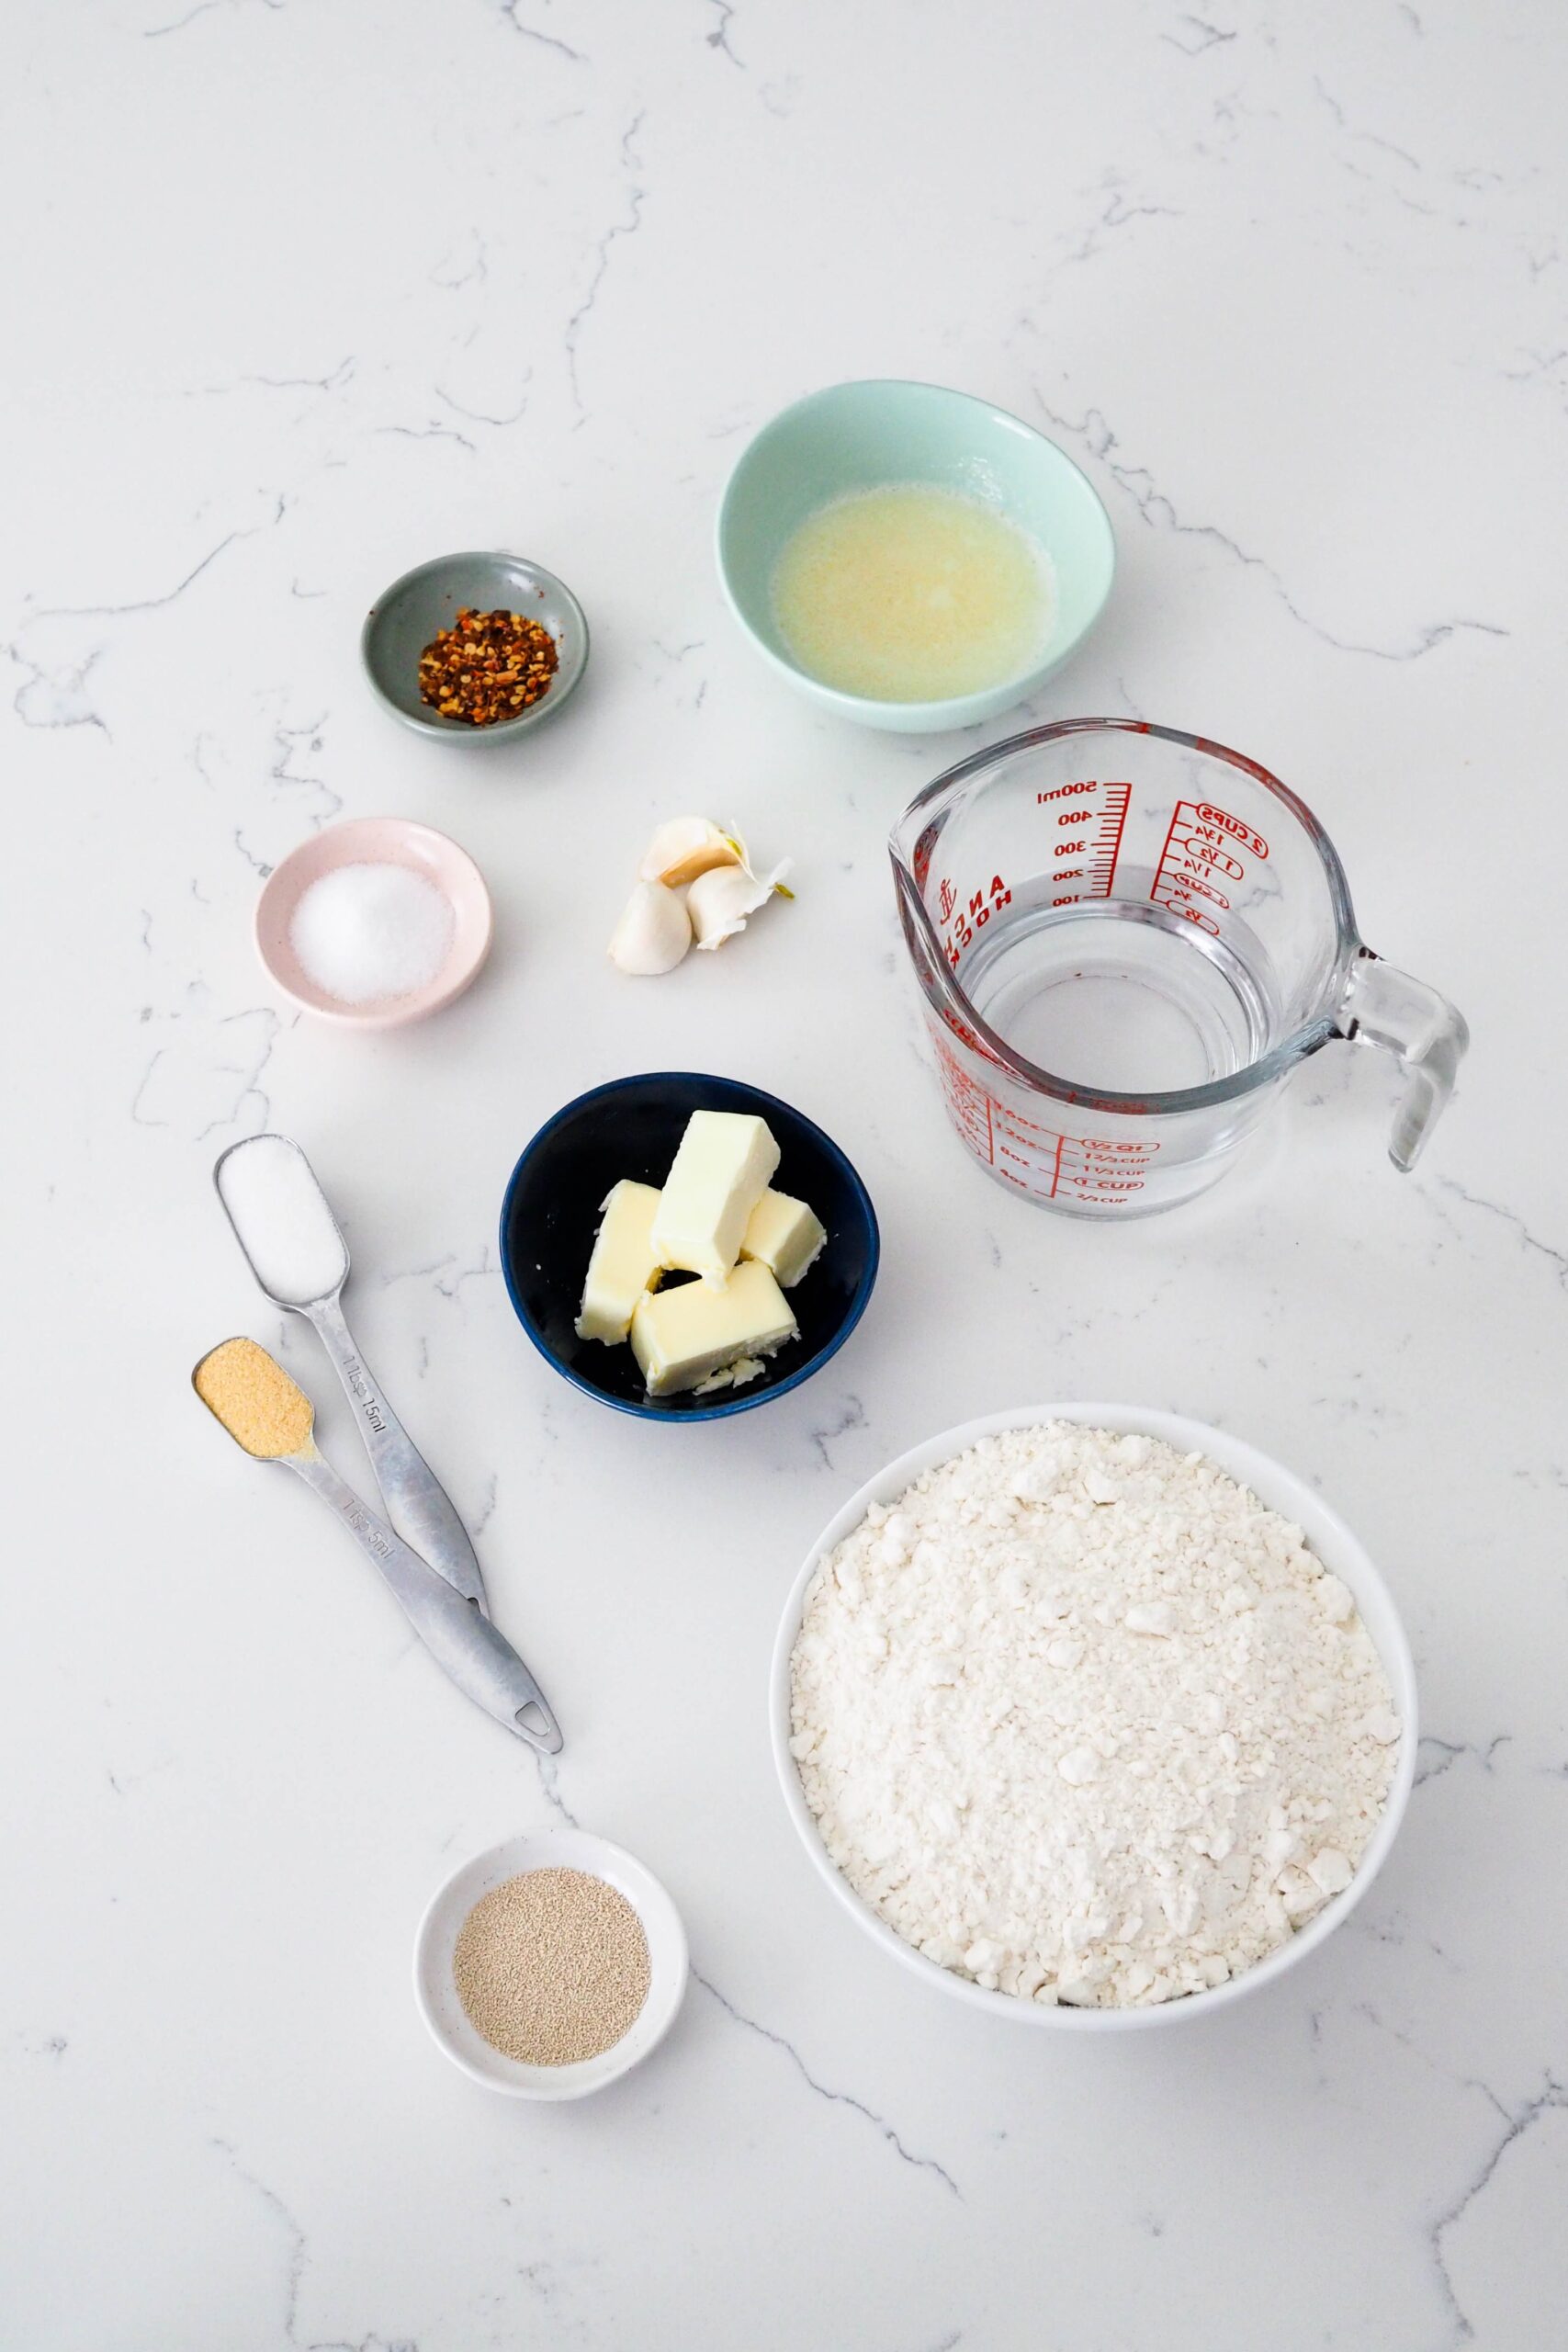
Ingredients for Twisted Garlic Breadsticks
Breadsticks are one of the easiest breads for beginners to make, as the enriched dough is really forgiving. This dough is made with butter and a little garlic powder for extra garlic flavor (without being overpowering). Once baked, the breadsticks are brushed with a fresh garlic butter to keep them soft.
- Active dry yeast. This is what will make our bread rise.
- Granulated sugar. Sugar helps feed the yeast, and it also softens the breadsticks.
- Warm water. The yeast will proof best in warm water about 100-110°F.
- All-purpose flour. All-purpose flour works just fine for bread! If you’d like a chewier breadstick, you can substitute bread flour.
- Butter. Half of the butter enriches the dough for a fluffy crumb, and the other half is mixed with garlic and spice for extra flavor! Use salted or unsalted.
- Salt. Salt does a number of wonderful things for bread, like adding flavor, improving the texture, and ensuring the yeast is kept in check.
- Garlic powder. Just a bit in the dough helps amplify the garlic flavor.
- Garlic cloves. Freshly minced or pressed garlic will give the garlic butter a strong, garlicky flavor.
- Red pepper flakes. I love the addition of a little spice on these breadsticks, but you can easily leave out the spice if it’s not your thing.
How to Make Enriched Dough for Garlic Breadsticks
For the softest and fluffiest garlic breadsticks, enriched dough is the way to go. Incorporating butter and sugar into the dough softens it significantly, making your first bite a fluffy and delicious one.
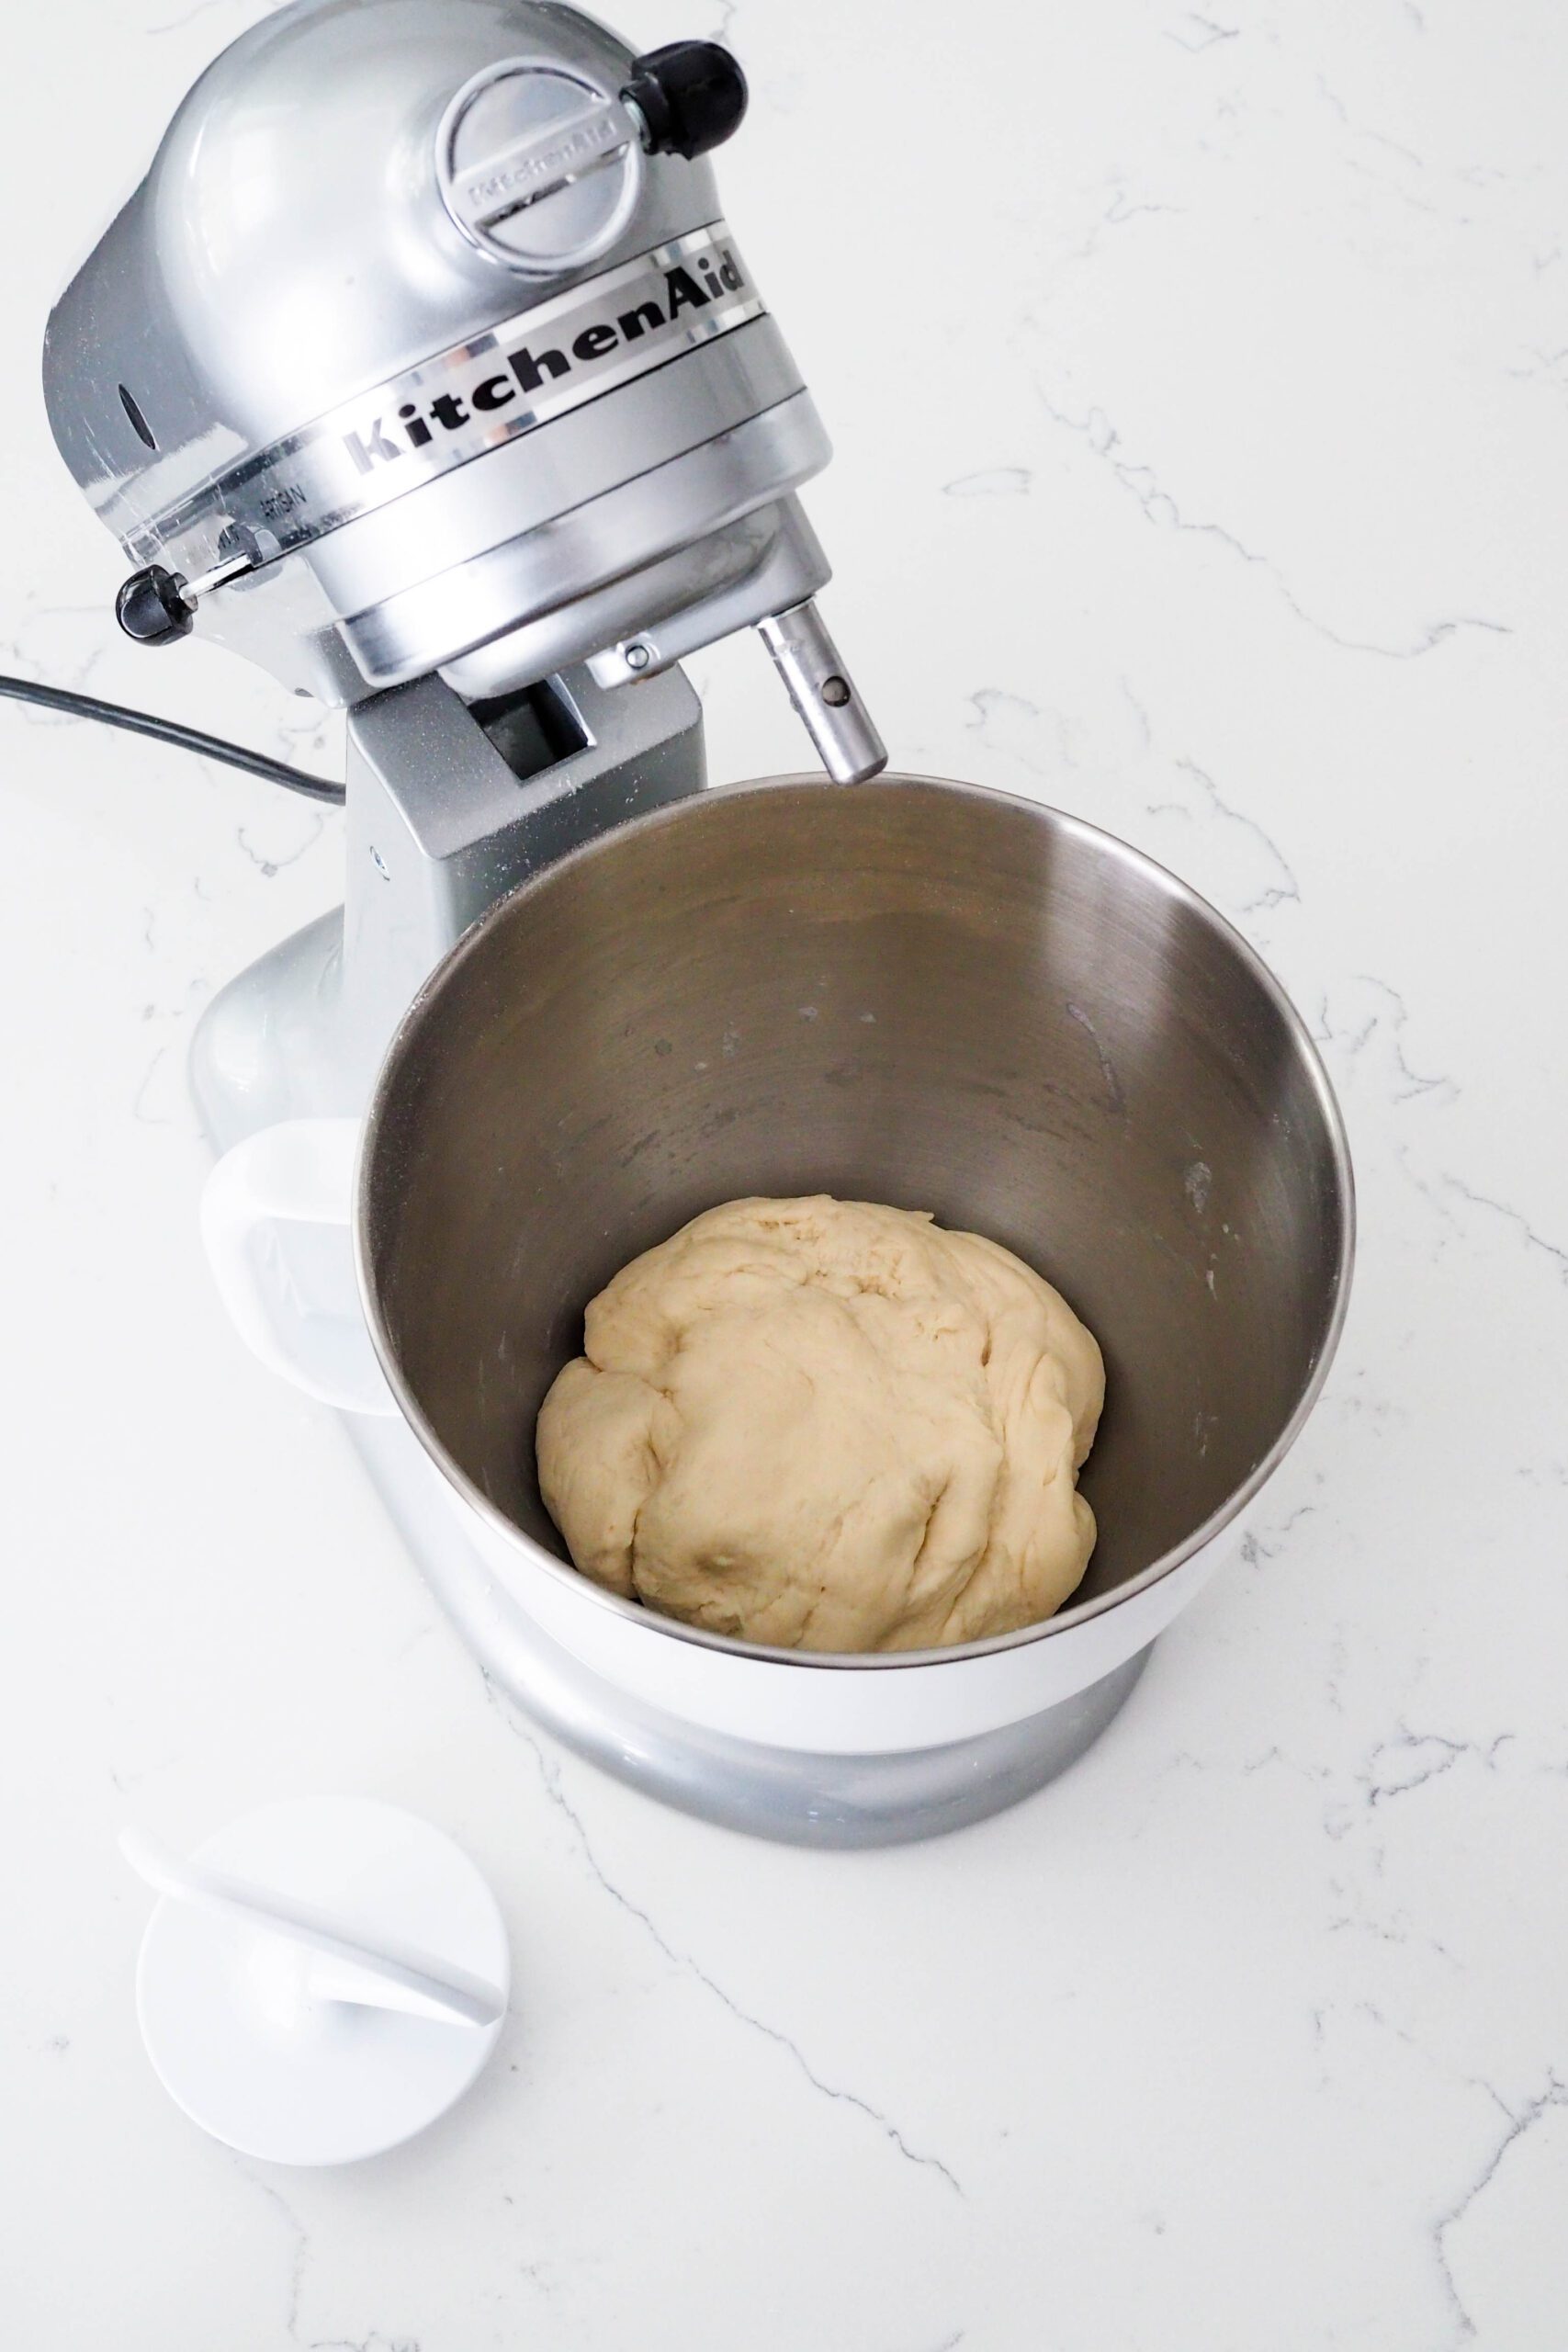
Add sugar and yeast to a large mixing bowl, then pour warm water over the two. Allow to sit for about five minutes until the mixture smells bready, then add your flour, garlic powder, salt, and melted butter.
The dough will look a little dry as it comes together, but it will moisten up as the flour has a chance to hydrate.
Knead the garlic breadstick dough for 10-15 minutes in a stand mixer or 15-20 minutes by hand until the dough is tacky and stretchy. When enough gluten has been developed, the dough will not stick to the sides of the mixer bowl.
I like to use the windowpane test to determine if the bread has enough gluten: Tear off a small chunk of dough and stretch it between your fingers. If the dough stretches thin enough for light to come through, it has developed enough gluten. (See image below.) If it tears rather than stretching, knead for another minute or two before retesting.


Quick Tips for Proofing Enriched Dough
Enriched dough takes noticeably longer to proof than lean dough. Any lean dough made with just flour, yeast, salt, and water will proof much faster than an enriched dough coated with fat (olive oil, butter, egg yolks) and sweetened with sugar (granulated sugar, honey, etc).
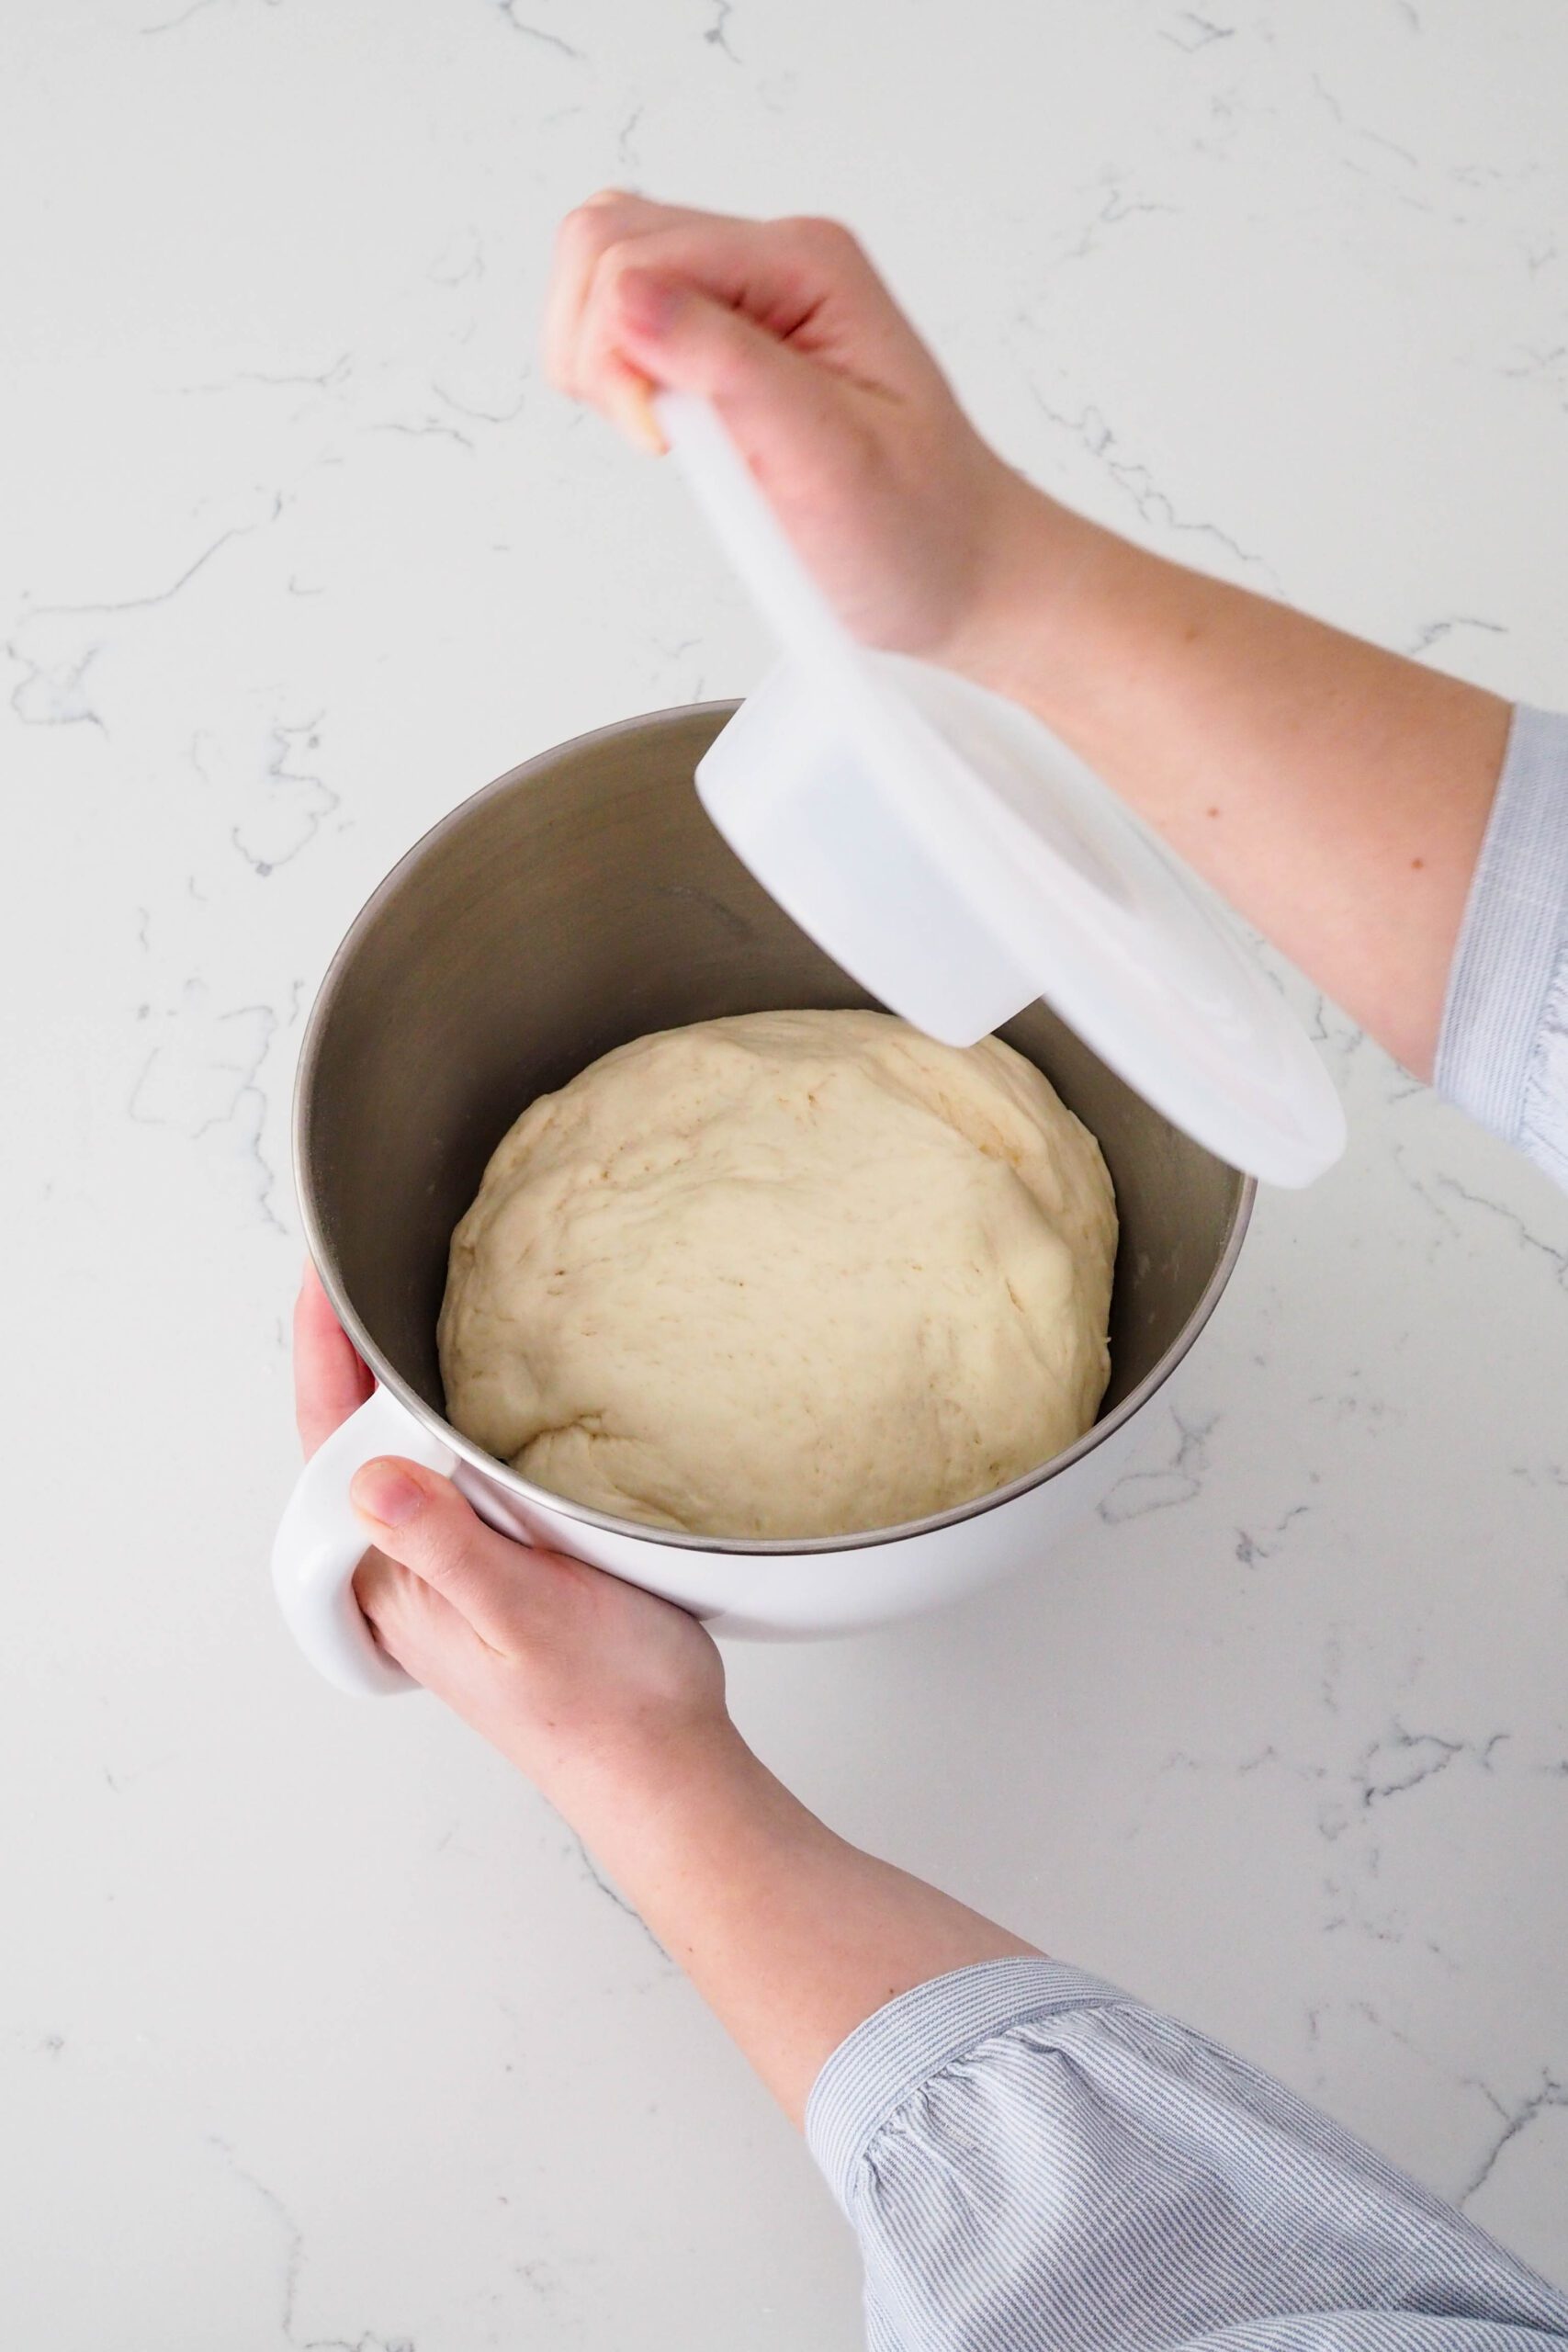
To help dough for garlic breadsticks rise more quickly, I recommend placing the covered bowl somewhere warm but not hot. For some people, this means in the oven with the light on to provide a little bit of extra warmth.
I generally proof my dough in a covered bowl under a sunny kitchen window—or sometimes even outside on my patio set if it’s warm out. There’s no point spending money on electricity when the sun can do the same job for free!
The proofing time can take anywhere from 45 minutes to an hour and a half, depending on the temperature. (Anything warmer than 120°F/48°C can kill the yeast.) You can also proof the dough overnight in the fridge!
How to Shape Twisted Garlic Breadsticks
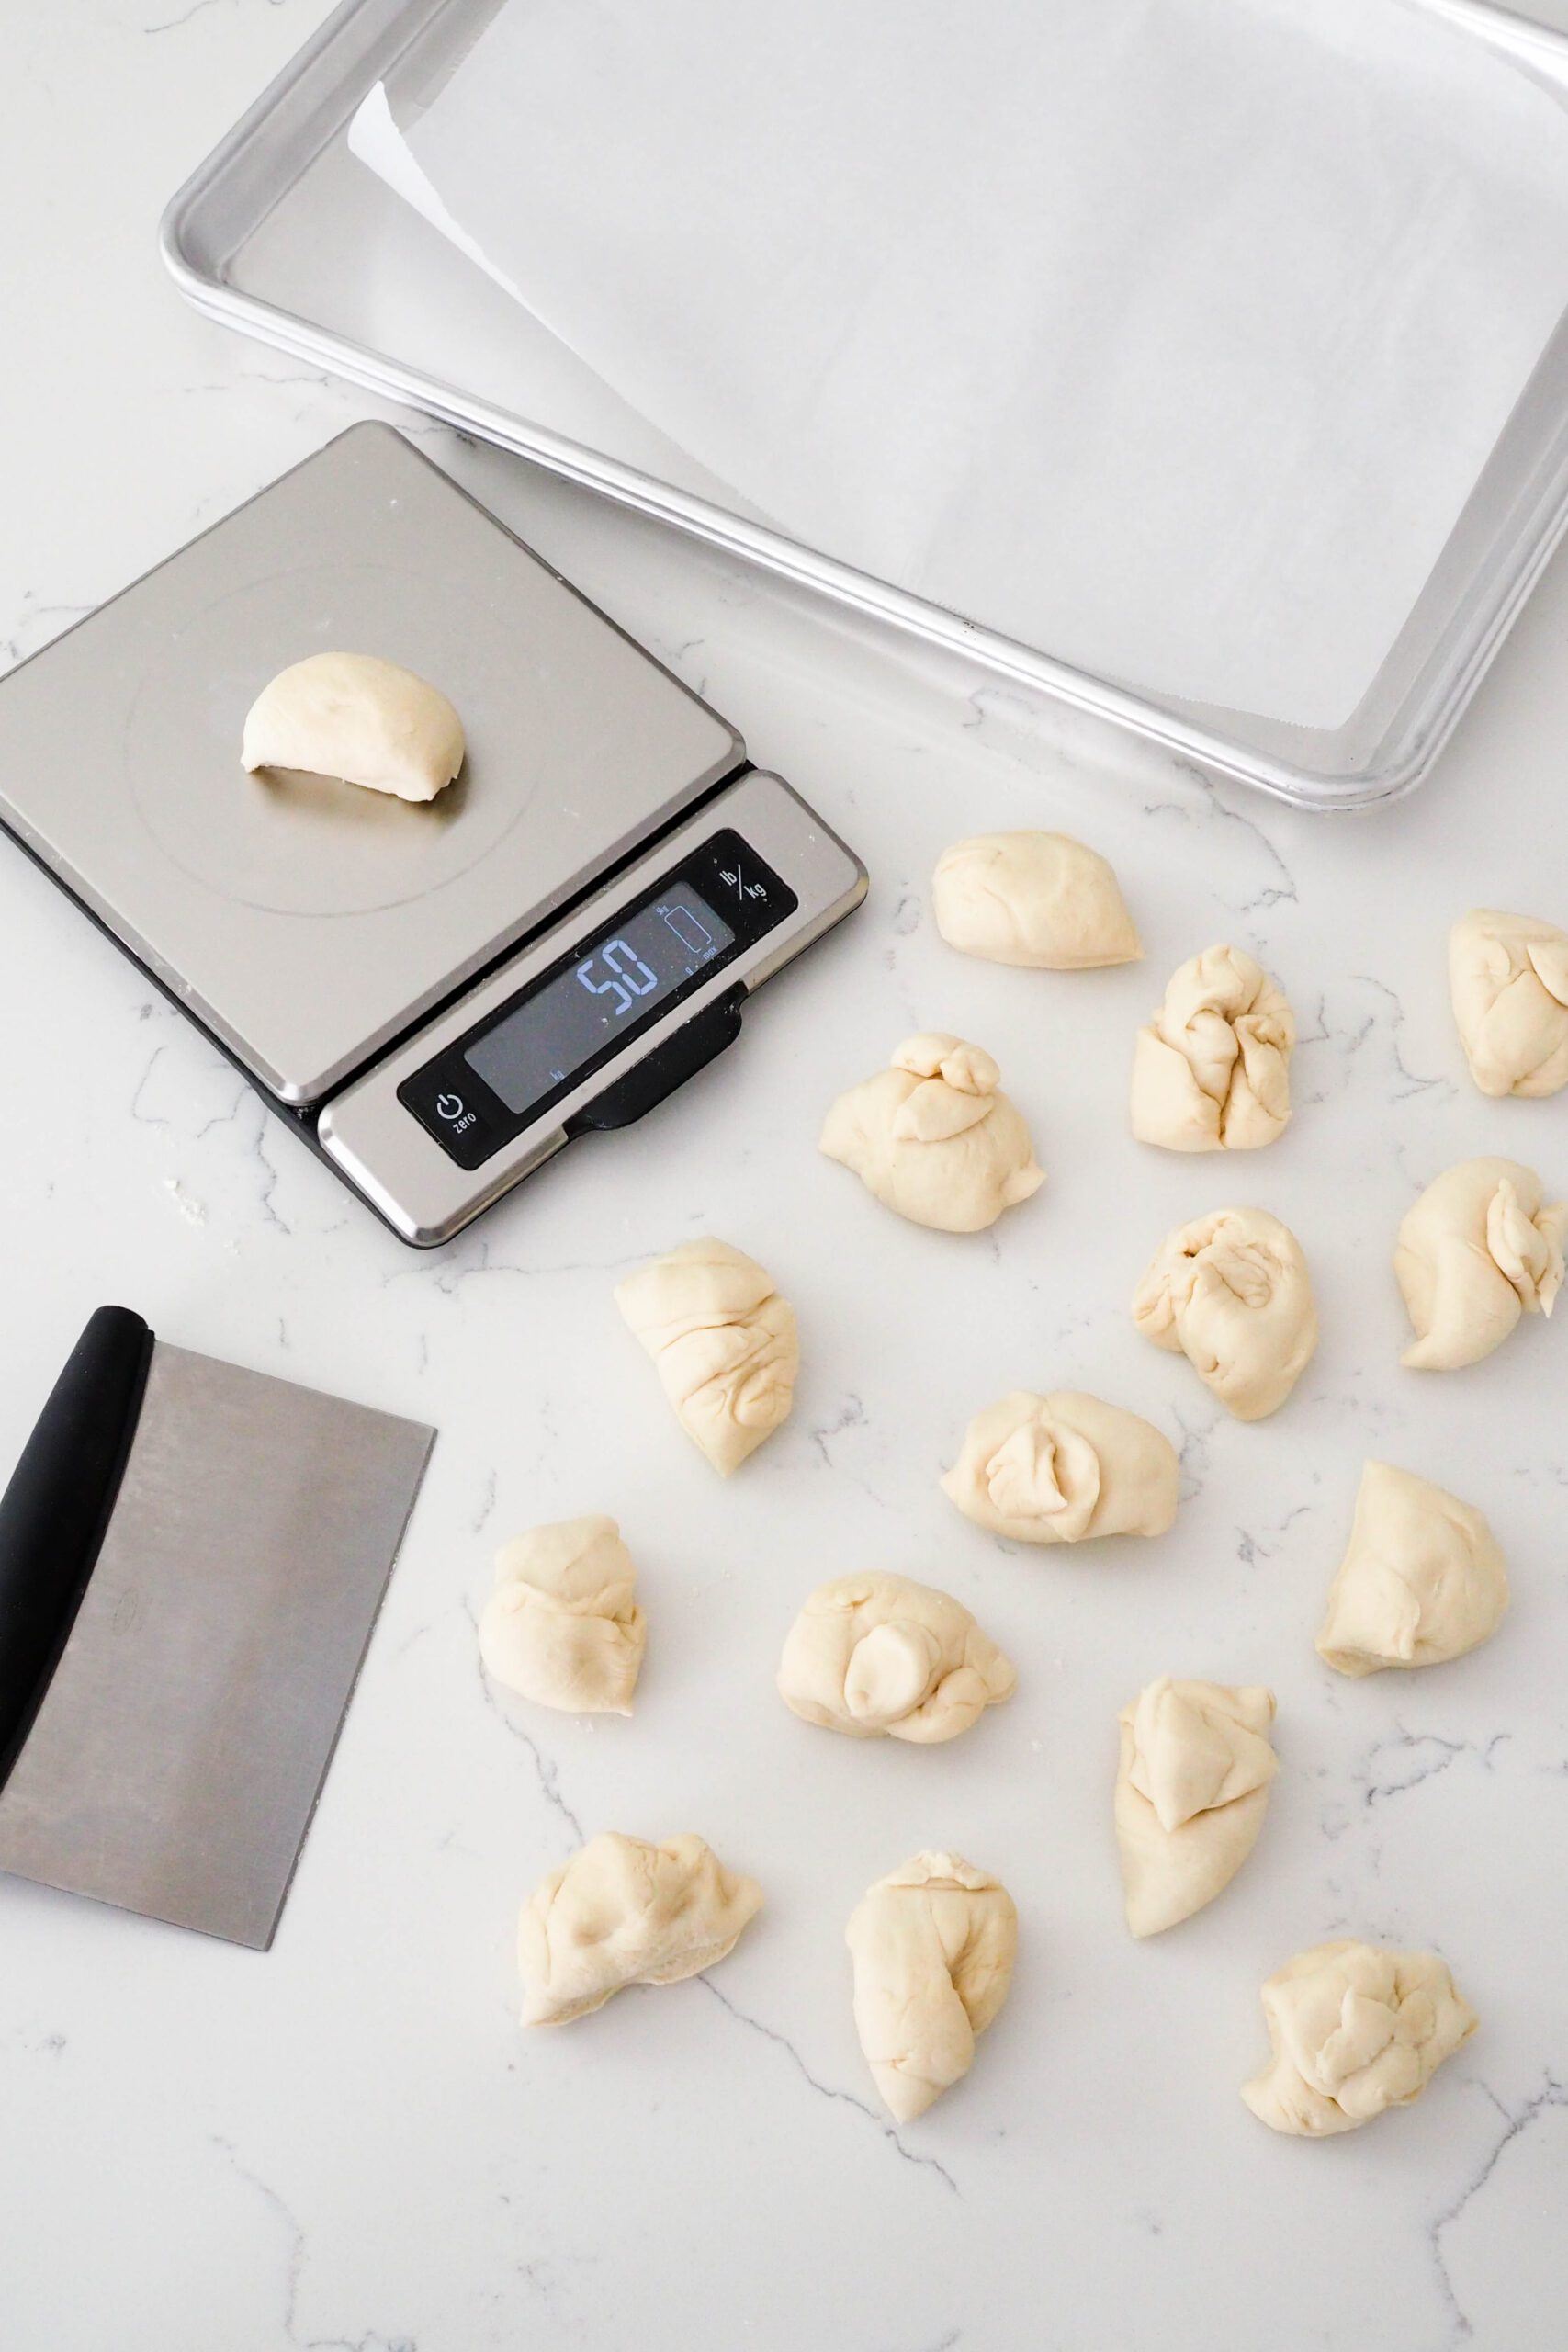
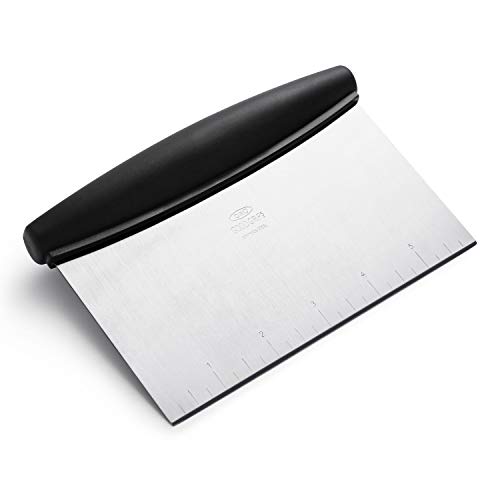
Once your garlic breadstick dough has proofed, divide the dough into 16 pieces. I use a bench scraper and kitchen scale to do this efficiently, but you can also eyeball it. Once divided, cover the dough balls with a kitchen towel to prevent them from drying out.
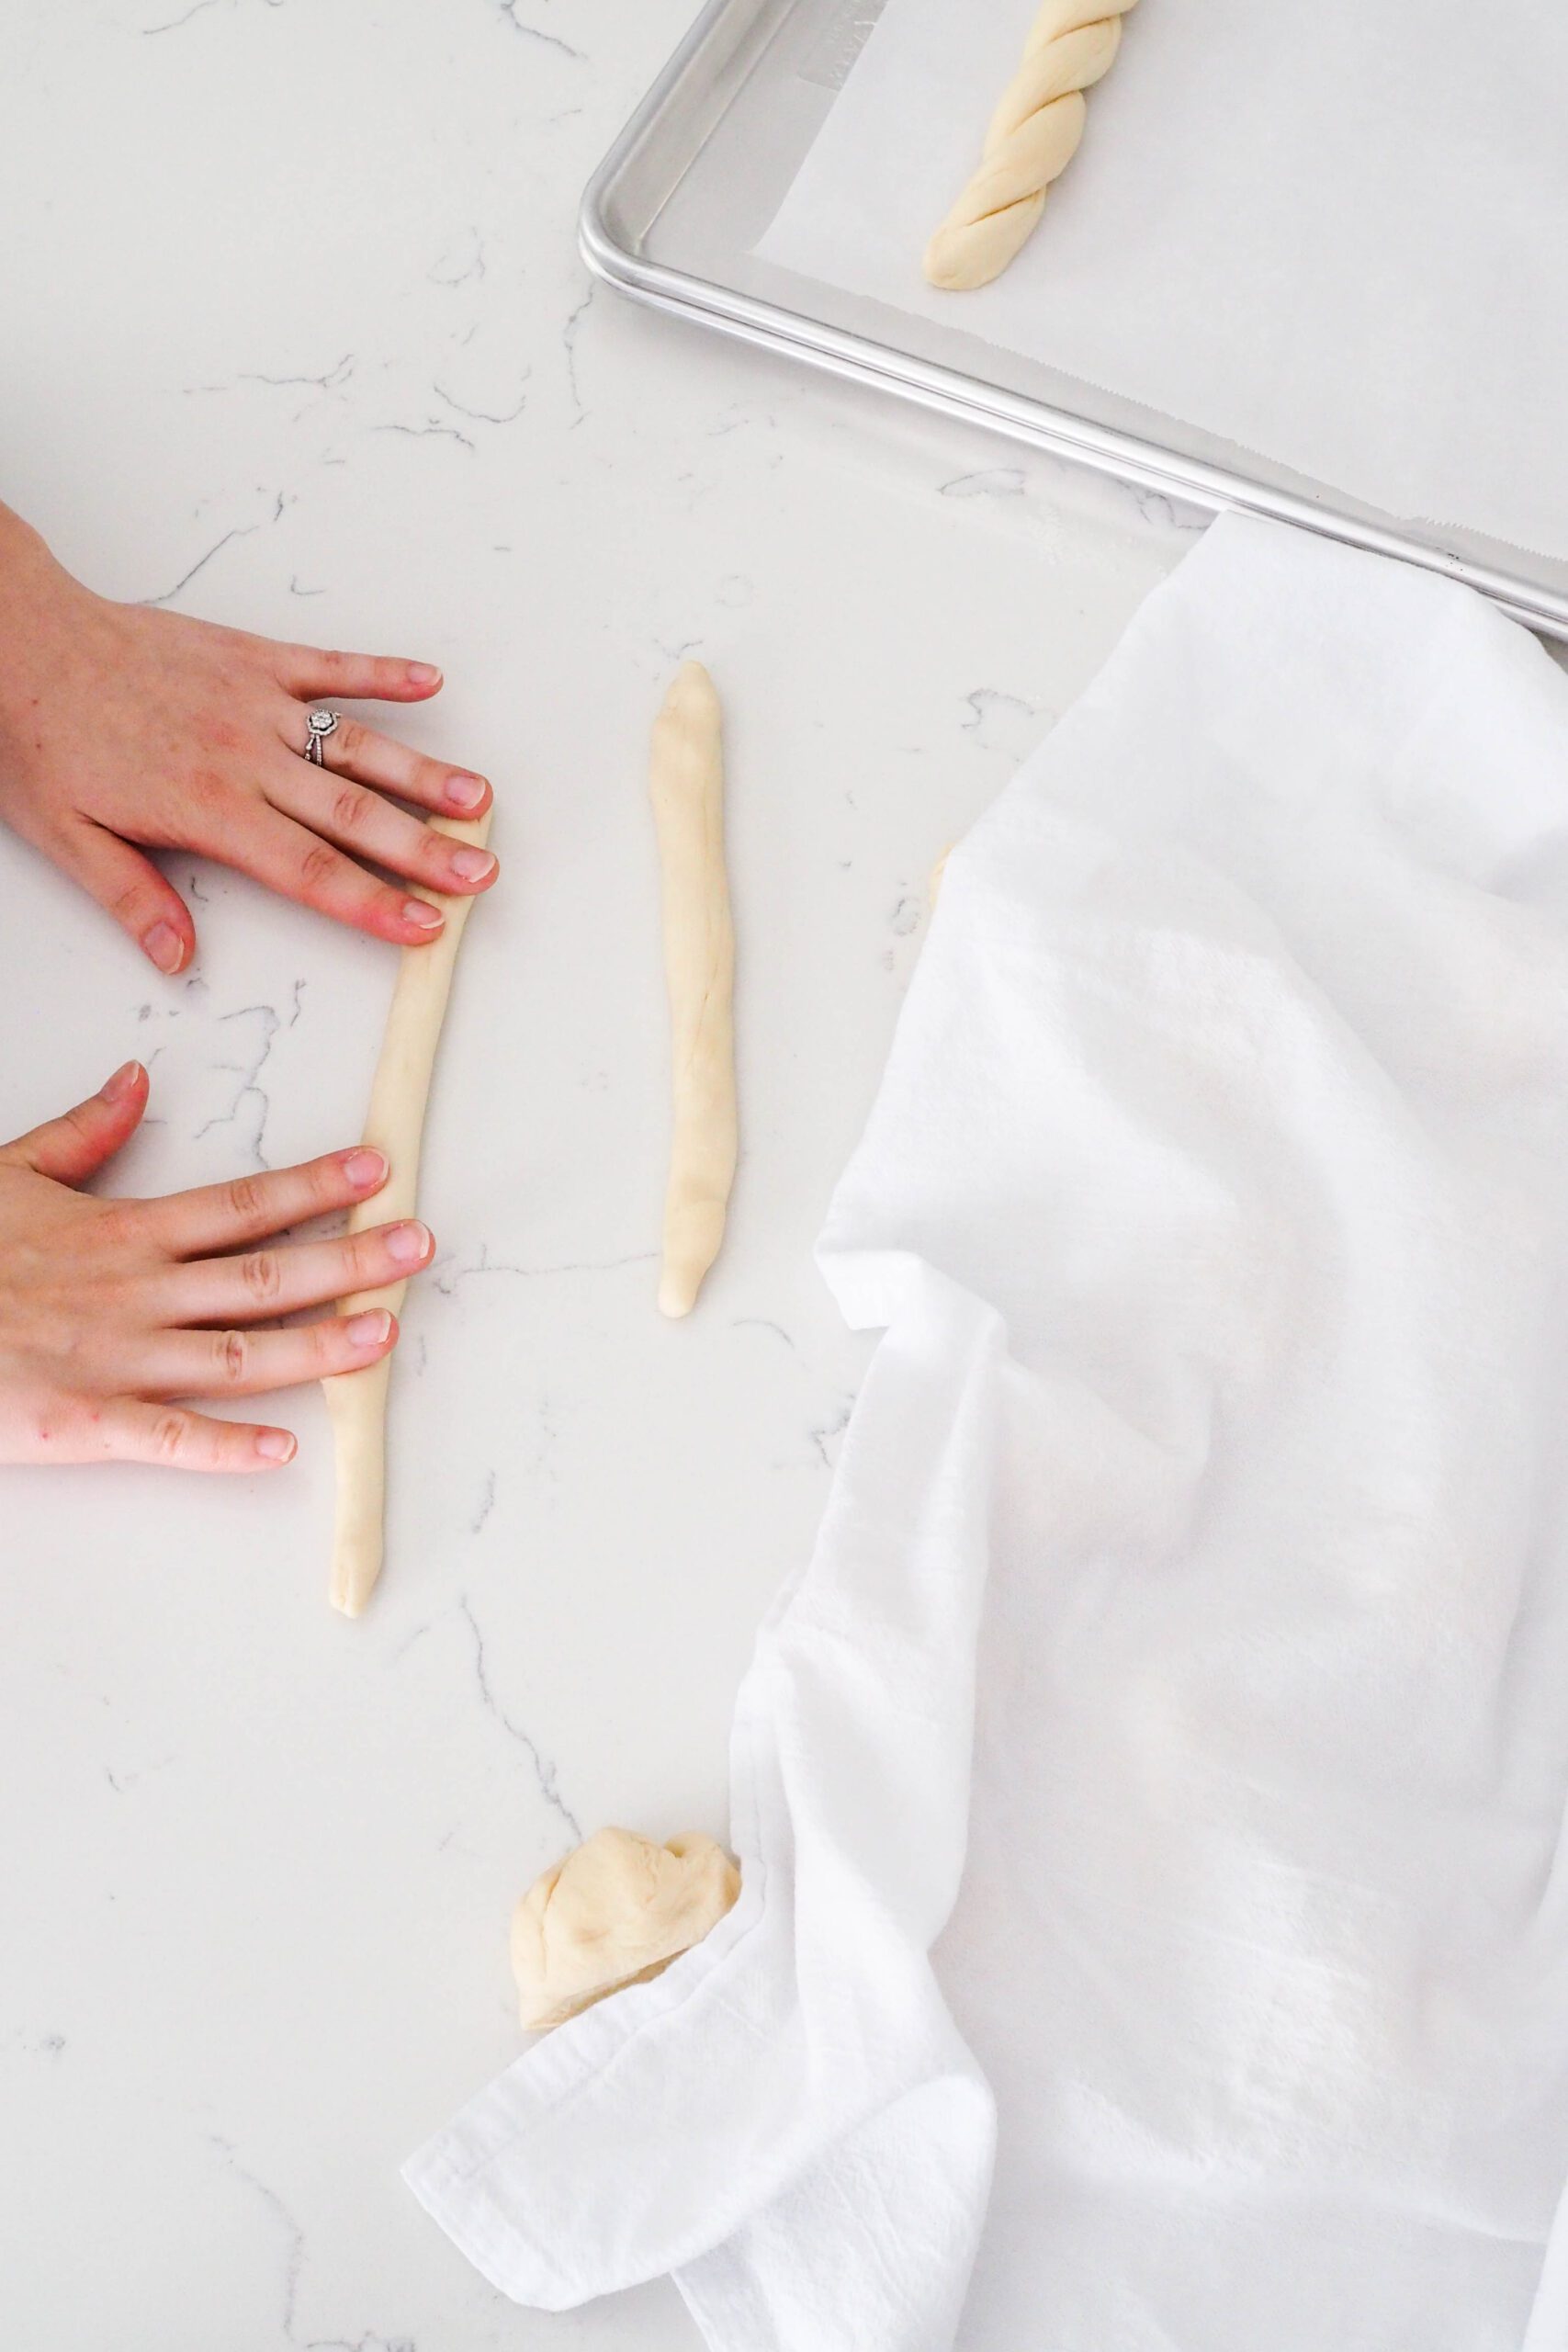
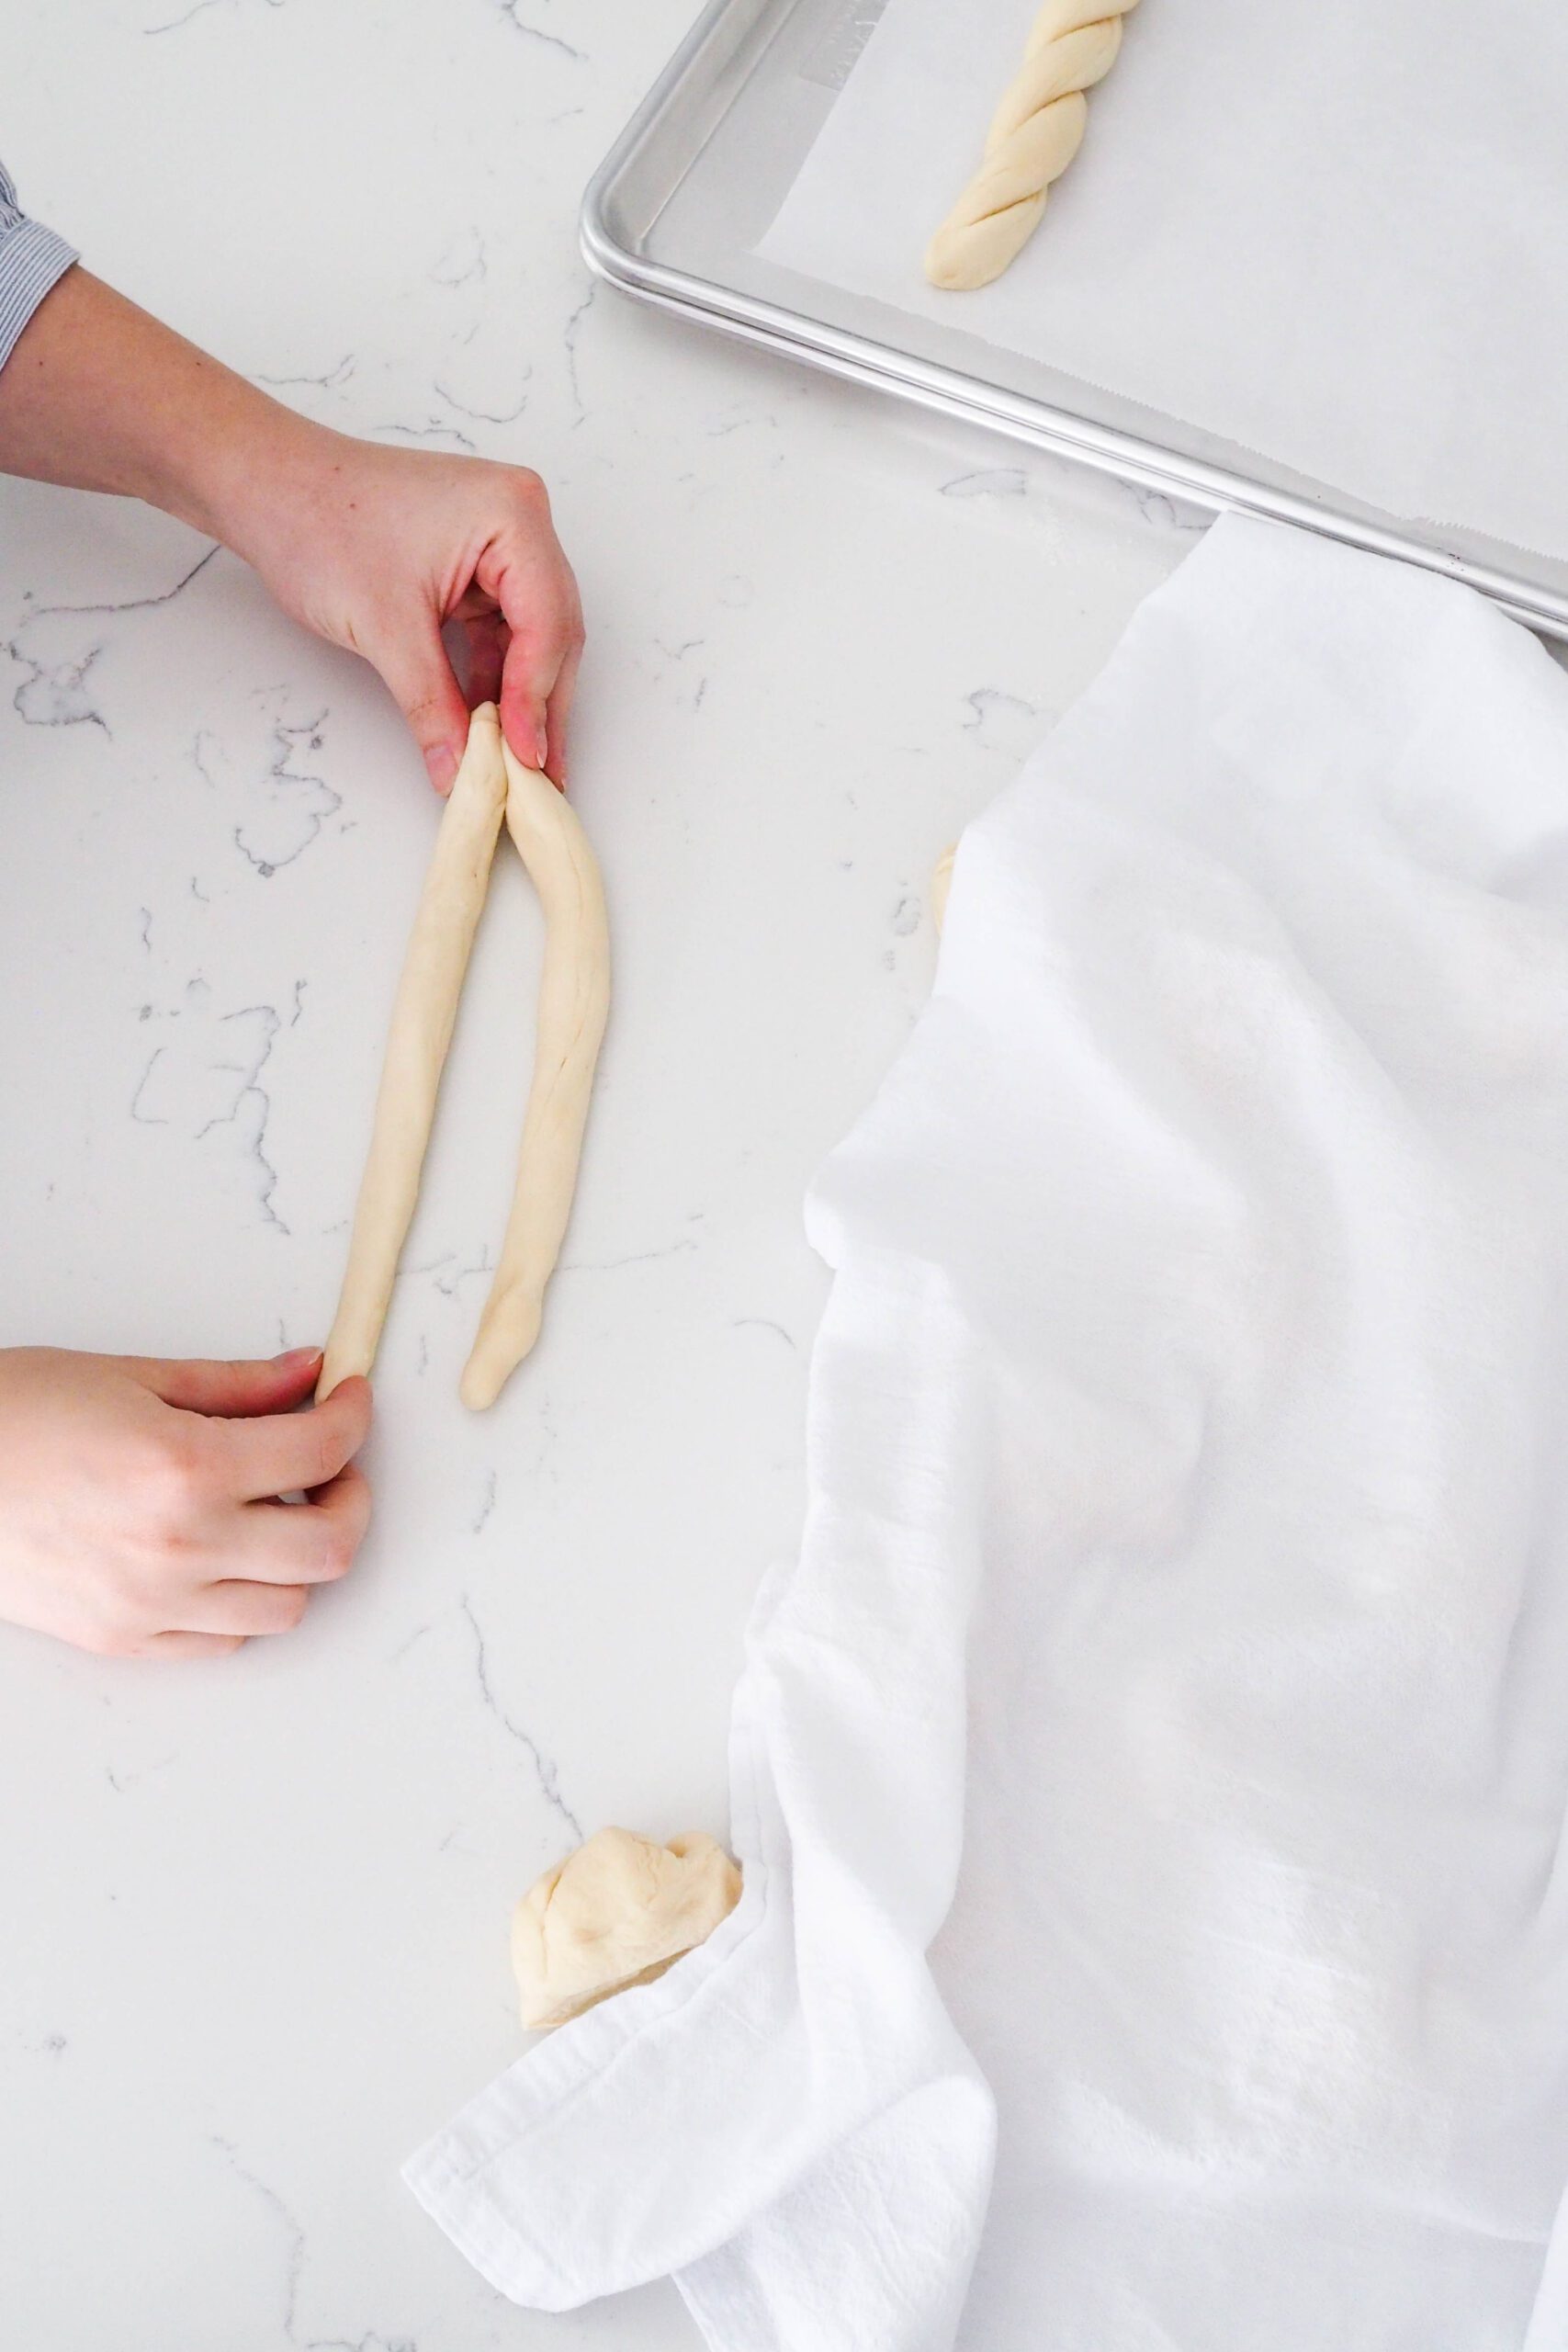
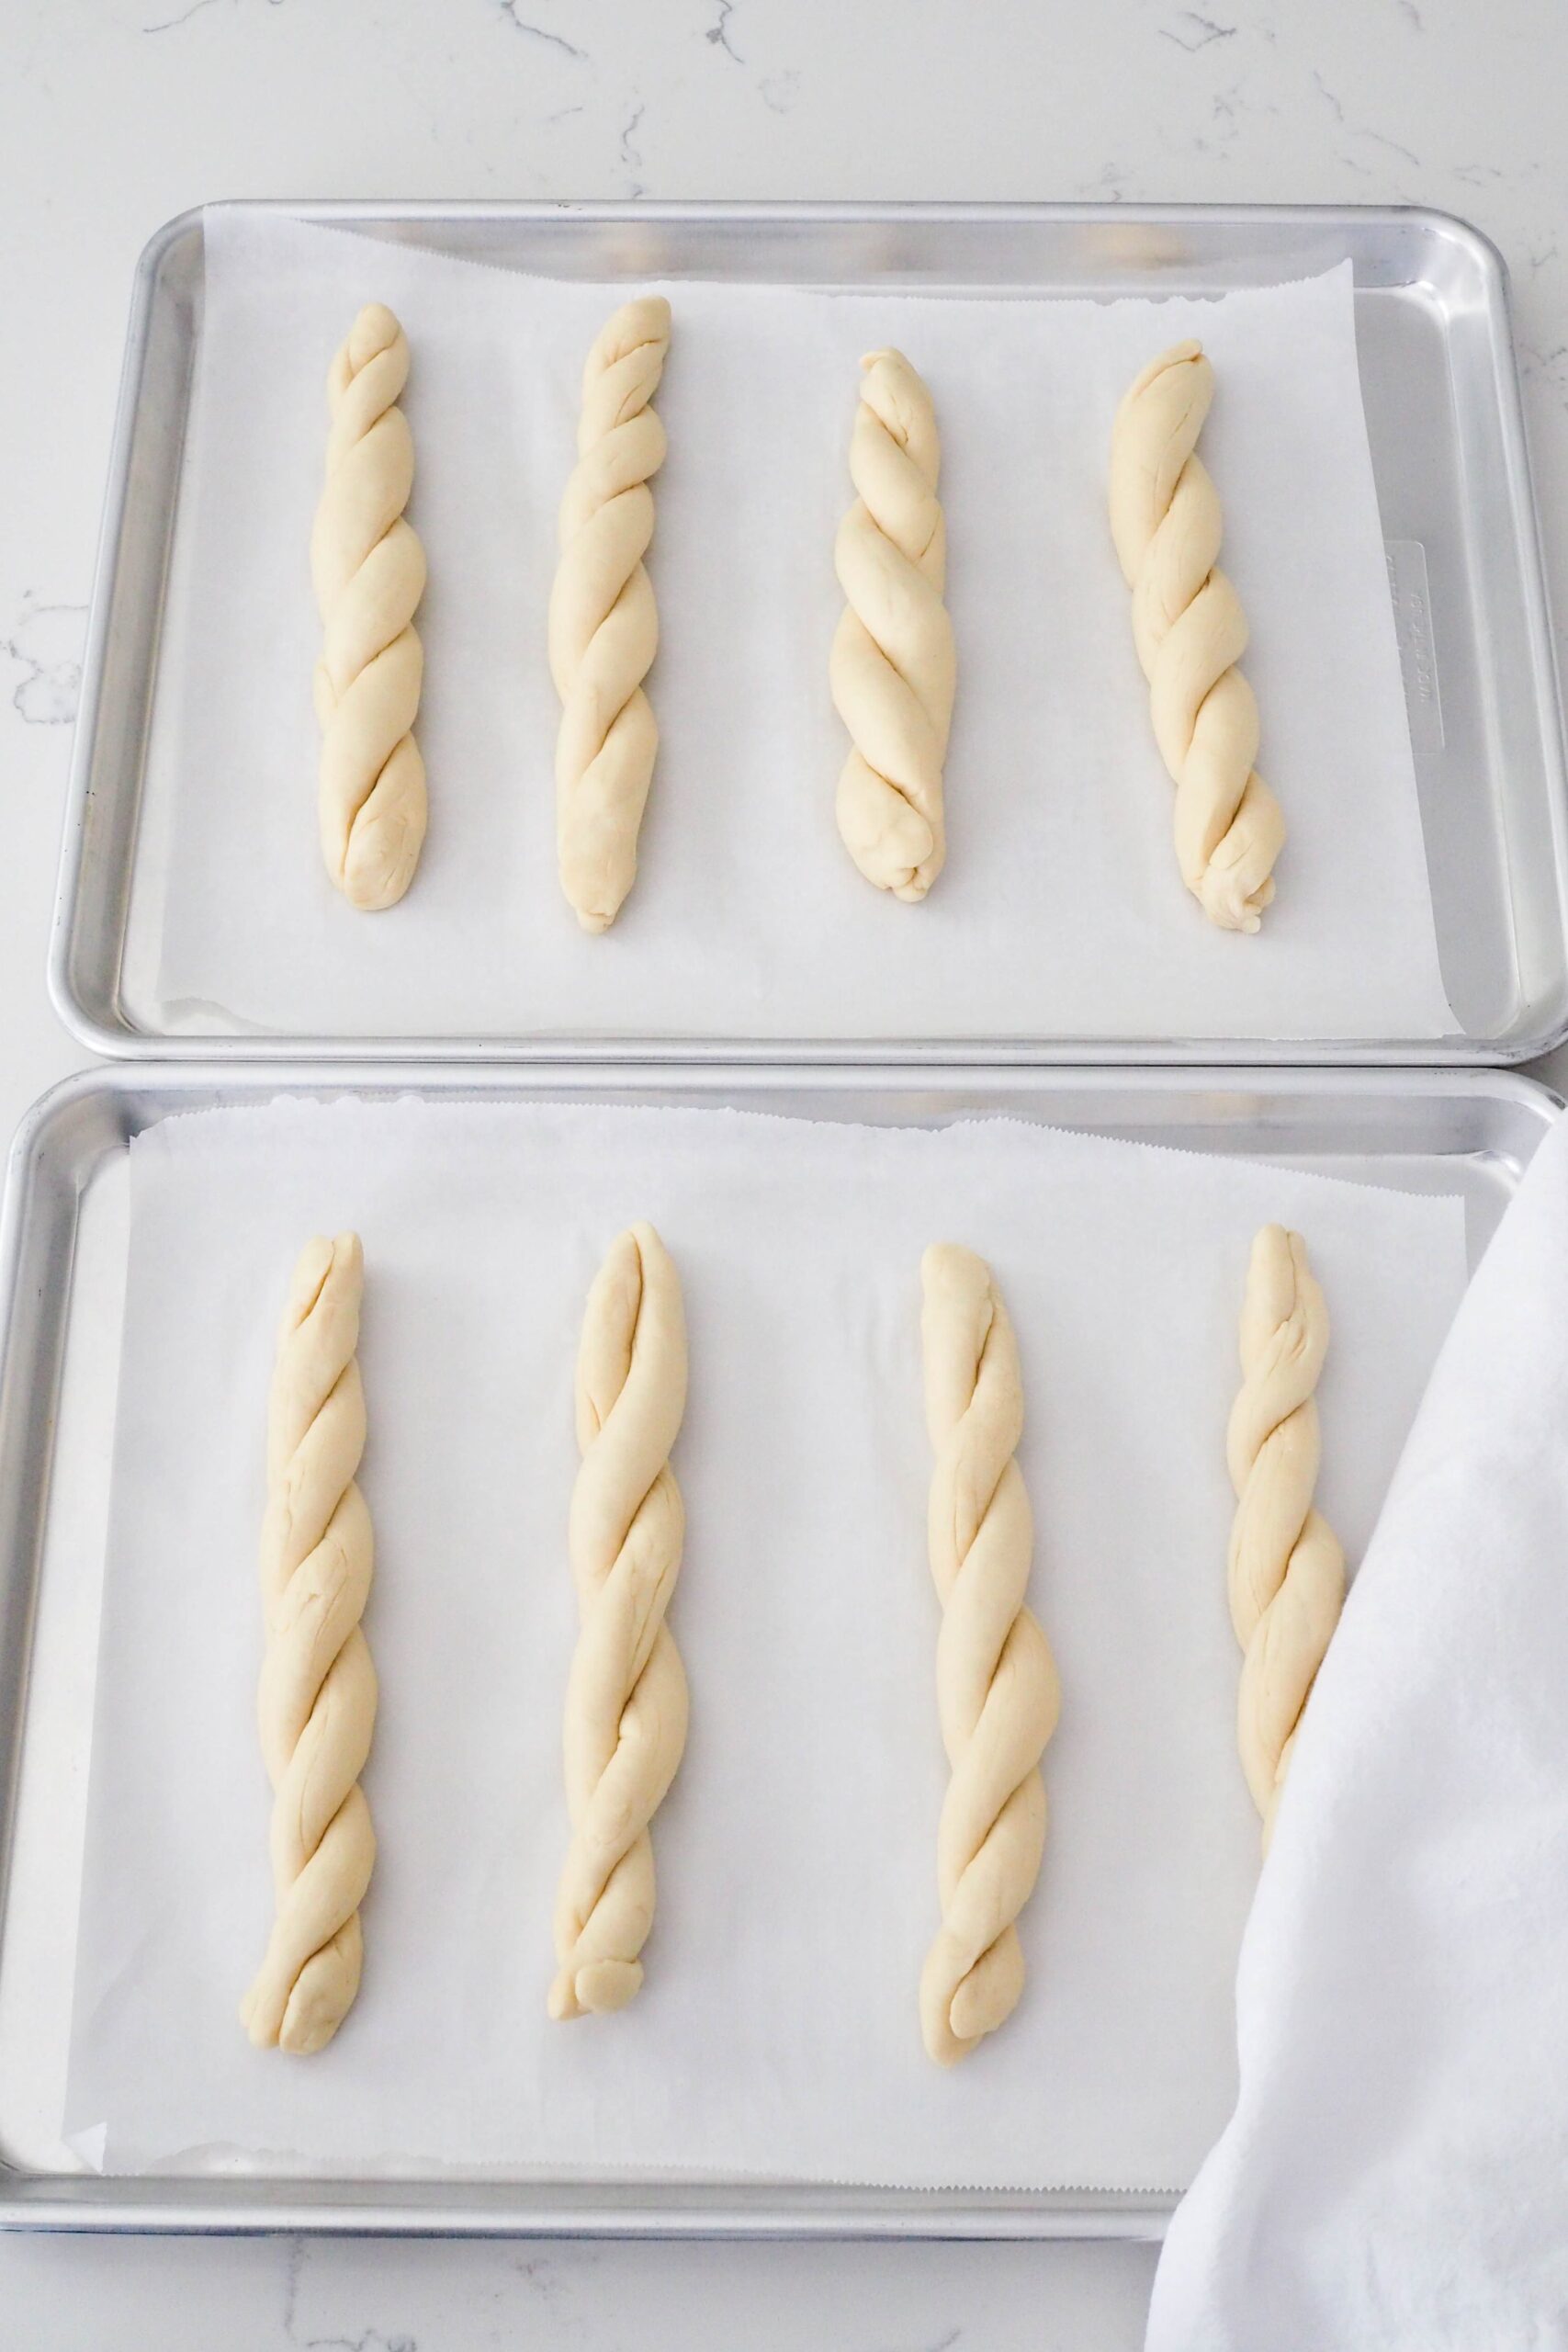
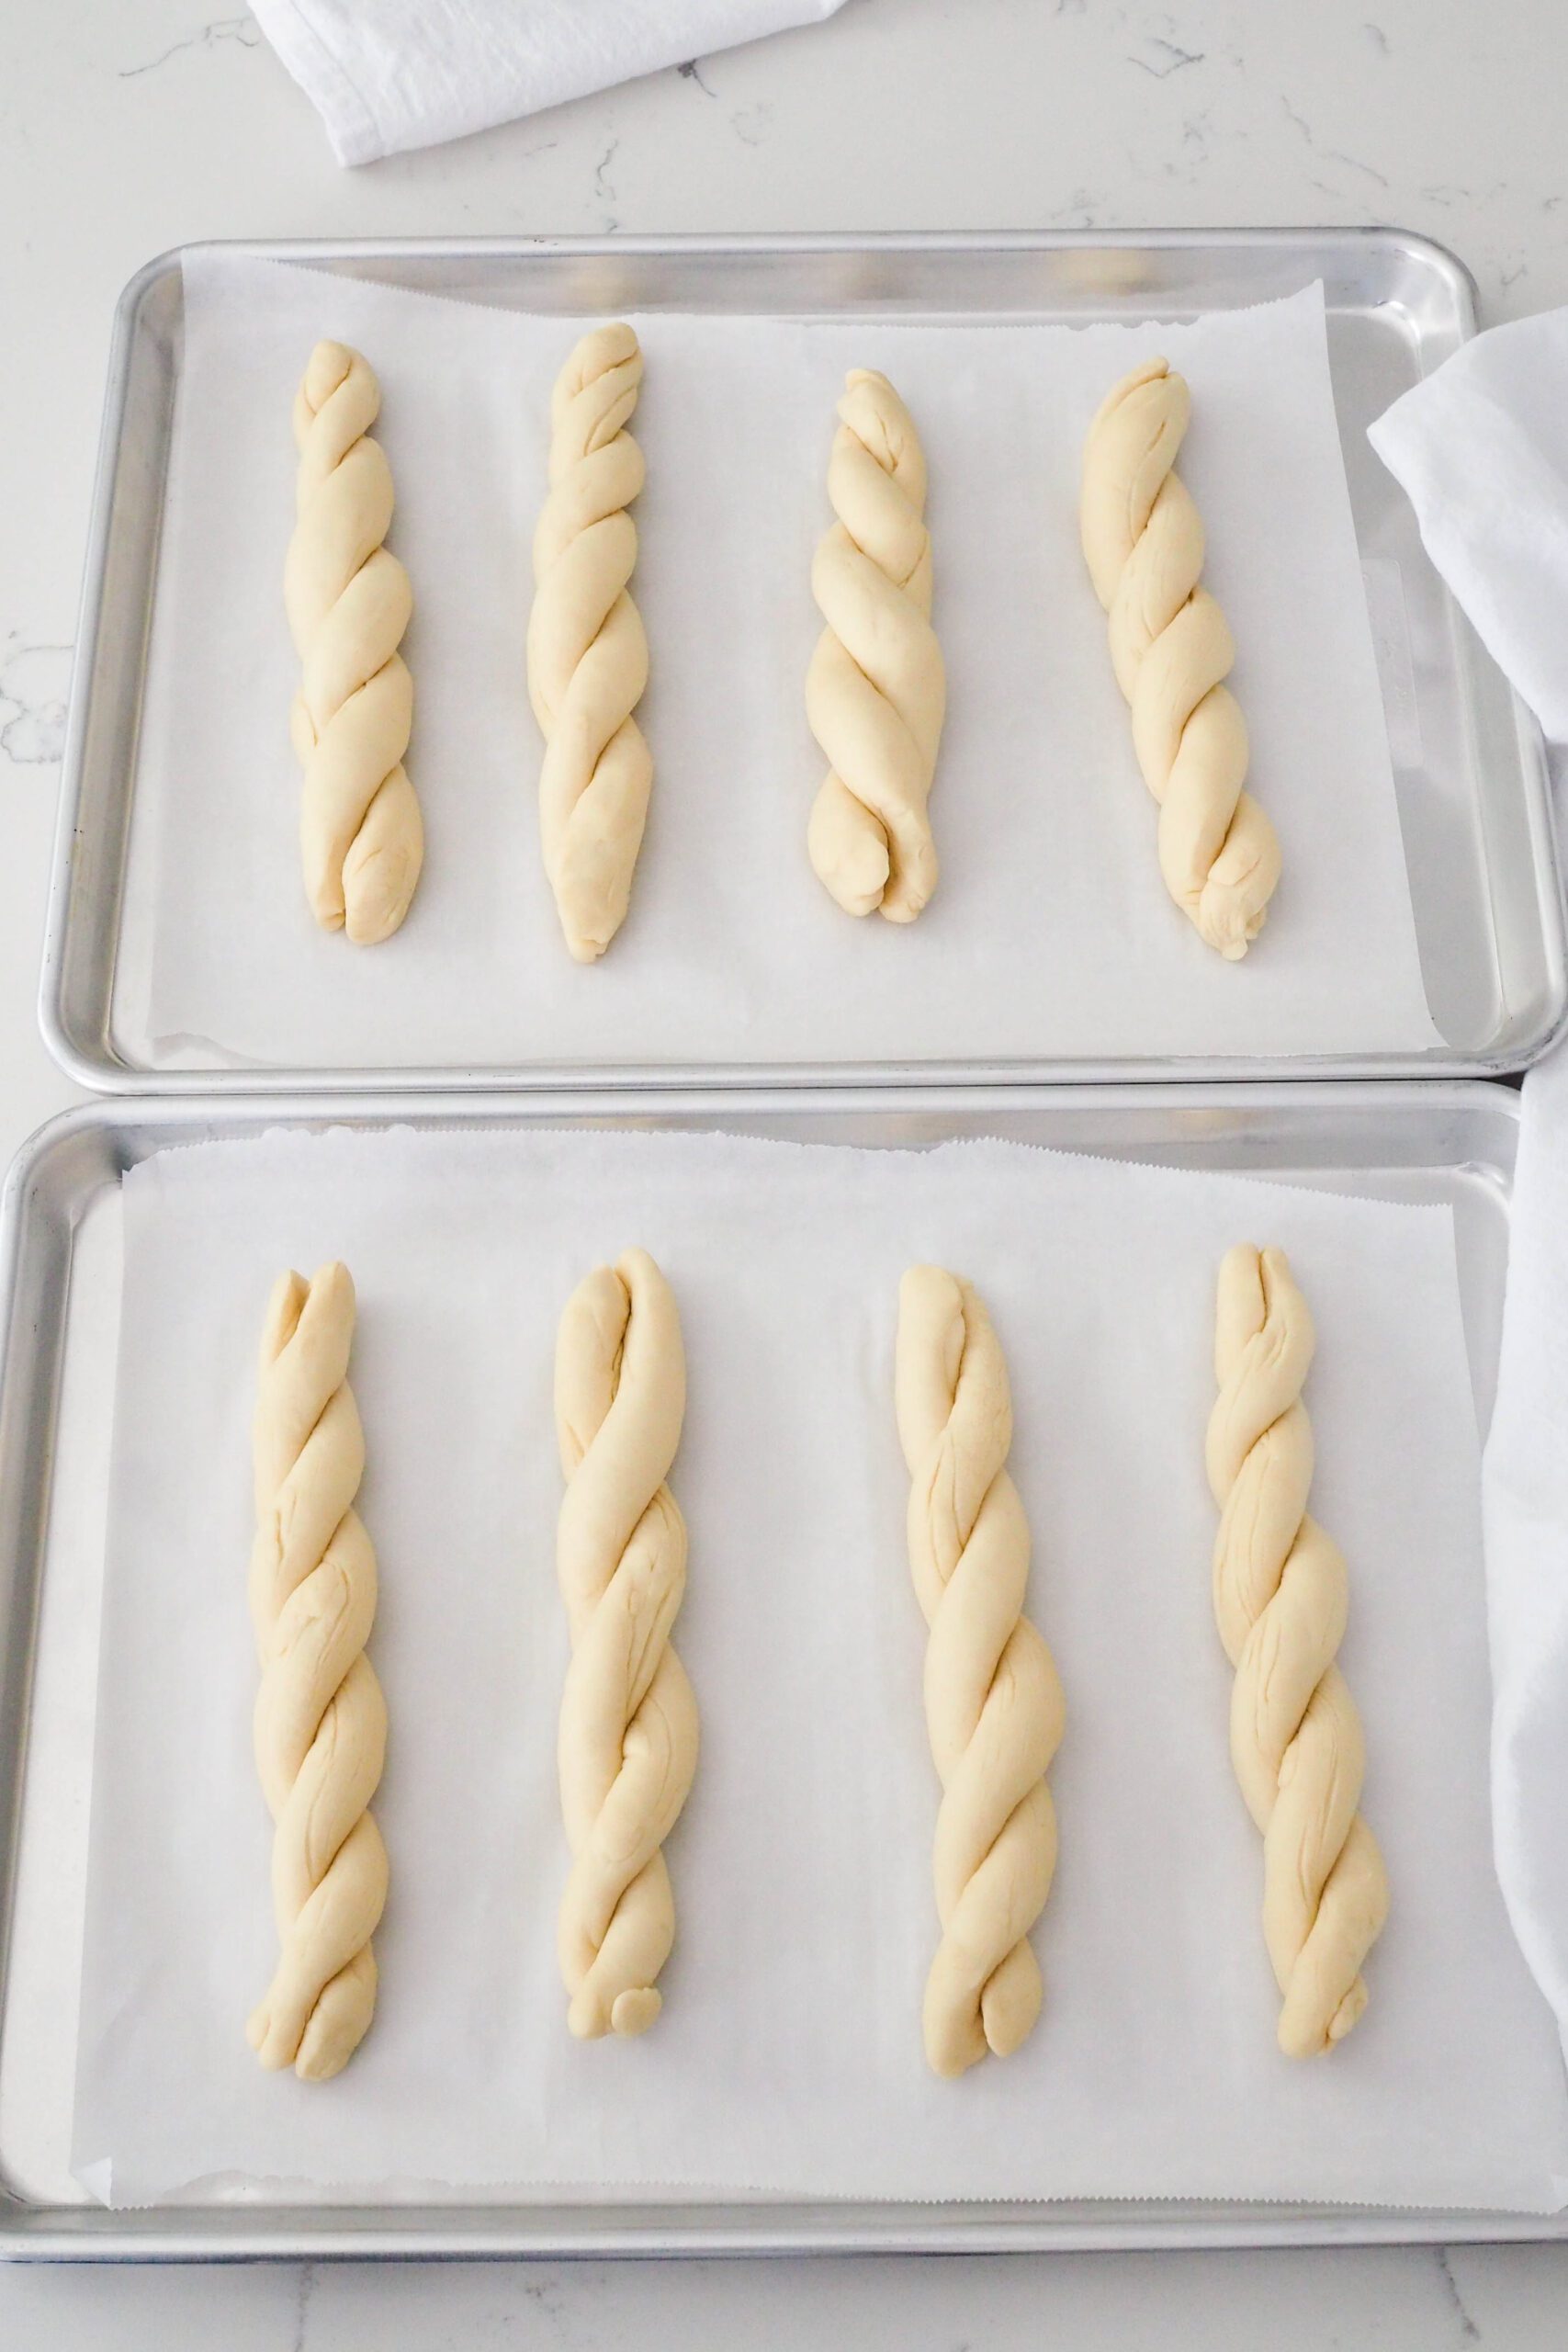
Working with two pieces of dough at a time, roll them into logs about 9-10″ long (22-25 cm). Pinch two ends together, then pick them up at that pinch point. Twist one log around the other a few times, then place the twisted dough back on your workspace. This works best if you twist quickly, as the dough will start to stretch out the longer it’s left dangling.
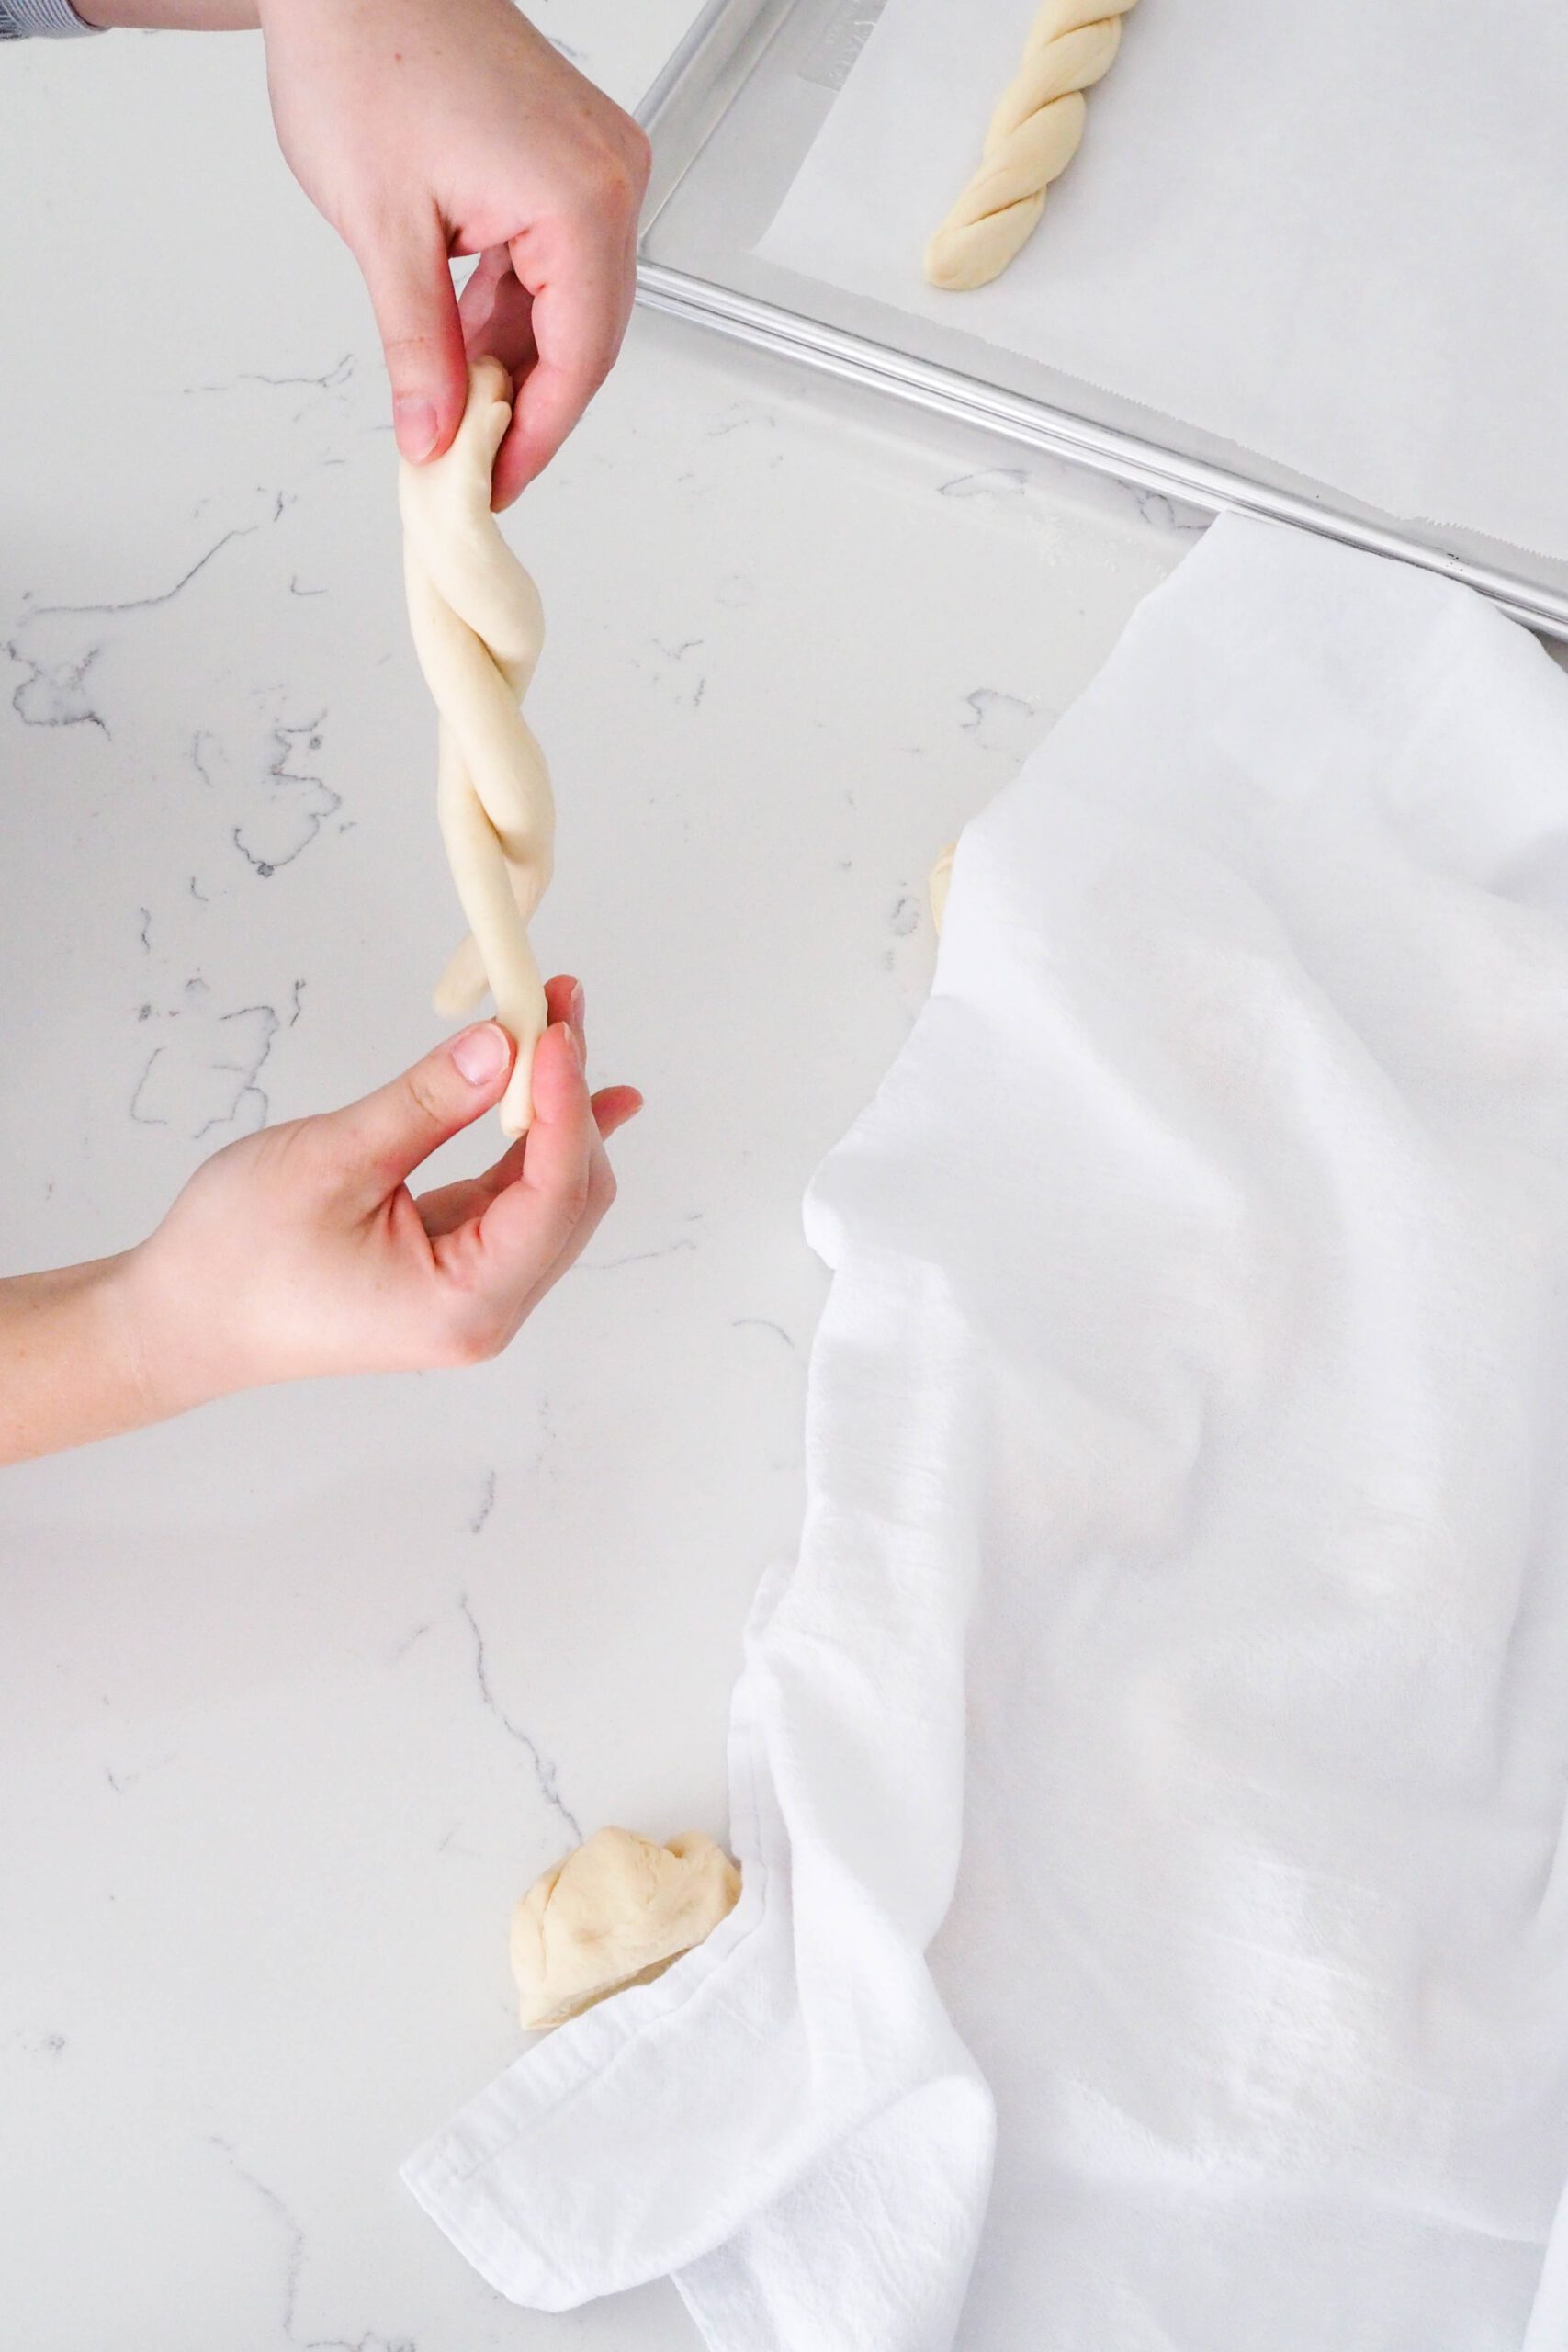
Tuck the edges under the rest of the dough, then place on a lined baking sheet about 4″ or 10 cm apart.
Cover with a kitchen towel or lightly oiled plastic wrap, and proof for another 20 minutes or so until slightly puffy.
Baking Breadsticks and Making Garlic Butter
Once puffy, the garlic breadsticks are ready to bake. Bake at 375°F/190°C for 15-20 minutes until lightly golden brown.
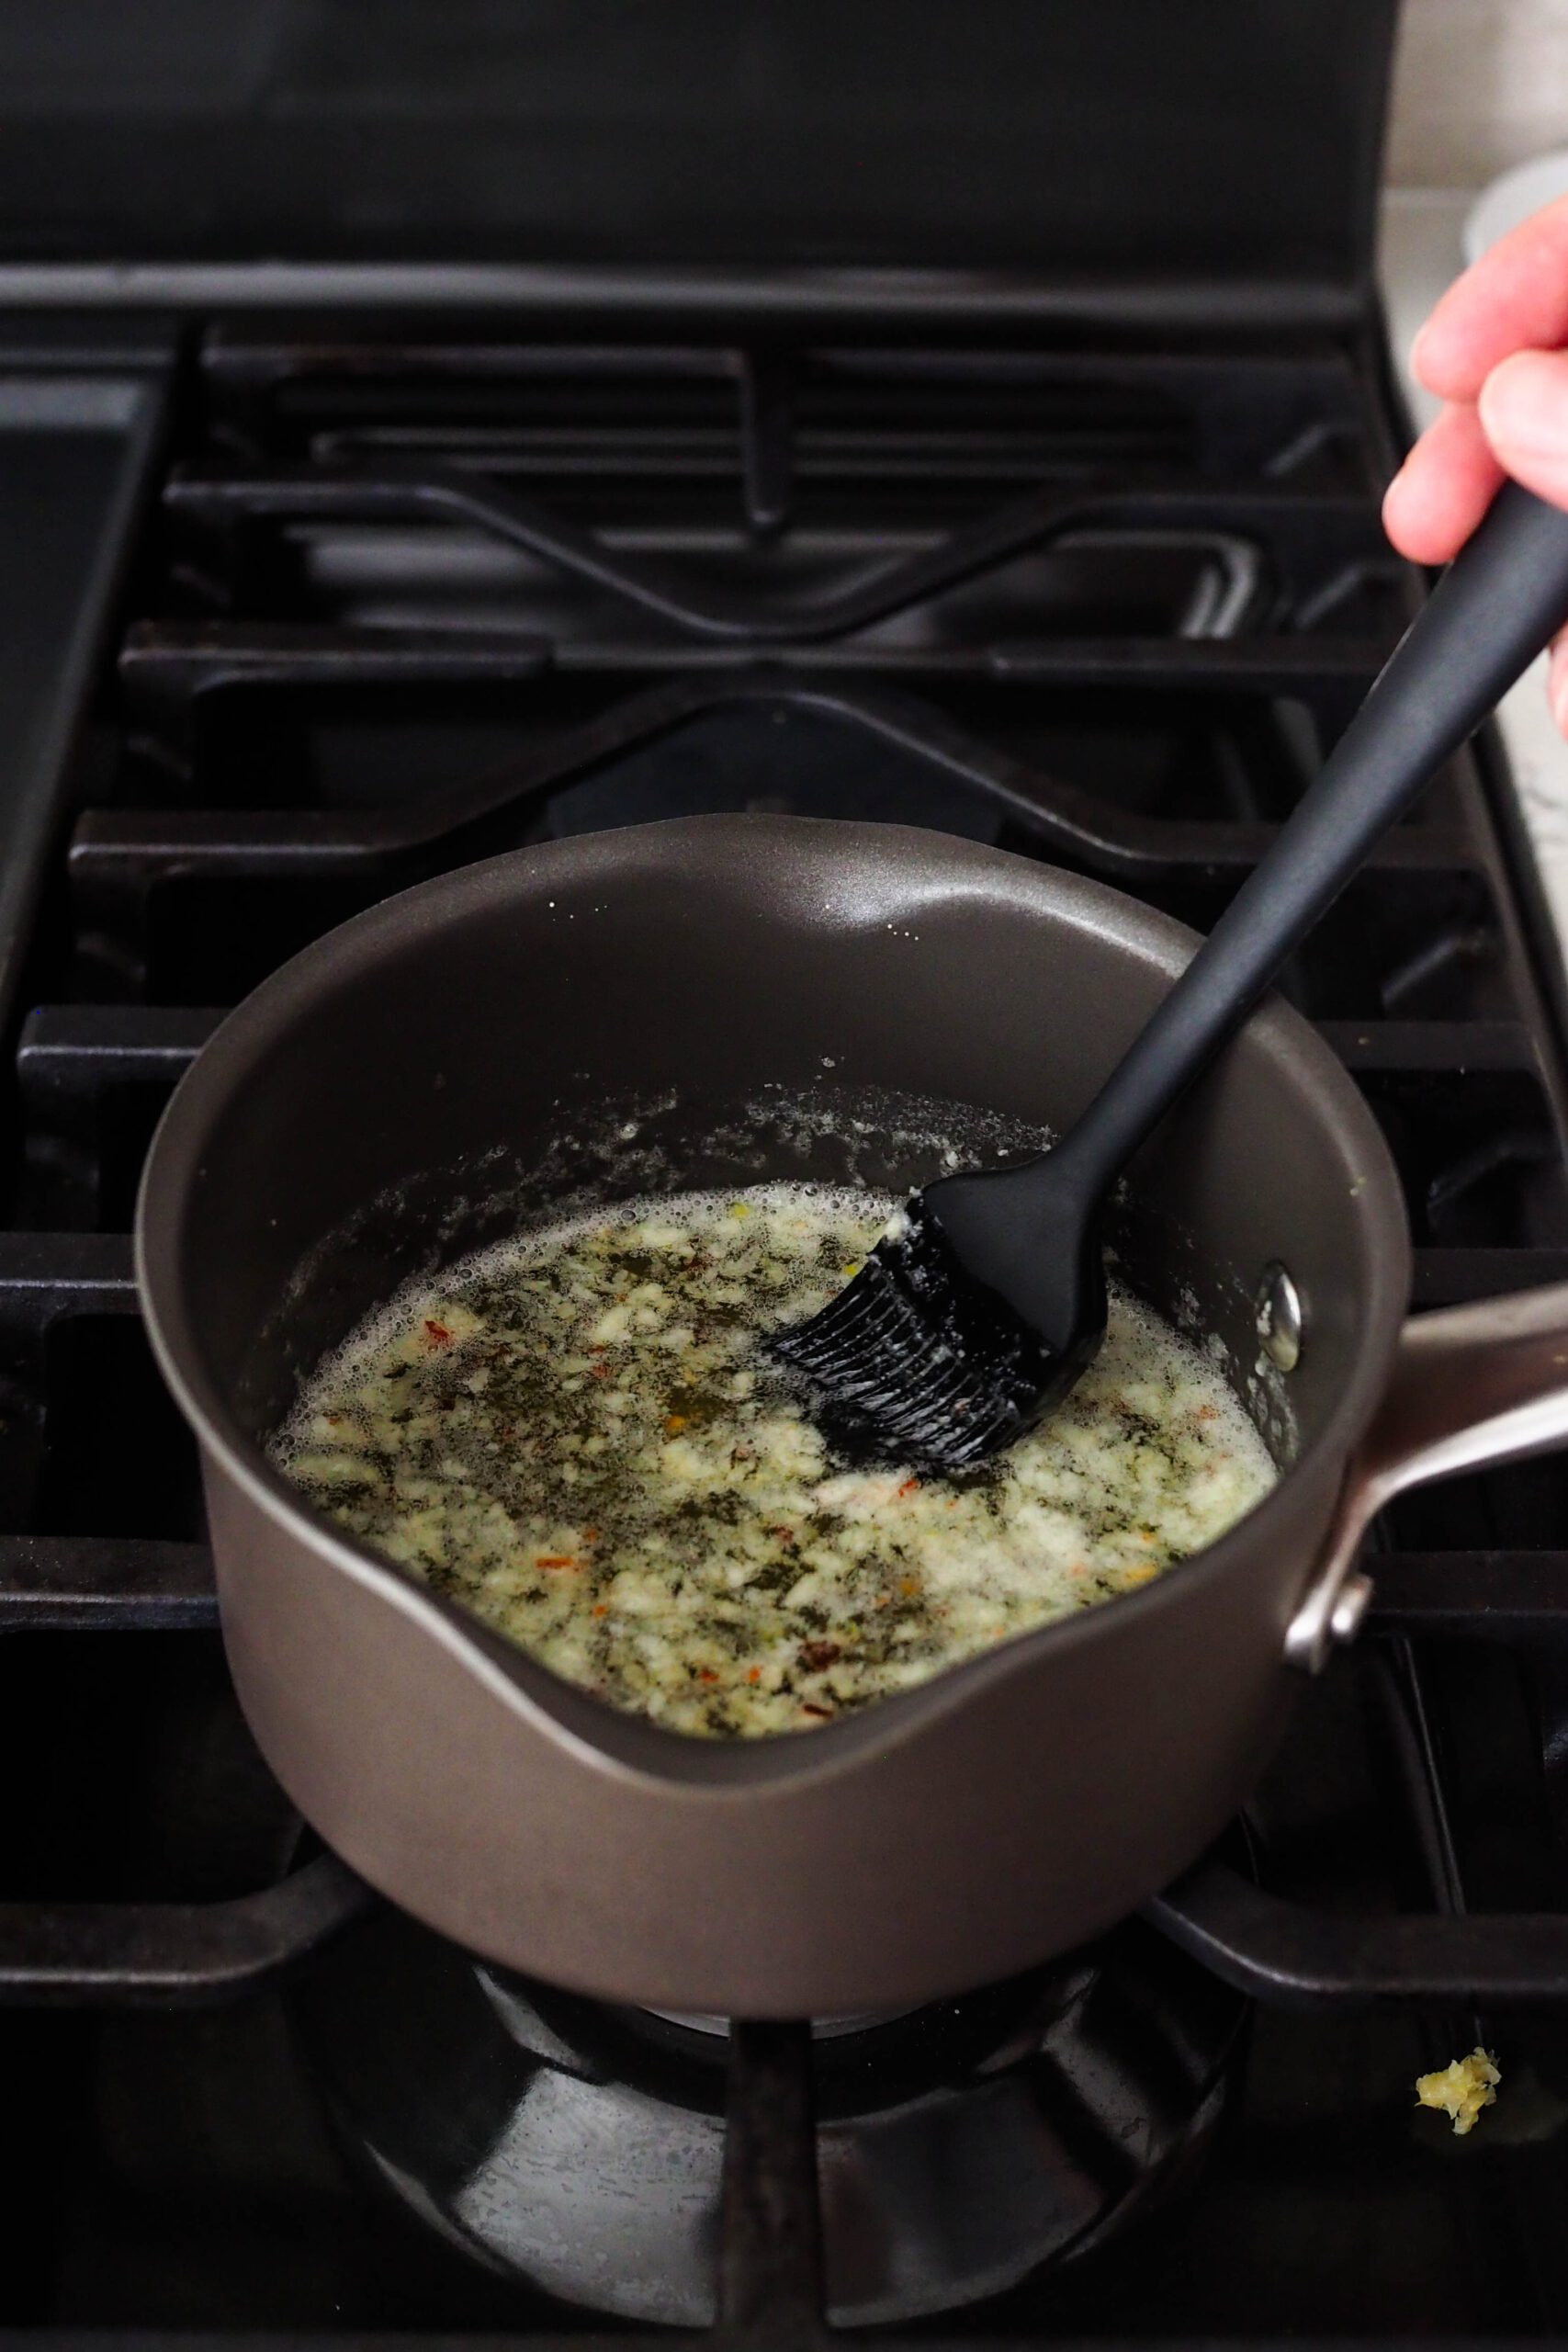
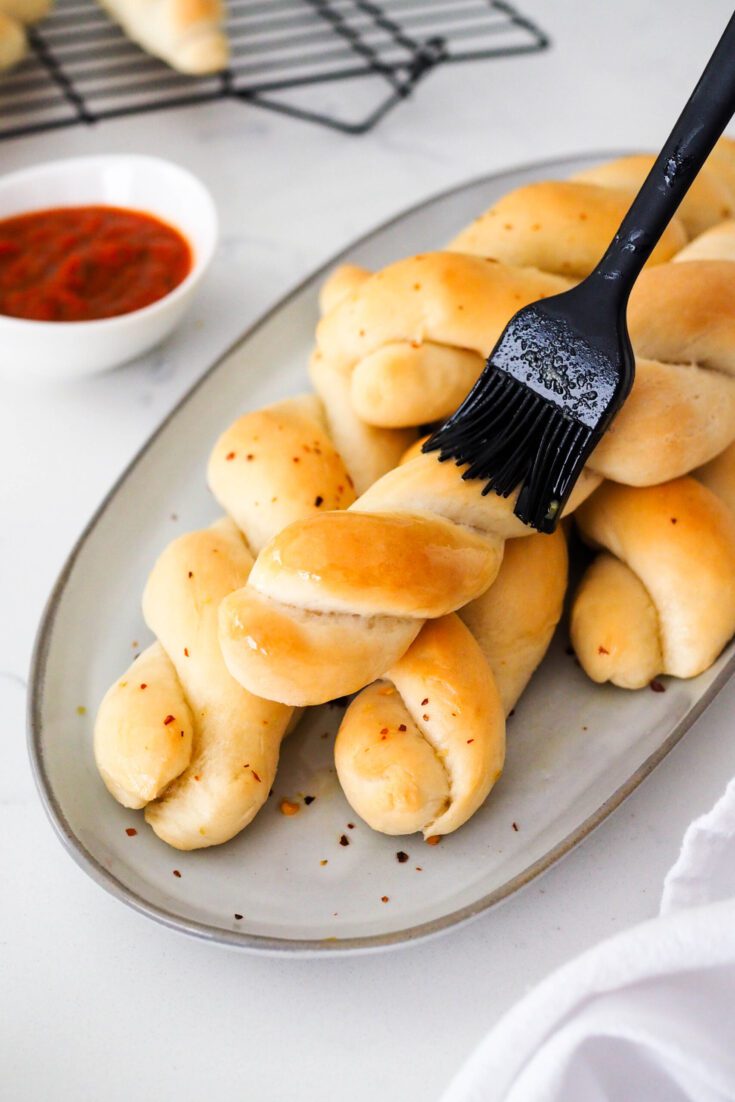
While the breadsticks are baking, I make my garlic butter: Melt butter in a small saucepan, then sauté freshly minced or pressed garlic and red pepper flakes in it for about 30 seconds until fragrant. Remove from heat and brush directly onto warm garlic breadsticks.
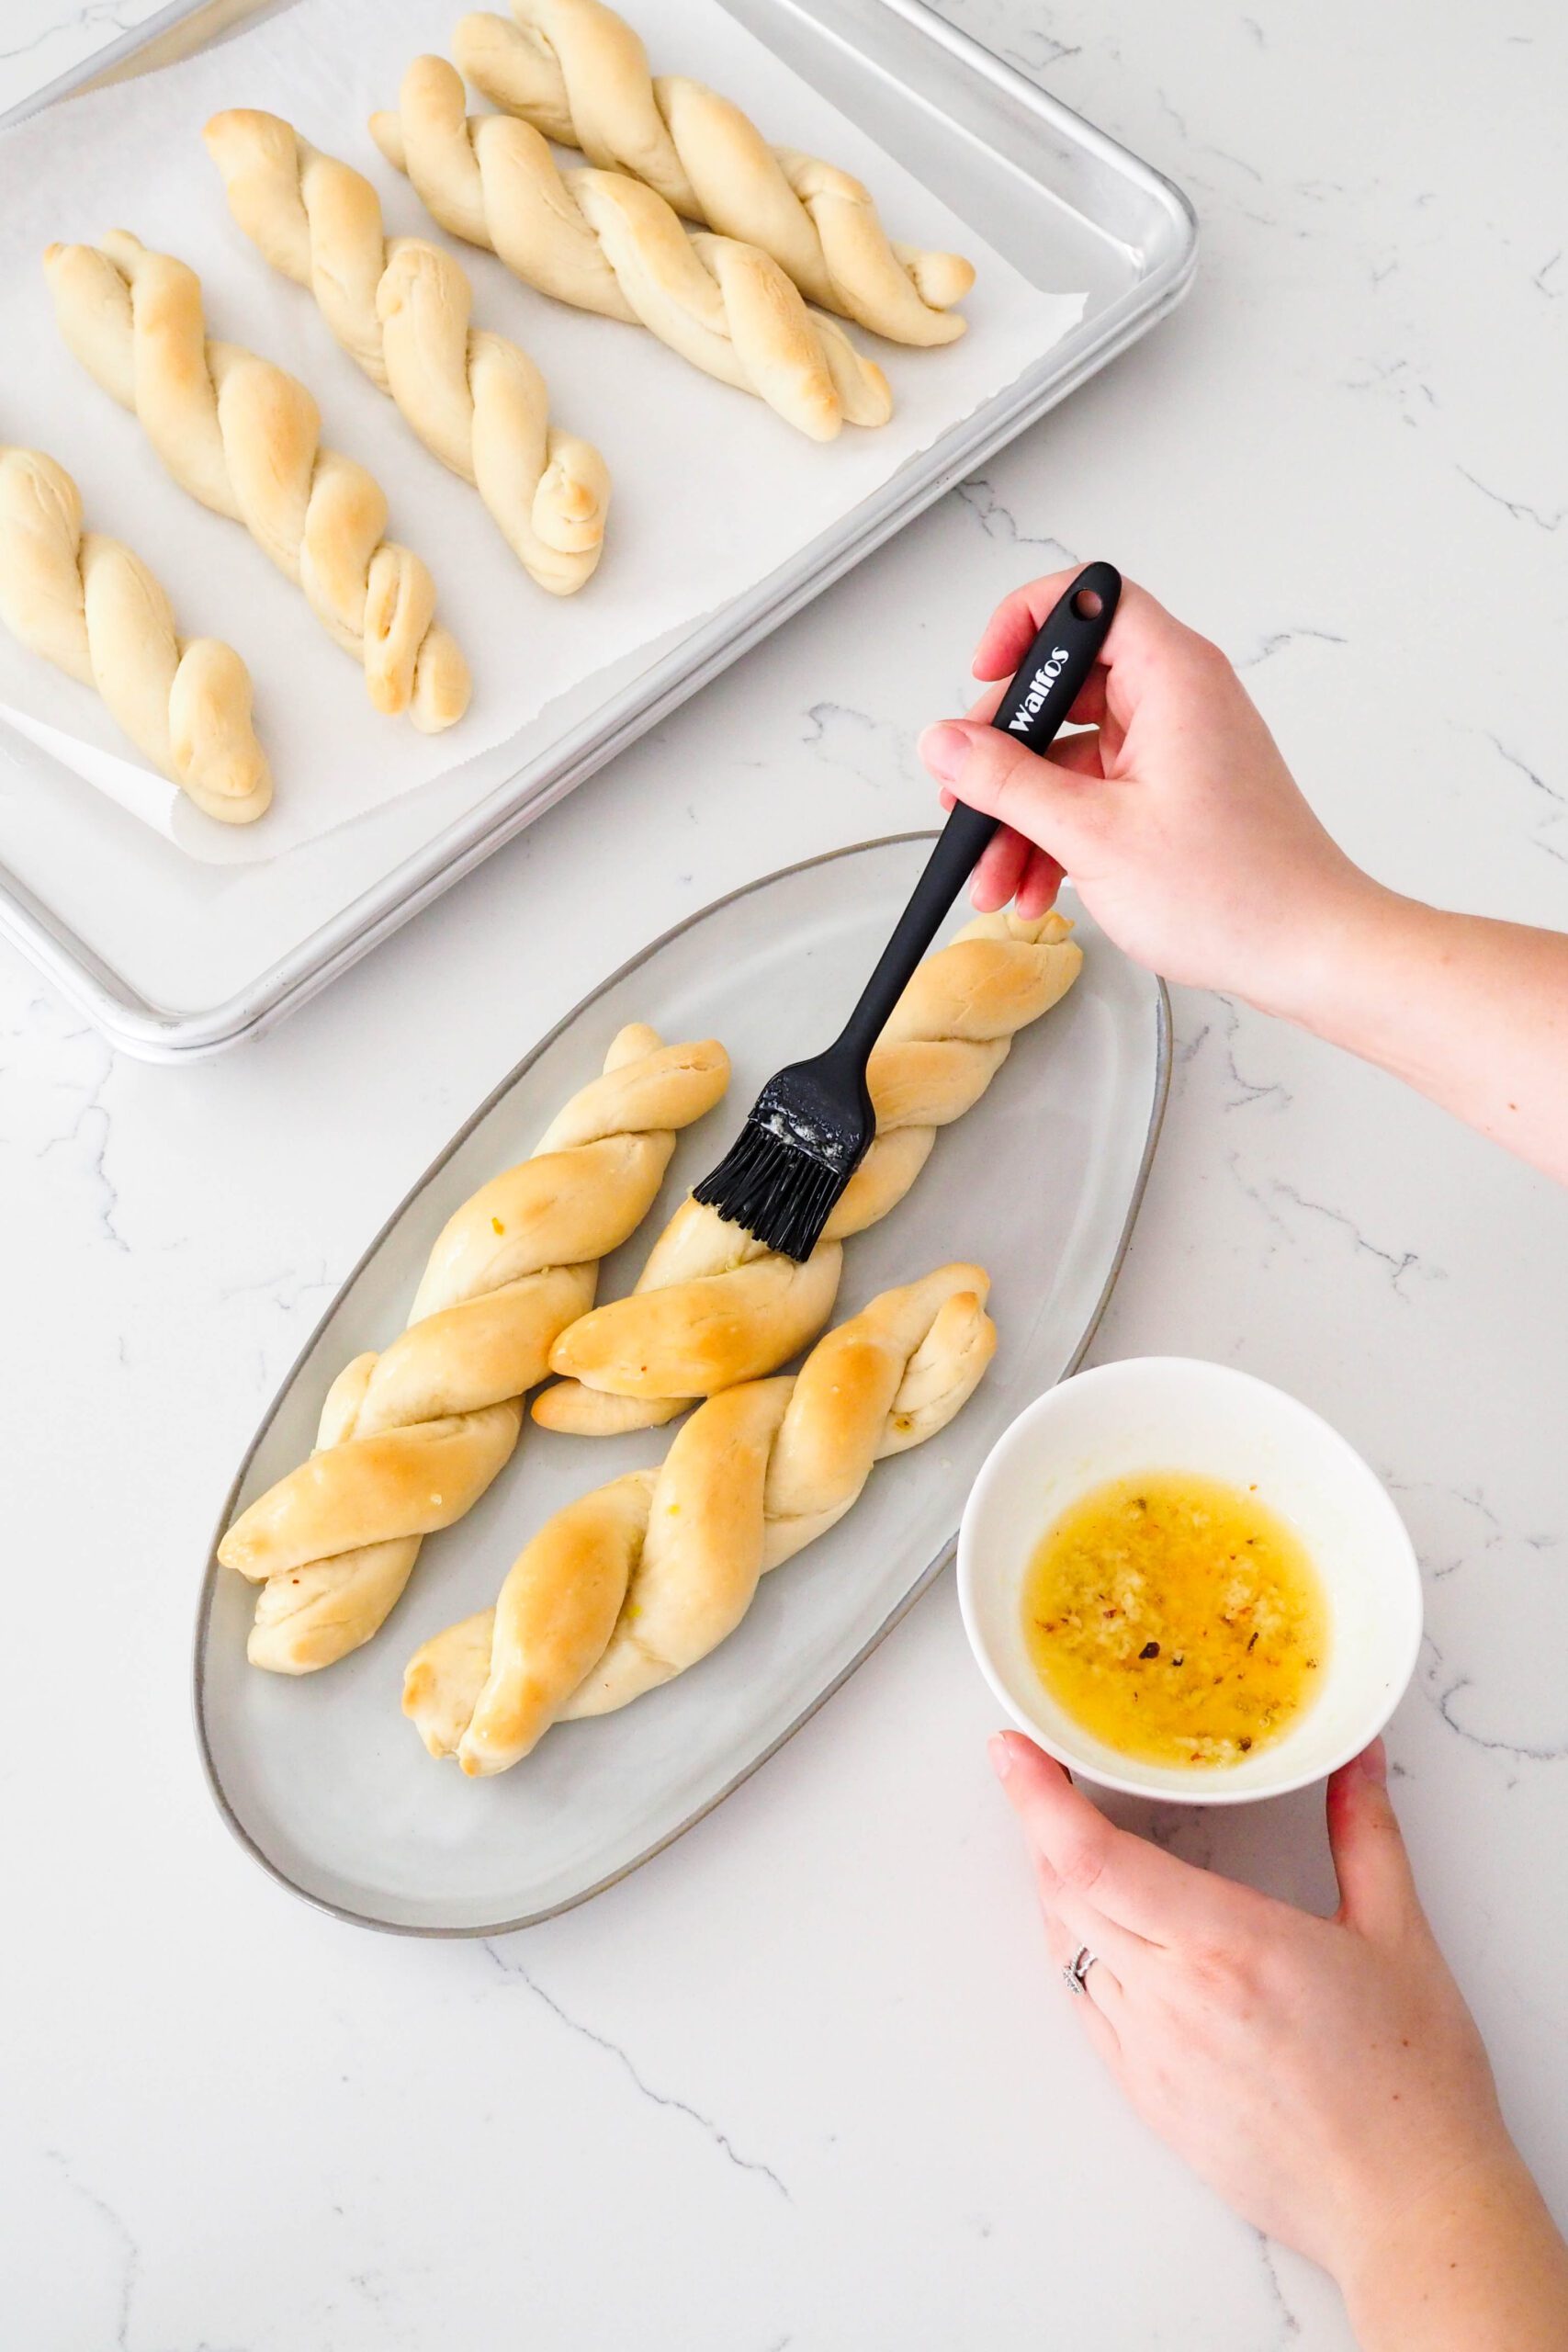
Brush the warm breadsticks with the garlic butter fresh out of the oven to allow the bread to absorb the flavor from the garlic butter.
FAQs about Garlic Breadsticks
Absolutely! Make the recipe through Step 4, then place in the fridge to proof overnight or up to two days. Remove from the fridge about an hour before you’d like to start shaping the dough to allow it to come to room temperature.
They sure do! Once fully cooled, place in an airtight container and store in the freezer for up to three months. Allow to thaw overnight at room temperature, or bake from frozen for about 15 minutes at 350°F/175°C until warmed through.
Yes, go for it! For a milder garlic flavor, use only one clove. For a stronger garlic flavor, use five cloves.
Other Recipes You May Enjoy
Garlic is one of my husband’s favorite ingredients, so I have a growing number of recipes with garlic in them. And don’t worry, each one has a realistic amount of garlic cloves per recipe (none of that “one garlic clove for eight servings” here)!
If you’re reducing your fat intake, low-fat garlic French bread can be an easy way for you to enjoy a big slice of garlic bread without sacrificing too much on flavor.
Homemade garlic croutons are always a hit in my home, and we like adding them to soups and salads alike!
Serve these garlic breadsticks as a side with creamy Cajun pasta and Cajun tilapia for a complete meal.
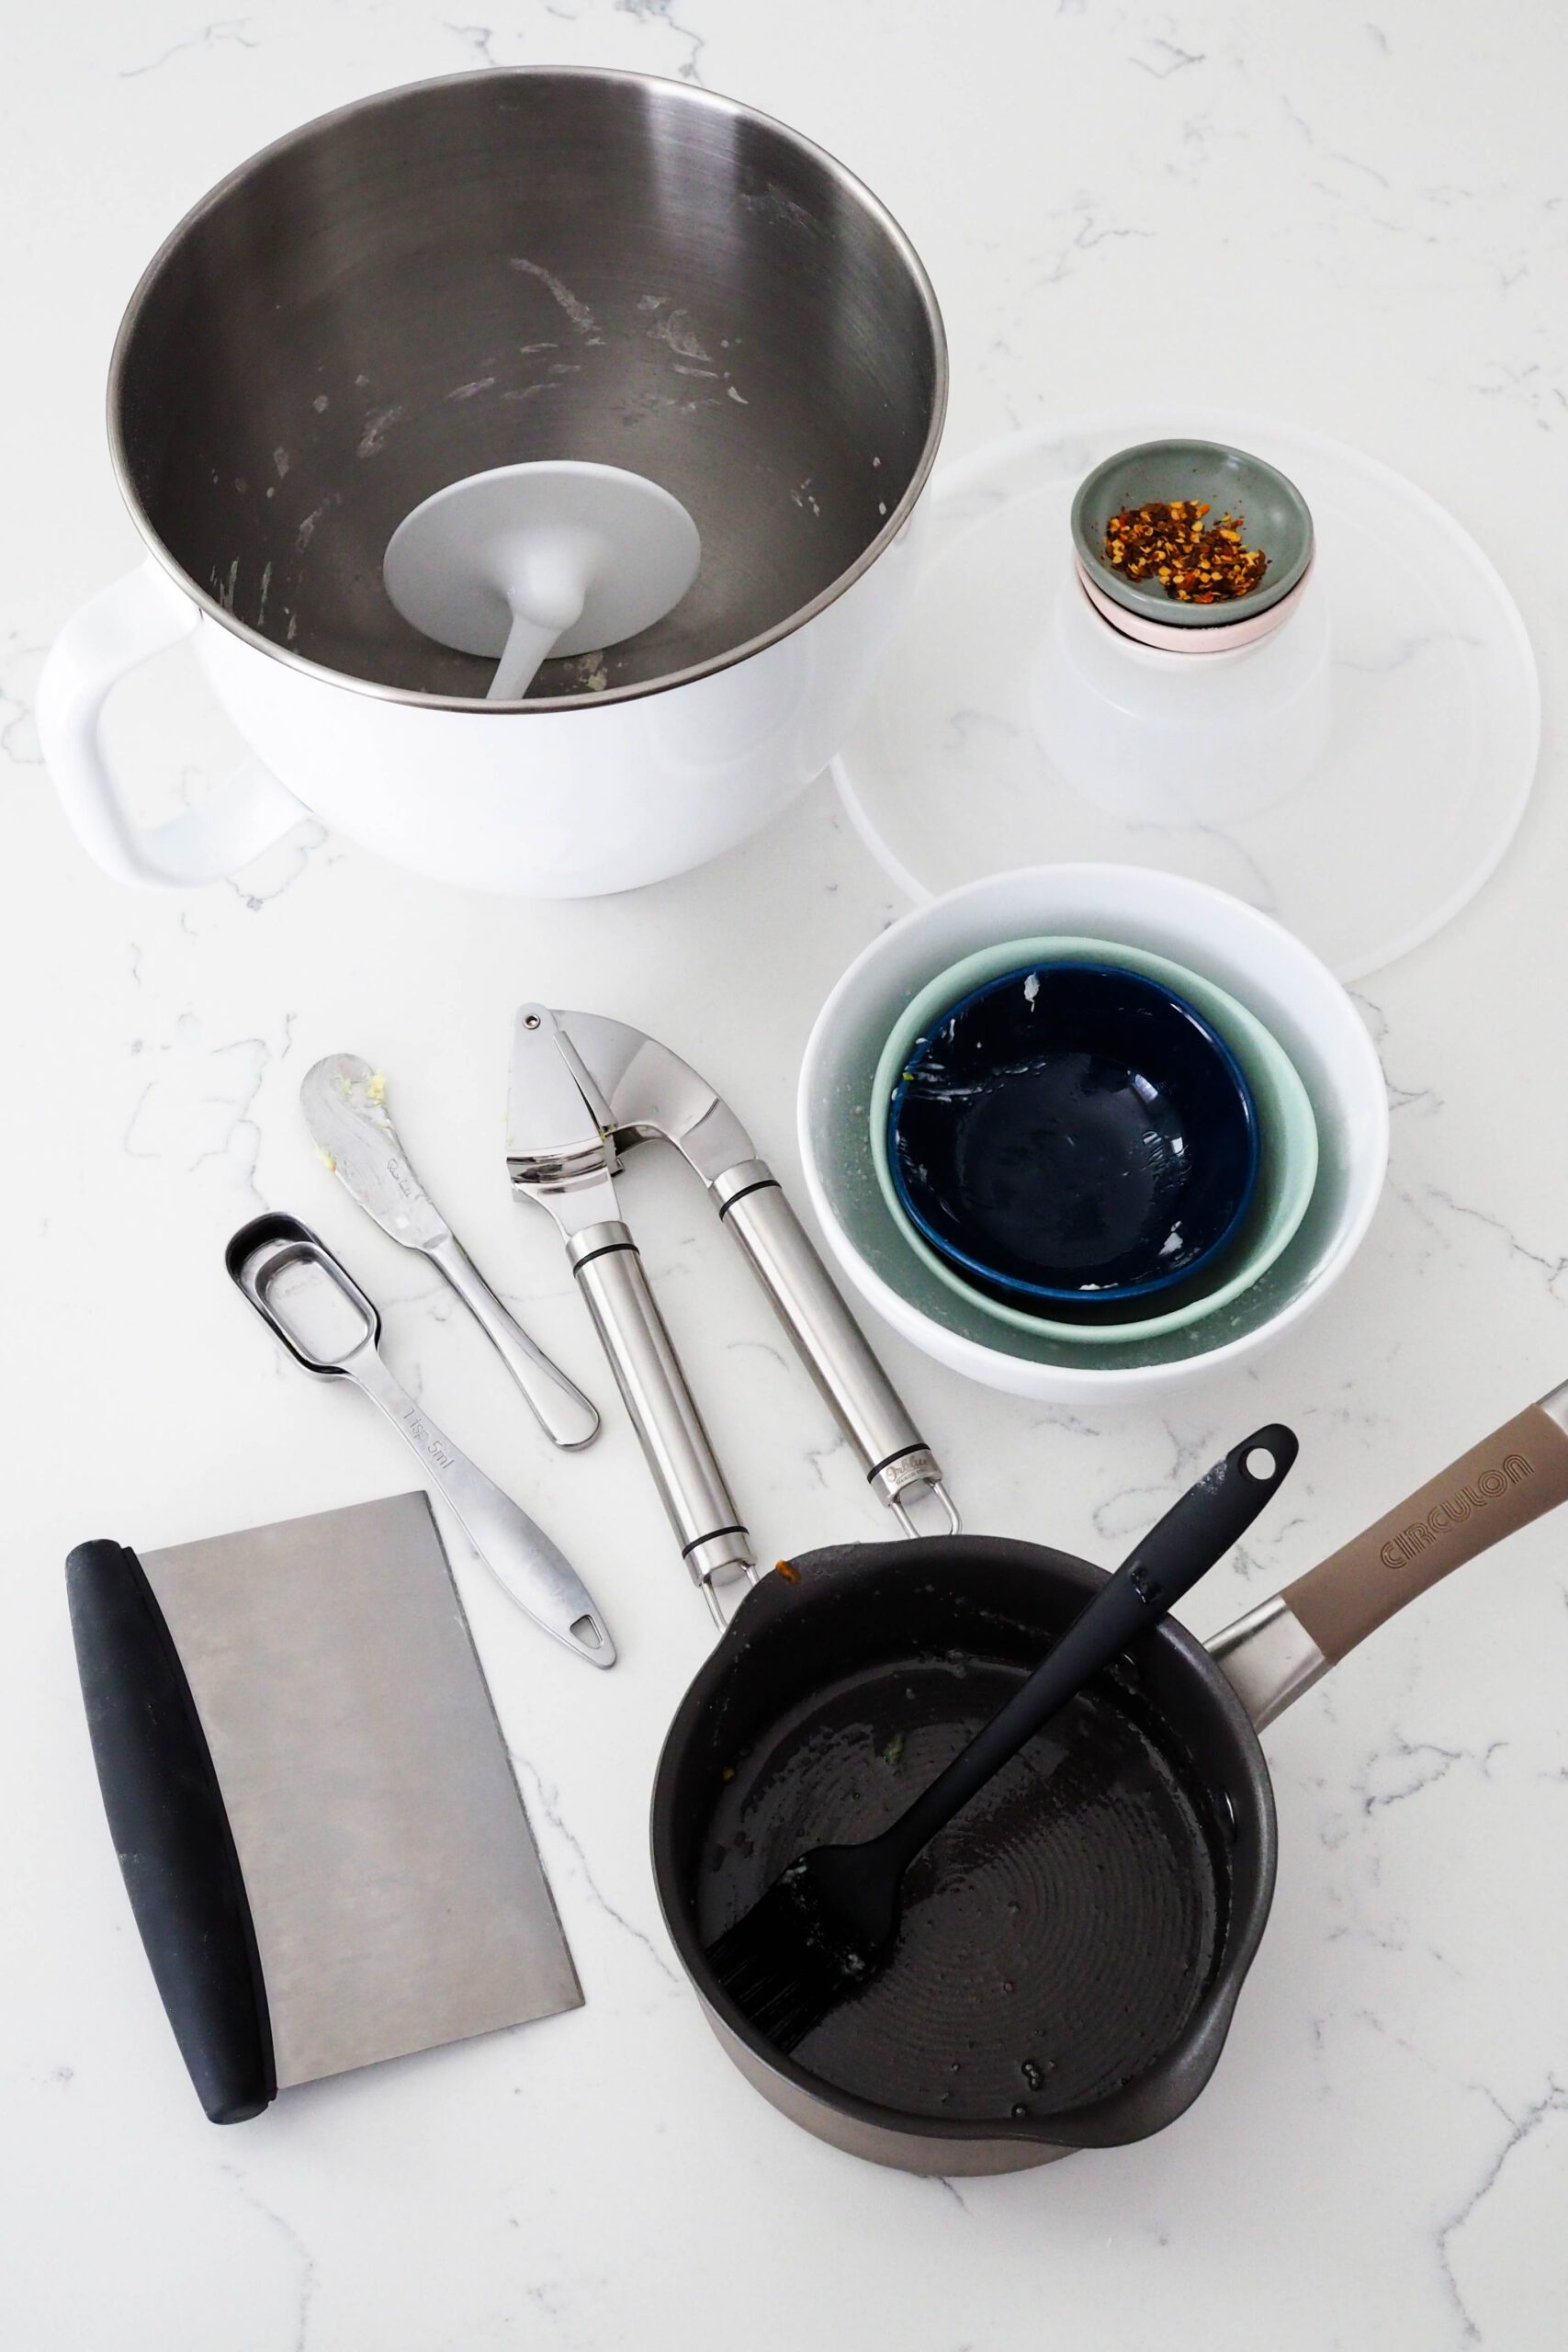
Dish Cleanup: A Lil Messy
I rate my recipe cleanups on a scale of 1 to 5. 1 is only a handful of dishes, and 5 is everything including the kitchen sink.
This twisted garlic breadsticks recipe has a cleanup rating of a 3. The enriched dough comes together in one large mixing bowl, and the garlic butter is made in just one small saucepan. I didn’t include the baking sheets in the dishes because I used parchment paper to prevent them from getting dirty. Remember to also wipe down your workspace!
Twisted Garlic Breadsticks Recipe
Twisted Garlic Breadsticks
Soft, fluffy, and delicious, these twisted garlic breadsticks are made with an easy enriched dough and brushed with garlic butter right after baking. Can also be made spicy!
Ingredients
For the Garlic Breadsticks
- 2 teaspoons active dry yeast, or one packet (7 g)
- 1 Tablespoon granulated sugar (12 g)
- 1¼ cups warm water (300 ml)
- 3½-3¾ cups all-purpose flour (475-500 g), plus more for dusting
- 4 Tablespoons melted butter (56 g)
- 2 teaspoons salt (12 g)
- 1 teaspoon garlic powder (2 g)
For the Garlic Butter Spread
- 4 Tablespoons salted butter (56 g)
- 2-3 cloves garlic, minced or pressed
- A few pinches of red pepper flakes (optional)
Instructions
Making the Dough
- Add yeast and sugar to the bowl of a stand mixer or a large bowl. Pour the warm water slowly over the top of the yeast, and let the mixture sit for five minutes to allow the yeast to activate.
- Add 3½ cups (475 grams) of flour, melted butter, salt, and garlic powder, then stir together until combined. If making the dough by hand, I like using a flexible bench scraper here, as it makes for easy cleaning later.
- Kneading with a stand mixer: Knead the dough with a dough hook on speed 2 for 10-15 minutes until the dough is stretchy. As the gluten develops, the dough should begin to form a clump around the dough hook and will no longer stick to the sides of the bowl. If the dough still sticks to the edges of the bowl after five minutes, add more flour about a Tablespoon at a time and 30 seconds apart until the dough no longer sticks to the sides of the bowl.
Kneading by hand: Knead the dough for 15-20 minutes on a clean workspace until the dough is stretchy. As the gluten develops, the dough will go from sticky to tacky. If the dough still seems sticky after 8 minutes of kneading and leaves a lot of residue on your hands, knead in more flour one Tablespoon at a time until the dough is only tacky. - Pinch off a piece of dough about the size of a quarter and slowly pull it apart in your fingers. If it stretches thin enough to see light through it, you have developed enough gluten! If it breaks and doesn't stretch much, knead for another minute and retest.
- Cover the bowl with the dough with a lid or kitchen towel and let rise until doubled in size, about an hour.
Shaping the Garlic Twists
- Line two half sheet baking pans with parchment paper, and preheat the oven to 375°F/190°C.
- Lightly dust your workspace with flour, then remove the dough from the bowl and divide into 16 roughly equal pieces. (Using a kitchen scale here is helpful, as each piece of dough will weigh around 50 grams.)
- Working with two pieces of dough at a time, roll each into a log about 8" or 20 cm long. Lay the logs parallel to each other and pinch them together at one end. Pick up the dough at the joint with one hand, then, with your other hand, quickly twist one of the logs of dough around the one hanging. Lay the twist on a prepared pan, tucking in the edges to prevent the twist from unrolling.
- Repeat with the remaining dough, placing twists about 4" or 10 cm apart on the baking sheets. Cover with a kitchen towel, then let rise for about 20 minutes until puffy.
Making the Garlic Butter
- Meanwhile, in a small saucepan, melt the butter over low heat. Once melted, add the minced or pressed garlic and red pepper flakes. Stir together until the butter is bubbly, then remove from heat.
Baking the Garlic Twists
- Bake for 16-20 minutes, until the tops and bottoms of the breadsticks are lightly golden brown.
- Brush the garlic butter over the warm breadsticks, then serve immediately.
Notes
Store these breadsticks in an airtight container at room temperature for up to five days or freeze for up to three months.
To reheat, place breadsticks on a baking sheet or directly on the oven rack for about five minutes at 350°F/175°C (or use the toast setting in a toaster oven). Reheat the butter over the stove or in the microwave until just melted, then brush over the breadsticks.
Recommended Products
As an Amazon Associate and member of other affiliate programs, I earn from qualifying purchases.
-
 OXO Good Grips 11-Pound Stainless Steel Food Scale with Pull-Out Display
 -
Walfos Silicone Basting Pastry Brushes (2 Pcs)
-
Nordic Ware Natural Aluminum Commercial Baker's Half Sheet, 2-Pack, Silver
-
OXO Stainless Steel Bench Scraper
-
KitchenAid Gourmet Bowl Scraper, Set of 2, Aqua Sky/Storm Grey
-
KitchenAid 2-Pack Bowl Covers - Fits Bowl-Lift models KV25G and KP26M1X


Nutrition Information:
Yield:
8Serving Size:
1 breadstickAmount Per Serving: Calories: 313Total Fat: 12gSaturated Fat: 7gTrans Fat: 0gUnsaturated Fat: 4gCholesterol: 31mgSodium: 624mgCarbohydrates: 44gFiber: 2gSugar: 2gProtein: 6g
The nutrition facts are estimated and may vary based on specific ingredients used.
Thanks for trying out my garlic breadstick recipe! Please consider rating this recipe so others find it, too.
I’d love to see how your recipe turns out: Take a photo and tag me on Instagram @floralapronblog to share with me, or use the hashtag #floralapronbakes.