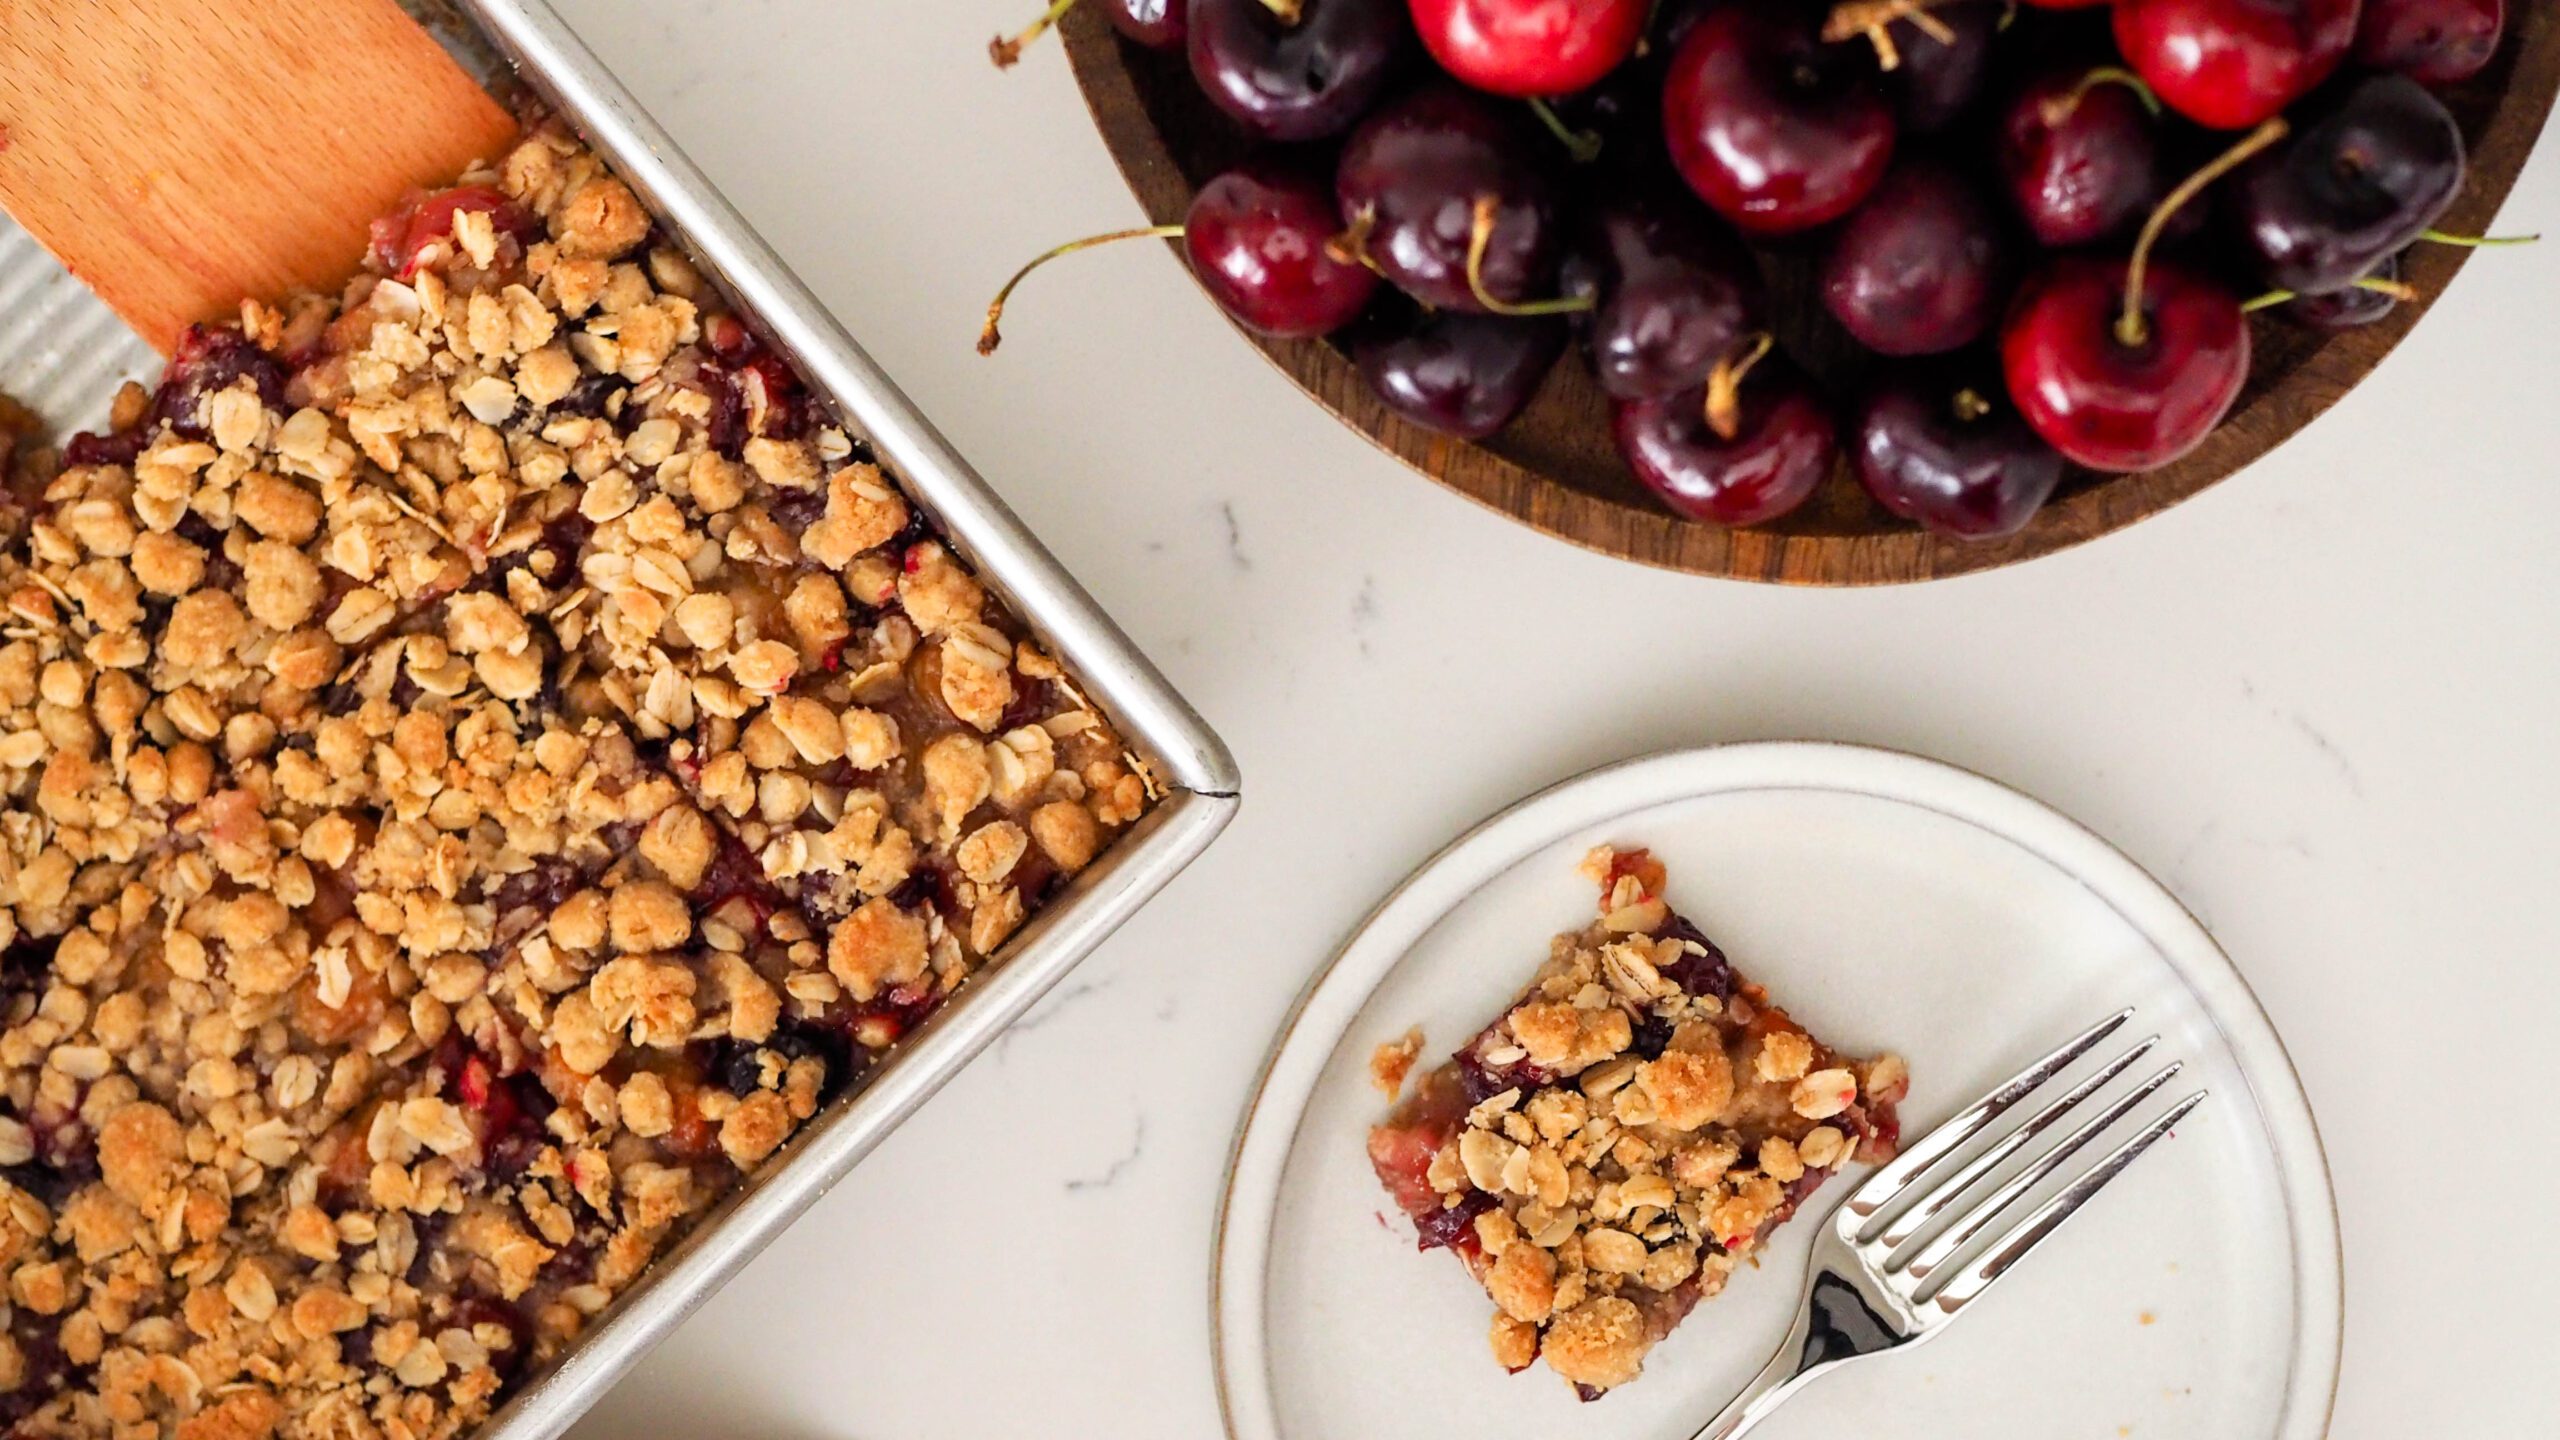
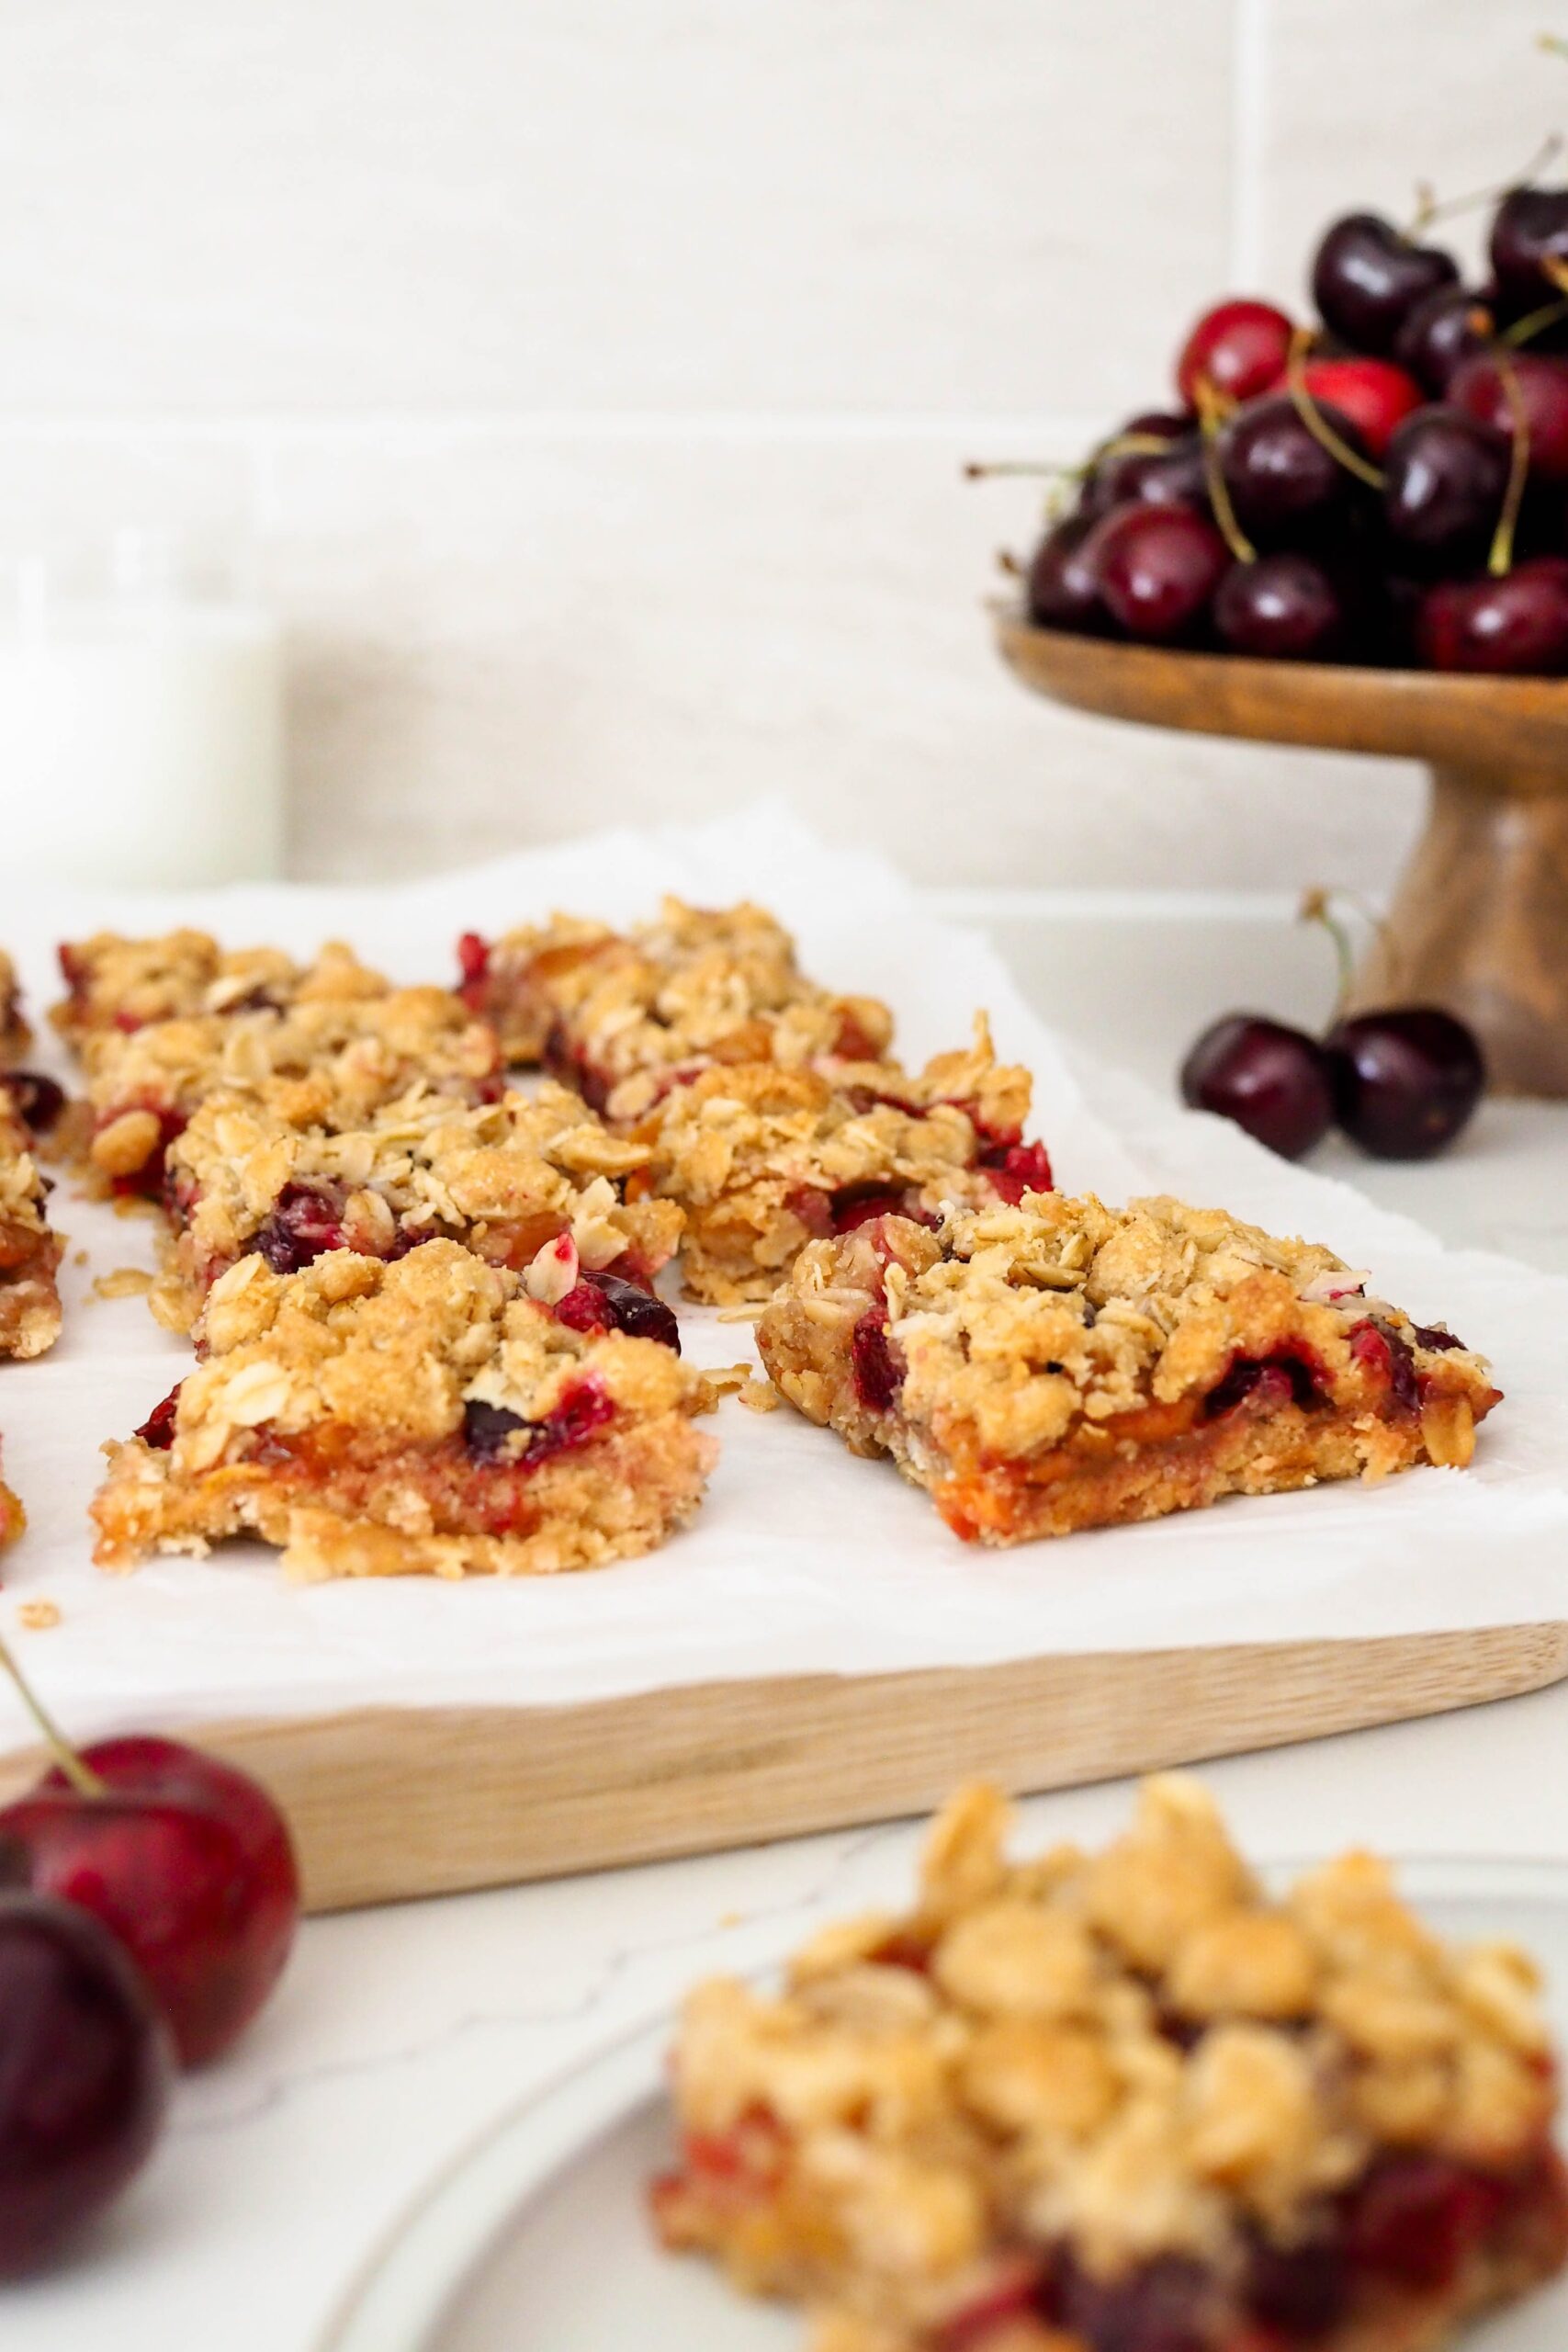
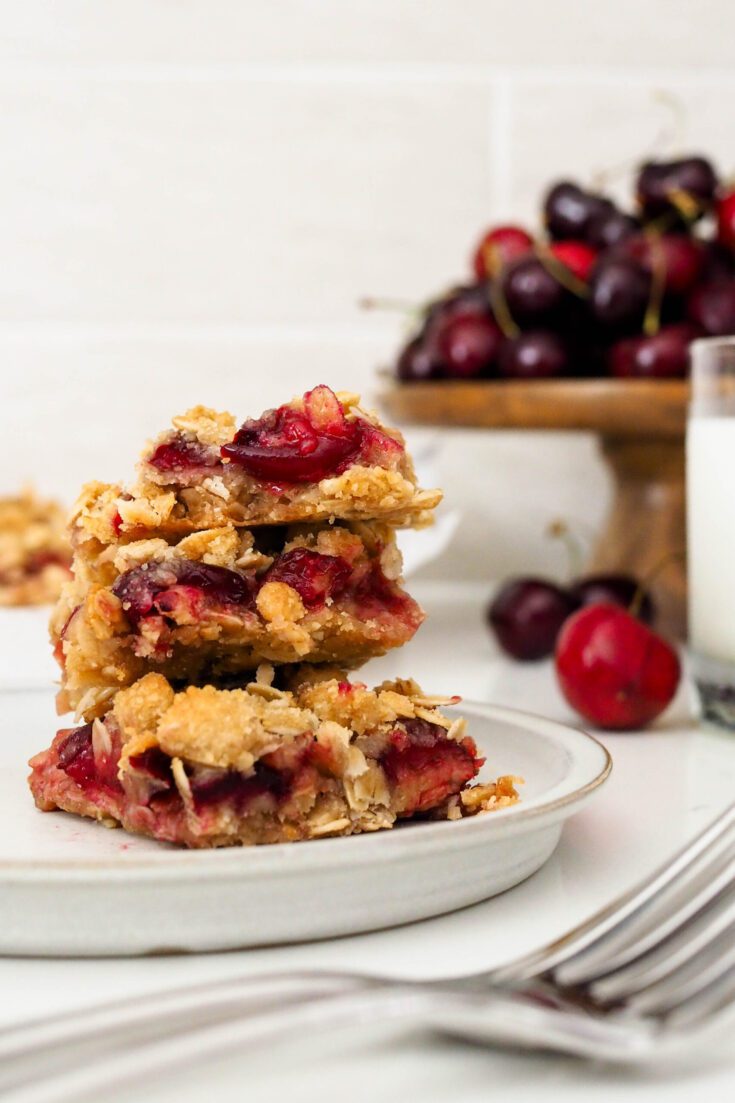
Made from a buttery oat base and freshly made cherry pie filling, this is the cherry crumble bars recipe of the summer! The filling thickens while baking into a decadent and jammy center, and the edges of this crumble are nice and crisp. Use fresh or frozen cherries for a quick and easy summer dessert!
These cherry crumble bars are a close relative to my gluten-free cherry almond crumble (which is already well-loved!). My husband and I picked 27 pounds of cherries this season, so I’ve been working on a ton of recipes that use cherries, like these mini cherry pies.
Depending on your preference, you can make these crumble bars with vanilla or almond extract. I love the combination of cherry and almond (especially in these cupcakes), but sometimes I crave the simplicity of cherry with just a little bit of vanilla flavoring. No matter which extract you pick, this recipe will give you a buttery, cherry-filled crumble that is easy to serve and can be made dairy-free!
Ingredients for Cherry Crumble Bars
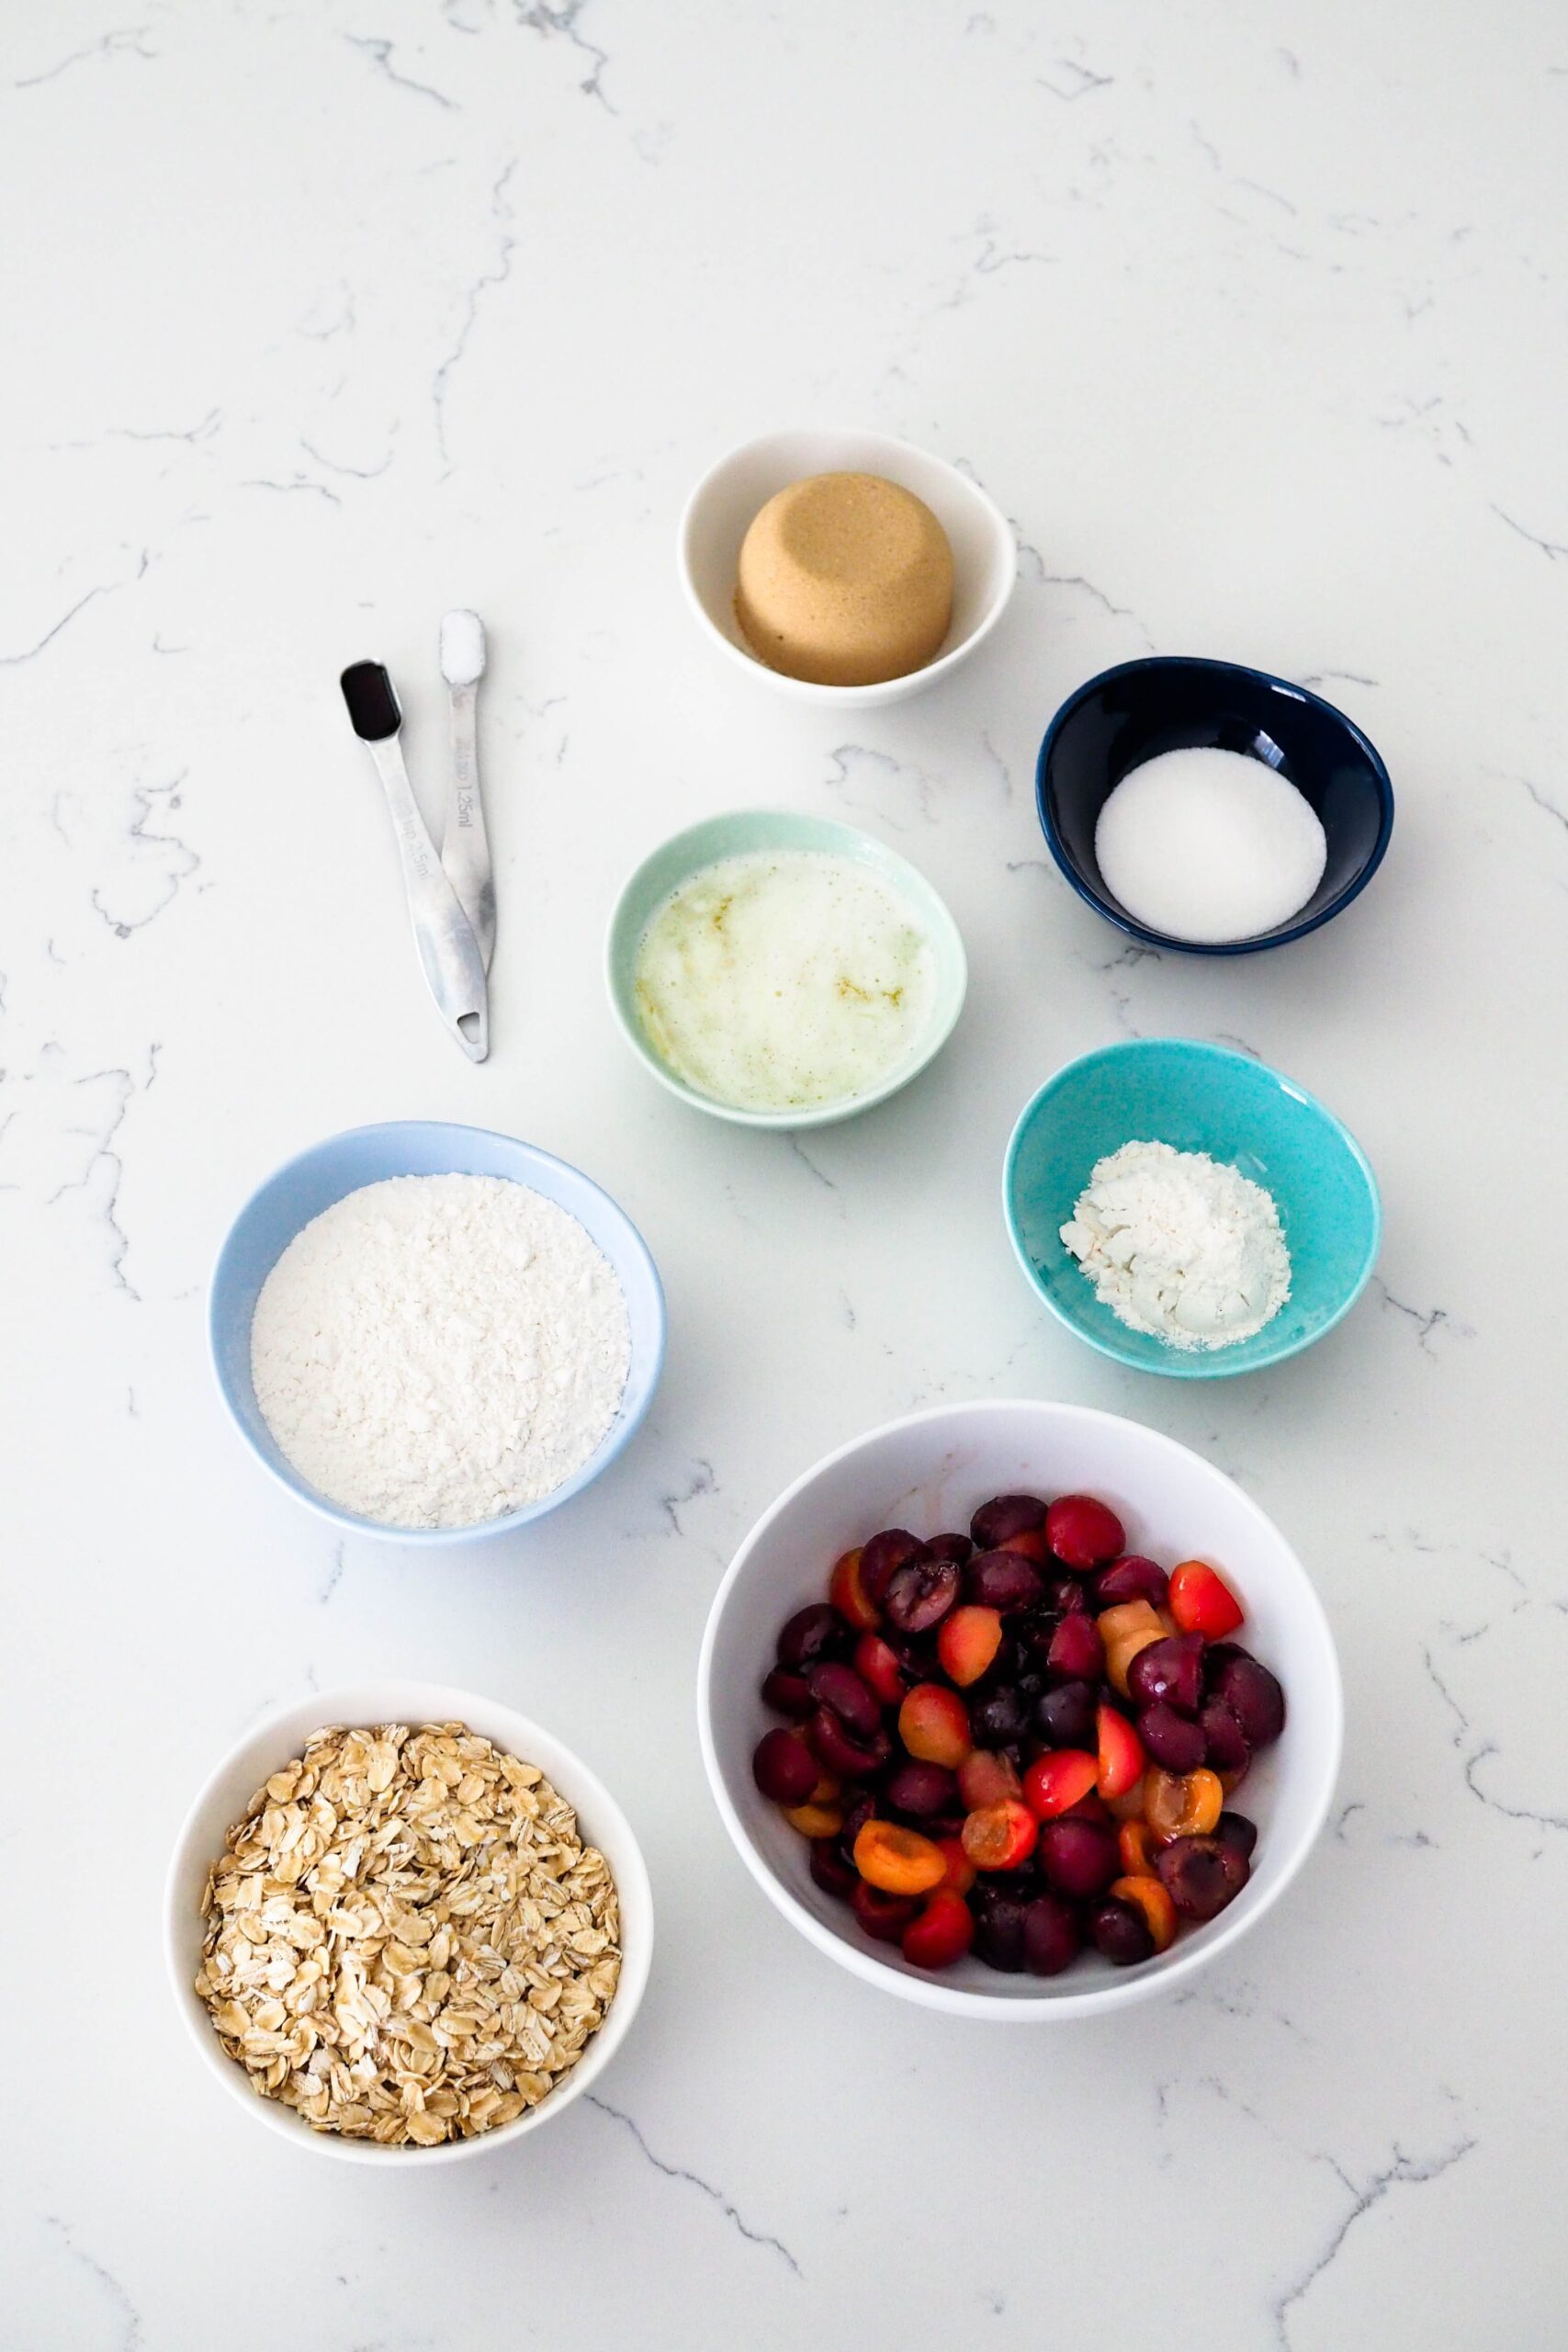
Cherry crumble is made from just a handful of ingredients and is also very simple to make. If it’s cherry season where you live, you’ll likely have all the ingredients already!
- Cherries. Fresh cherries will have the best texture, but frozen and thawed cherries or even canned cherries (rinsed and dried) will work in this recipe.
- Granulated sugar. When combined with the flour, the sugar helps to thicken the cherry filling.
- All-purpose flour. To help make up the oat crumble base and to thicken the filling, I use plain flour. I’ve also had good results using cornstarch, but the flour filling is a little heavier and feels more decadent.
- Vanilla or almond extract. Both vanilla and/or almond extract give this crumble recipe an extra oomph.
- Old-fashioned rolled oats. Traditional rolled oats have a heartier texture than quick oats. I prefer the old-fashioned kind, but quick oats will work.
- Brown sugar. The extra molasses-y flavor from brown sugar pulls everything together.
- Salted butter. The saltiness from salted butter is well-balanced in this recipe. If you’re watching your sodium intake, you can substitute unsalted butter.
- Salt. Just a pinch helps to enhance all the flavors.
Quick Tips for Prepping Easy Cherry Crumble Bars
This recipe for cherry crumble comes together in just two bowls!
Making the Crumble’s Cherry Filling
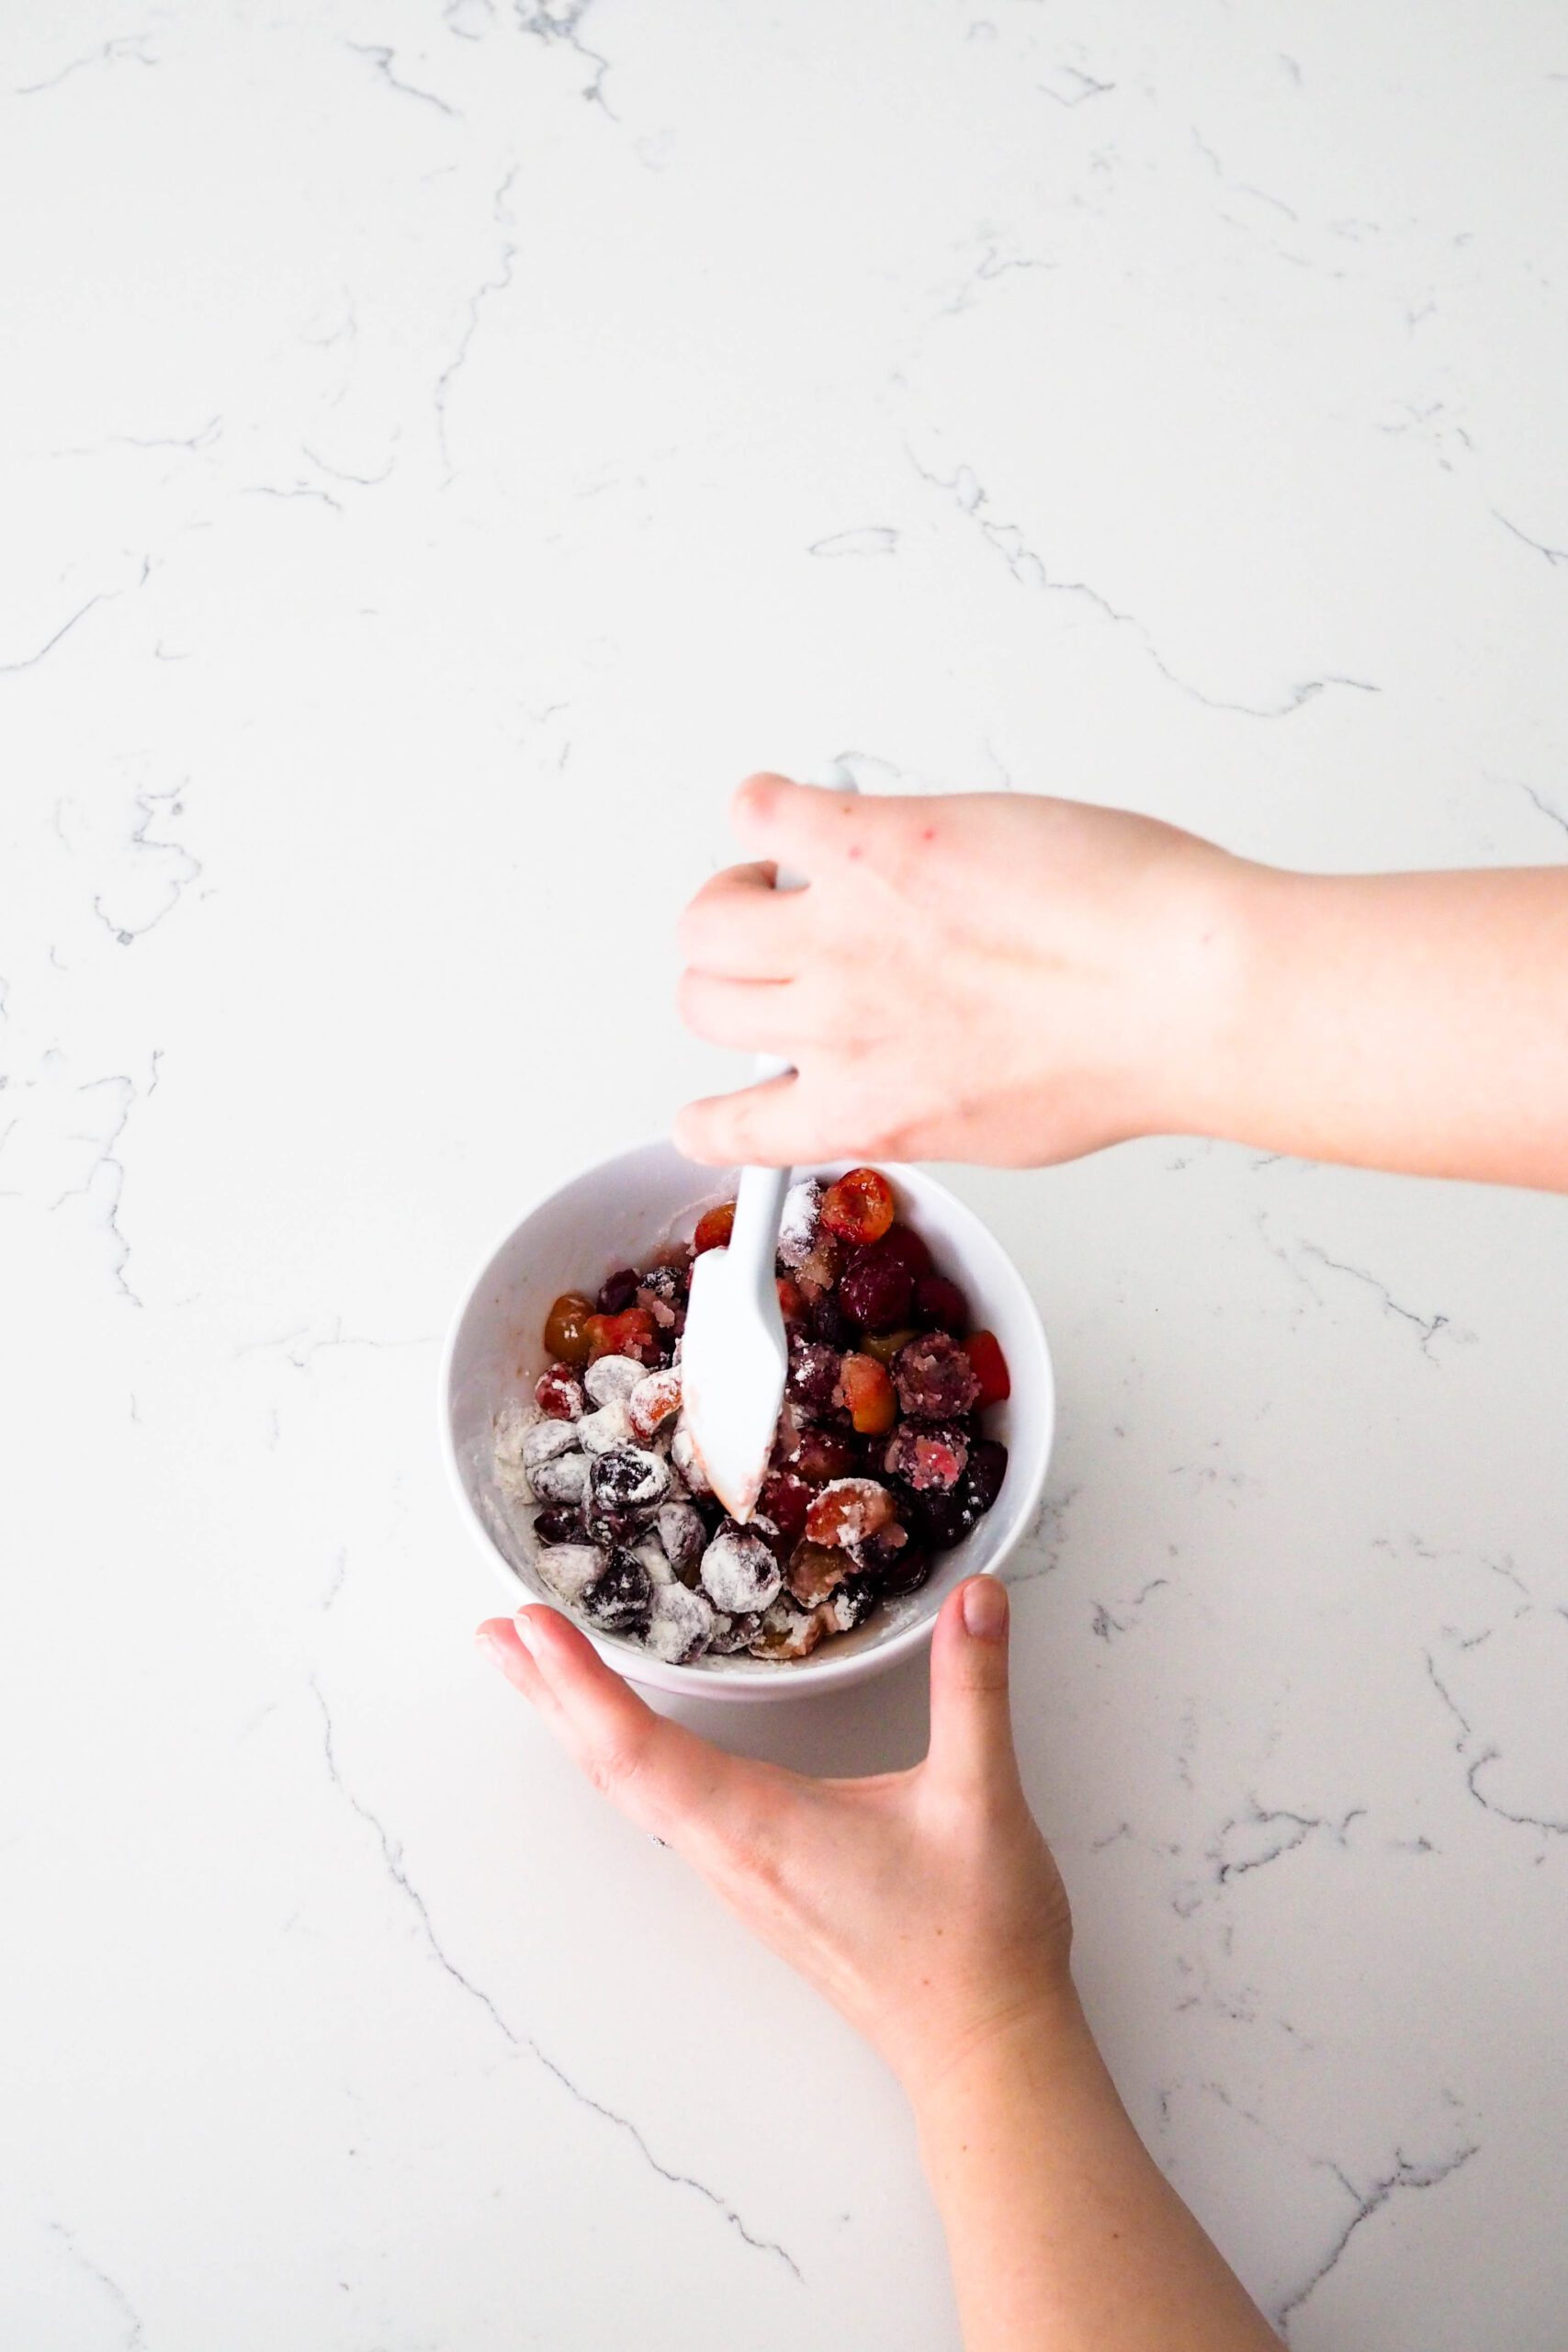
The first step for these cherry crumble bars is to macerate the cherries. The sugar in this filling draws water out of the cherries. When combined with the flour and vanilla or almond extract, this results in a dark pink liquid that will thicken when baked.
I like to use vanilla extract in this recipe most frequently, but you can also use almond extract if you want to change things up a bit!
This process takes about 10 minutes, so it’s key to start with the cherries, set them aside to rest, and then make the crust for the oat crumble.

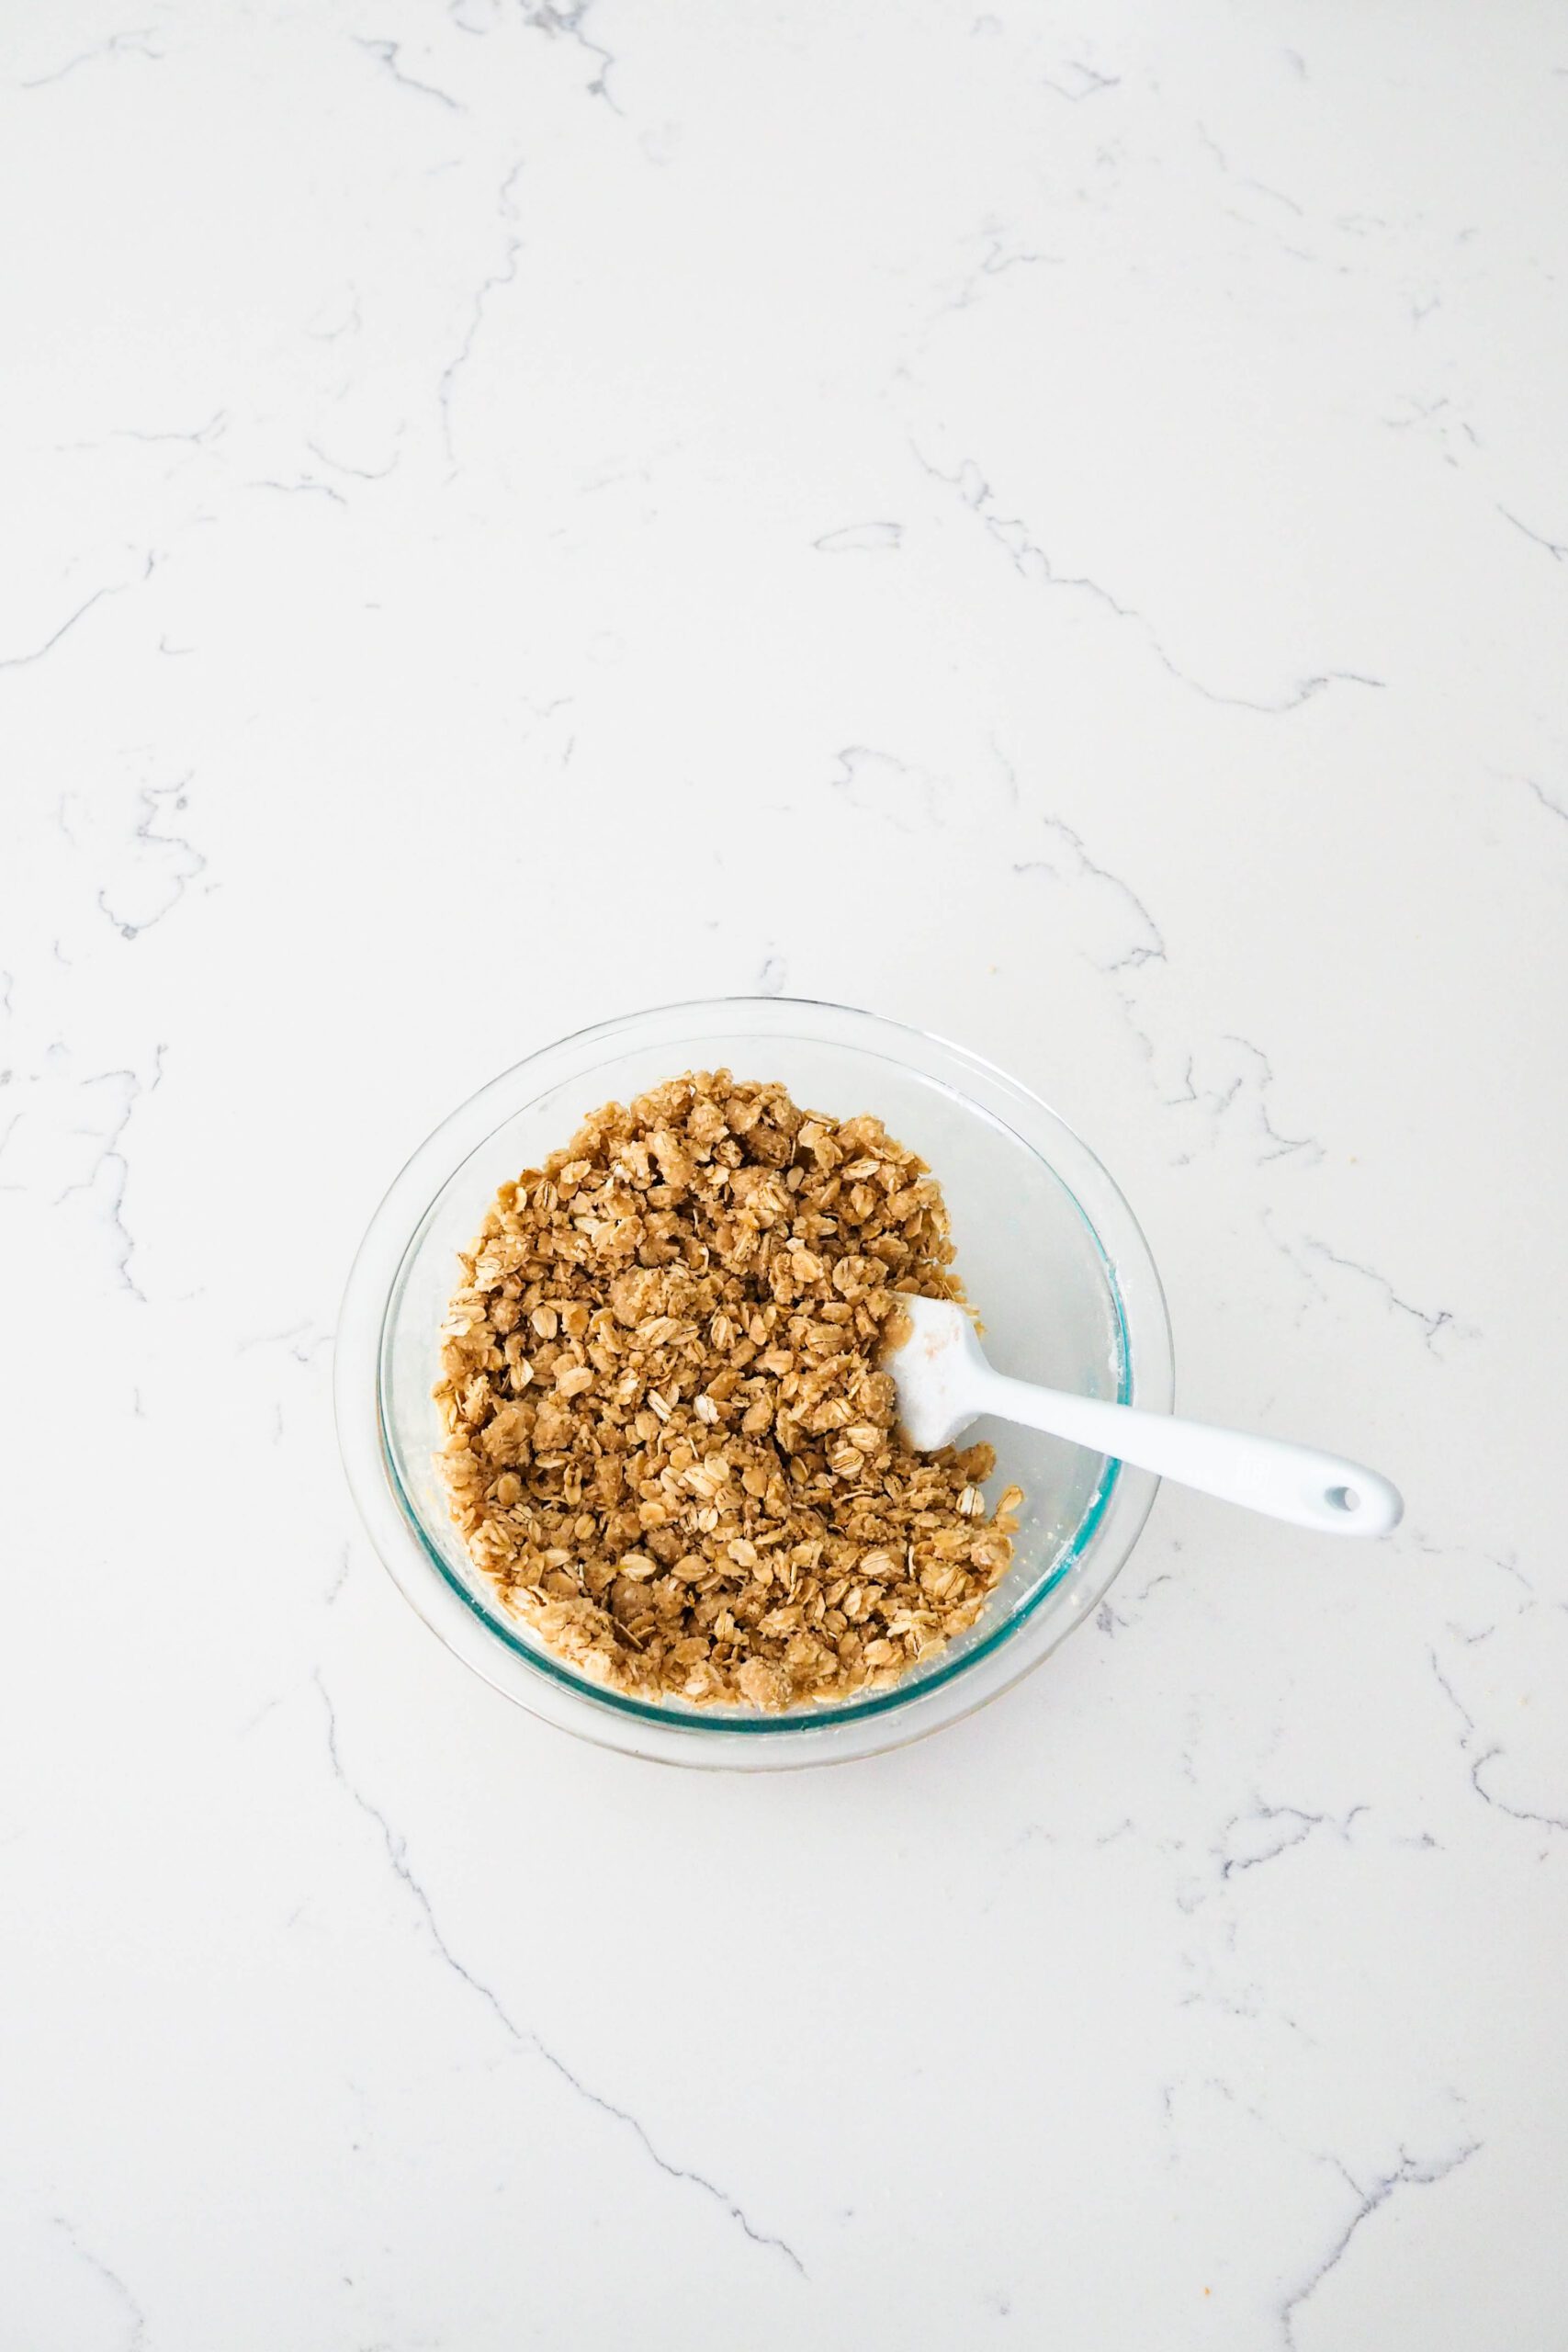
Making the Oat Crumble
To ensure that the dry ingredients are evenly-dispersed, mix the oats, flour, and brown sugar together before adding the melted butter. Then, stir in the butter until the mixture is homogeneous, breaking apart any large clumps of ingredients you may see.
If desired, line an 8″ (20 cm) square pan with parchment paper for easy removal. Either way, leave the pan ungreased. The crust has plenty of butter, which will prevent it from sticking. (You may find that the very corners of the bars stick if there is a seam, but the bars should still come out of the pan quite easily.)
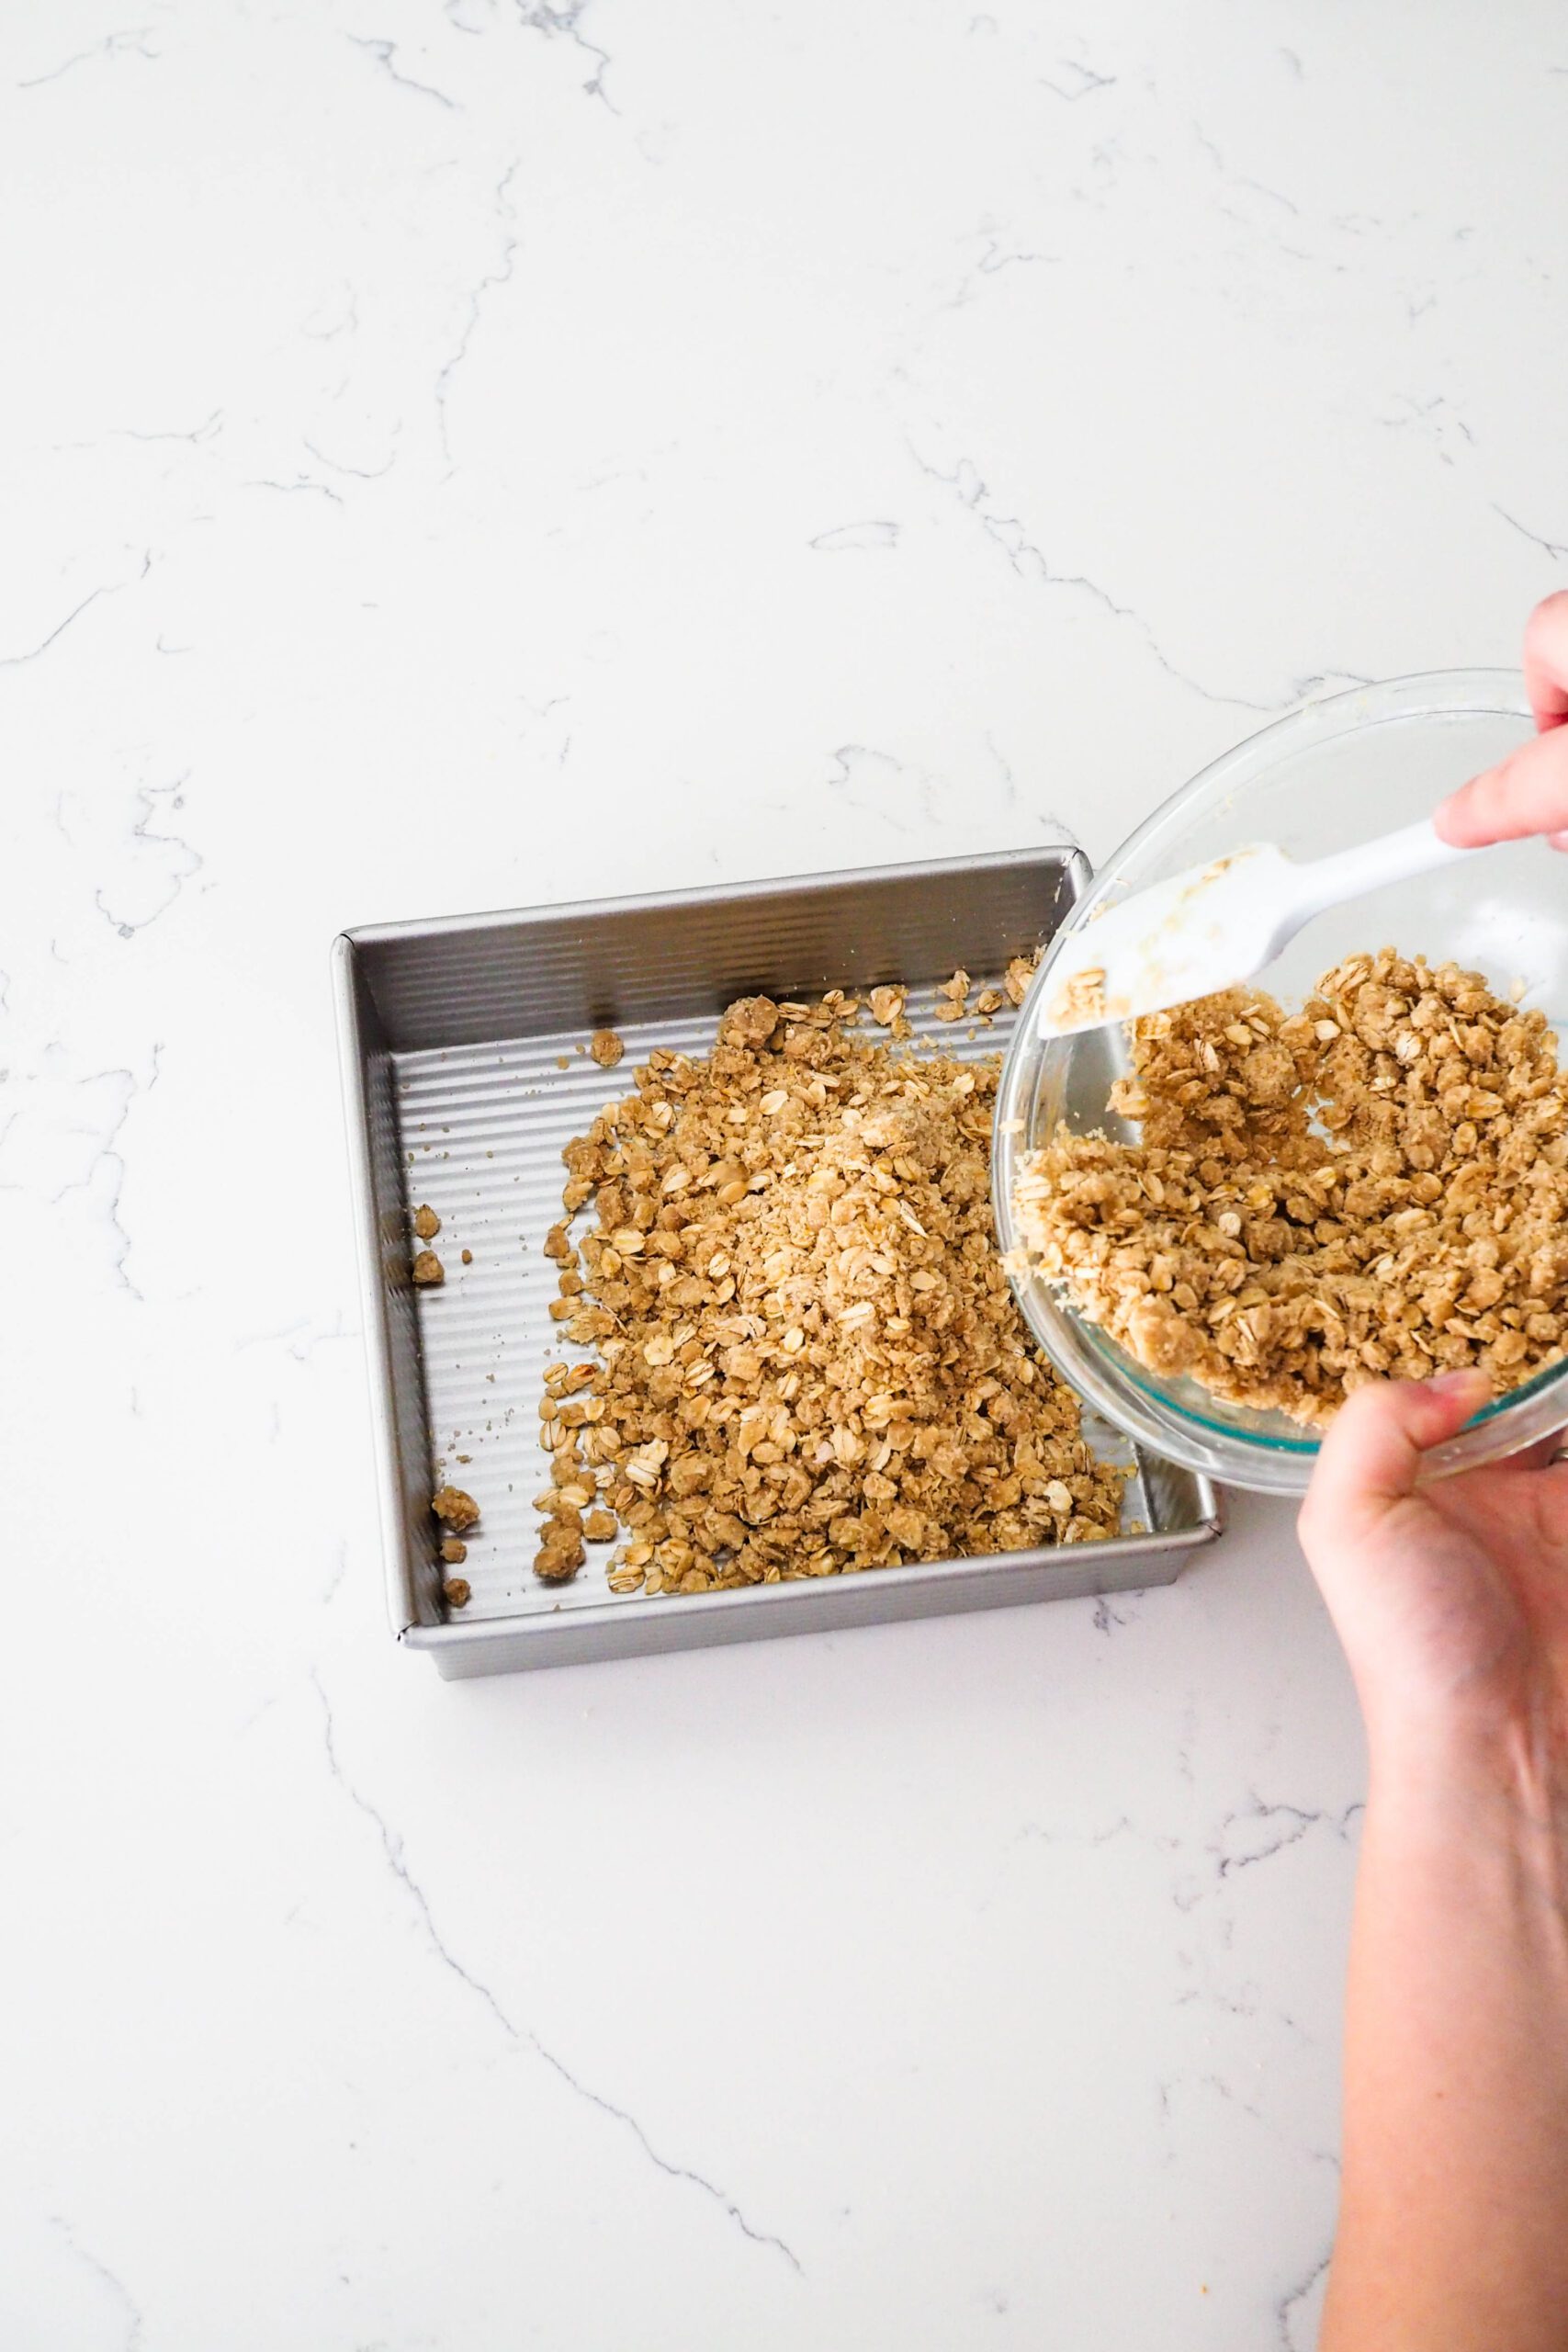
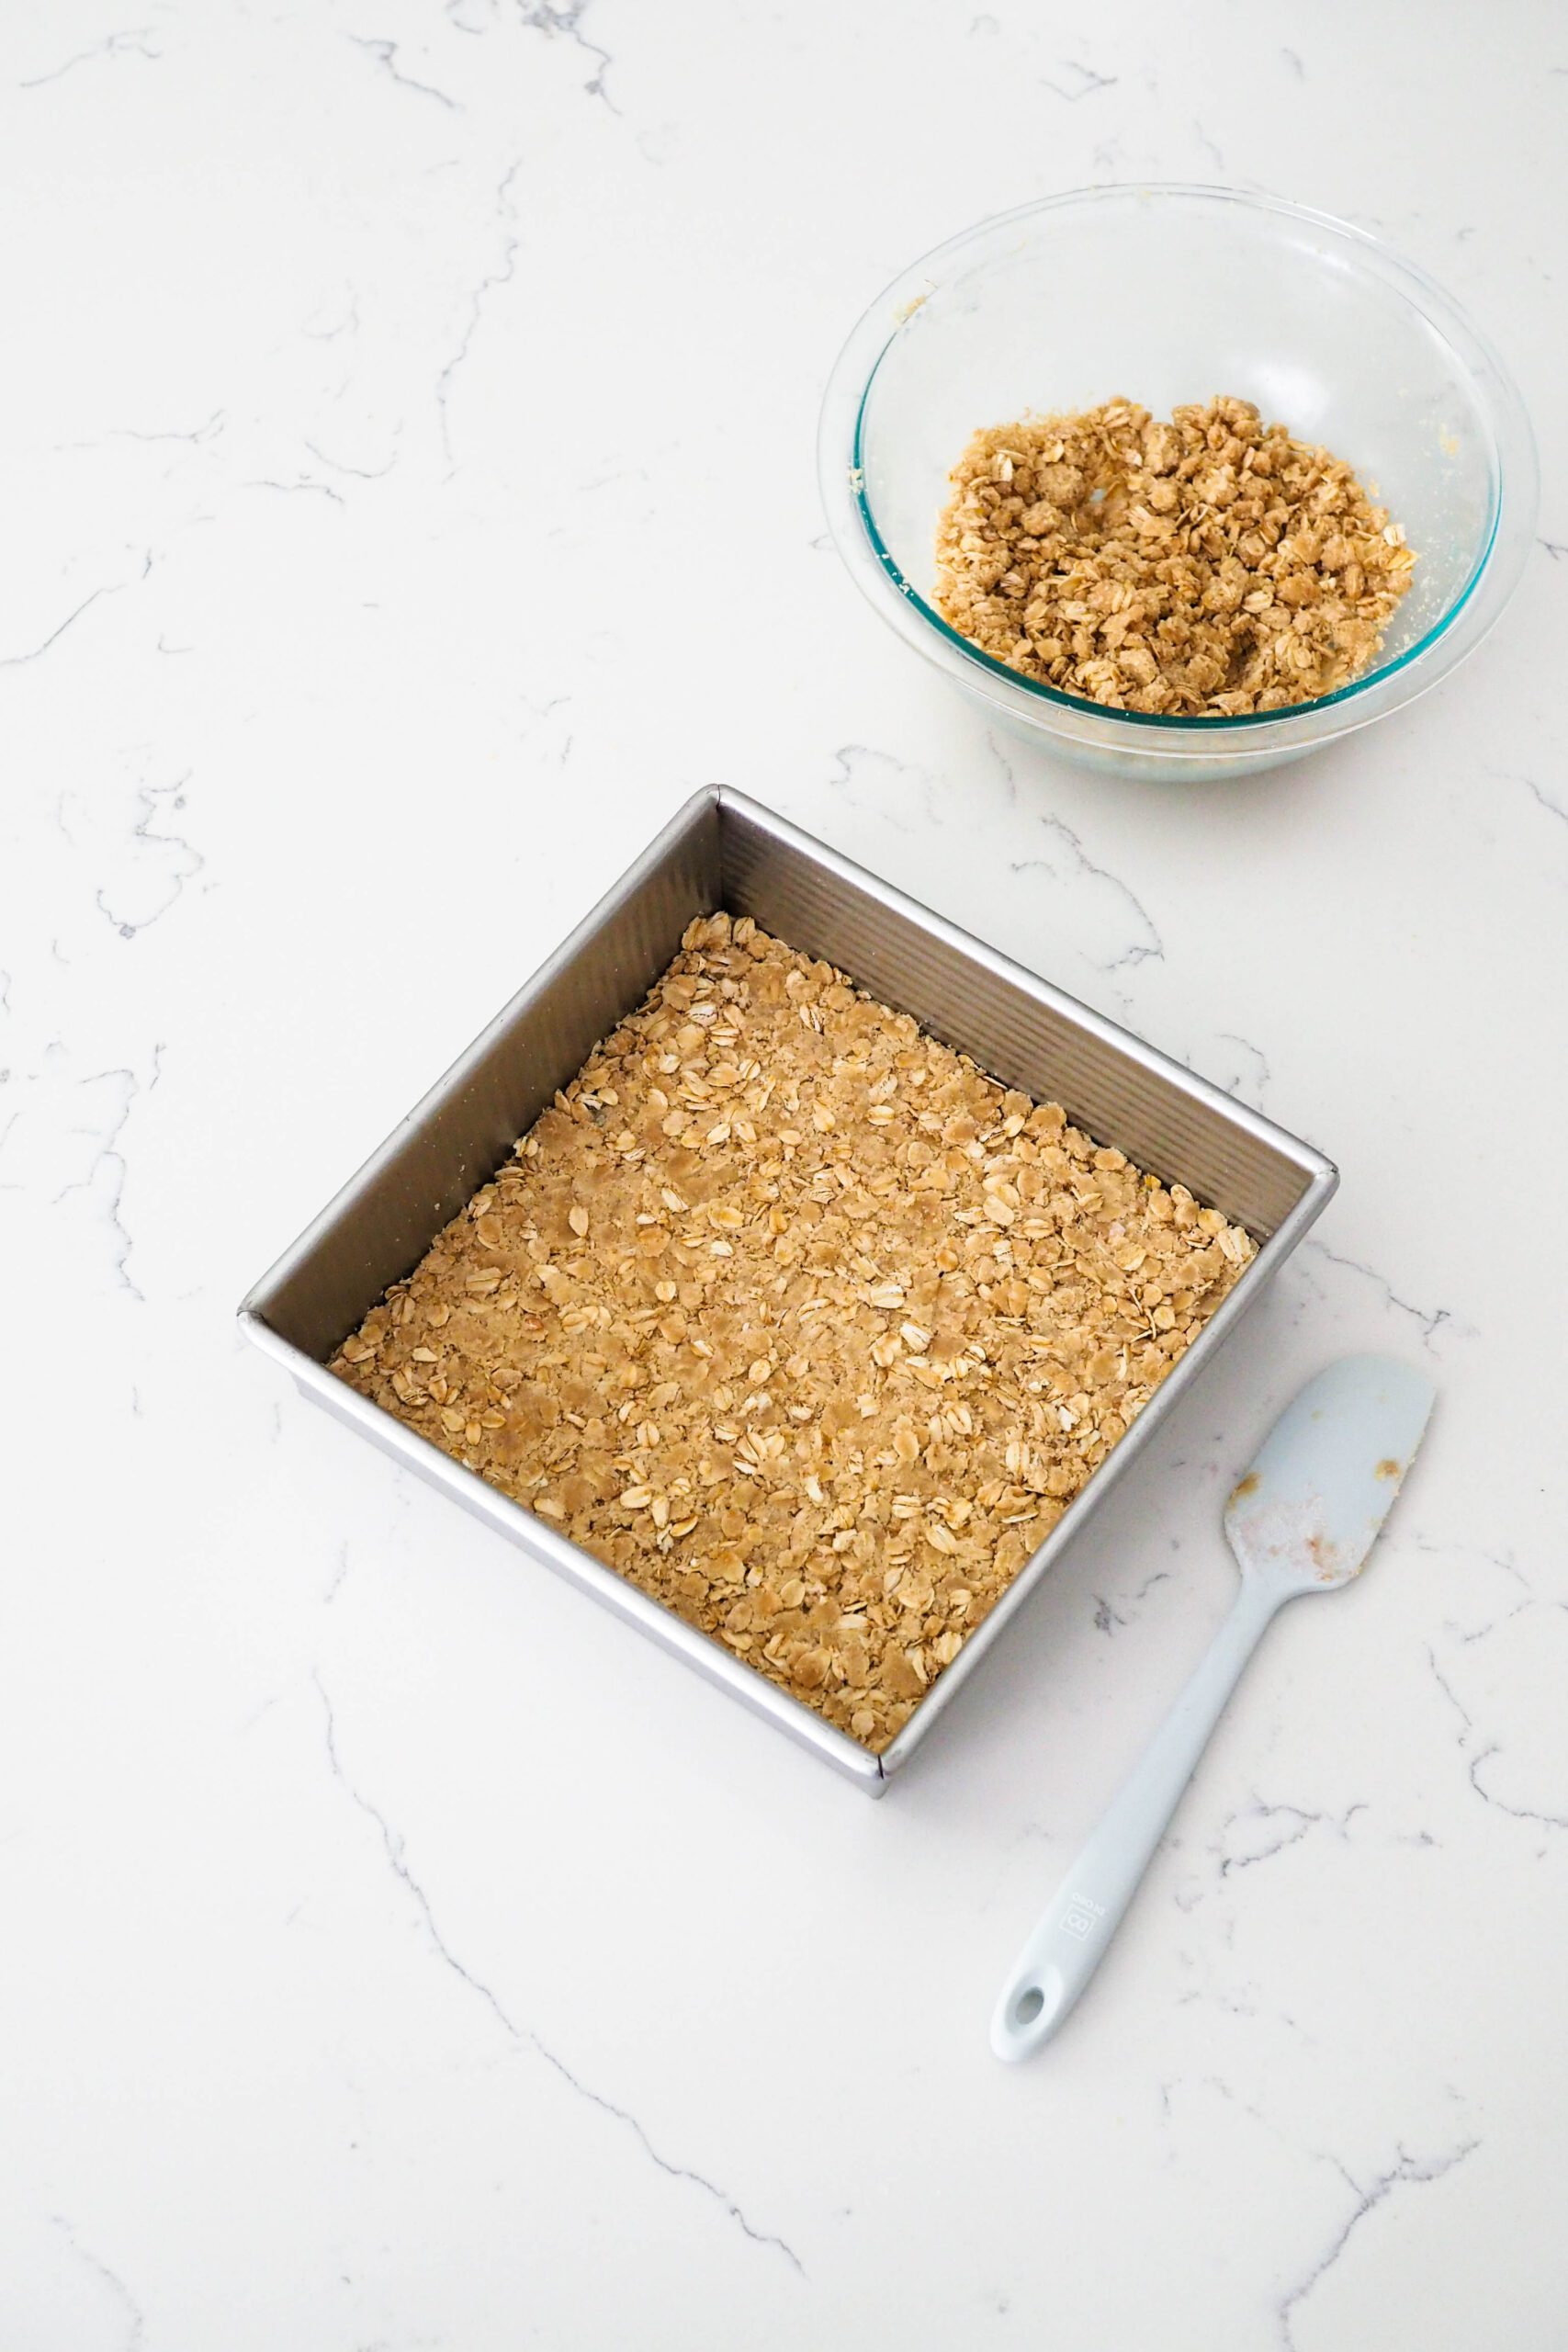
To get an even layer of the crumble on the bottom, use the back of a spatula to press about two-thirds of the crust into the bottom of the ungreased pan.
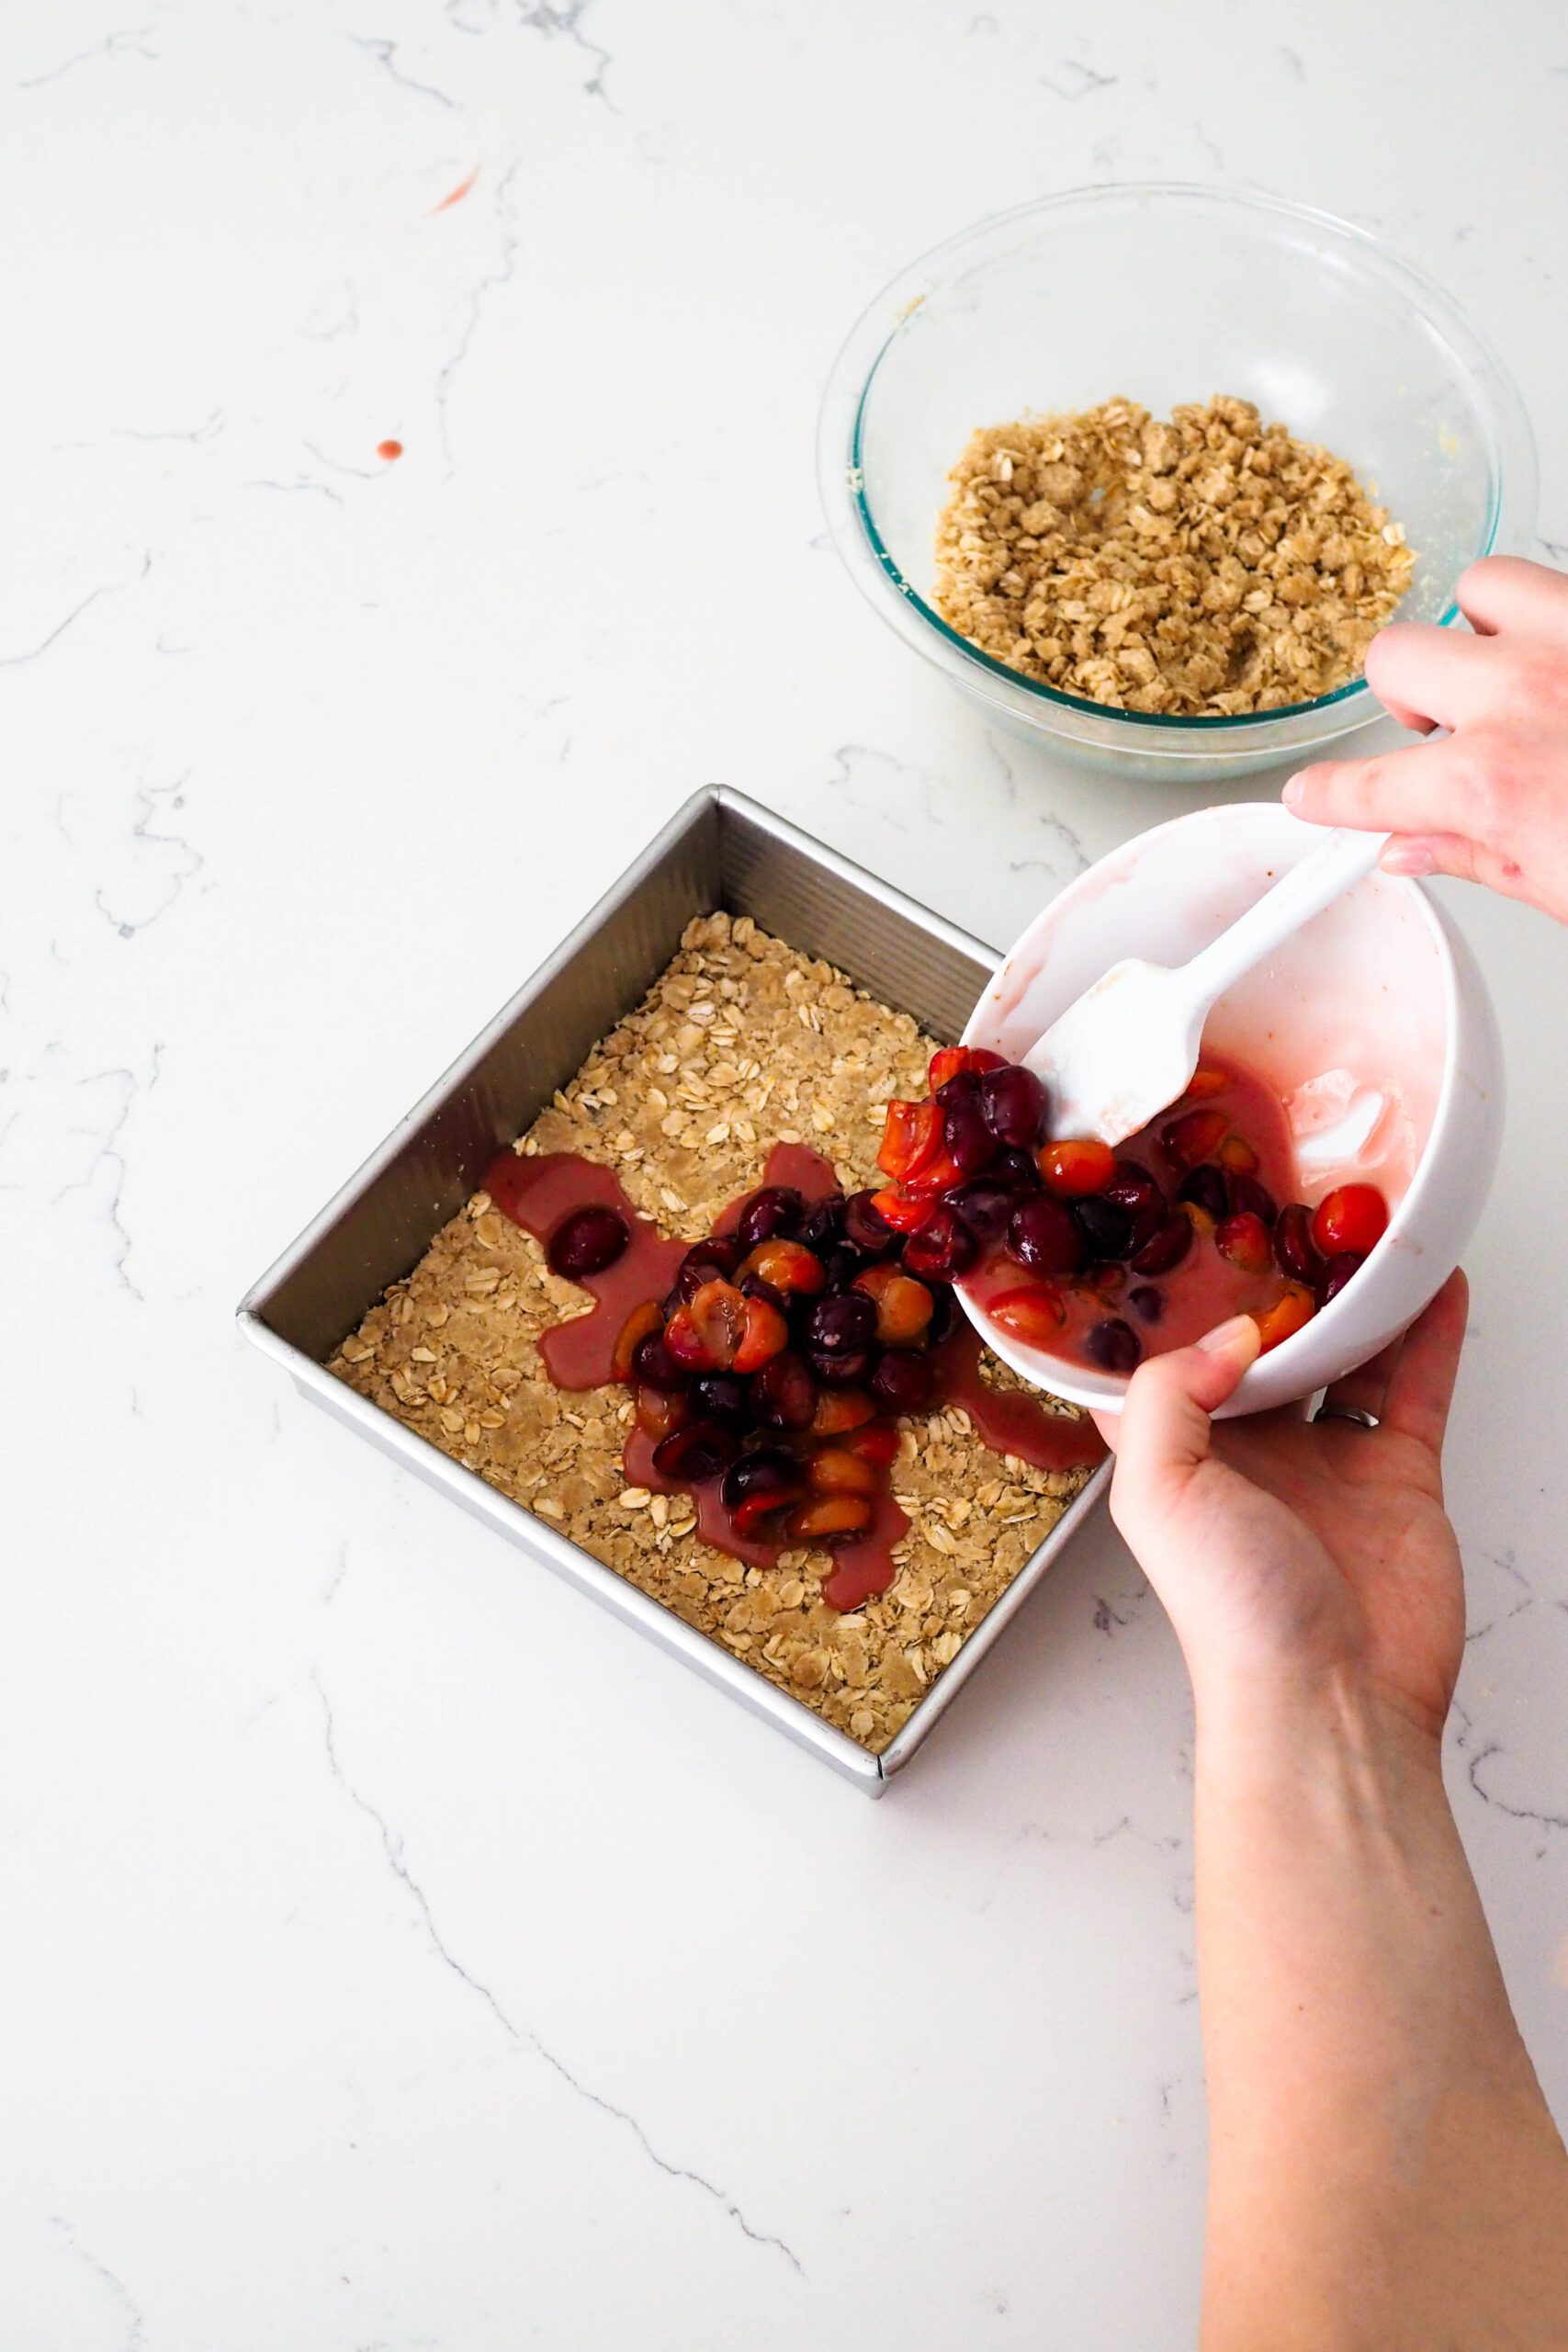
Next, spread the cherries and the cherry liquid evenly on top of the crust, all the way to the corners. There will be a bit of liquid that pools on top of the crust, but it will thicken up in the oven—don’t worry about it making the crumble soggy quite yet!
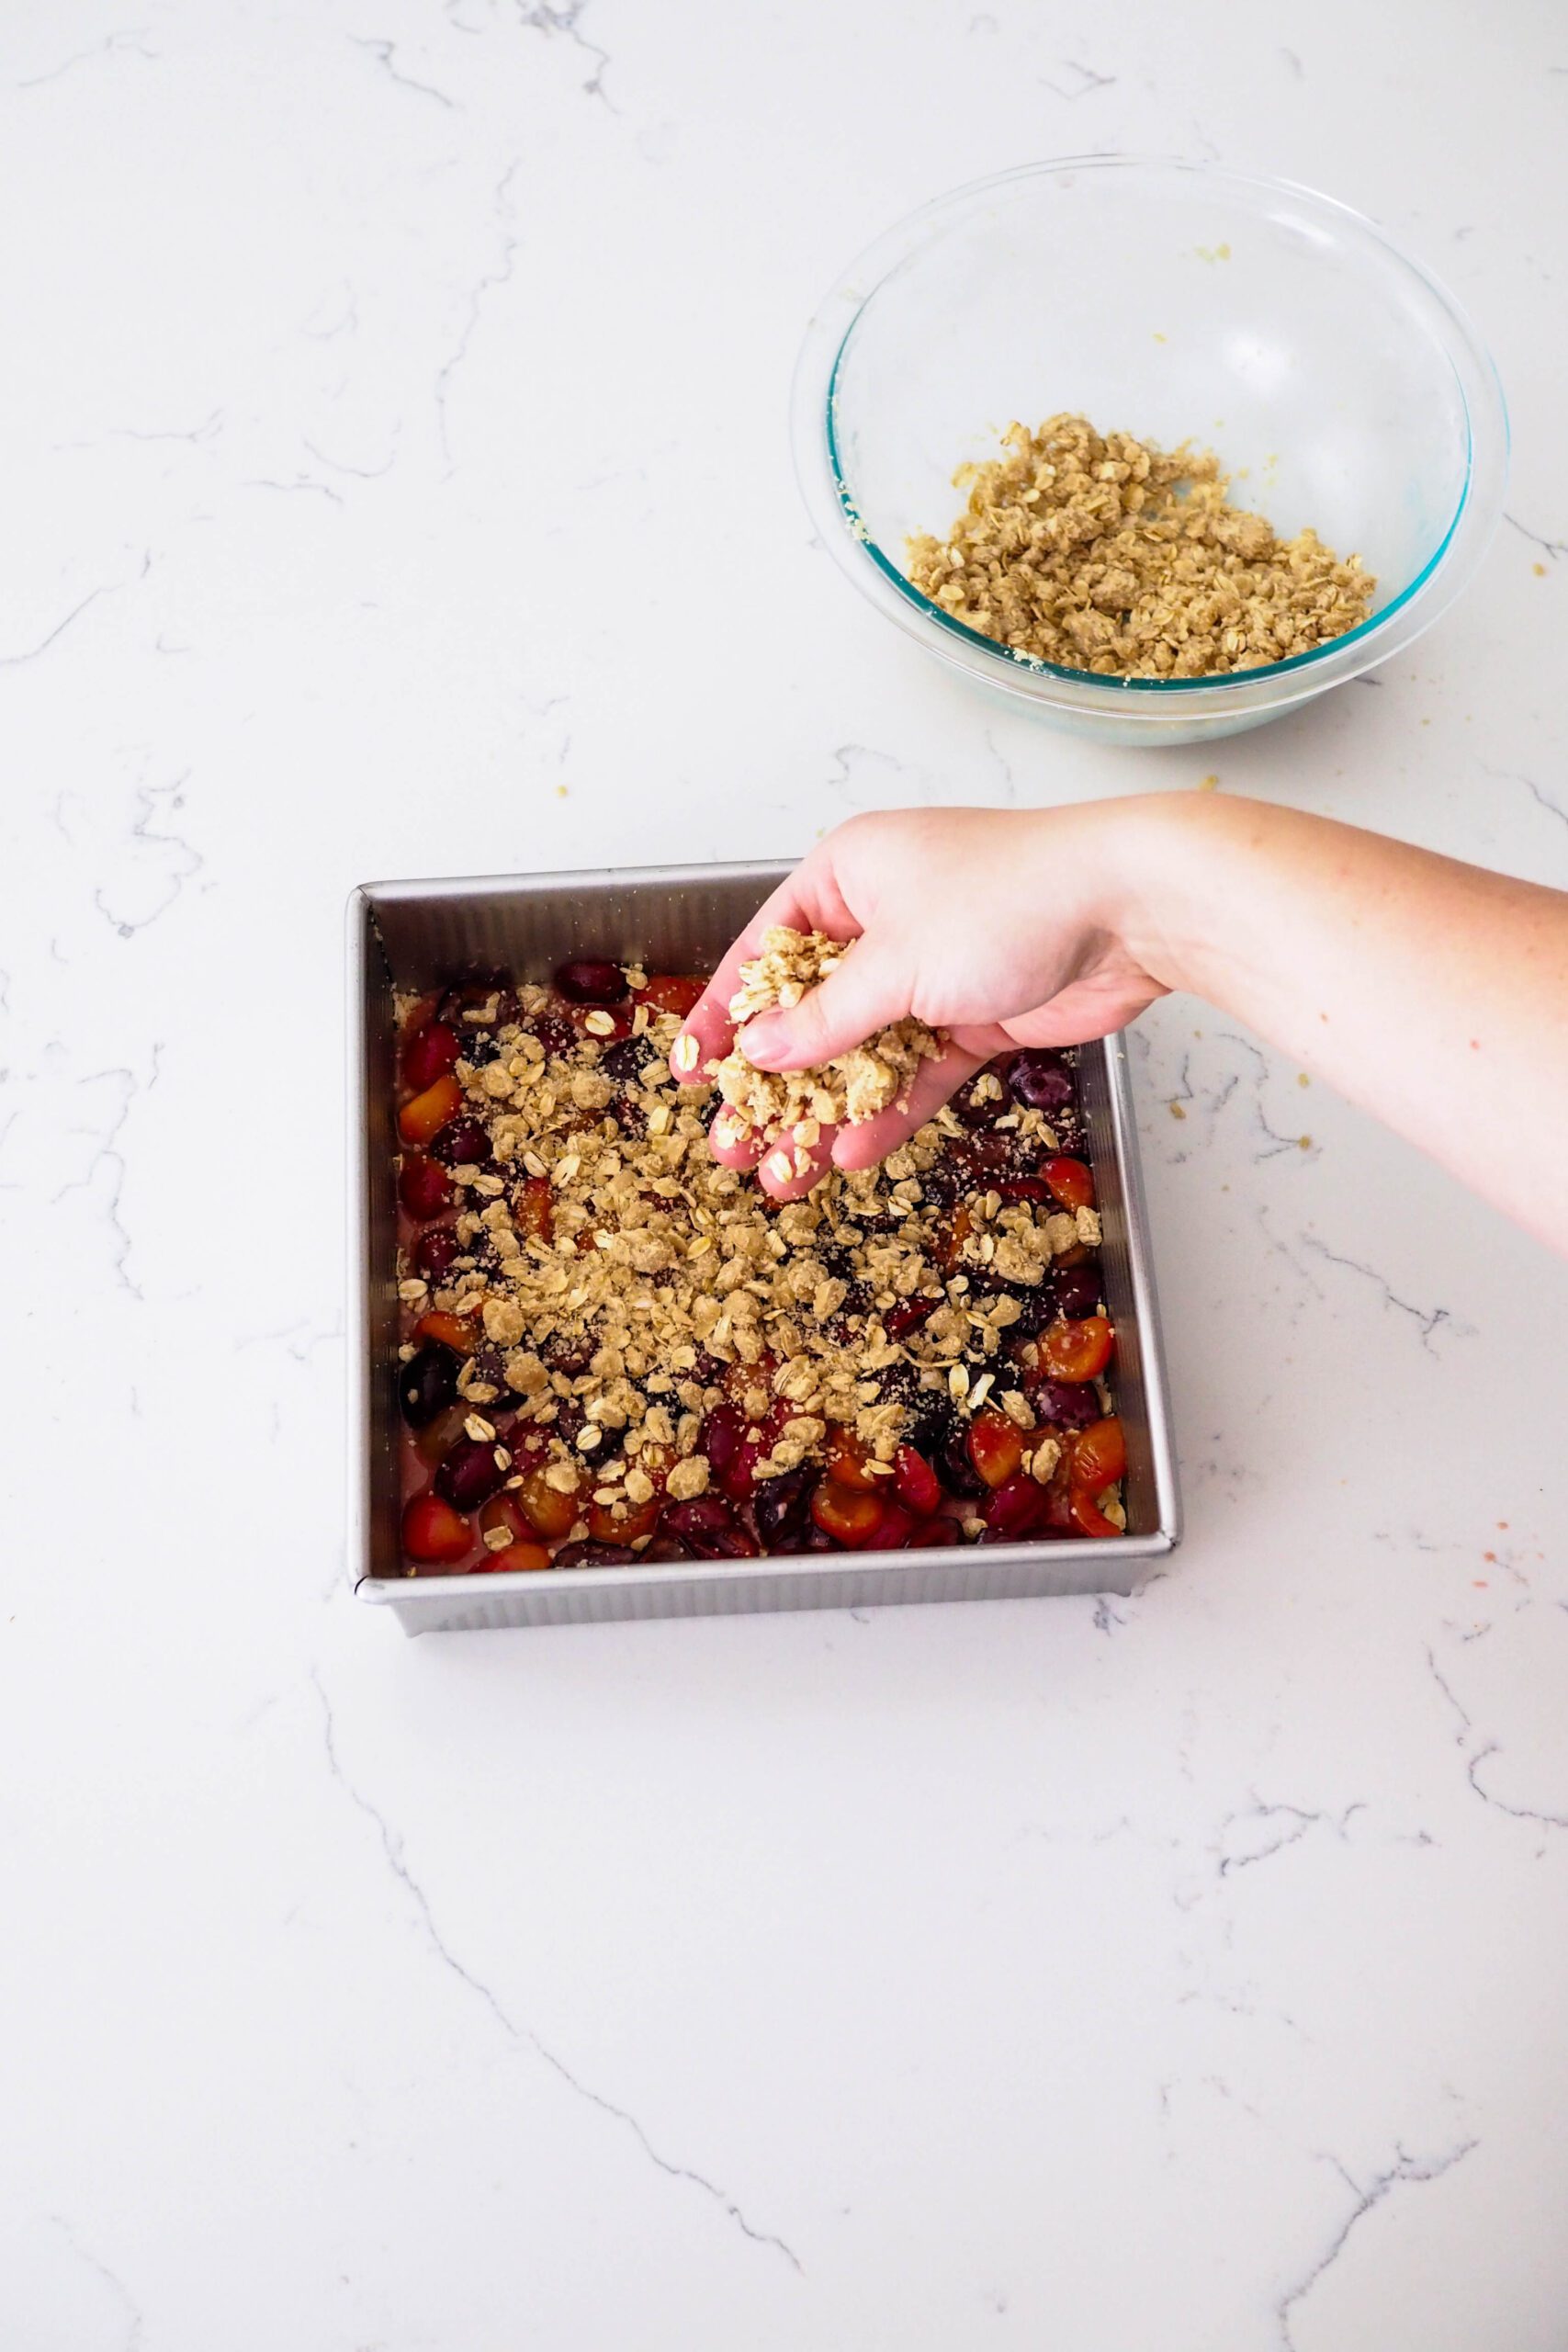
Sprinkle the remaining crumble on top of the cherries, making sure to get all the way to the edges and in the corners. If desired, you can sprinkle the top with a handful of sliced almonds for extra presentation points.
Baking the Cherry Crumble Bars
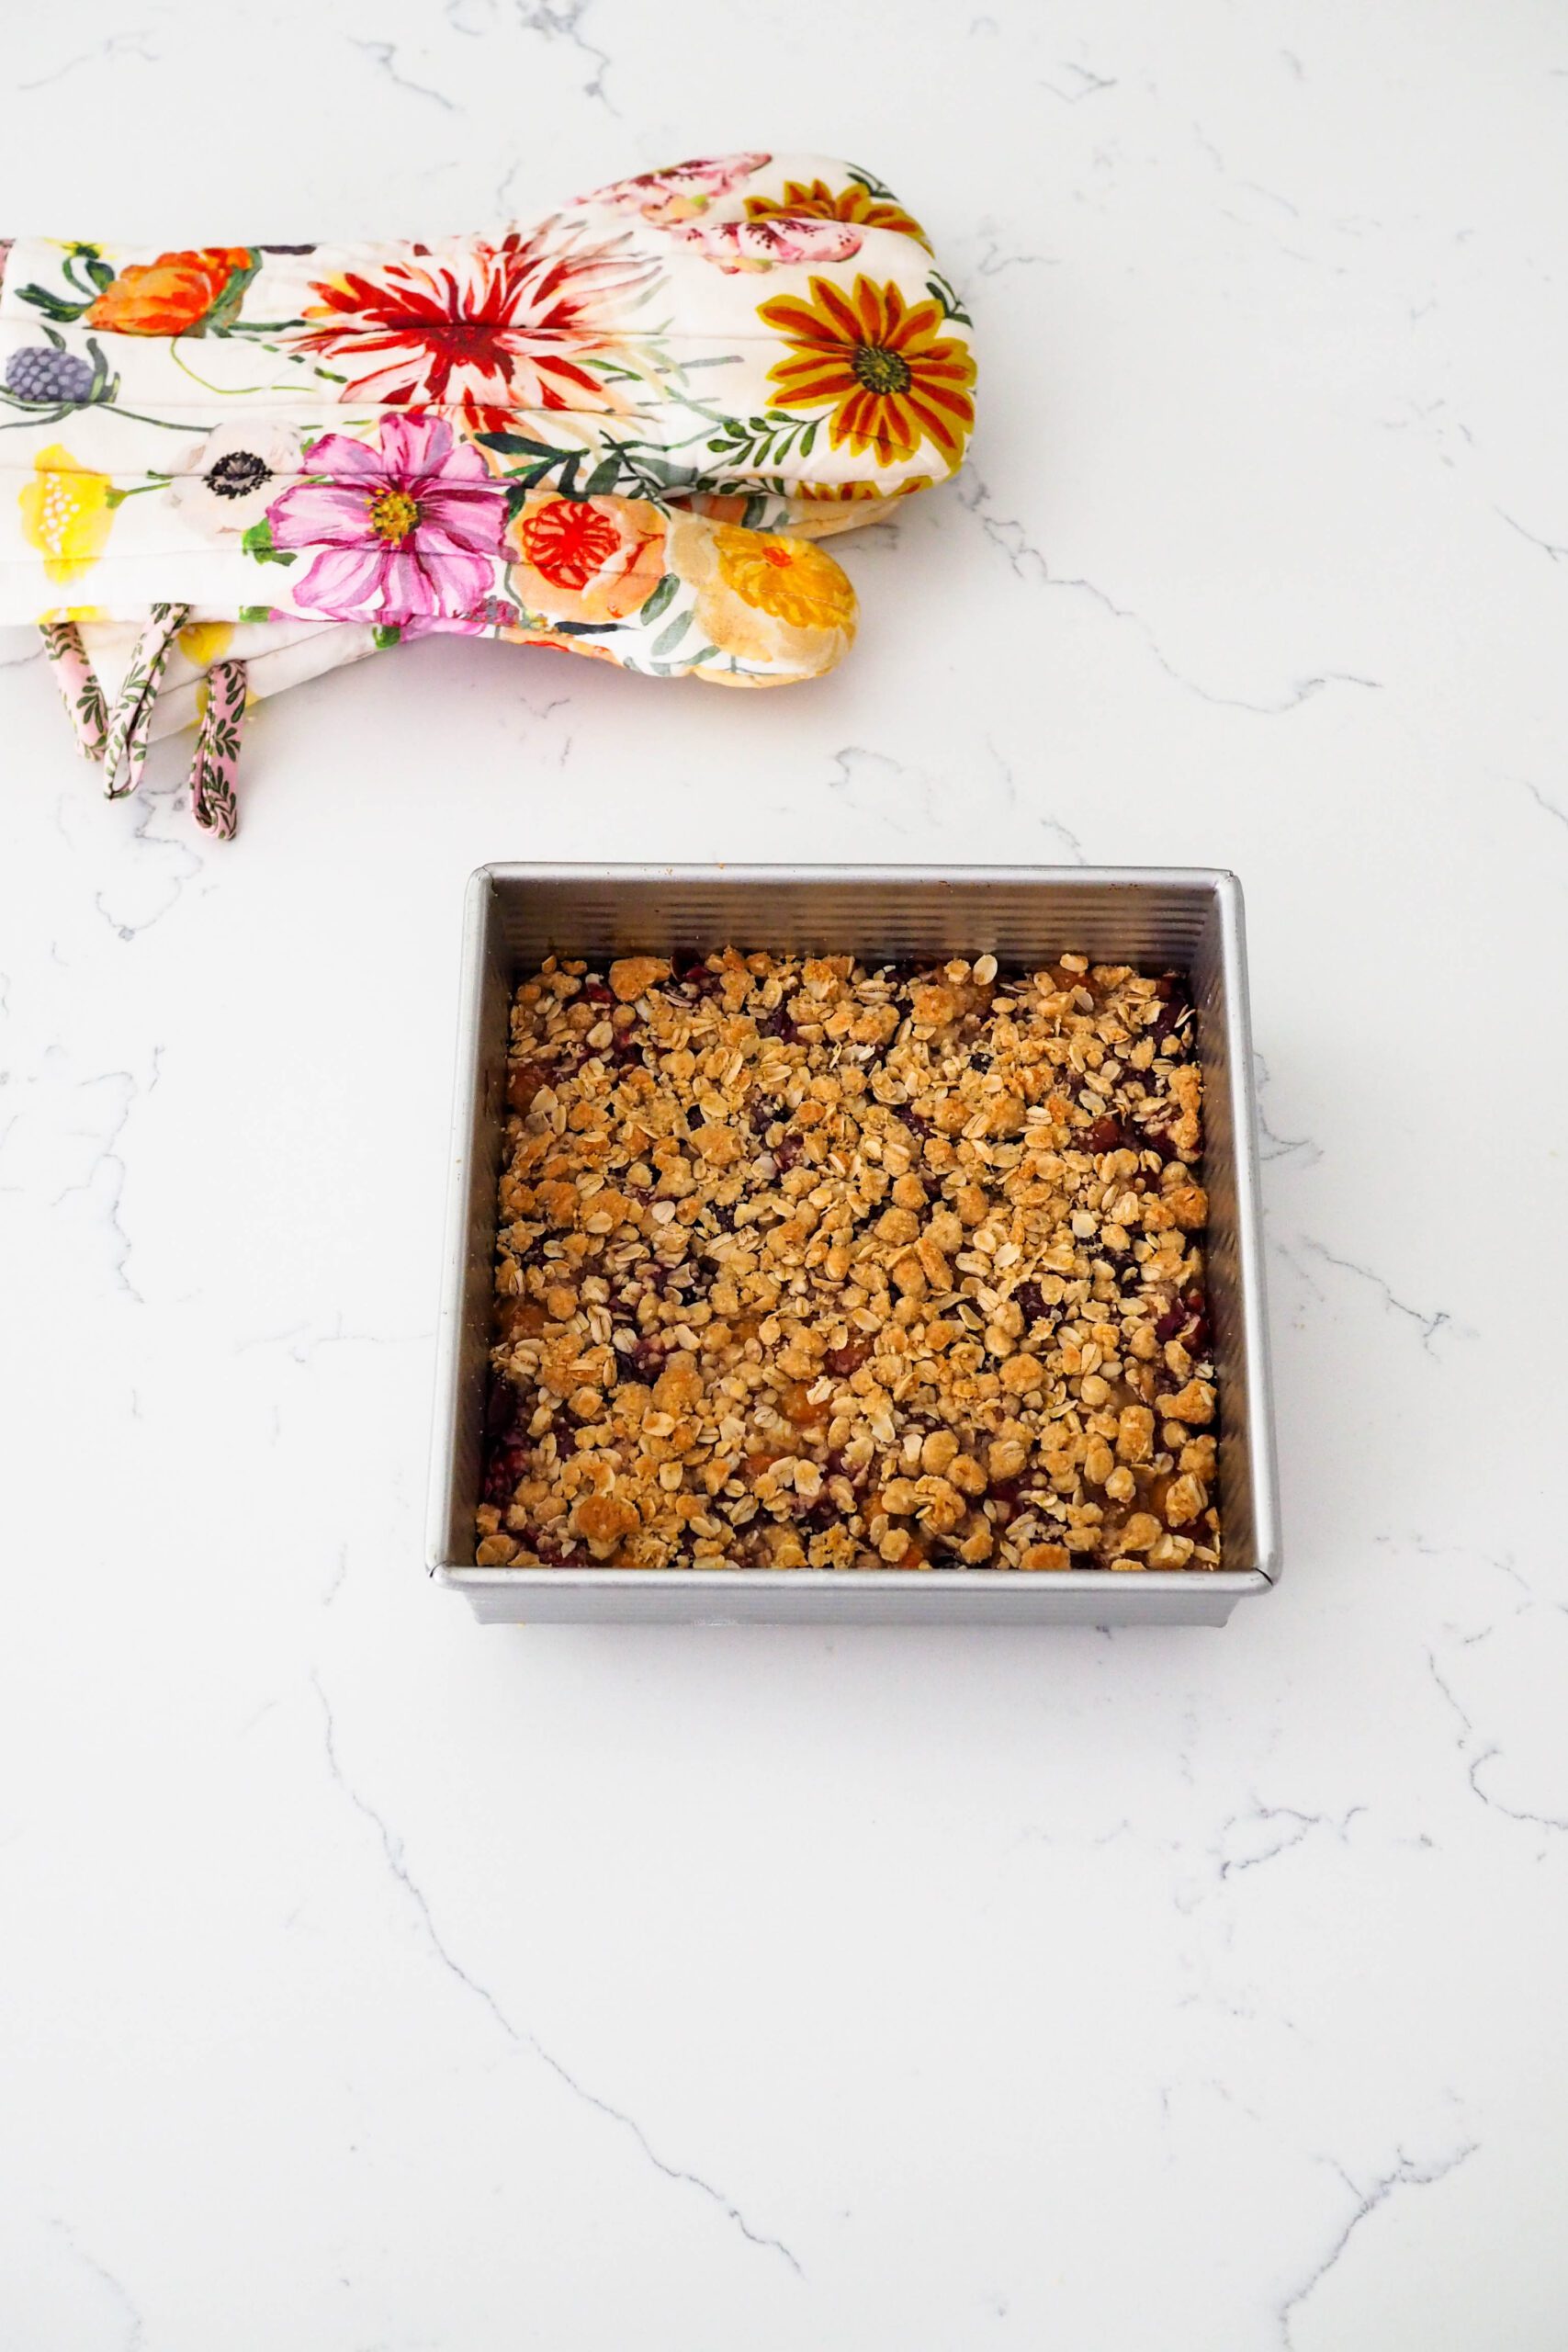
Bake for 20-25 minutes at 375°F/190°C until the top is golden brown and the cherry filling is bubbling on the edges, then allow to cool completely before cutting, about one hour.
I prefer to use a metal pan so I get sharper corners, but a glass pan will still work for this recipe! Keep in mind that you may need to add an extra couple of minutes to the bake time for a perfectly golden crust.
FAQs about Gluten-free Cherry Crumble
You can, but I also have a recipe for a gluten-free cherry almond crumble that’s really similar to this one!
Sure, I did it when I took the images for this blog post! Just thaw the cherries prior to tossing them with sugar and flour. They will macerate more quickly than fresh cherries once they are thawed.
Yes, and it’s very easy to do! Simply substitute margarine or a plant-based butter instead of dairy butter.
Other Recipes You May Enjoy
I’m using up 27 pounds of freshly picked cherries this year, so I’m adding tons of recipes with cherries to the blog. You can find all my recipes with cherries here. Here are some of my favorites:
Mini cherry pies are a hit at outdoor events and gatherings where you don’t want to use a plate and fork to eat a pie. Instead, make mini cherry pies in a muffin pan for an easy handheld summer dessert!
This crumble pairs deliciously with vanilla ice cream, and I have a feeling it would be even better with a scoop of cherry pie cream on top.
Looking for a gluten-free version of this recipe? My gluten-free cherry almond crumble is a fan favorite!
Dish Cleanup: Not Too Bad
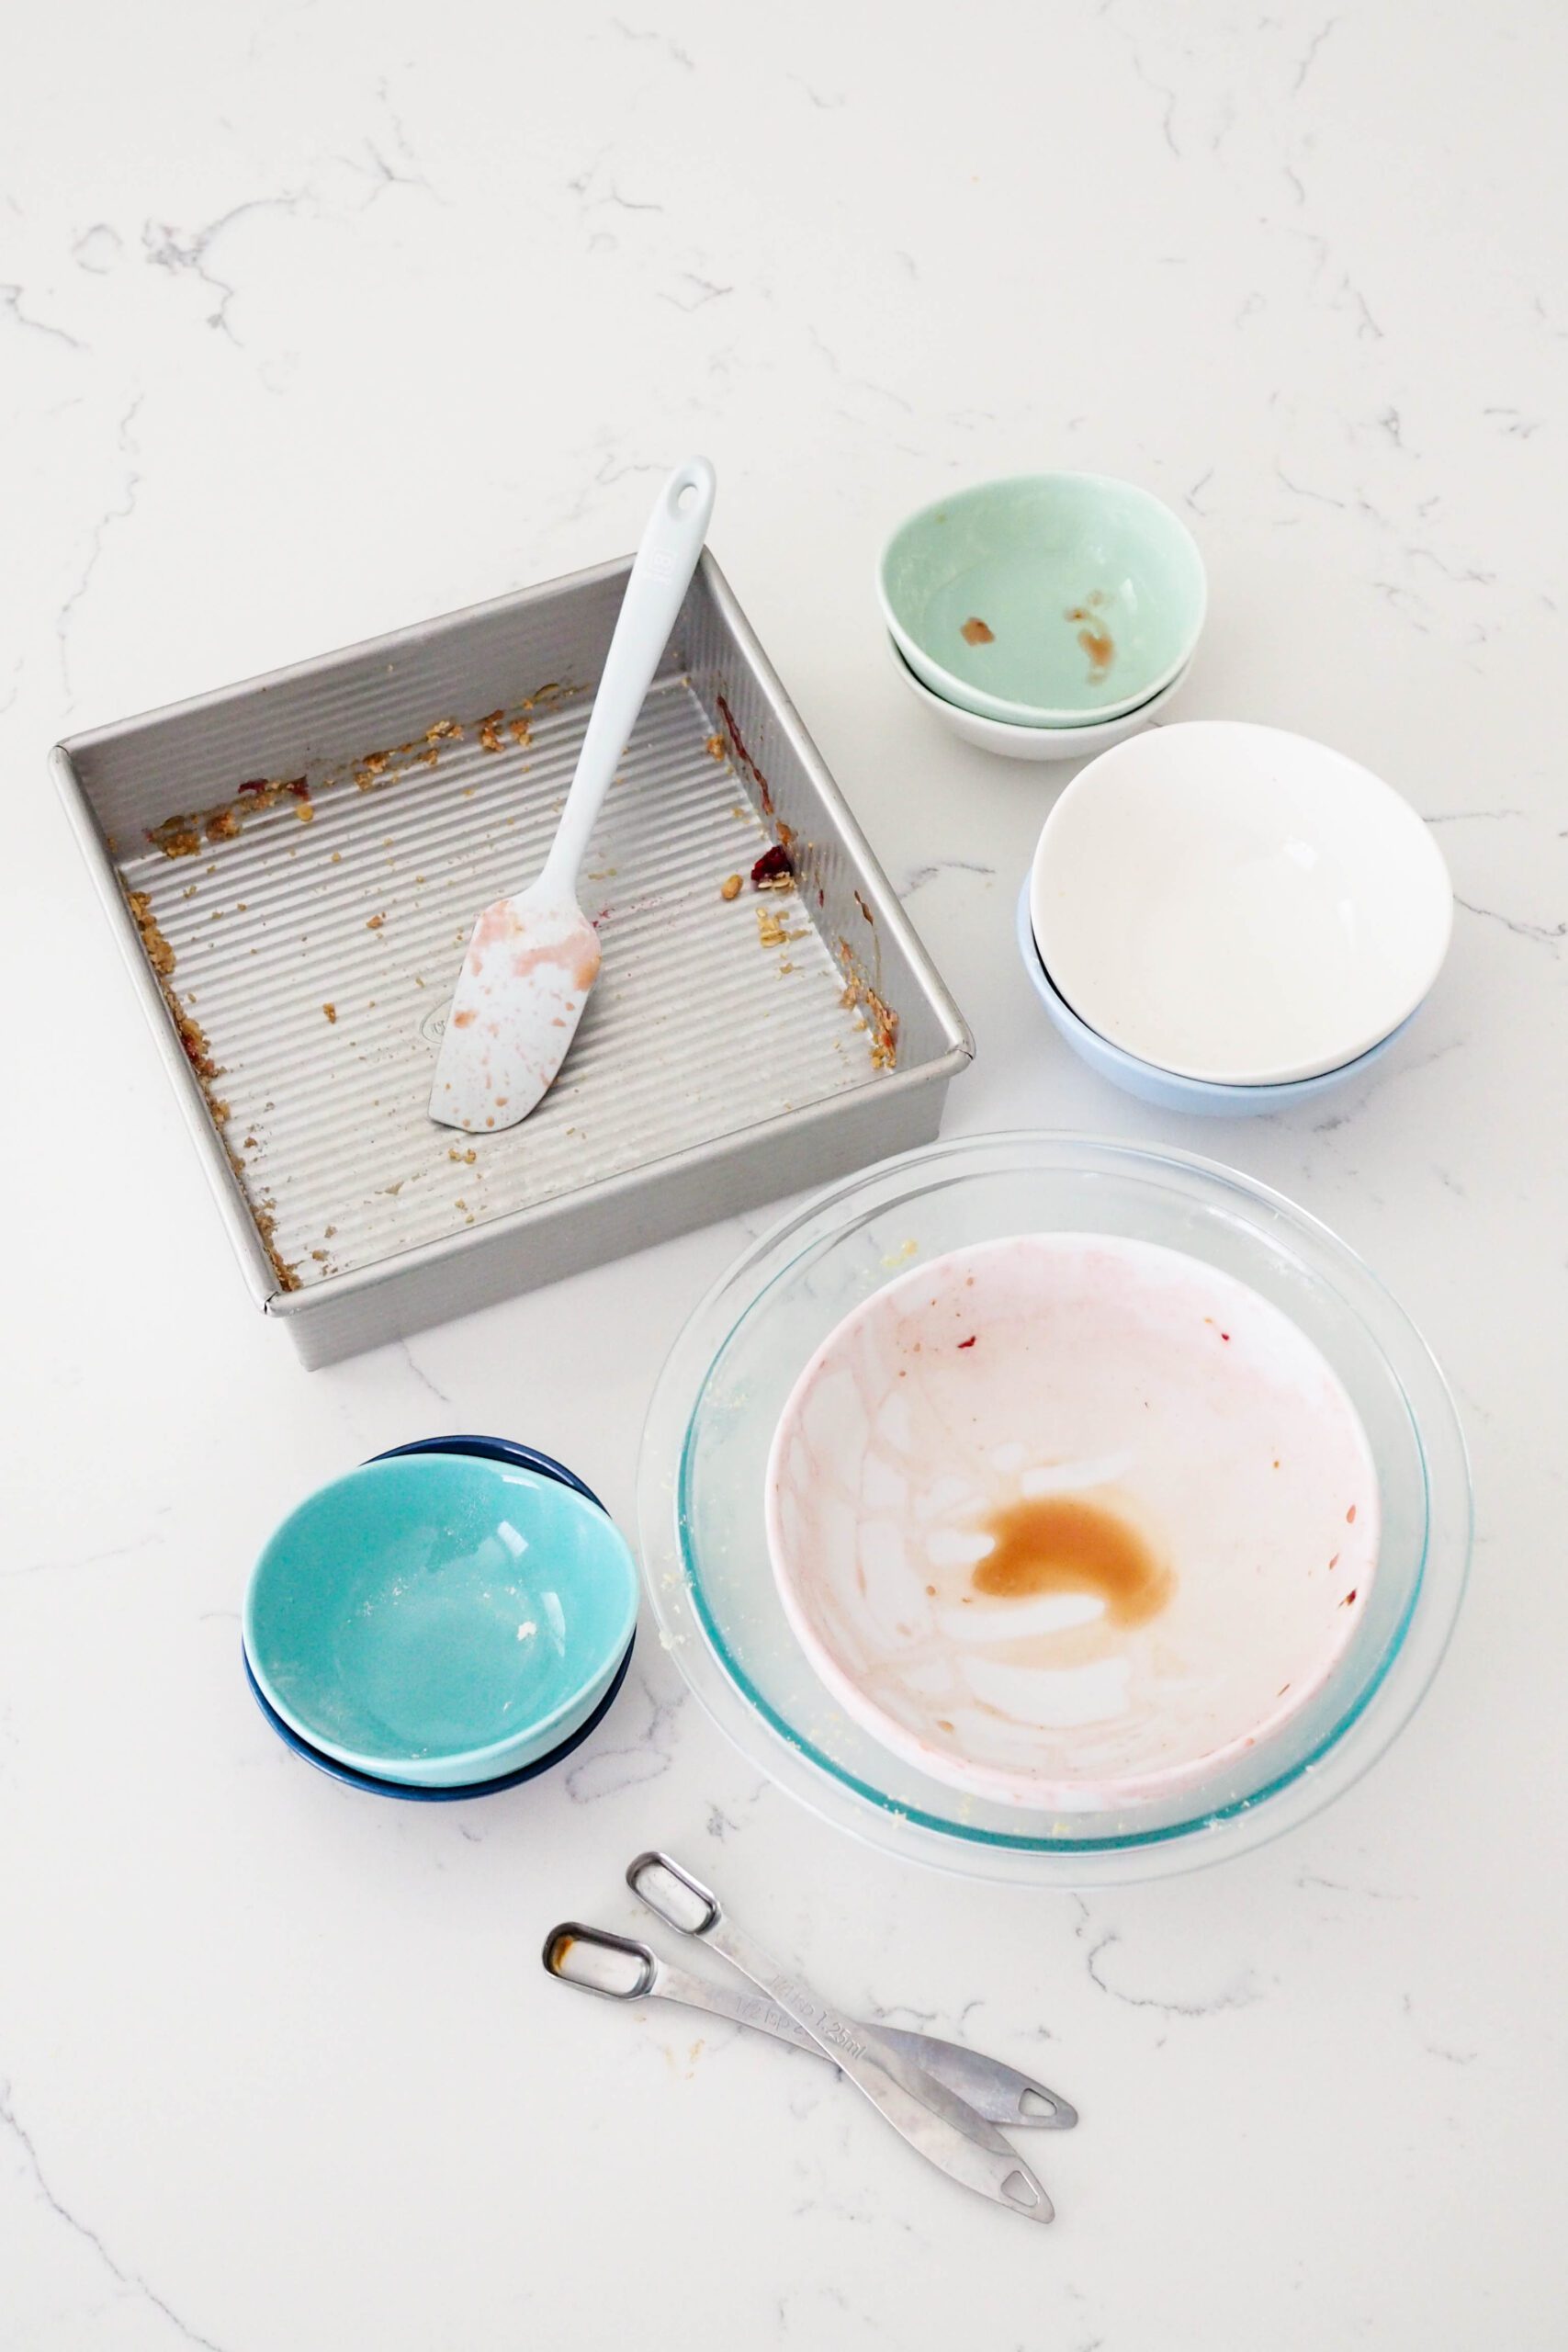
I rate my recipe cleanups on a scale of 1 to 5. 1 is only a handful of dishes, and 5 is everything including the kitchen sink.
These cherry crumble bars have a cleanup rating of a 2. I used only a handful of bowls (or measuring cups), and everything came together in just two smaller bowls that I could place in the dishwasher. The only thing I had to wash by hand was the pan!
Cherry Crumble Bars Recipe
Cherry Crumble Bars
Quick and easy cherry crumble bars are made from a buttery oat base and a freshly made cherry pie filling in just about 30 minutes for the perfect summer dessert.
Ingredients
- 2 cups pitted and quartered cherries (about 60 cherries or 300g)*
- 2 Tablespoons granulated sugar (25g)
- ¾ cup all-purpose flour (90g) plus 2 Tablespoons (16g), divided
- ½ teaspoon vanilla or almond extract
- 1 cup old-fashioned rolled oats (100g)
- ½ cup brown sugar (110g)
- ¼ tsp salt (2g)
- 6 Tablespoons salted butter (85g), melted
Instructions
- Preheat the oven to 375°F/190°C. Optional: For easy removal, line a square 8" (20 cm) pan with parchment paper.**
- In a medium bowl, stir together cherries, granulated sugar, two Tablespoons (16g) of flour, and vanilla extract, then set aside.
- In another medium bowl, combine oats, remaining flour, brown sugar, and salt. Pour the melted butter on top, then stir together the crumble until no dry clumps remain.
- Press about two-thirds of the crumble on the bottom of an ungreased 8x8 pan with a spatula until flat. Spoon the cherry mixture on top, and spread the cherries to the edges of the pan. Sprinkle the remaining crumble on top.
- Bake for about 20 minutes, until the top of the crumble is lightly golden brown and the cherry filling bubbles on the edges.
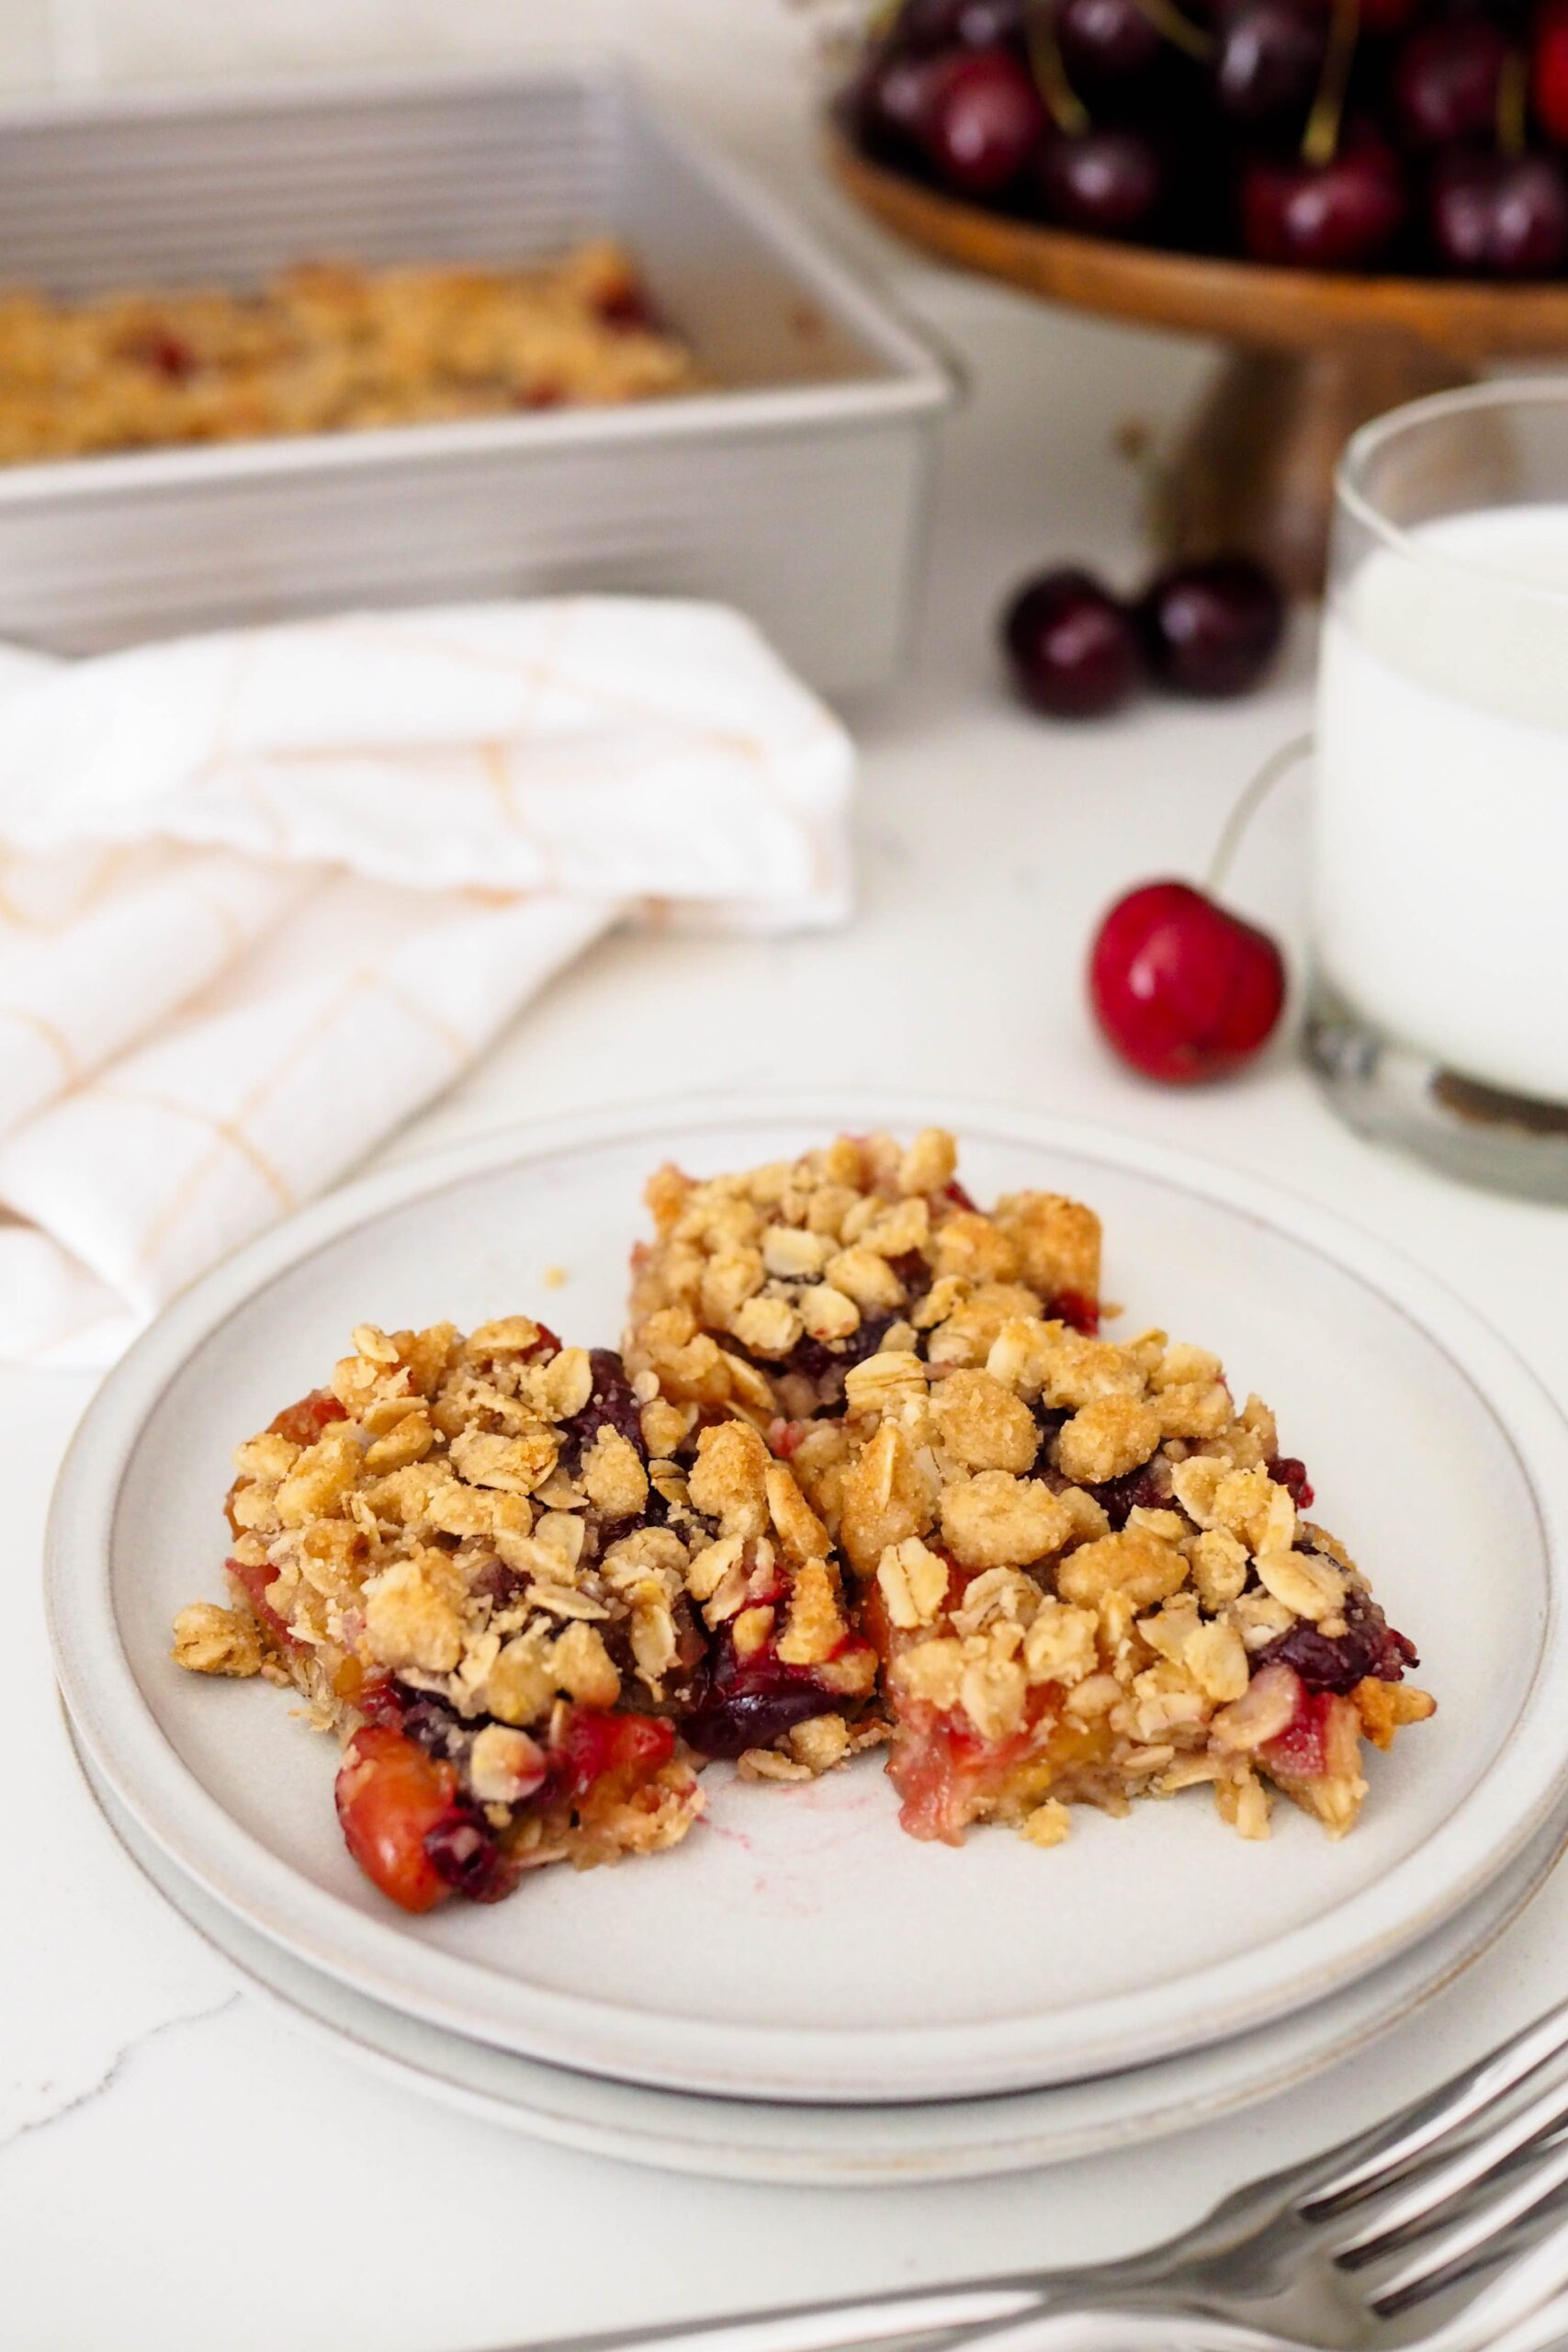
- Allow the cherry crumble to cool for at least 20 minutes before cutting into 16 bars and serving.
Notes
*Cherry measurement can vary drastically depending on how they are cut prior to measuring. This recipe was written measuring two cups of already pitted and quartered cherries, which is about 60 cherries or ⅔ lb.
**I don't normally line my pans with parchment paper, but it does make getting the first bar out of the pan a bit easier.
Store loosely covered at room temperature for up to three days, or in the fridge in an airtight container for up to five days.
Note: If stored in an airtight container, the cherry crumble bars will soften.
Nutrition Information:
Yield:
16Serving Size:
1Amount Per Serving: Calories: 98Total Fat: 5gSaturated Fat: 3gTrans Fat: 0gUnsaturated Fat: 2gCholesterol: 11mgSodium: 73mgCarbohydrates: 14gFiber: 1gSugar: 10gProtein: 1g
The nutrition facts are estimated and may vary based on specific ingredients used.
Thanks for trying out my cherry crumble bars recipe! Please consider rating this recipe so others find it, too. While you’re here, check out my other recipes with cherries.
I’d love to see how your recipe turns out: Take a photo and tag me on Instagram @floralapronblog to share with me, or use the hashtag #floralapronbakes.
This post contains affiliate links. If you click through and make a purchase, I may receive a small commission at no cost to you. Thank you for helping to support The Floral Apron!