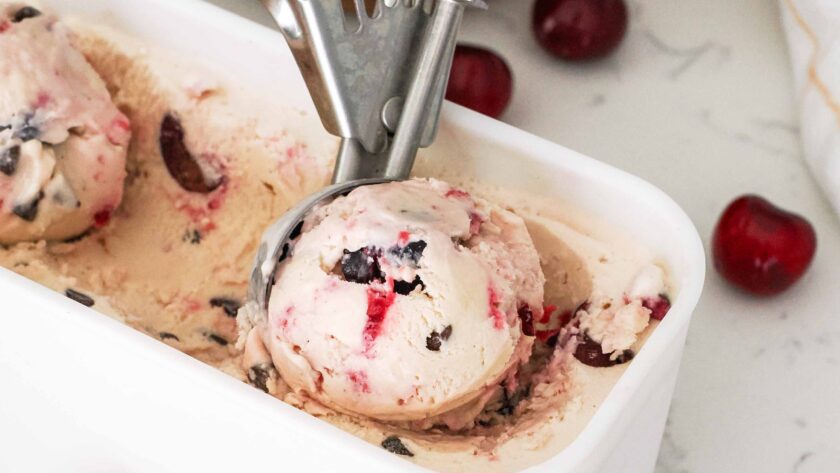
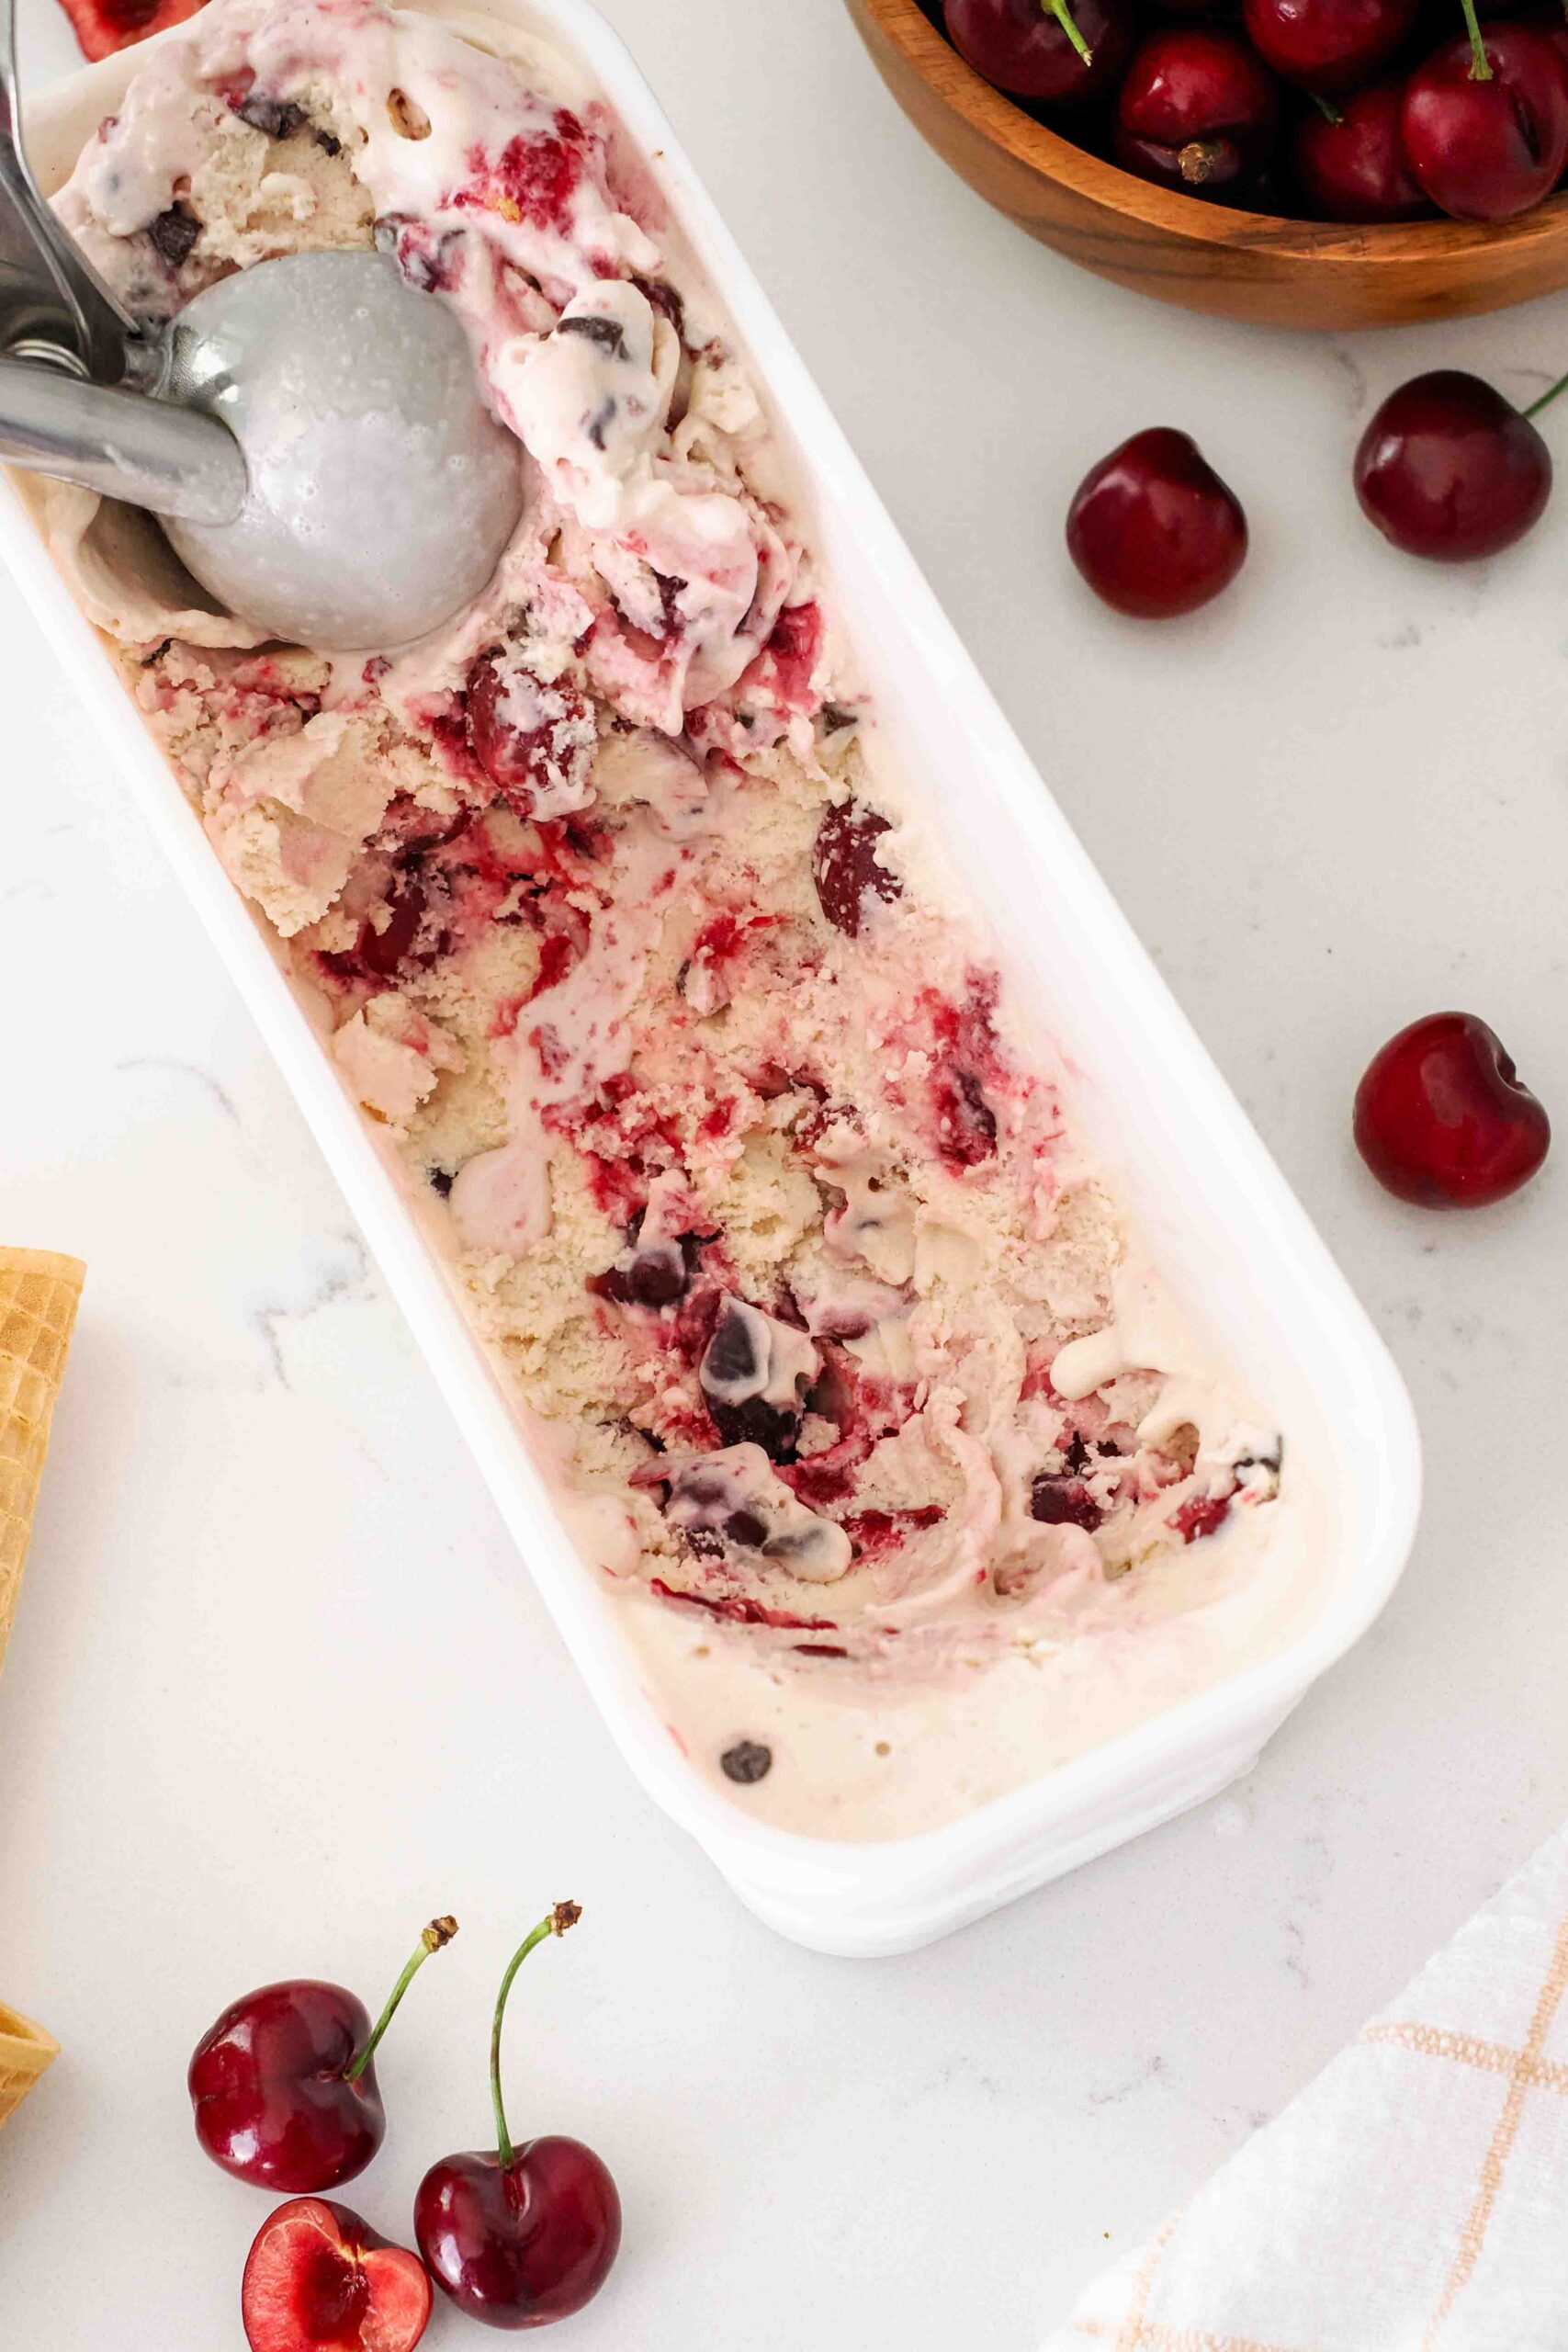
Adapted from my popular French vanilla frozen custard recipe, this black cherry ice cream is made with fresh cherries and a swirl of cherry jam! The key to getting the best cherry ice cream is by cooking fresh cherries in a sugar syrup first: This both softens the cherry flesh (so you don’t bite into cherry-flavored rocks later) and intensifies the cherry flavor. It also turns the custard the most beautiful shade of pale pink!
I like to add mini chocolate chips to make this a copycat Ben & Jerry’s Cherry Garcia ice cream recipe. You’re welcome to add a different mix-in—just not too much, because there are already two full cups of cherries in this cherry ice cream! My favorite toppings are vanilla whipped cream and dark chocolate granola, which might sound a little different but pair perfectly!

This post contains affiliate links. If you click through and make a purchase, I may receive a small commission at no cost to you. Thank you for helping to support The Floral Apron!
Ingredients for Black Cherry Ice Cream
Cherry custard ice cream is made from fresh cherries and a handful of other simple ingredients. I’ve listed common substitutions where possible.
- Sweet cherries. Also known as black cherries, dark cherries tend to be very sweet. You can also use Rainier cherries; just know that the color won’t be quite as pink.
- Granulated sugar. In addition to sweetening the cherry frozen custard, sugar also lowers the freezing point of ice cream and helps make the final product nice and creamy.
- Egg yolks. Tempering eggs is an extra step, but I absolutely love the texture of frozen custard over a simple cherry ice cream, like my cherry pie ice cream.
- Whole milk. This is the place for indulgence—whole milk contains enough fat to make ice cream creamy. Using lower fat milk will give you an icier result.
- Heavy cream. The fat in heavy cream is essential to give us that creamy frozen custard with a perfectly scoopable consistency.
- Salt. Just a pinch enhances all the flavors.
- Vanilla bean paste or vanilla extract. You can taste the difference in ice cream, so I recommend splurging on vanilla bean paste if you can (here’s why). If not, use vanilla extract.
- Mini chocolate chips (optional). Adding a little bit of chocolate turns this black cherry ice cream into a Cherry Garcia ice cream copycat recipe. Up to you if you’d like to add the chocolate (or another mix-in)!
- Cherry jam. This is the best part of the ice cream! I use my homemade cherry jam with no pectin, which you can make simply the day before, but you’re also welcome to use store bought cherry jam or preserves.

Equipment for Making Ice Cream at Home
You will need to use an ice cream maker for velvety smooth frozen custard. I use Cuisinart’s 1.5-quart ice cream maker, but you can also use the KitchenAid ice cream bowl or a fancier compressor model.
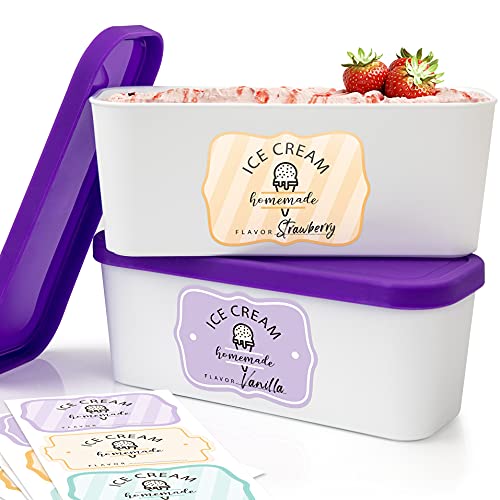
I like to store my ice cream in long, reusable ice cream containers with silicone seals. The seal keeps the ice cream fresh, and the length makes it easy to get picture-perfect scoops of ice cream for cones and bowls. And, as a bonus, these ones come with stickers to label your ice cream!
If you don’t already have an ice cream scoop you like, my husband found this heavy-duty ice cream scoop a few years ago, and it’s been our go-to ever since.
Quick Tips for Making Black Cherry Frozen Custard
If you’ve never made a custard before, that’s okay! This section provides an overview of how to make homemade cherry ice cream so that you feel totally prepared before you start. But if you don’t want to read it all, I include necessary instructions in the recipe card itself further down the page so that even beginner bakers should have success.
You can watch a short video on how to make this copycat Cherry Garcia ice cream from my YouTube channel below:
Softening the Cherries
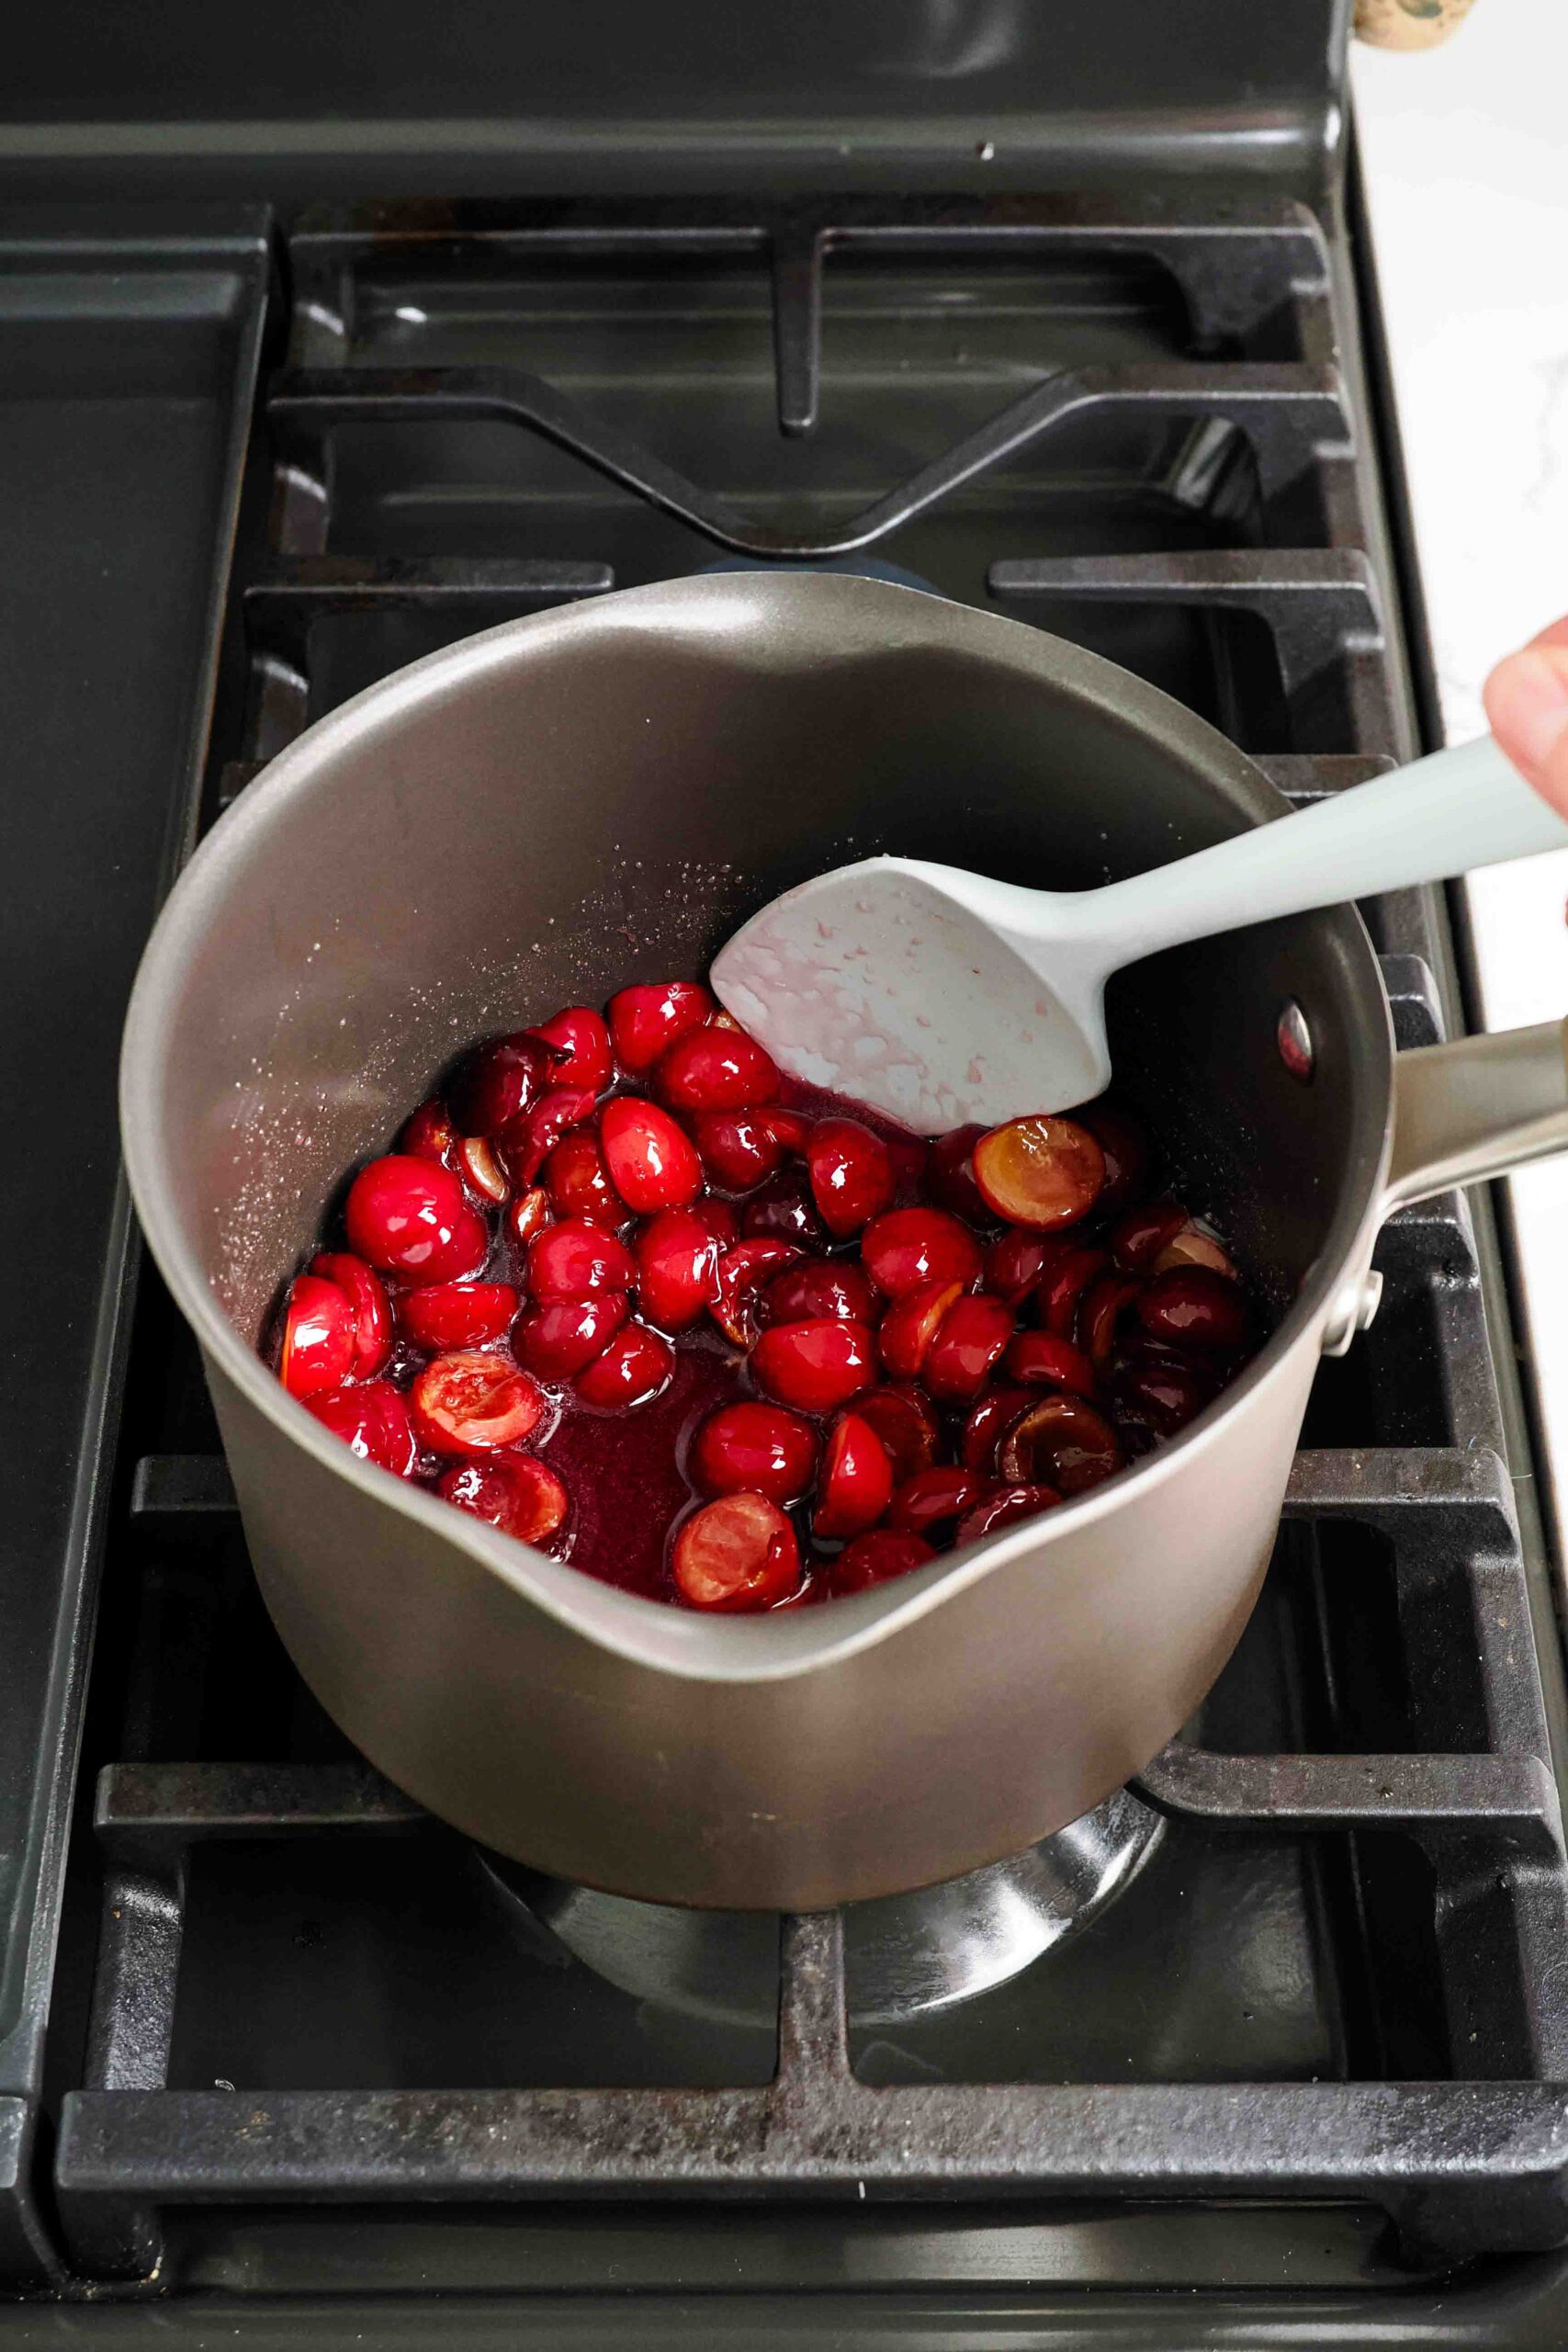
An often overlooked step, fruits tend to freeze pretty hard, so I don’t recommend simply adding halved cherries to your ice cream. Rather, cooking the cherries first will help to both soften the flesh and intensify the flavor, which is a win-win!
Add the cherries and sugar to a medium pot, then cook over medium heat until the syrup has turned bright red, about 5-7 minutes from fresh and an extra 3-4 minutes if previously frozen.
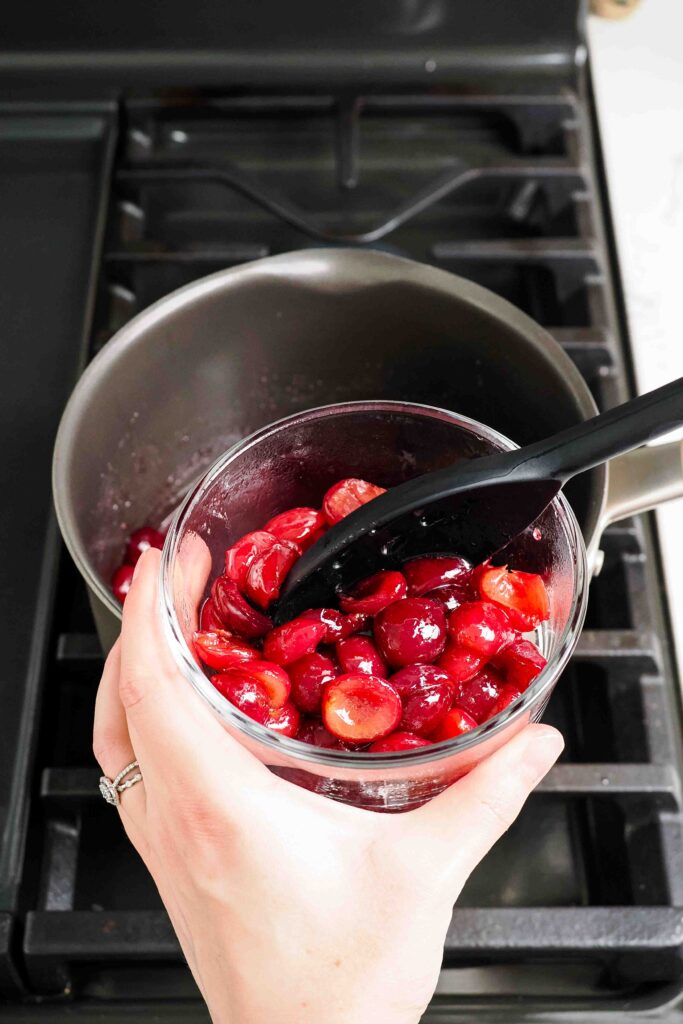
Use a slotted spoon to remove the cherries and place in a small bowl. Cover and refrigerate until it’s time to churn the ice cream. Allow the cherry syrup to cool in the pot; we’ll use that to help flavor the custard!
Making the Black Cherry Custard Base
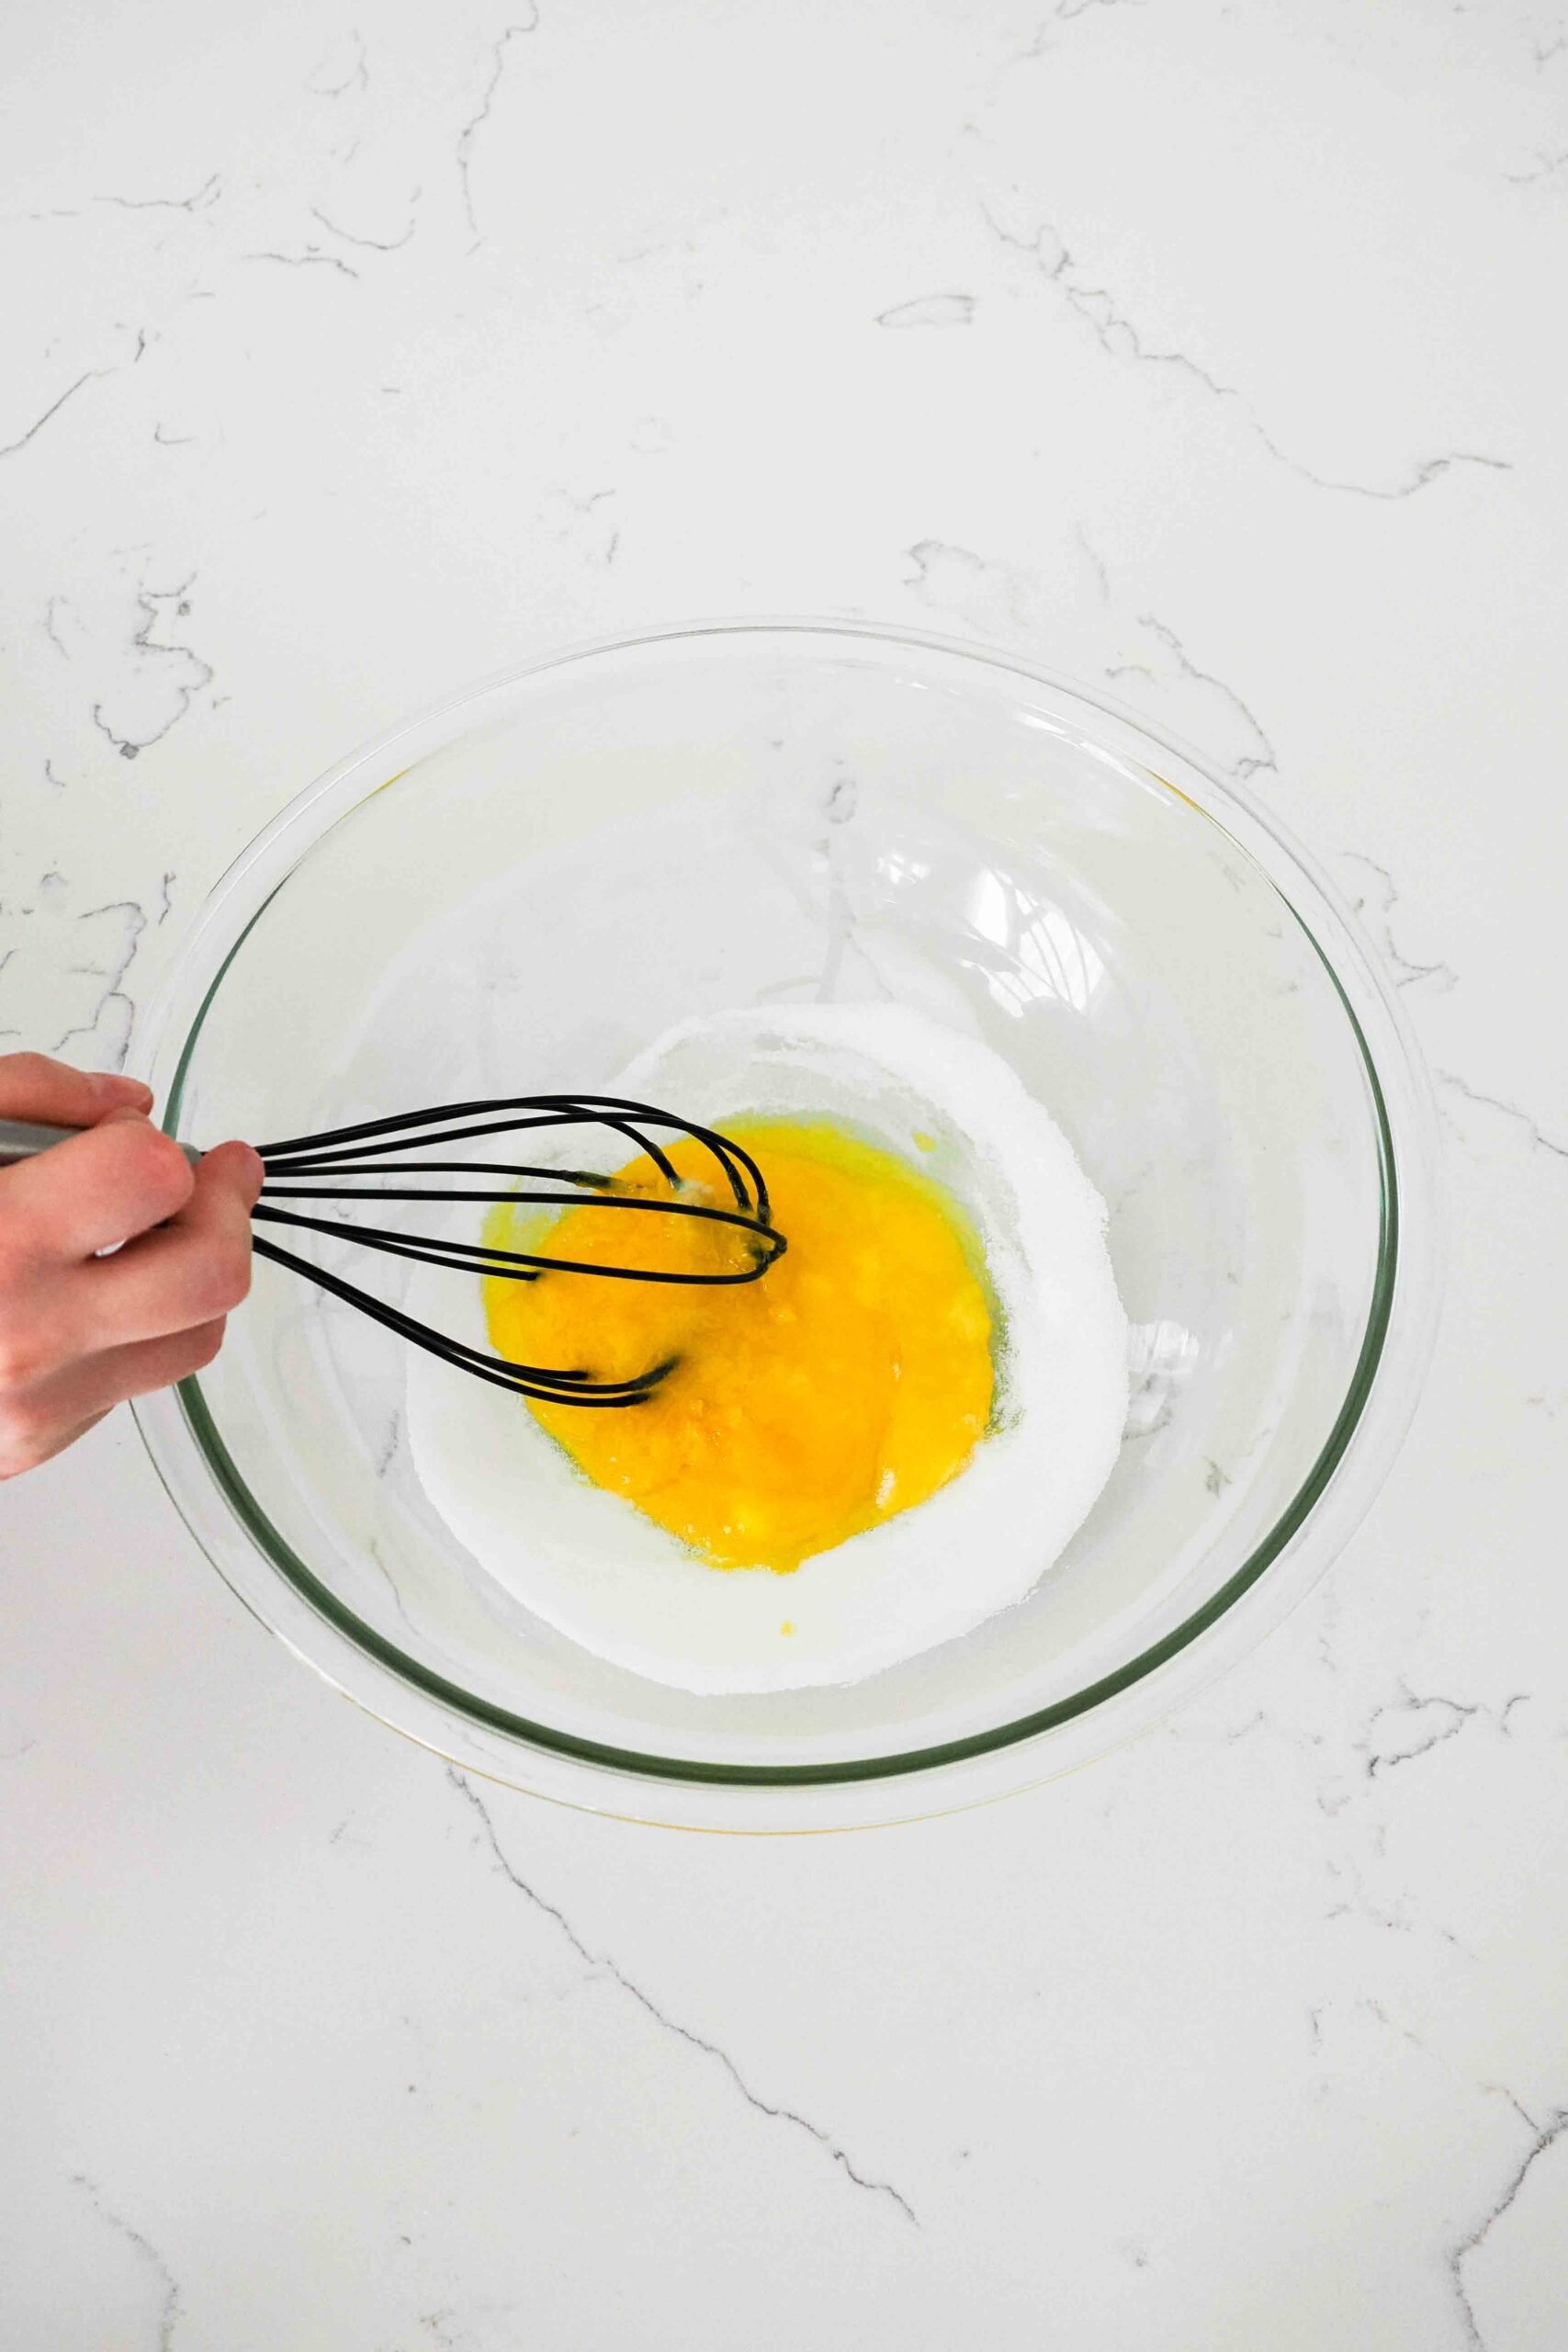
While the cherry syrup is cooling, whisk the egg yolks and remaining sugar in a large, heat-safe bowl, like glass. The mixture starts out feeling pretty gluey, but as you incorporate more air into the mixture, the batter will turn light and airy.
It’s important to whisk the yolks to the ribbon stage here, as the addition of air in the yolk mixture makes it more difficult for the eggs to curdle during tempering. It’s still possible, but the danger is reduced.

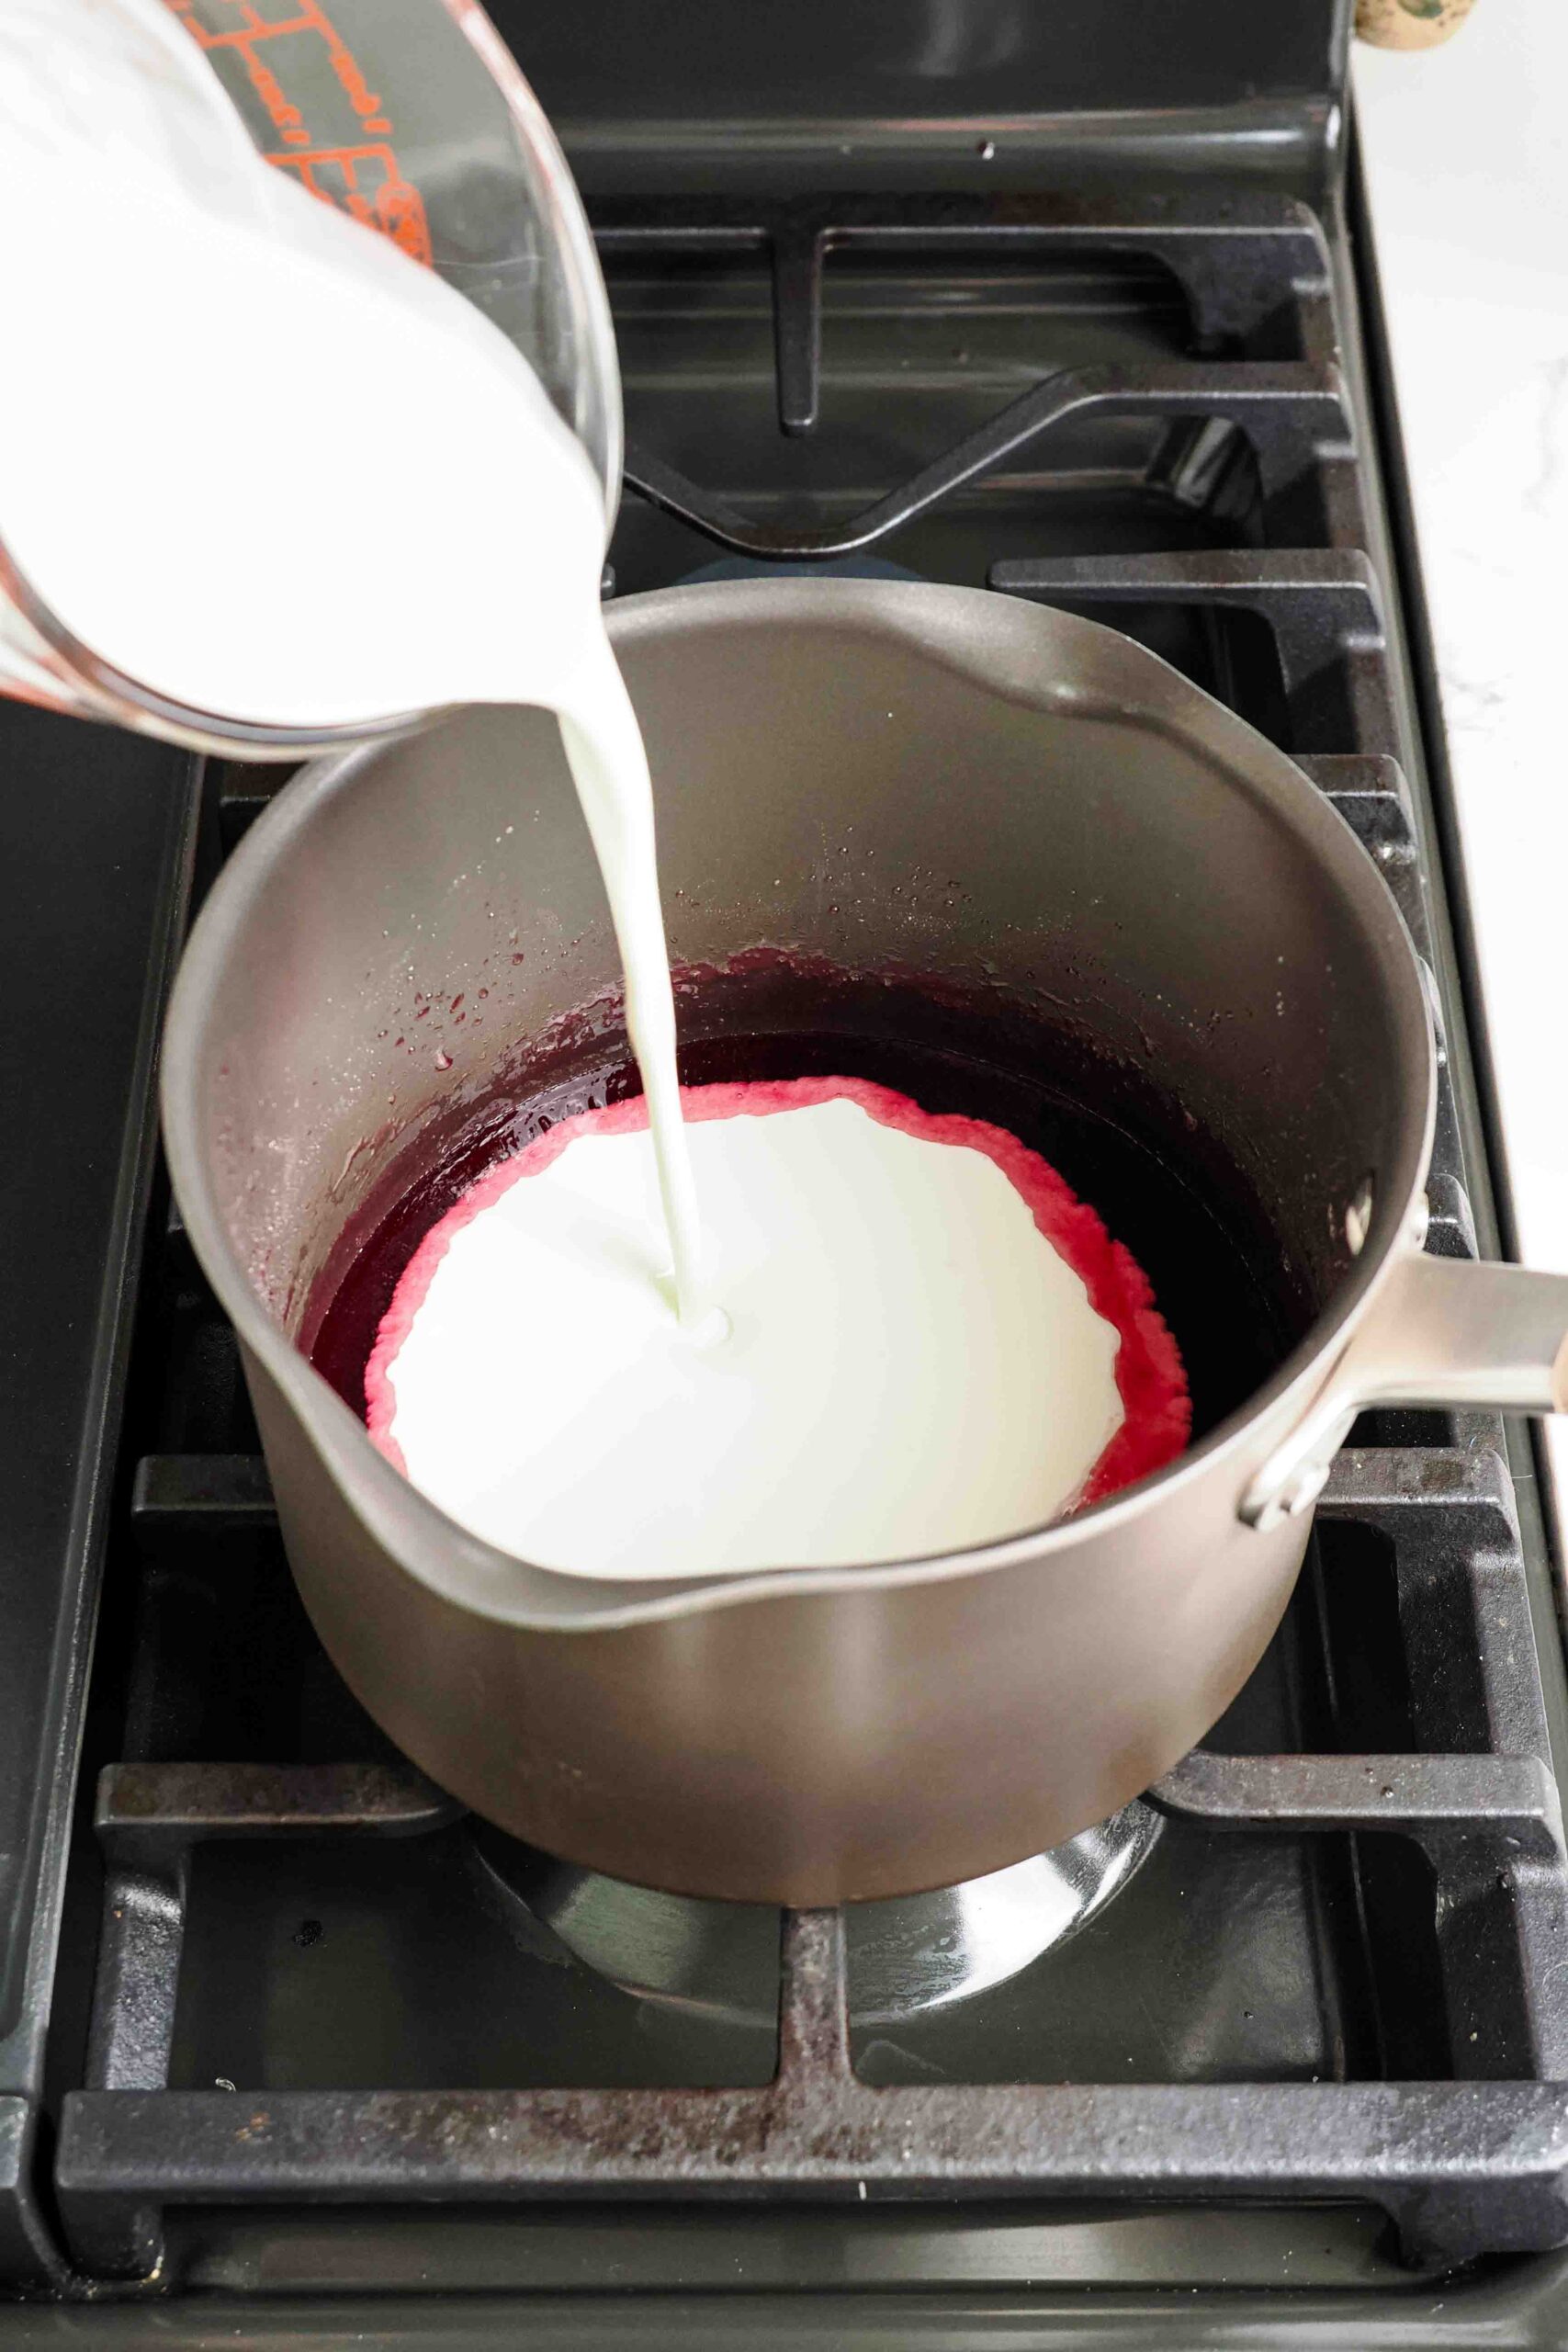
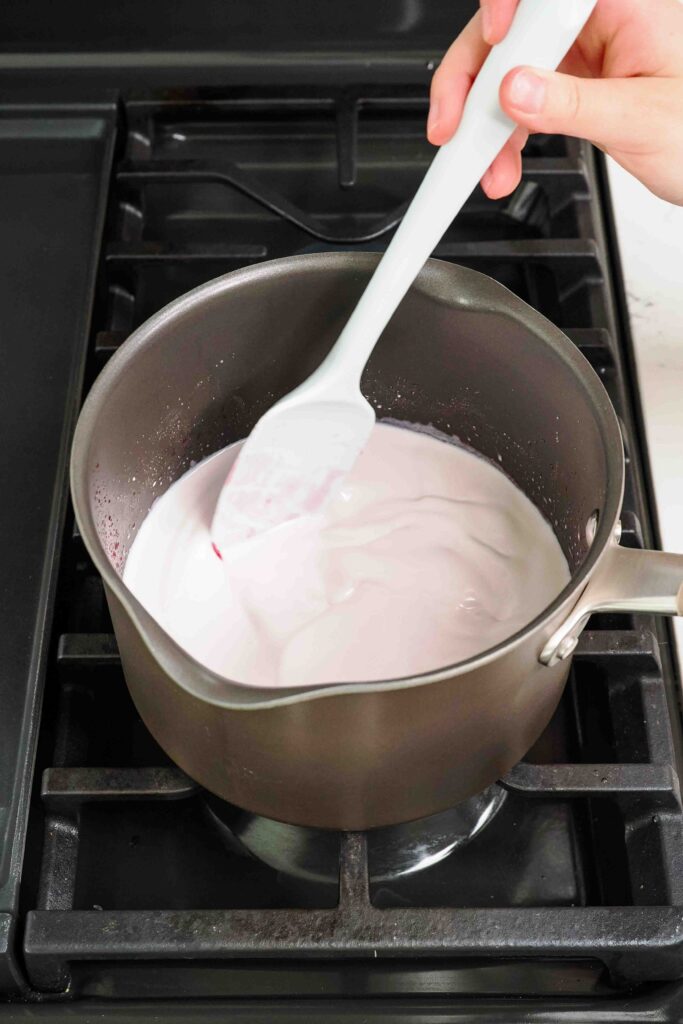
Once the cherry syrup is just slightly warm, add the heavy cream, milk, and salt. Stir occasionally, until the cherry cream mixture is warm and steamy. It’ll be a very pale pink or almost violet, depending on the color of your cherries.
Tempering the Egg Yolks
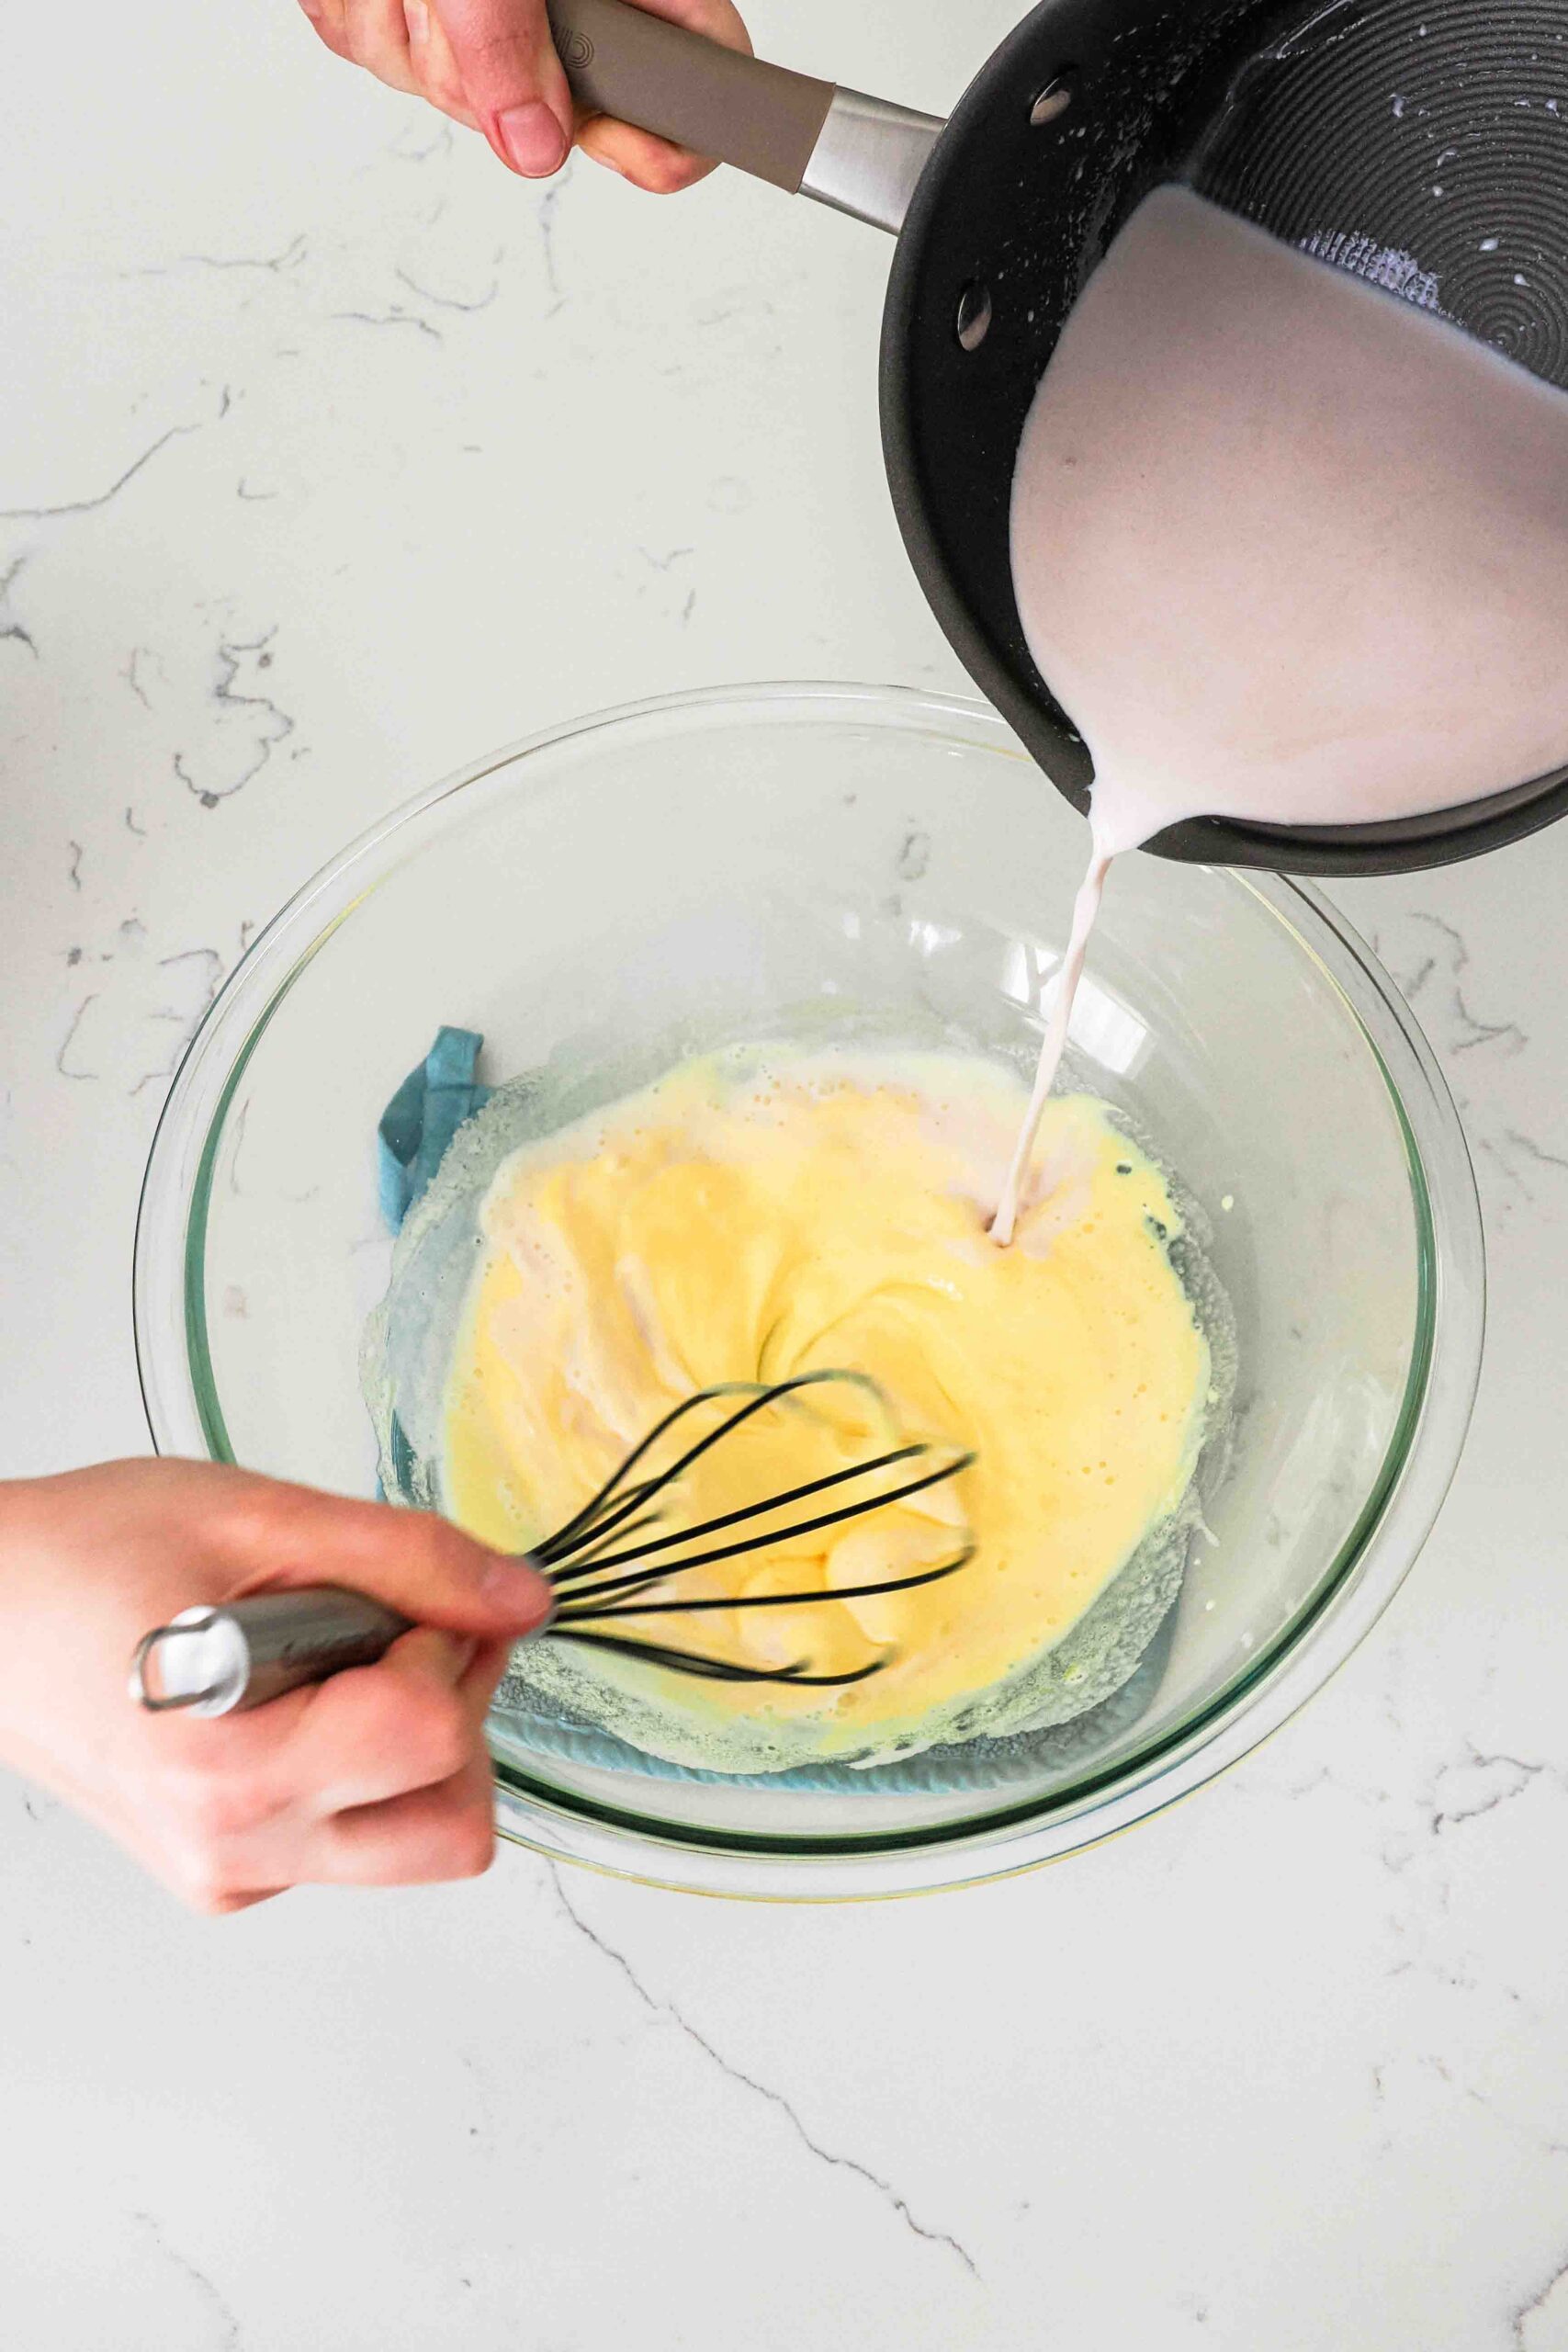
Next, pour the warmed cream into the ribboned yolks one to two Tablespoons at a time, whisking constantly. Once that bit of cream has been fully incorporated, add another splash of cream and whisk until combined. Continue until at least half of the cream has been added to the yolk mixture.
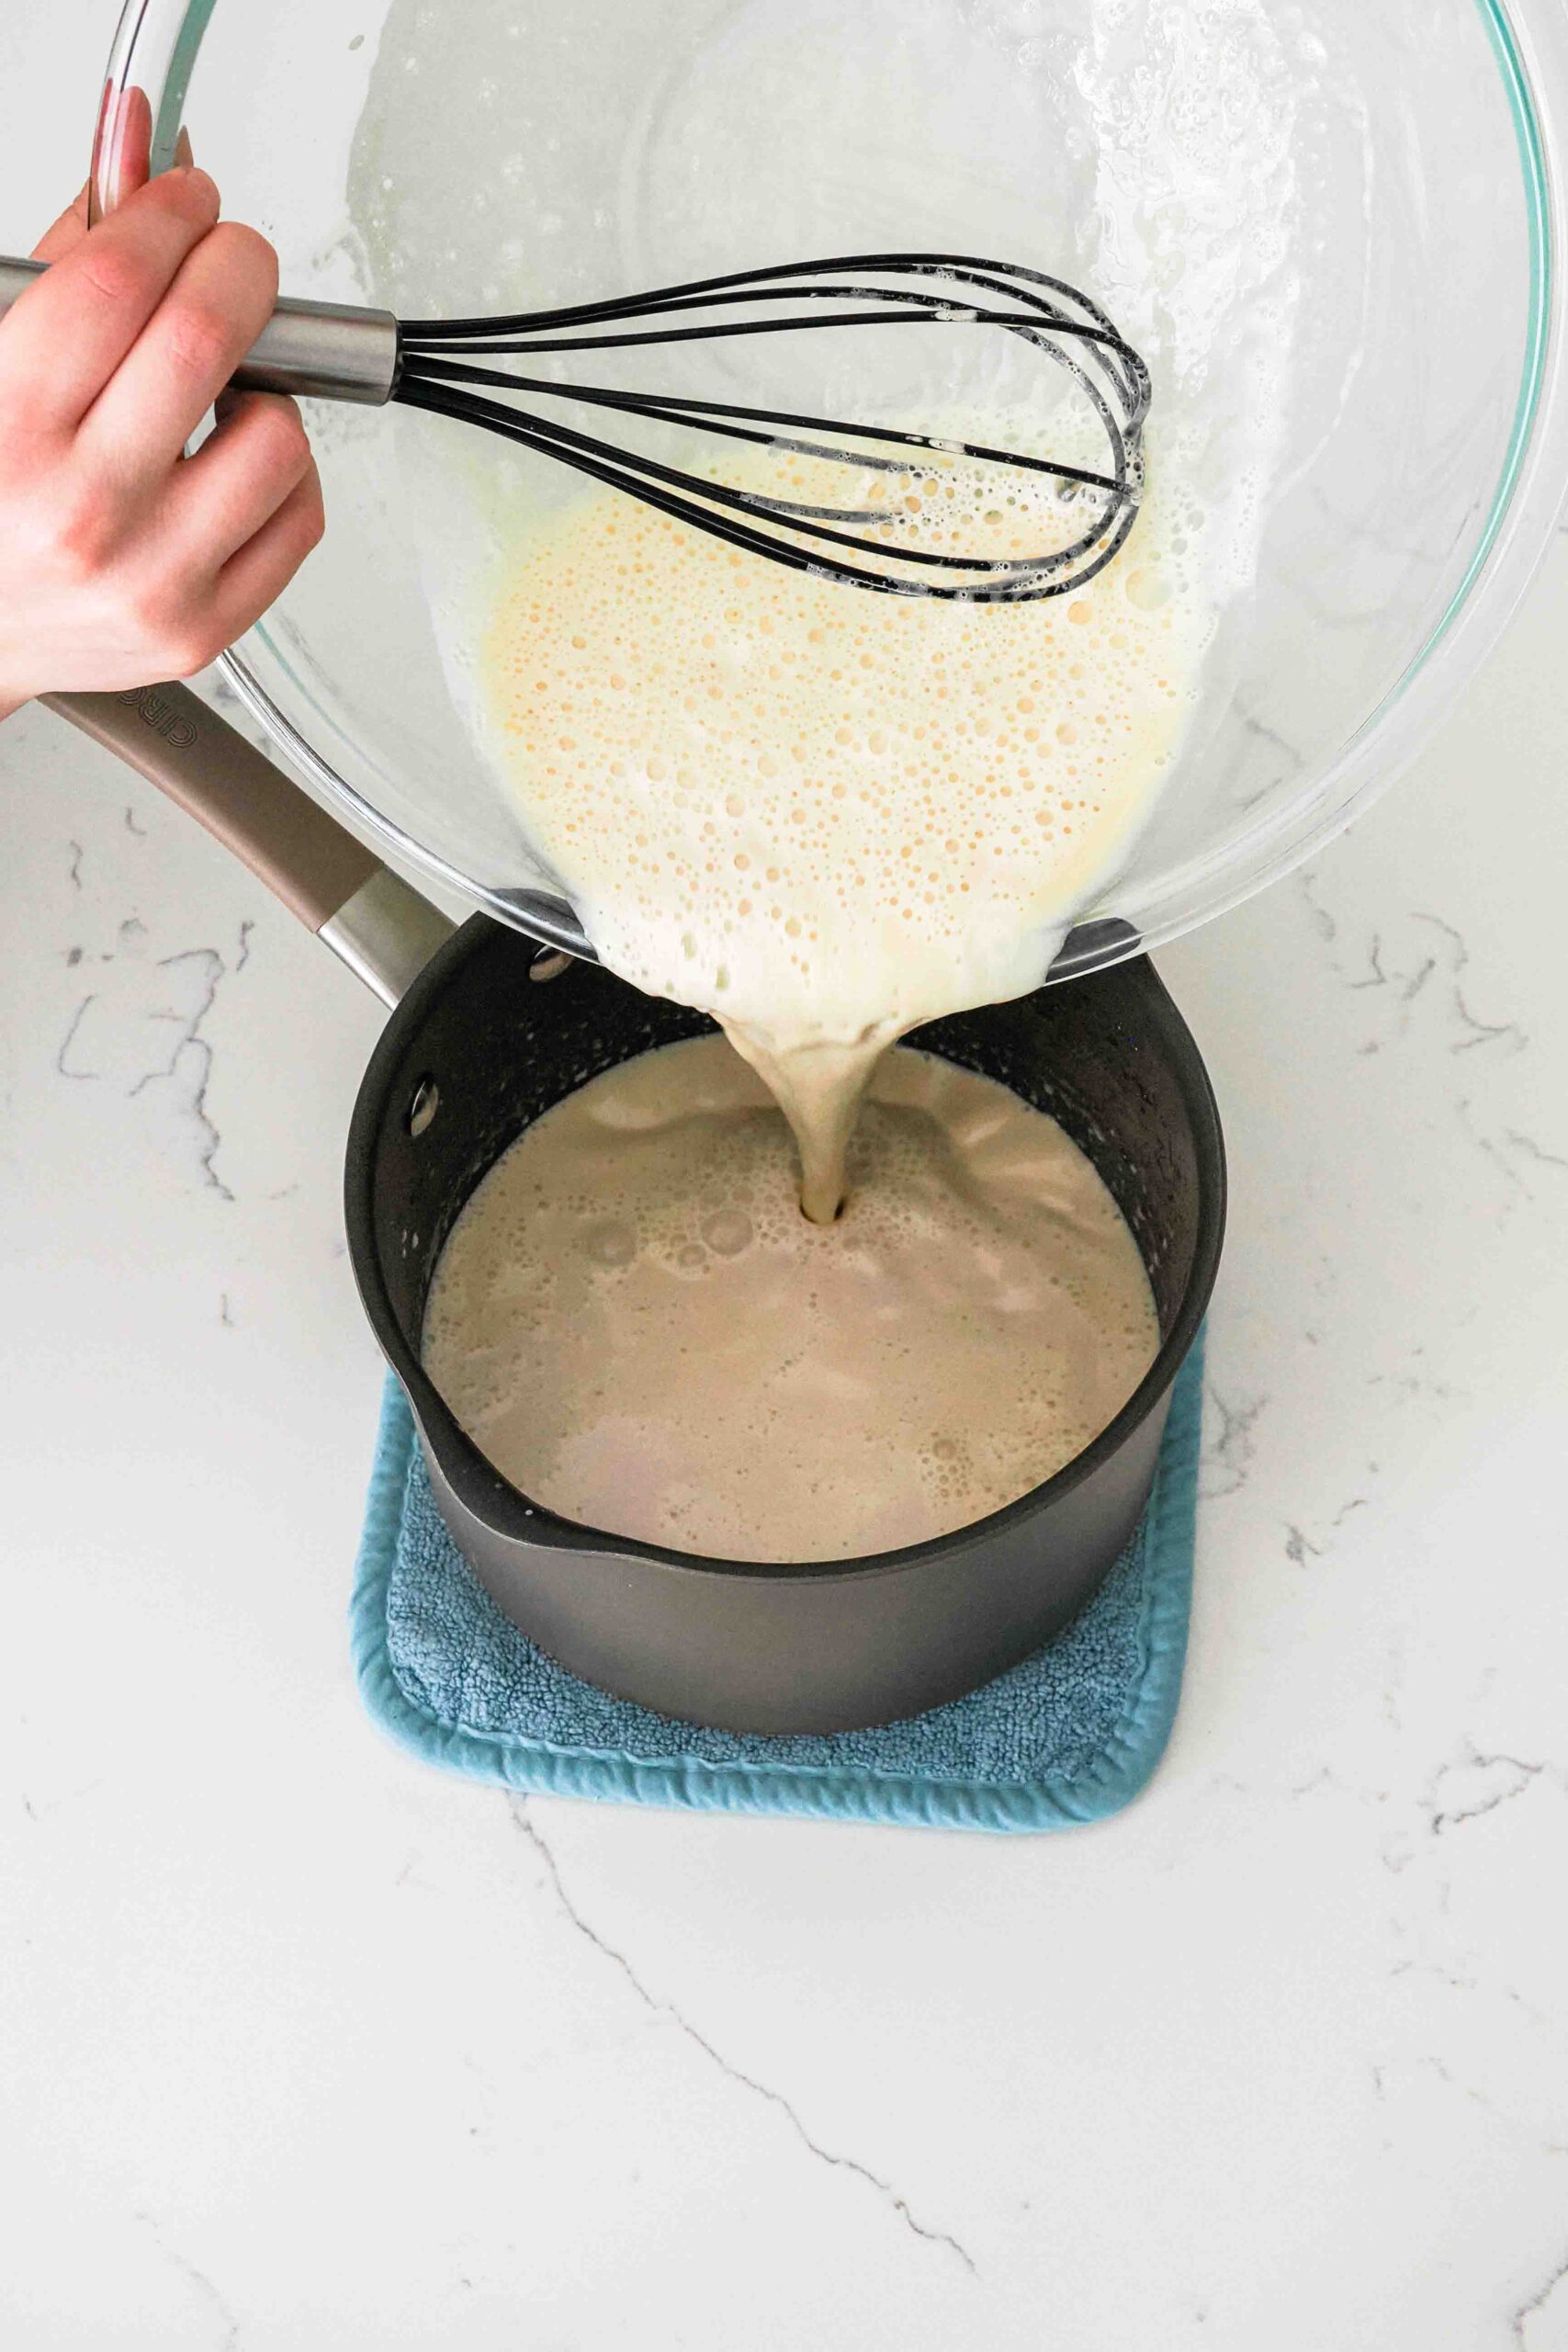
When the yolk mixture is really loose and nicely warmed, pour the yolk mixture out of the bowl and into the pot with the rest of the cherry cream. Scrape the bowl with a spatula to get every last drop into the pot, then return to medium heat until the cherry custard is thick enough to coat the back of a spoon. (This is about 170°F/75°C if you like to check with a thermometer.)
Adding Vanilla and Chilling
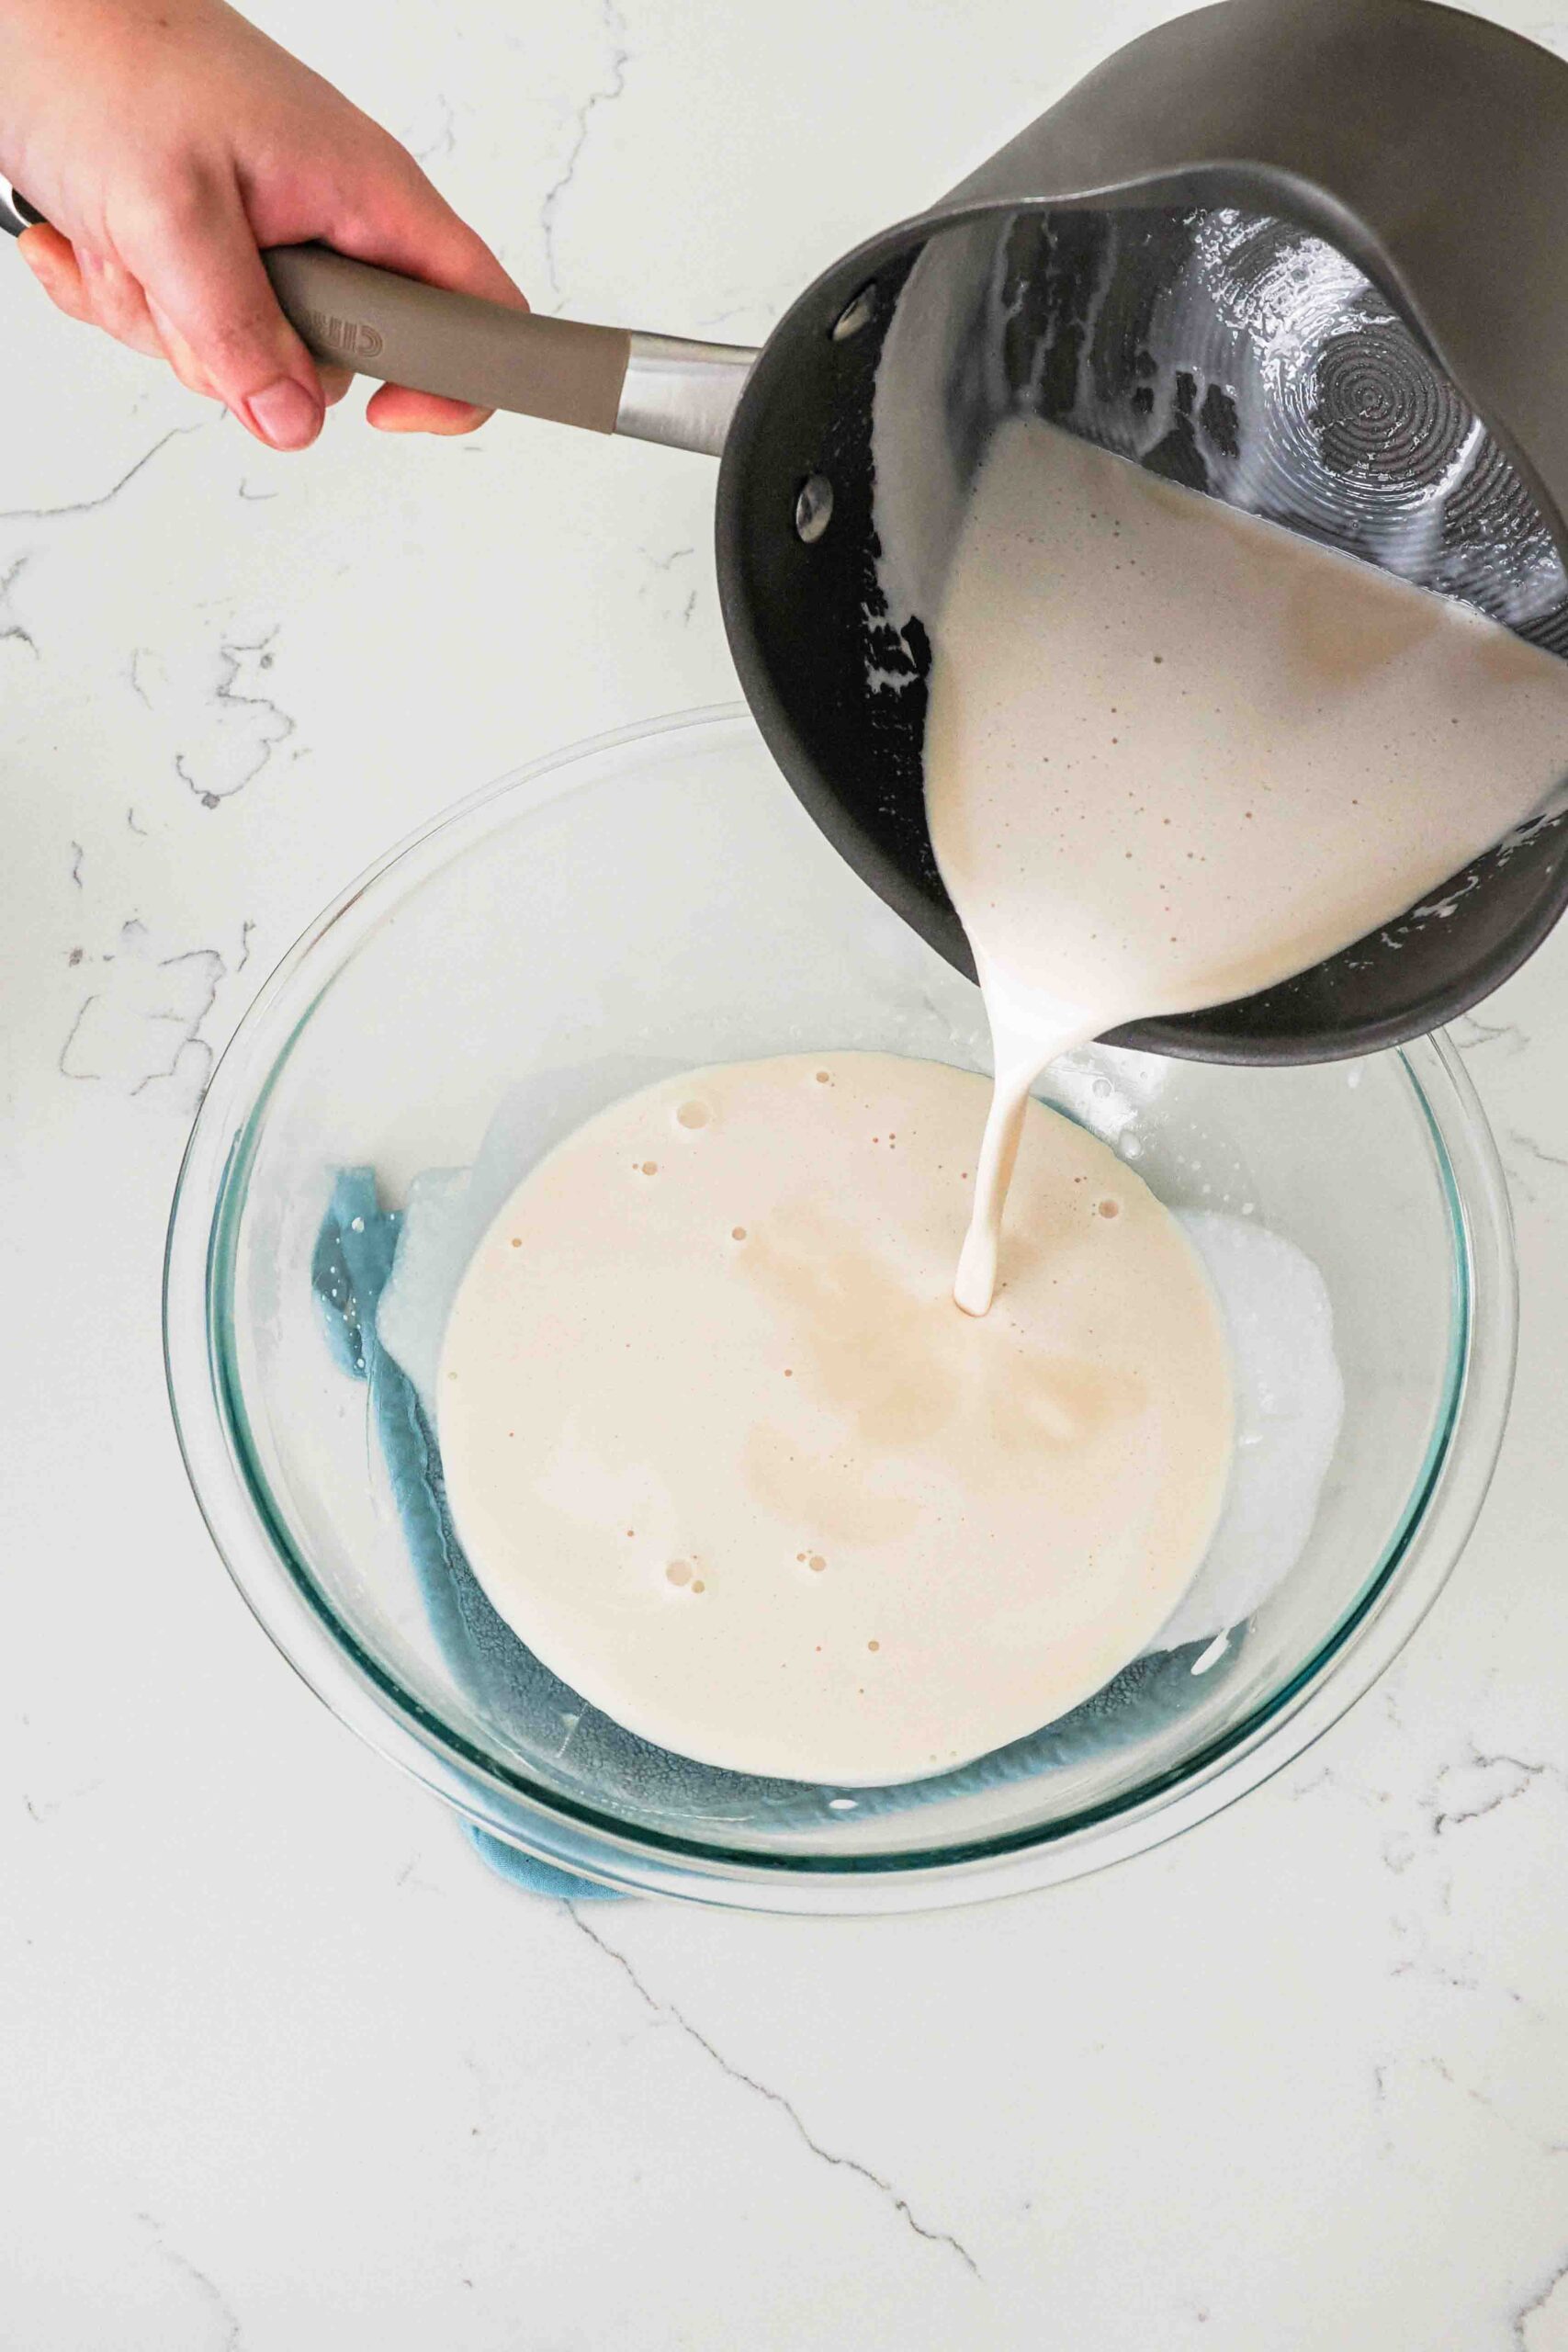
Transfer the cherry custard to a heat-safe bowl. I typically use the same bowl as earlier, as the custard is warm enough to cook any left-behind remnants in the bowl. You’re welcome to clean yours out if desired.
Then, stir in the vanilla bean paste or extract (learn about the differences between them here). I like to add the vanilla here, rather than over the stove, because you get the strongest vanilla flavor this way. High heat destroys the complex flavors of vanilla, so adding it only once the cherry custard has started to cool is best practice for the best vanilla flavor.
Cover the cherry custard with a lid or plastic wrap, then chill until the entire bowl and its contents are cold to the touch. This can take anywhere from 2-4 hours, depending on the size of your bowl. Keep the cherry custard refrigerated and churn within 24 hours for best results.
Churning the Black Cherry Ice Cream
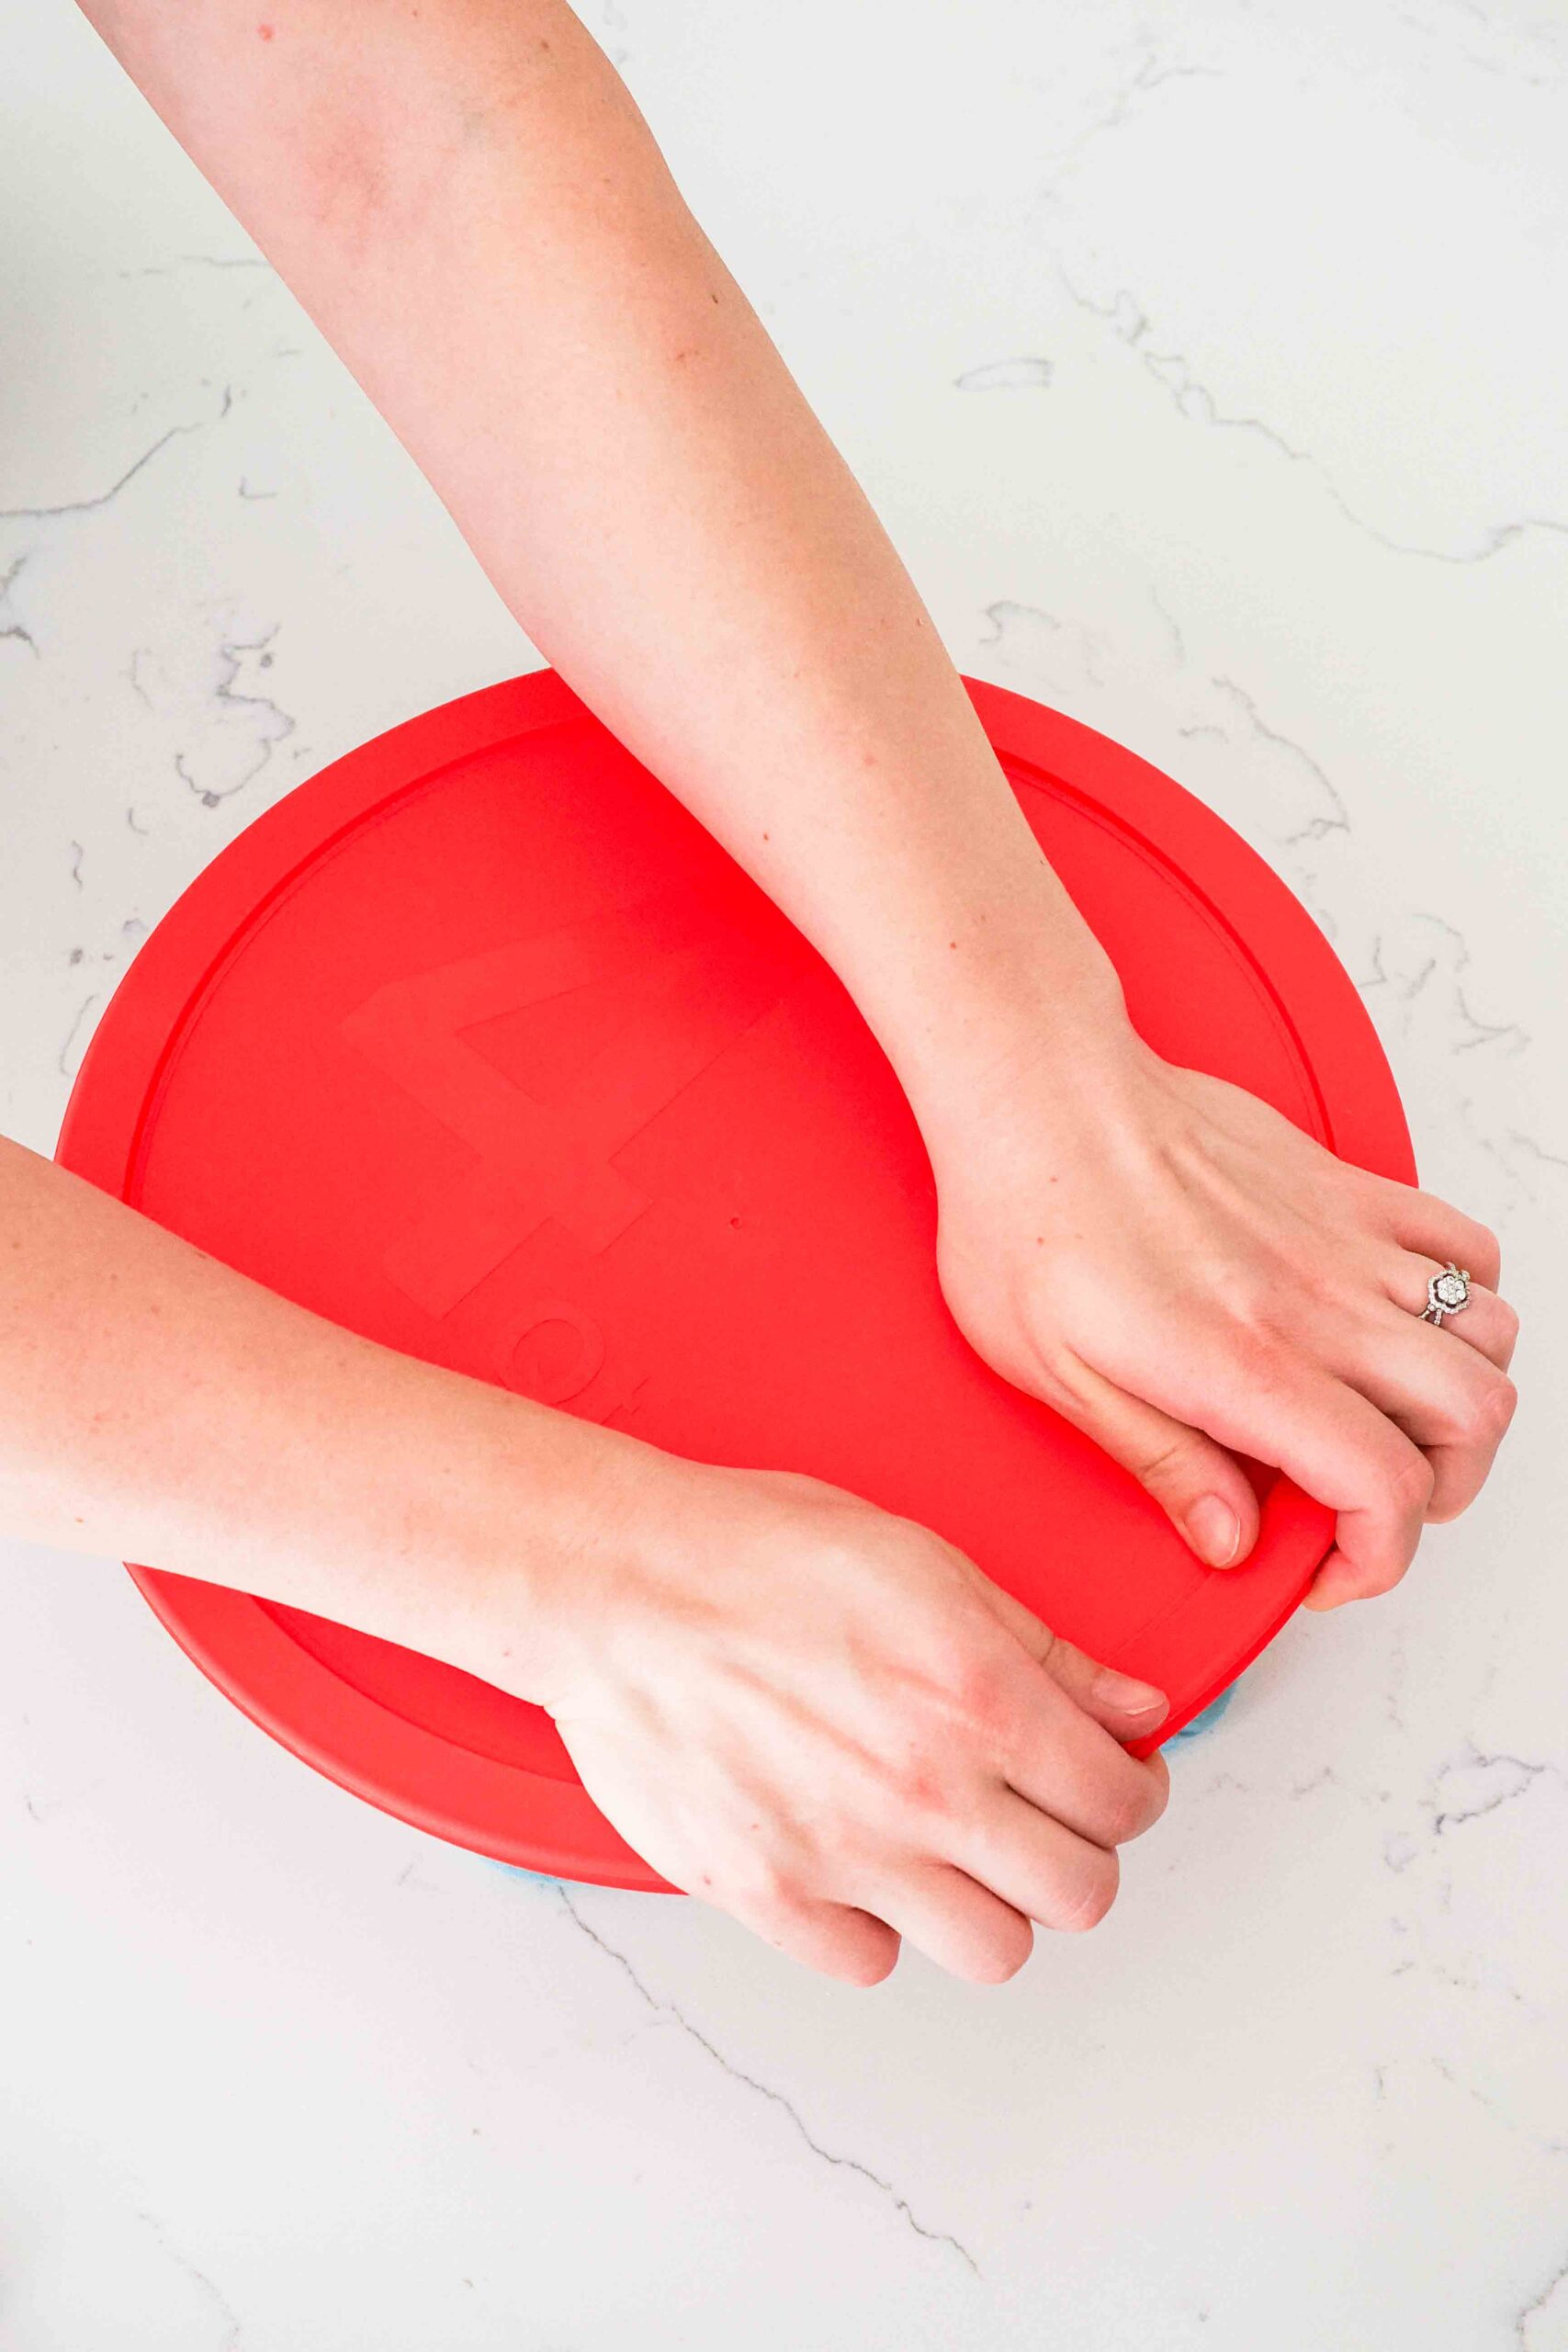
Right before adding the custard to the ice cream maker, place the container in which you plan to store the ice cream in the freezer. This will prevent the ice cream from melting upon direct contact with the container later. This simple step goes a long way to prevent your ice cream from turning rock solid!
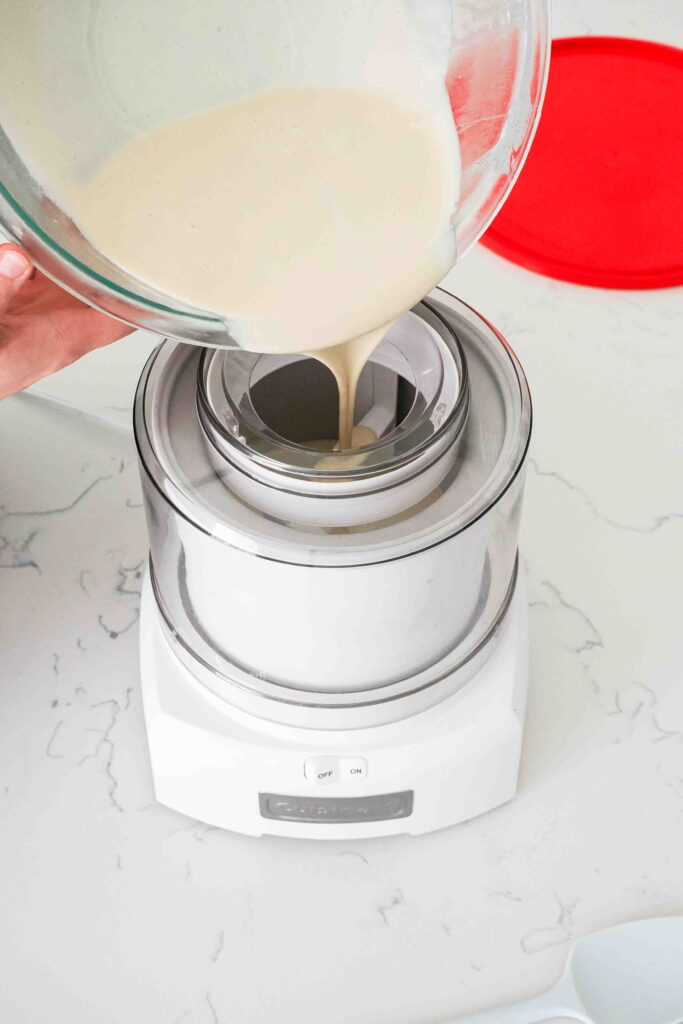
Let the black cherry ice cream churn according to manufacturer’s instructions. This may take a little less time than other ice cream recipes, as this recipe makes a smaller amount of custard to accommodate all the cherries. For me, it took about 8-10 minutes, rather than 15.
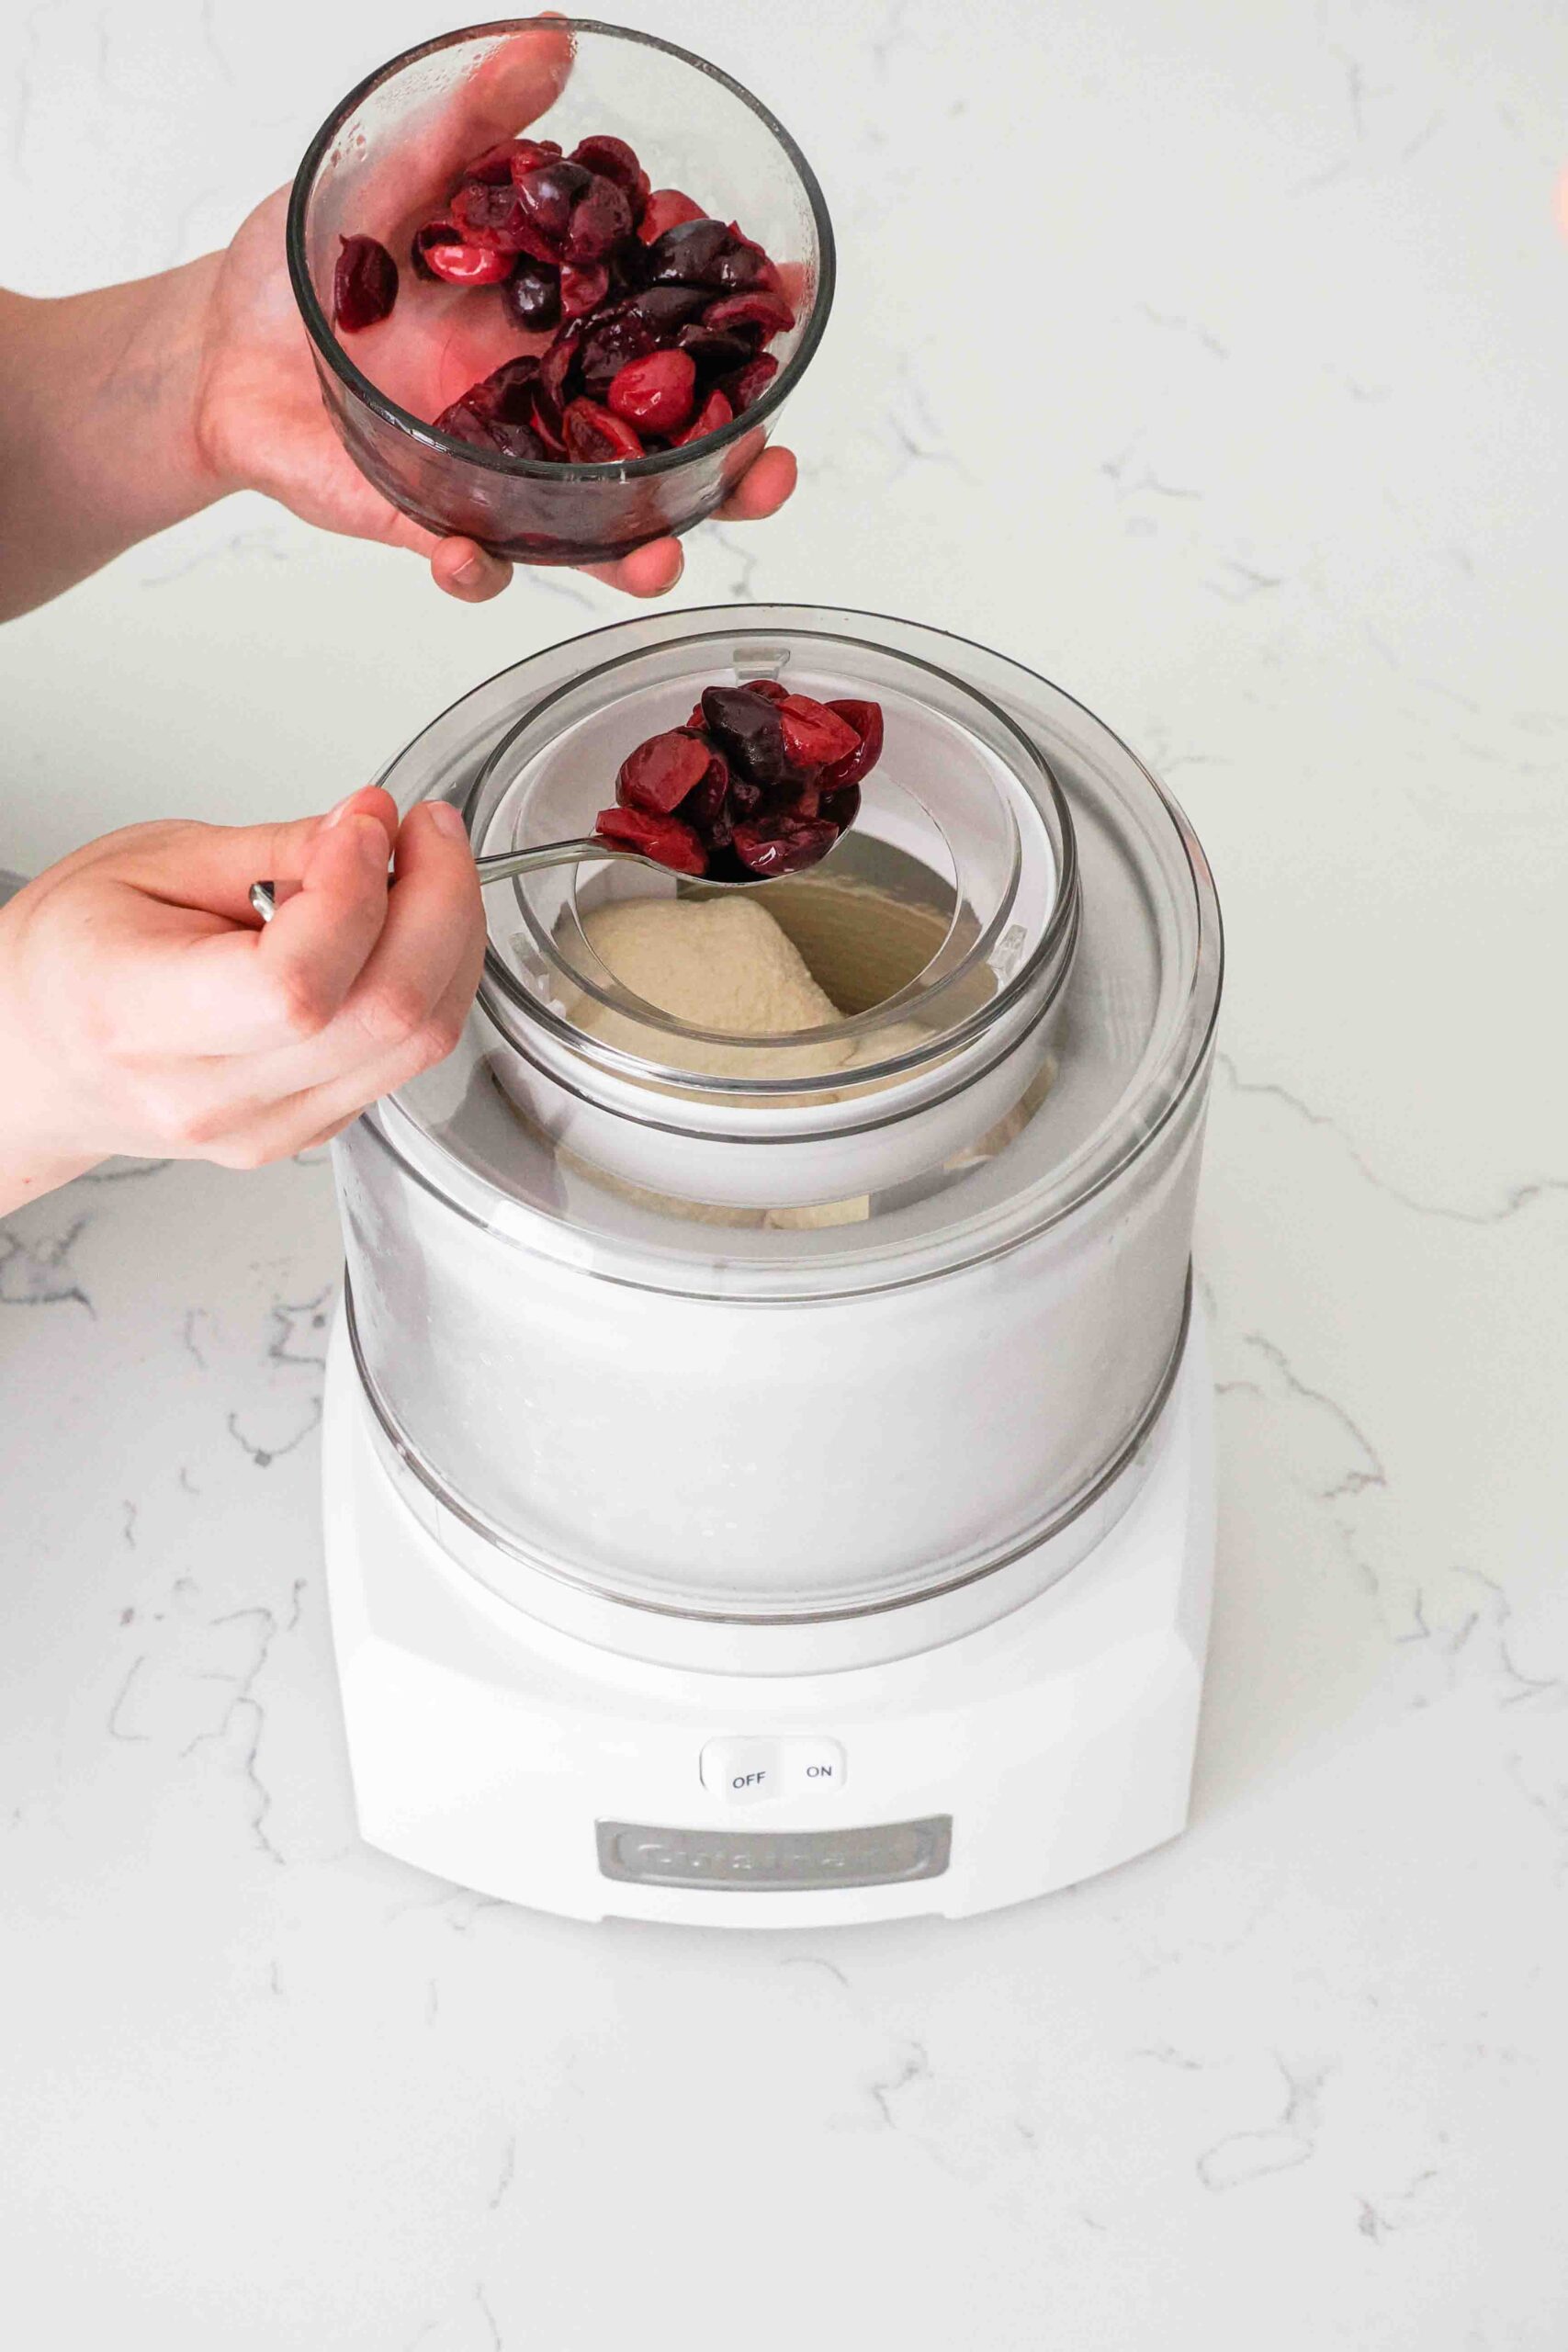
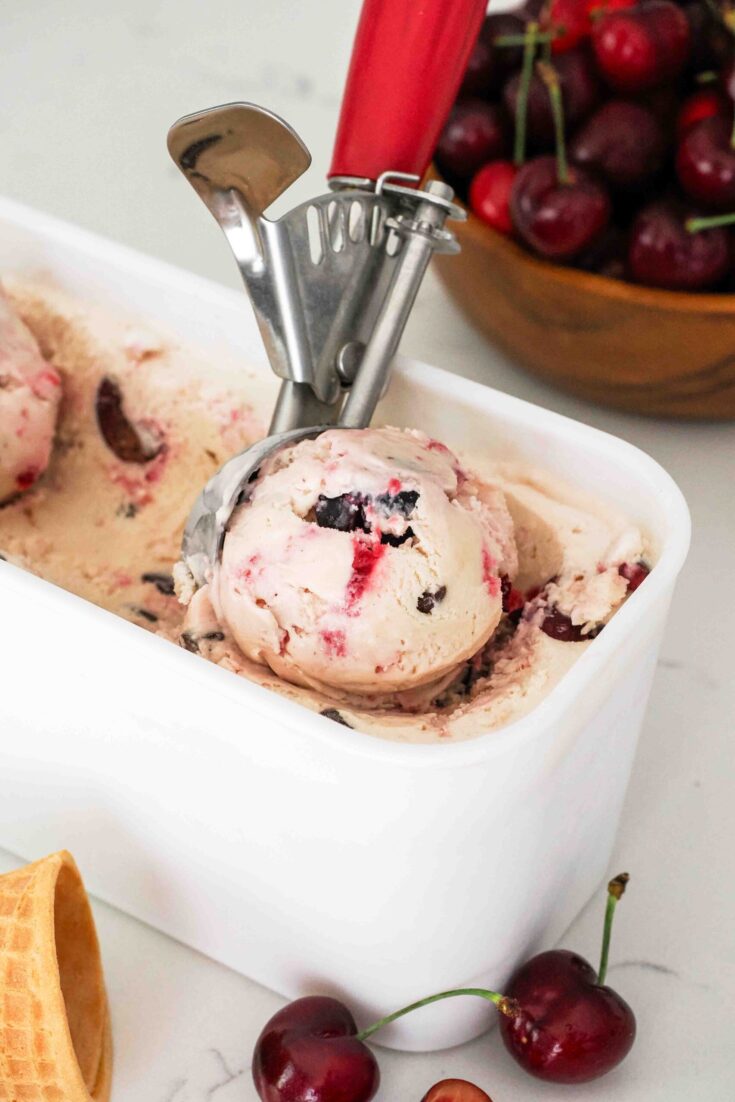
In the last five minutes or so of churning, add the softened cherries from the fridge and mini chocolate chips, if using. Continue churning until the ice cream forms rounded domes above the paddle.
Making the Cherry Swirl in Black Cherry Ice Cream
Remove your chilled container from the freezer and use a heavy-duty spatula to transfer about a third of the ice cream into it. Spoon cherry jam over the cherry ice cream, then add another layer of ice cream. Repeat once more, then scrape down the sides of the ice cream canister. Get as much of the ice cream into the container as you can!
Use that same spoon to swirl the cherry jam side to side and up and down the container a couple of times, then cover the container and freeze. I recommend at least four hours, but overnight will ensure that even the center of the black cherry ice cream has set sufficiently. Then, enjoy!

FAQs about Cherry Ice Cream with Cherry Jam Swirl
Sure! It will take a little longer for the syrup to turn bright red, but everything else should be the same.
This recipe makes about 1.5 quarts—and a large amount of that is fresh cherries and cherry jam!
Yes, but I wouldn’t recommend more than ¼ cup. We’re technically already adding over a cup of mix-ins with the softened cherries, and any more can cause your ice cream maker to overflow (speaking from experience!).
Making truly scoopable homemade ice cream is my main goal when I share ice cream recipes, so this is pretty easy to scoop! I played with the ratios of milk, cream, and cherry syrup during testing to get a scoopable ice cream that still holds its shape nicely and tastes amazing.
Other Recipes You May Enjoy
Also custard-based, my French vanilla ice cream recipe is rich, creamy, and perfectly scoopable straight from the freezer!
This cherry custard ice cream is like a grown-up version of my cherry pie ice cream, which was the first ice cream recipe I published here on my blog.
If you’re a big fan of cherries, you’ll also probably love my cherry pie with almond extract and gluten-free cherry almond crumble recipes.
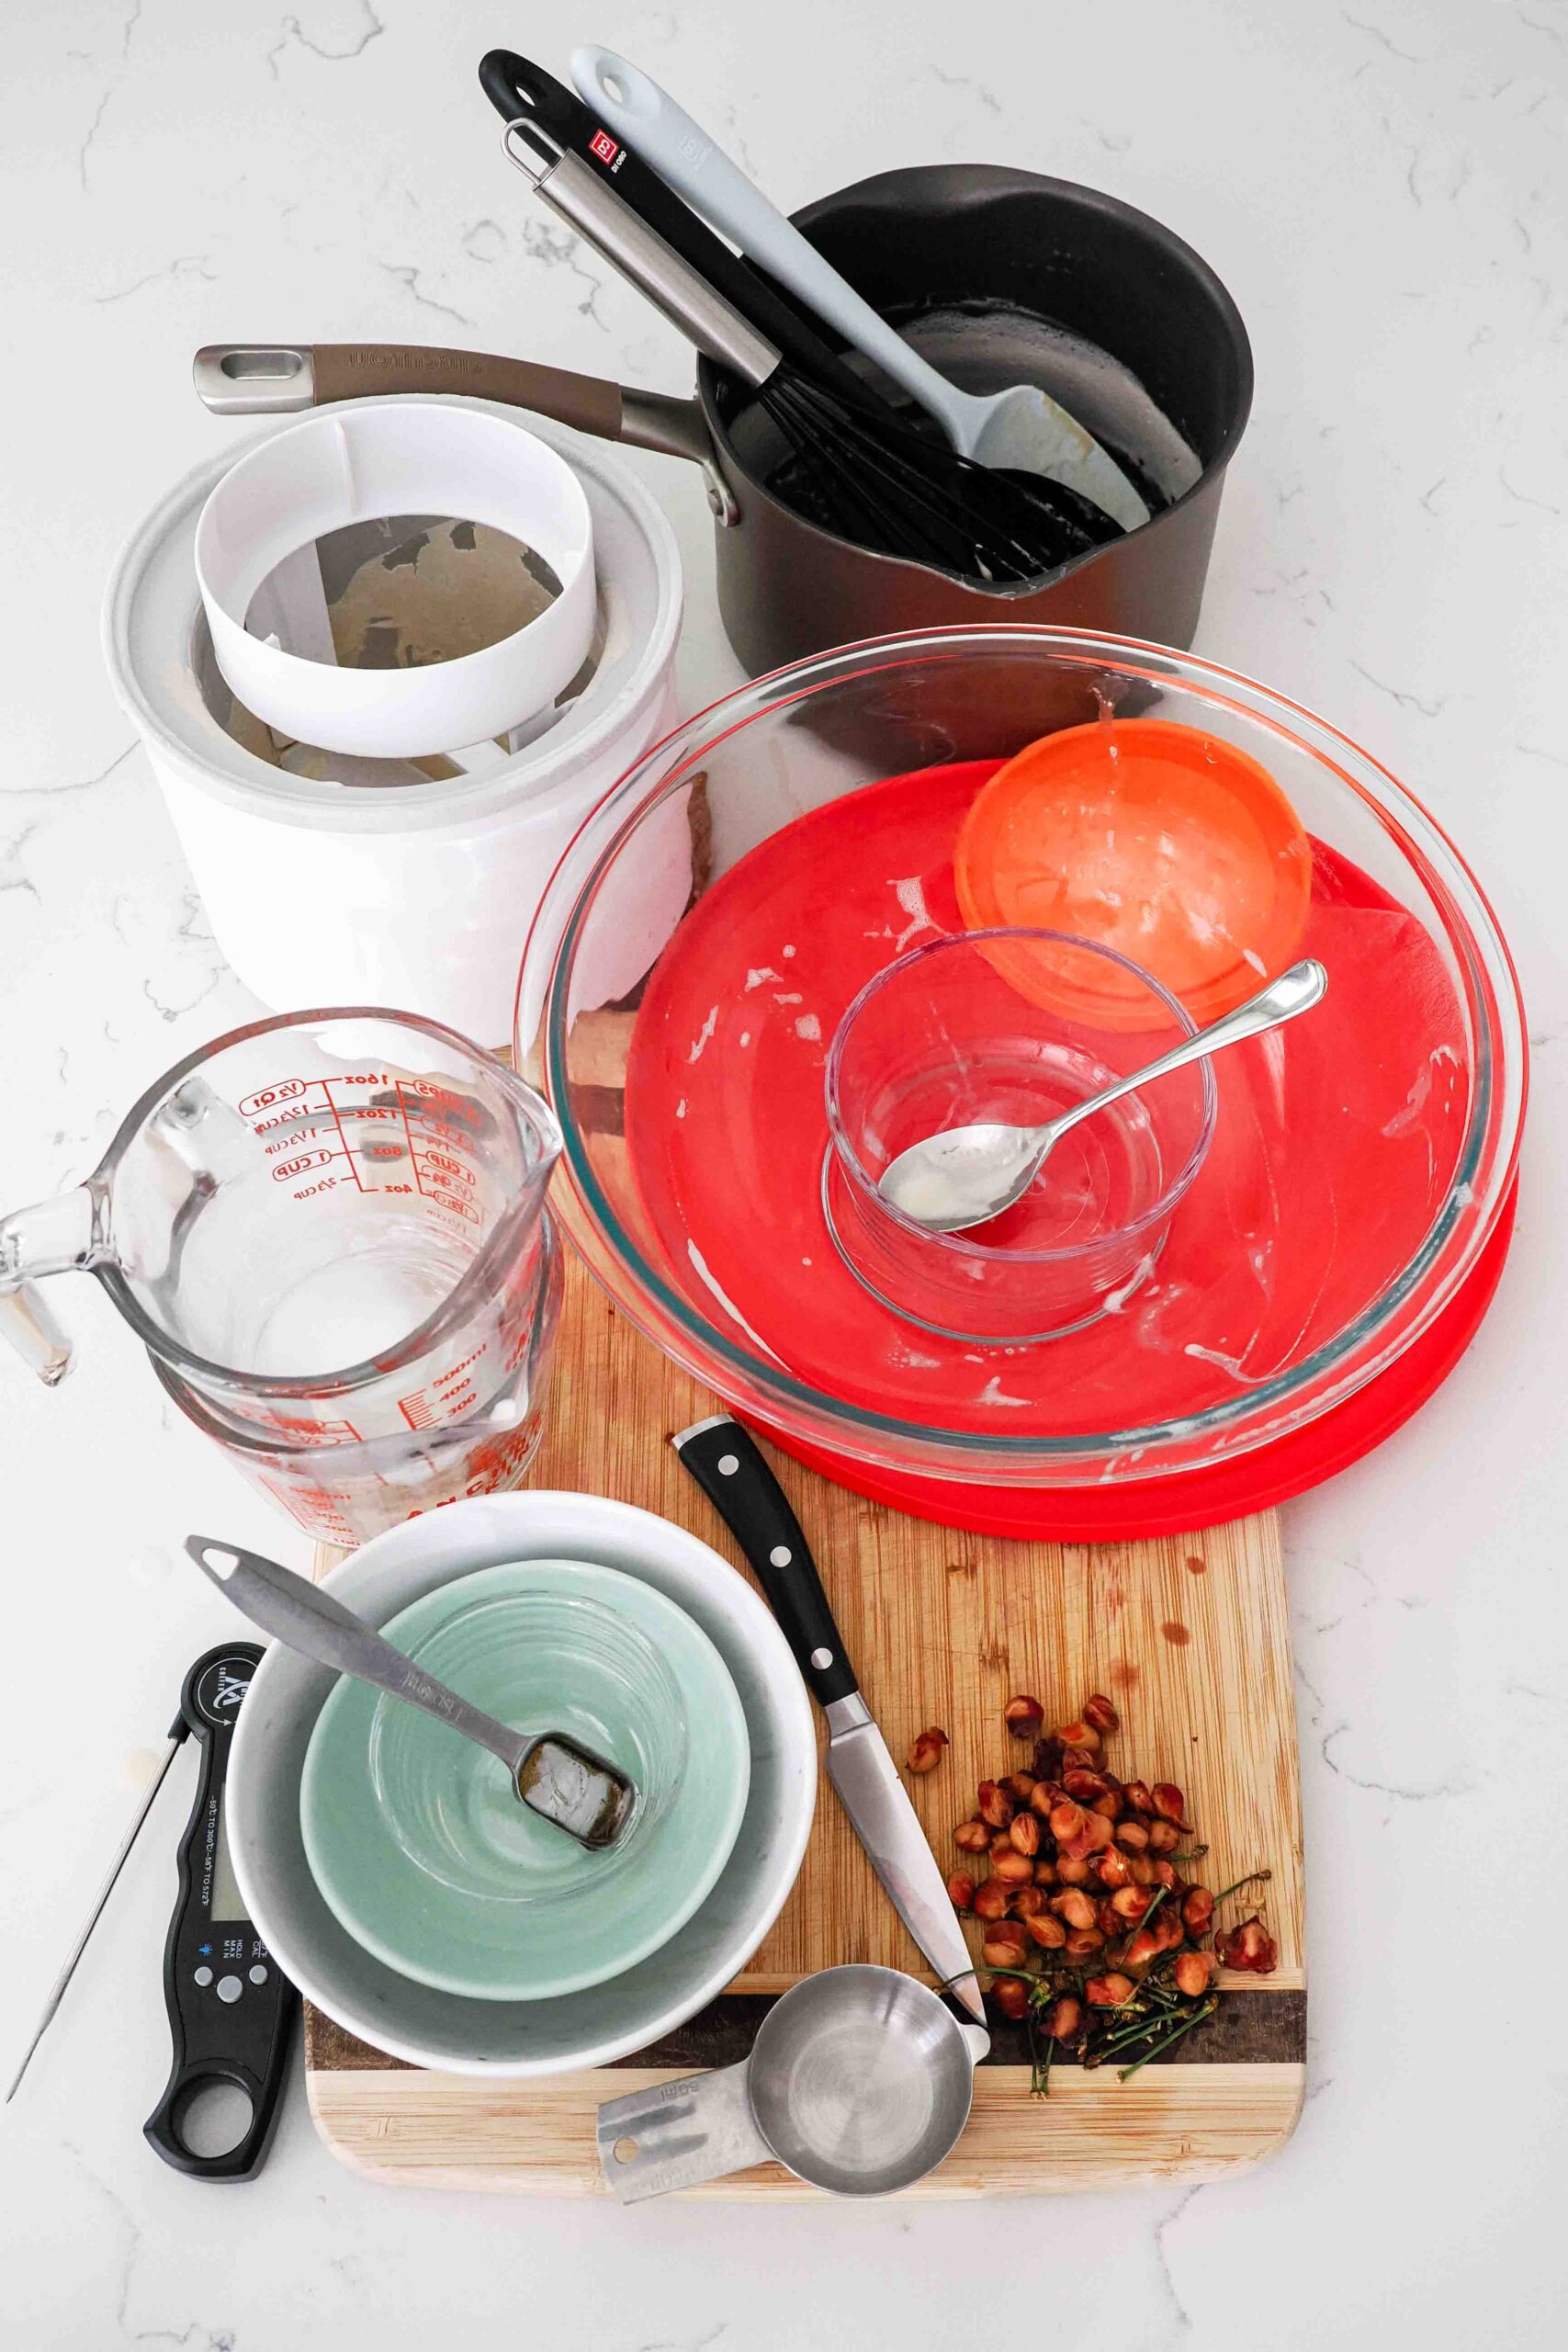
Dish Cleanup: Gonna Take a While
I rate my recipe cleanups on a scale of 1 to 5. 1 is only a handful of dishes, and 5 is everything including the kitchen sink.
My cherry frozen custard recipe has a cleanup rating of a 4. On my first two recipe tests, I used two separate pots to make the cherry syrup and the custard, but I figured out a way to reduce it to just one. Now, it’s still a commitment to wash the ice cream maker bowl, pot, mixing bowl, and measuring cups, but it’s not as bad as it could be. You’re welcome 😉
Black Cherry Frozen Custard Recipe
Thanks so much for stopping by!
If you make this cherry frozen custard and love it, please don’t forget to rate the recipe five stars—even better if you also leave a short written review!
Black Cherry Ice Cream
A rich, custard-based cherry ice cream made with fresh cherries and a swirl of cherry jam! Add in mini chocolate chips for a copycat Cherry Garcia ice cream recipe.
Ingredients
For the Cherry Syrup
- 2 cups pitted and halved sweet cherries (300 g)
- ⅓ cup granulated sugar (65 g)
For the Ice Cream Base
- 4 large egg yolks
- ⅓ cup granulated sugar (65 g)
- 1 ¼ cups whole milk (300 ml)
- 1 ¼ cups heavy cream (300 ml)
- pinch of salt
- 1 teaspoon vanilla bean paste or vanilla extract (5 ml)
- ¼ cup mini chocolate chips (optional) (46 g)
For the Cherry Swirl
Instructions
Making the Black Cherry Syrup
- Add the cherries and sugar to a medium pot. Cook over medium heat until all the cherries have softened and the syrup has turned bright red, about 5-7 minutes. Remove from heat.
- Use a slotted spoon to transfer the cherries to a small bowl and refrigerate. Leave the cherry syrup in the pot and let it cool slightly.
Making the Cherry Vanilla Custard Base
- In a large heat-safe bowl, whisk together four yolks and the remaining half of the sugar. Whisk until the yolk mixture becomes pale yellow and thick. This is known as the ribbon stage, where the mixture falls off the whisk in ribbons that are clearly visible for a few seconds before disappearing back into the mixture.
- In the medium pot with the cooled cherry syrup, add the heavy cream, whole milk, and a pinch of salt. Stir occasionally, until the cream mixture is warm and steamy and just about simmering, about 6-8 minutes.
- Remove the warm cream mixture from heat and carefully pour about 1-2 Tablespoons (15-30 ml) into the yolk mixture at a time, whisking vigorously until incorporated. Repeat 1-2 Tablespoons (15-30 ml) at a time until you've added about half of the cream mixture.
- Pour the egg yolk mixture back into the pot with the cream mixture and return to medium heat. Cook, stirring occasionally, until the custard is thick enough to coat the back of a spoon or is about 170°F/75°C, about 5-10 minutes. Do not let the custard boil.*
- Pour the custard into a large heat-safe bowl. (I always use the same one the egg yolk mixture was in, but you're welcome to use a clean bowl.)
- Stir in the vanilla bean paste or extract, then cover the bowl and chill in the fridge for at least three hours or up to one day, until the mixture is cold to the touch.
Churning the Cherry Vanilla Custard
- Place the container in which you'll store the ice cream in the freezer, along with any room temperature mix-ins you plan to add.
- Pour the chilled custard into an ice cream maker and churn according to manufacturer's instructions. This usually takes around 20 minutes. I allow the ice cream to churn until it forms rounded domes above the paddle for soft and scoopable ice cream even straight out of the freezer. (Reference images above in blog post.)
- In the last 5 minutes of churning, add the softened cherries from the fridge and up to ¼ cup more of mix-ins, like mini chocolate chips.
- Transfer the black cherry ice cream to your freezer-safe container in stages: Layer about a third of the ice cream on the bottom of the container, then top with a few spoonfuls of cherry jam on top. Add another layer of ice cream, followed by another few spoonfuls of cherry jam. Add the remaining ice cream, then top with any leftover cherry jam. To swirl the jam filling, run a spoon or knife side to side and up and down the length of the container.
- For black cherry soft serve, enjoy right away. For traditional black cherry ice cream, transfer to an airtight container and freeze for at least four hours to allow the ice cream to firm up before serving.
Notes
*If the custard gets too hot and splits, I recommend straining the mixture through a fine mesh sieve before adding it to the bowl to reduce the potential for graininess. The ice cream may not be as thick as usual, but it will still taste delicious!
Store in the freezer in an airtight container for up to three months.
Recommended Products
As an Amazon Associate and member of other affiliate programs, I earn from qualifying purchases.
-
 Cuisinart Ice Cream Maker Machine, 1.5 Quart Sorbet, Frozen Yogurt Maker, Double Insulated, White, ICE-21P1
 -
Set of 2 Reusable Ice Cream Tub Containers For Homemade Ice Cream 1.6 Quart - Stackable Storage Containers, Stickers, And Lids
-
Spring Chef Heavy Duty Ice Cream Scoop
-
Cuisinart Silicone Whisk, 10-Inch, Black
-
Pyrex Prepware 2-1/2-Quart Glass Mixing Bowl


Nutrition Information:
Yield:
12Serving Size:
1 scoopAmount Per Serving: Calories: 243Total Fat: 13gSaturated Fat: 7gTrans Fat: 0gUnsaturated Fat: 4gCholesterol: 108mgSodium: 58mgCarbohydrates: 29gFiber: 1gSugar: 25gProtein: 4g
The nutrition facts are estimated and may vary based on specific ingredients used.
I’d love to see how your black cherry ice cream turns out: Take a photo and tag me on Instagram @floralapronblog to share with me, or use the hashtag #floralapronbakes.
Can I use my Ninja Creami instead of an ice cream maker?
Hi Ann,
I don’t have a Ninja Creami, but from what I’ve seen online, you should be able to freeze the custard base and then blend it in the Creami! I would recommend stirring in the softened cherries and cherry jam by hand after, if possible, so you still get swirls, or spooning them on top 🙂