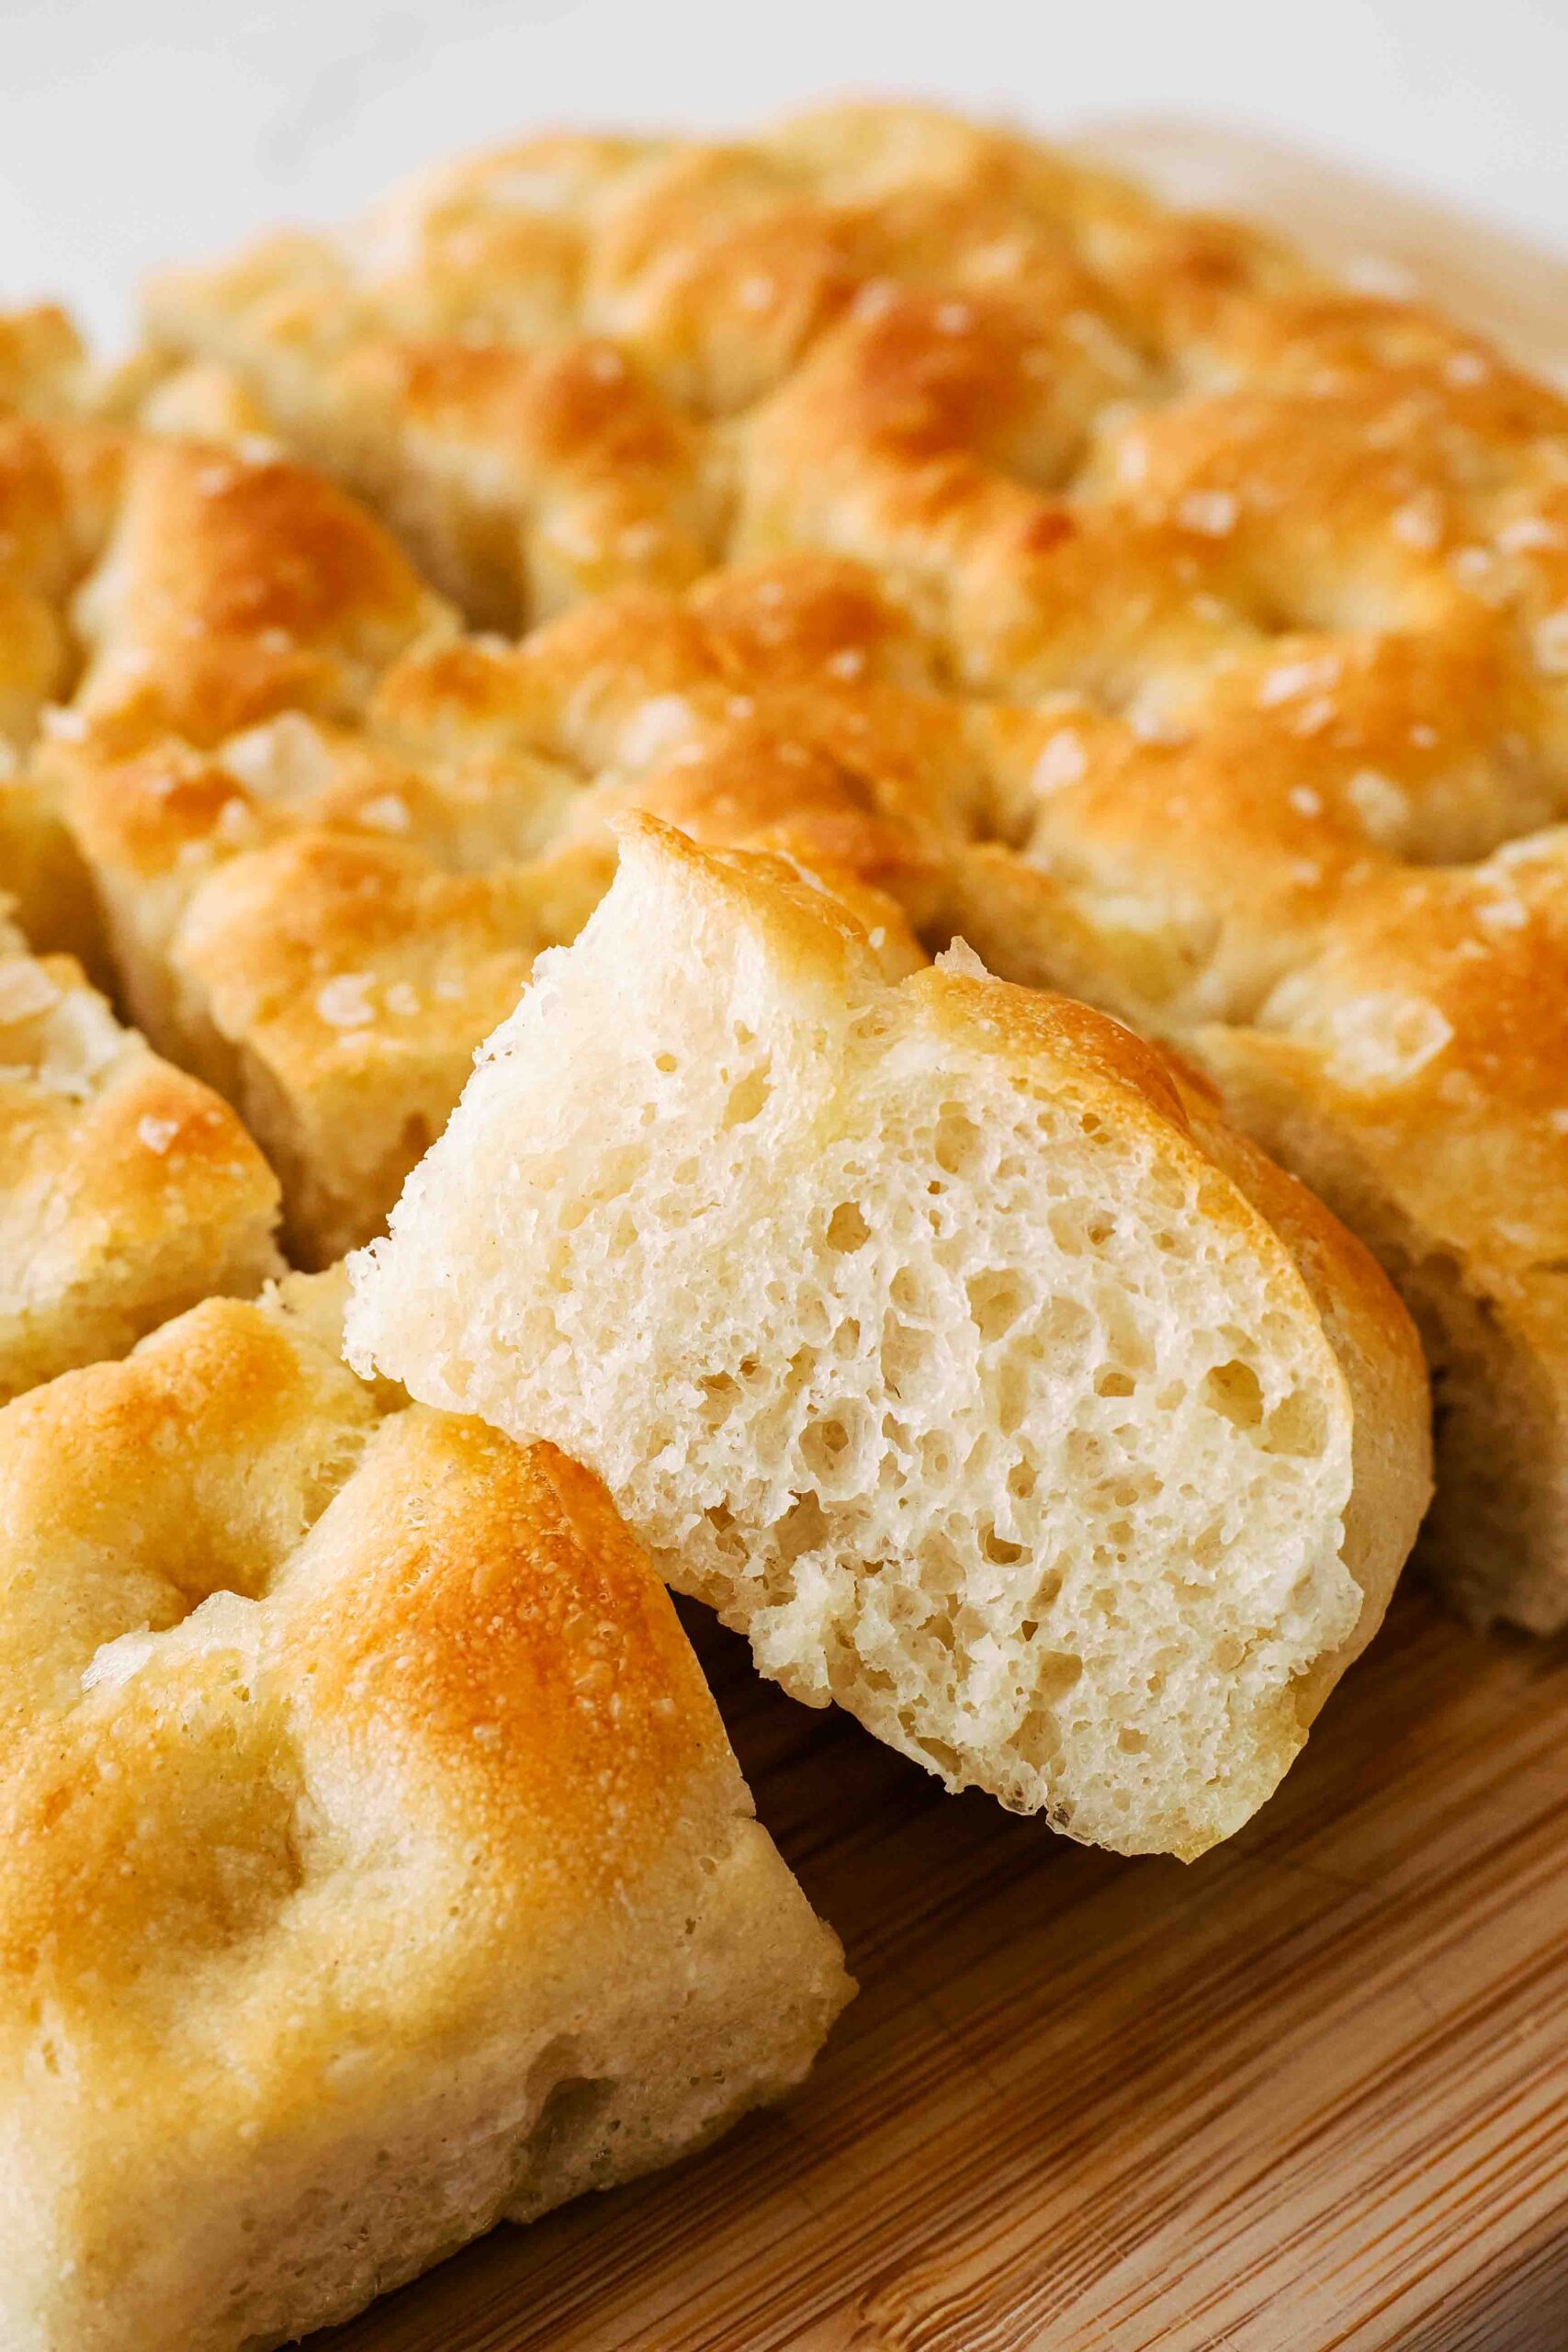
There are few things in life better than warm bread fresh from the oven, and it’s easy to understand why with this small batch focaccia. This fluffy focaccia recipe serves two to four people and is perfect for smaller families and dinner parties. It’s topped with a generous drizzle of olive oil and a sprinkle of flaky salt for the perfect side to soups, salads, or pastas—or use it as sandwich bread like my husband and me!
Even better, this recipe is a no-knead focaccia with just seven ingredients. To get a perfectly fluffy focaccia crumb, all you need to do is stretch and fold the dough over itself a few times. It’s a similar method to making sourdough but doesn’t take quite as much rest time, so quickly whipping up focaccia on a weeknight is incredibly easy. So much so that I’ve made it three times in the last week!
This post contains affiliate links. If you click through and make a purchase, I may receive a small commission at no cost to you. Thank you for helping to support The Floral Apron!
Ingredients for Small Batch, No-Knead Focaccia
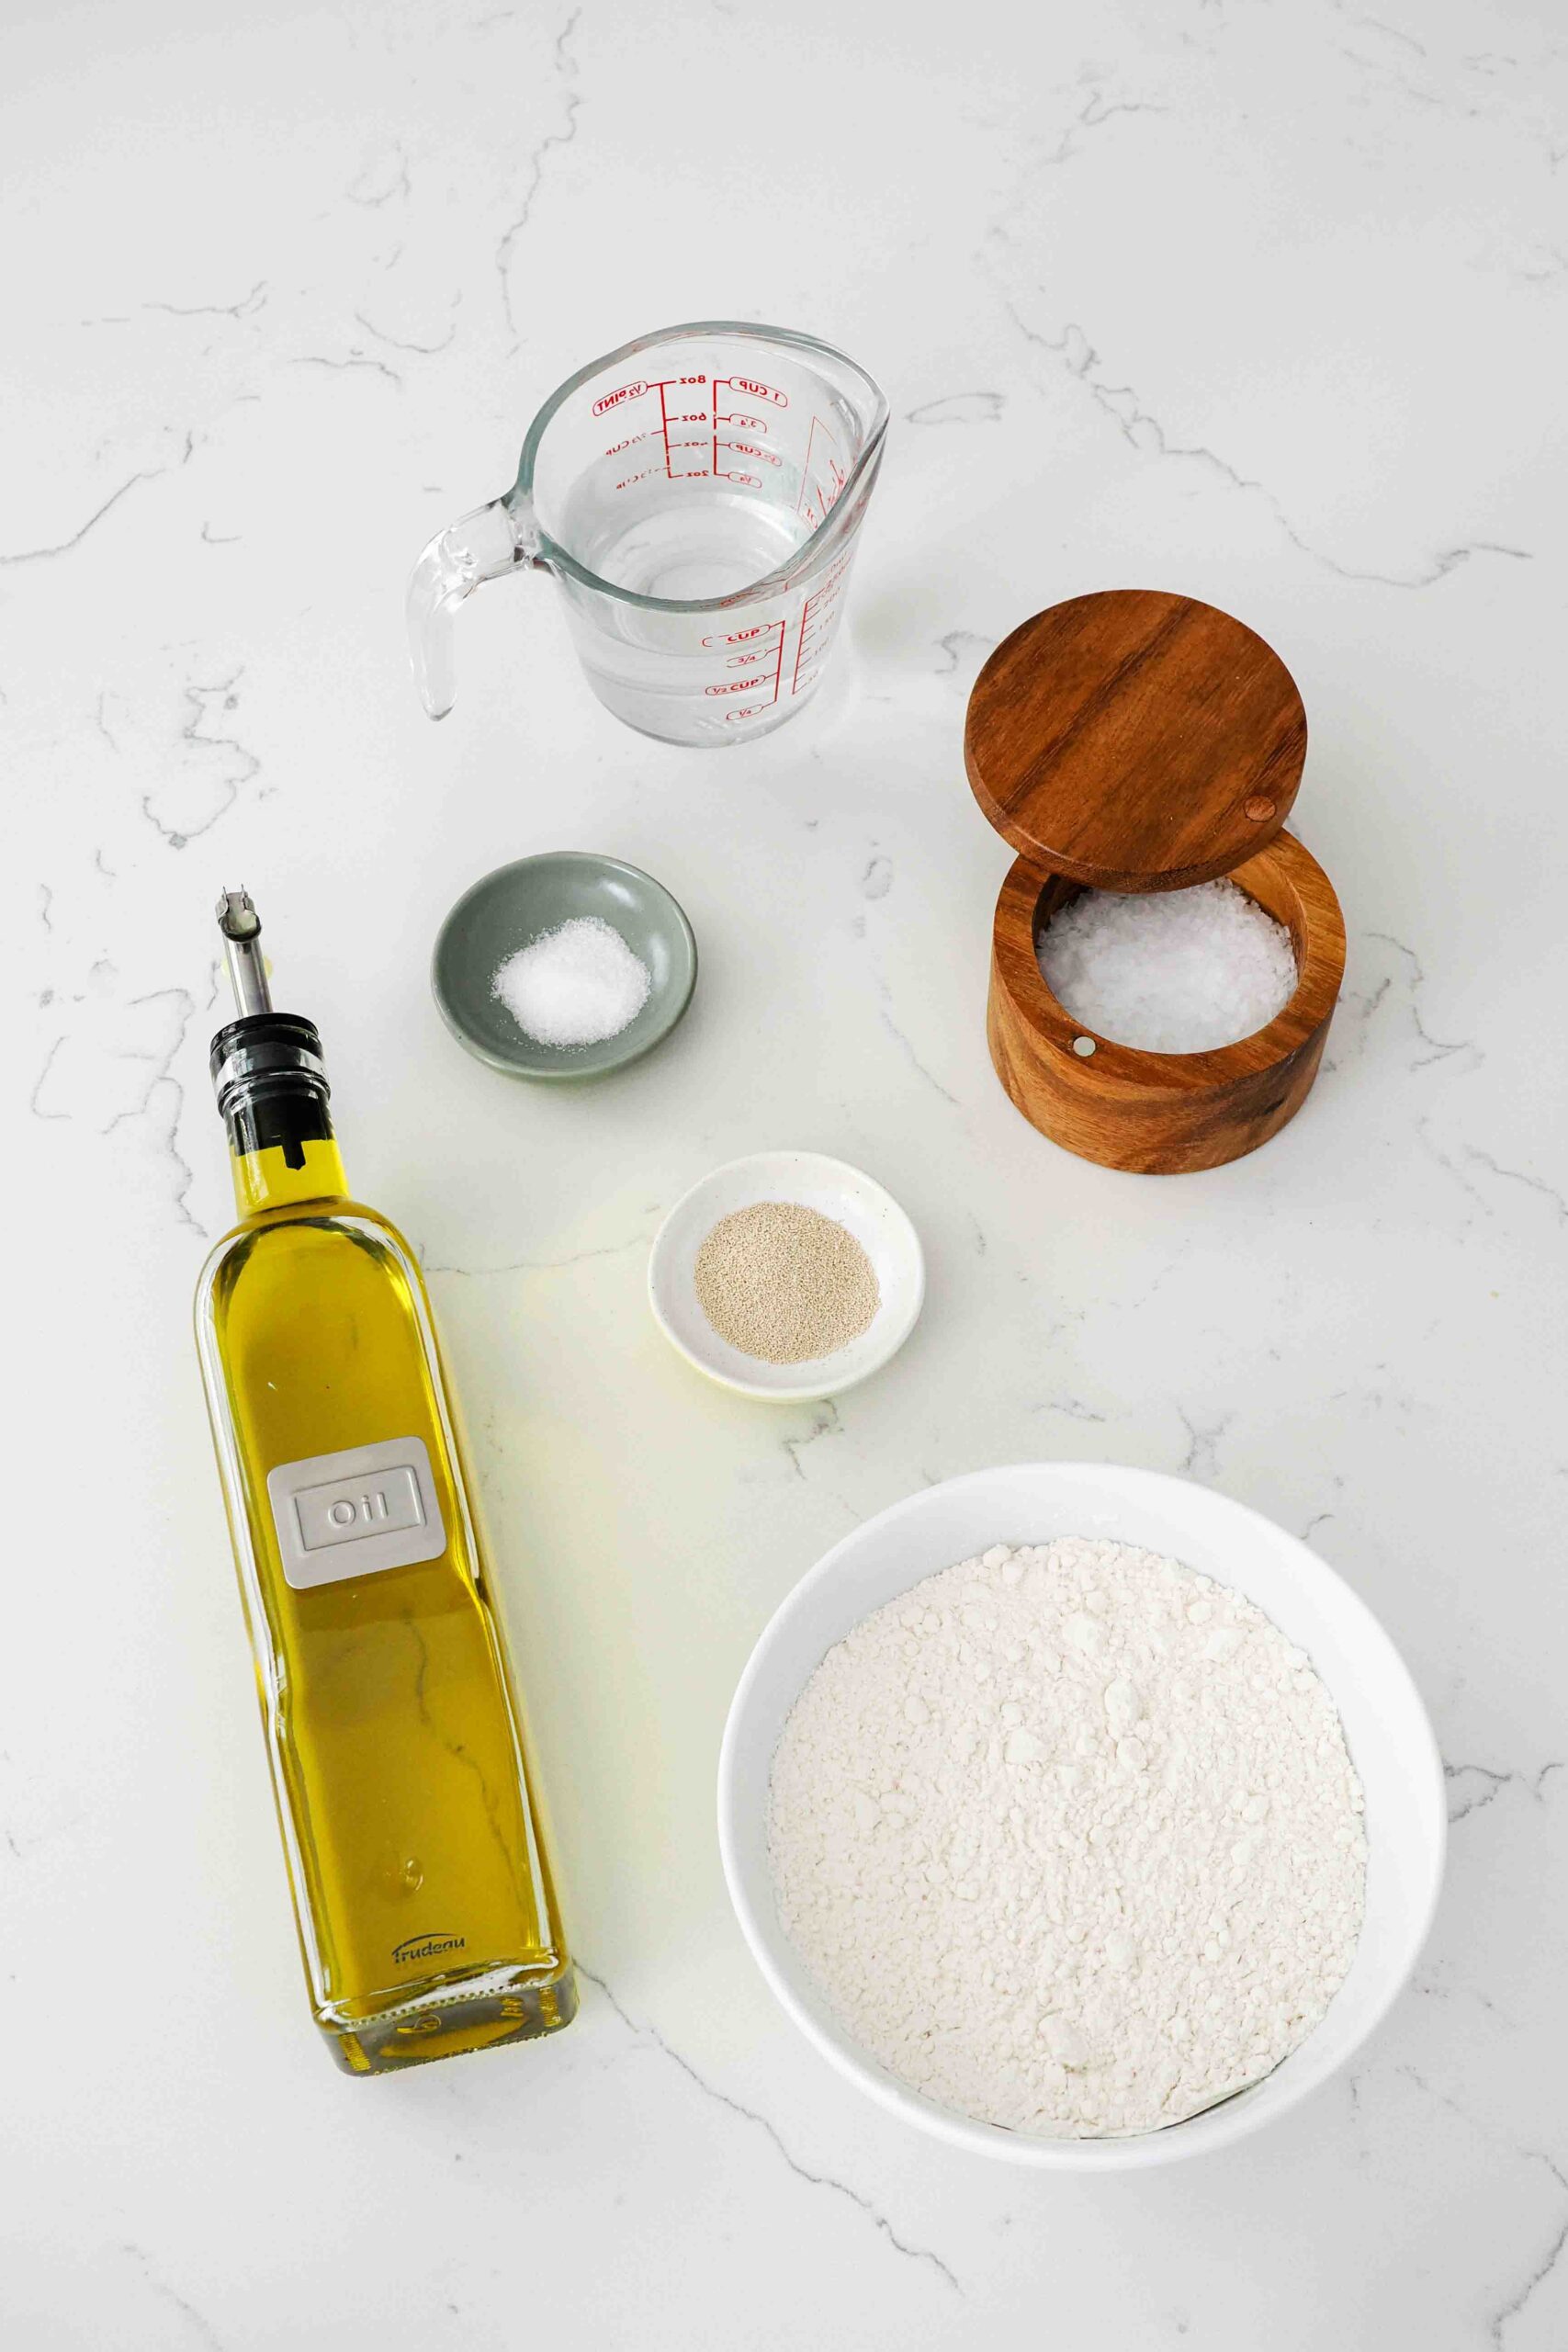
This focaccia is made from a lean dough, with just yeast, water, flour, and salt. The flavor depends heavily upon the salt and olive oil, so this is a time where splurging on high-quality ingredients (if you can) is well worth it.
- Active dry yeast. I bake exclusively with active dry yeast (just my personal preference), but you can still make this recipe with instant yeast if desired. Simply follow these guidelines for substituting instant yeast for active dry yeast.
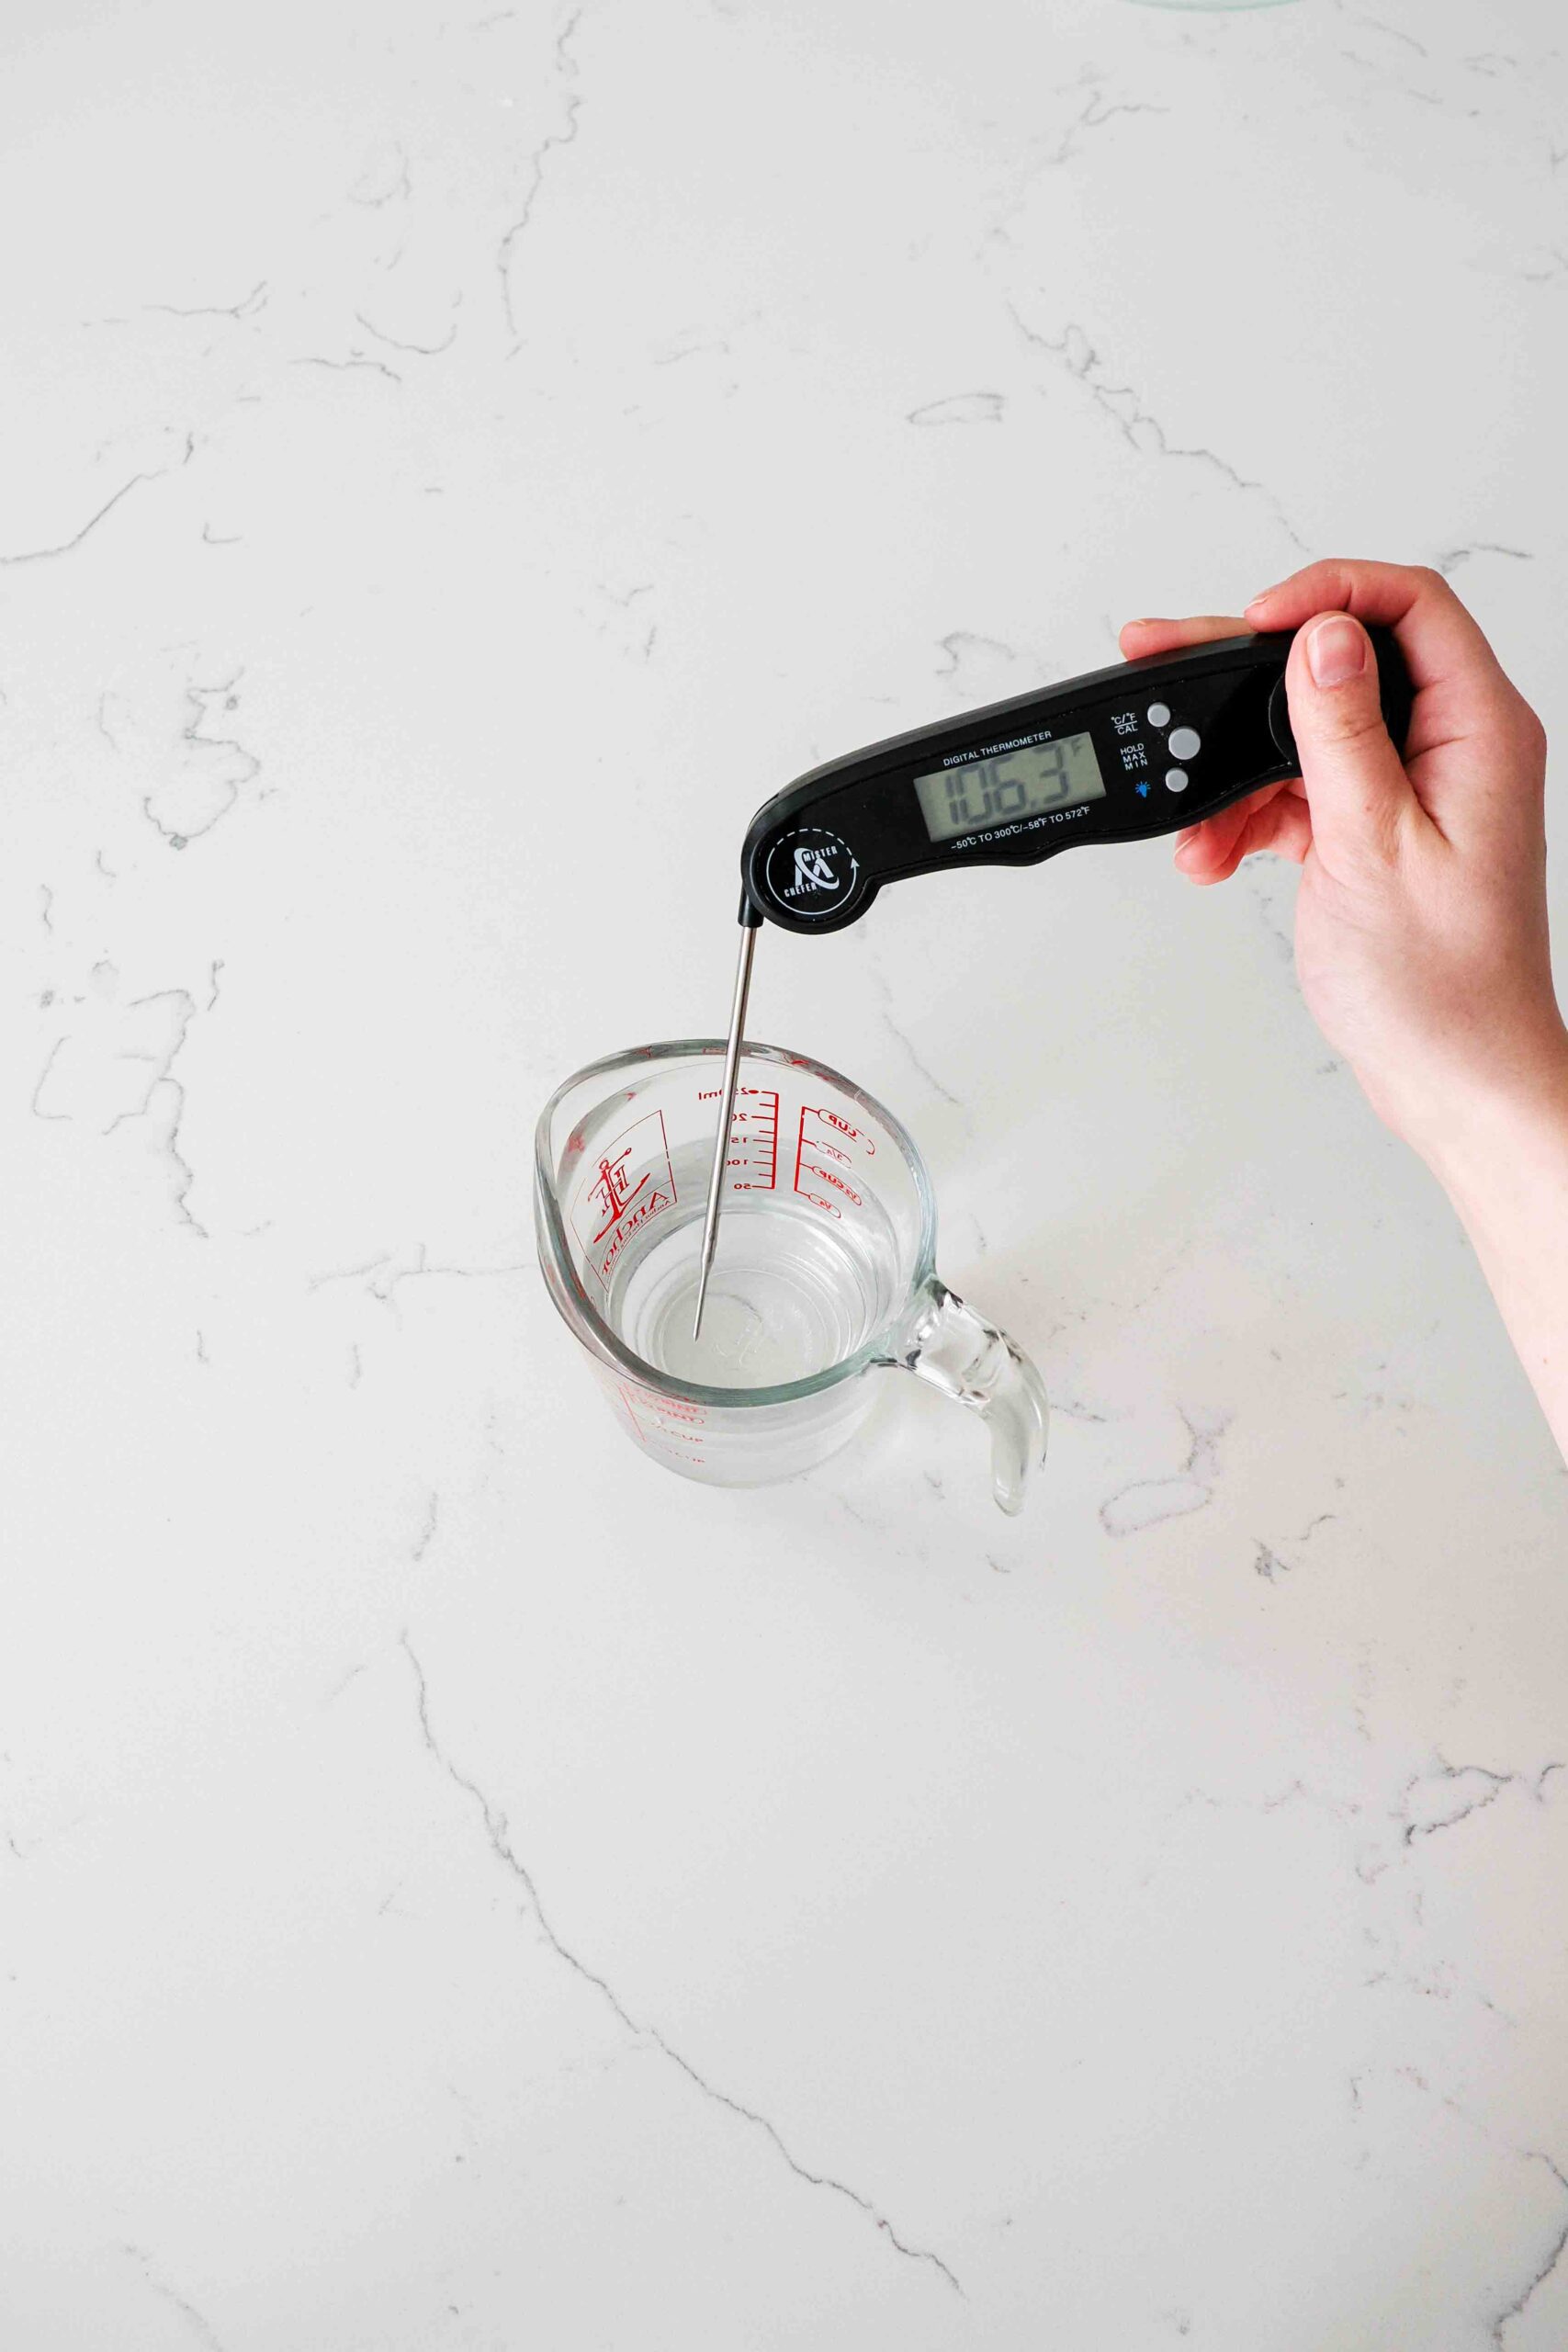
- Warm water. Active dry yeast proofs best in warm water that’s around 105-110°F (40-43°C). For best results, I measure my water by weight on a scale to ensure I don’t have too much or too little water.
- All-purpose flour. Regular flour works well for the fluffy crumb of focaccia. I recommend weighing your flour, as cup measurements can vary wildly. If you don’t have a scale, fluff the flour in your container, then scoop the measuring cup into the fluffed flour and level it with a knife.
- Sea salt. Any finely ground salt works well here, like iodized table salt, if you don’t have sea salt.
- Olive oil. The better the quality of the olive oil, the more impressive the flavor. You can also infuse your olive oil with your favorite herbs or spices to make this focaccia your own.
- Flaky salt. This is my favorite part of the focaccia, and the delicate pyramids of salt are well worth the splurge! I use Maldon’s, and a giant tub has lasted me years.
How to Make Small Batch Focaccia
Focaccia is a simple bread to make, so it’s perfect for beginner bread makers! There are a few techniques that work best to create fluffy focaccia, so I’ve shared those tips below. You can also watch the short video below to see how I make this small batch focaccia:
How to Make Focaccia Dough
The most important first step of making any bread with active dry yeast is nurturing your yeast! I like to gently pour warm water that’s about 105°F/40°C right over the yeast in a large mixing bowl. Then, let the yeast sit while you measure the rest of your ingredients to wake up fully. When the yeast is nice and bubbly, it’s telling us it’s hungry. We’ll feed it with flour.
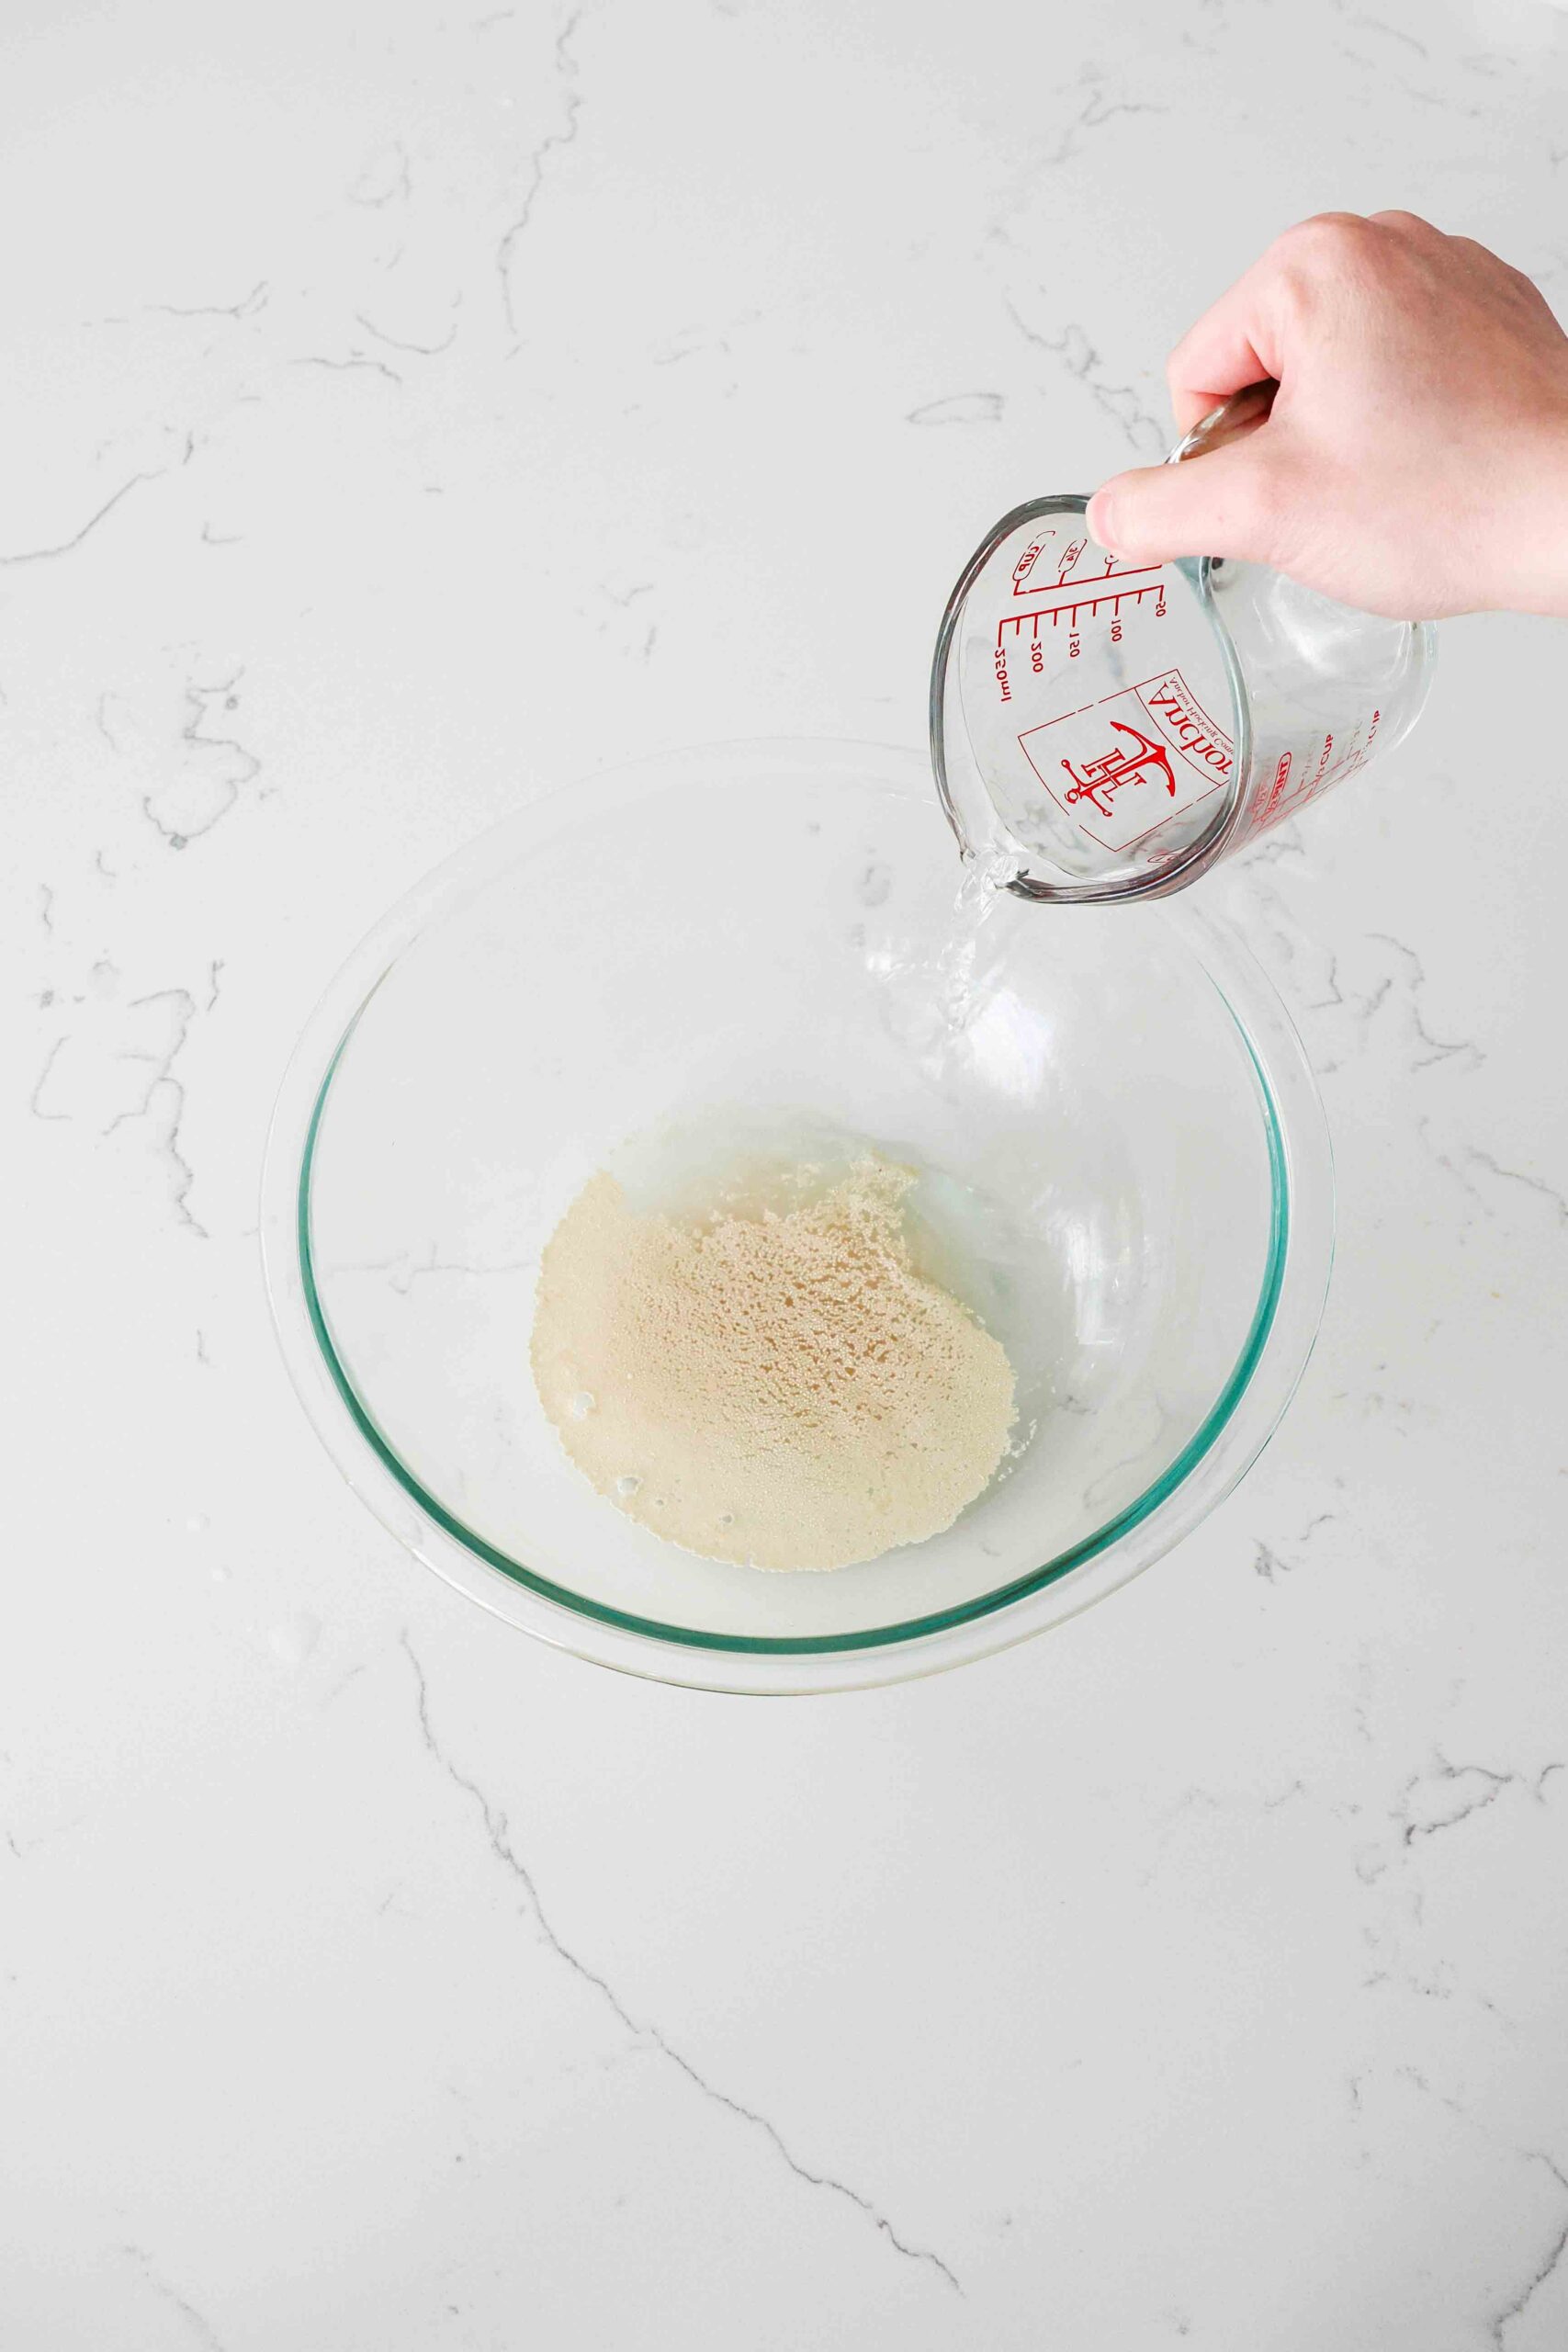
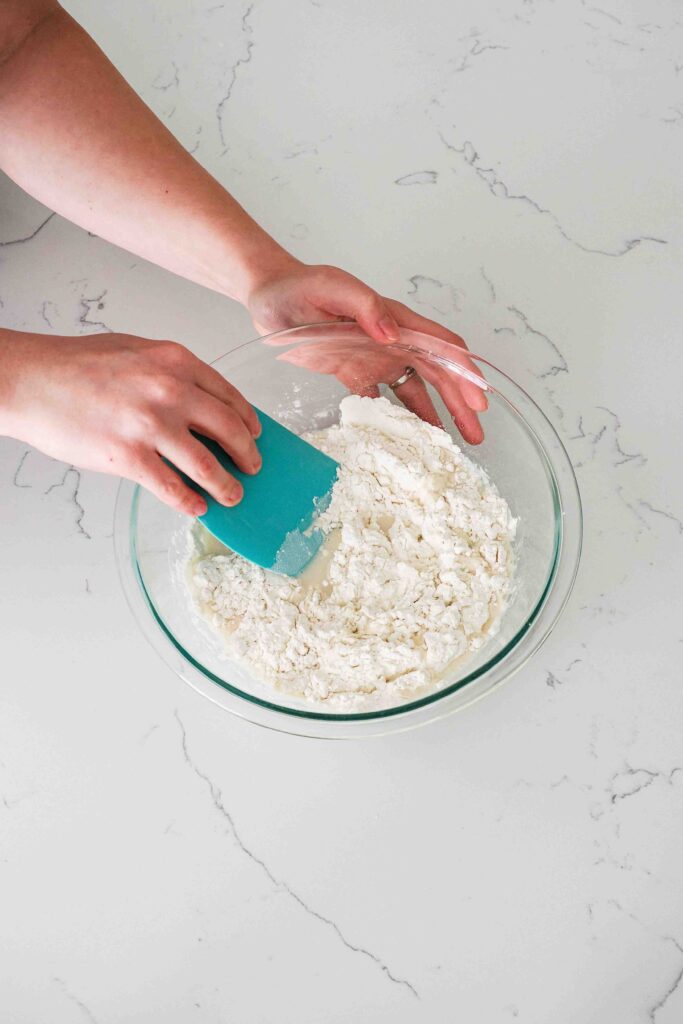
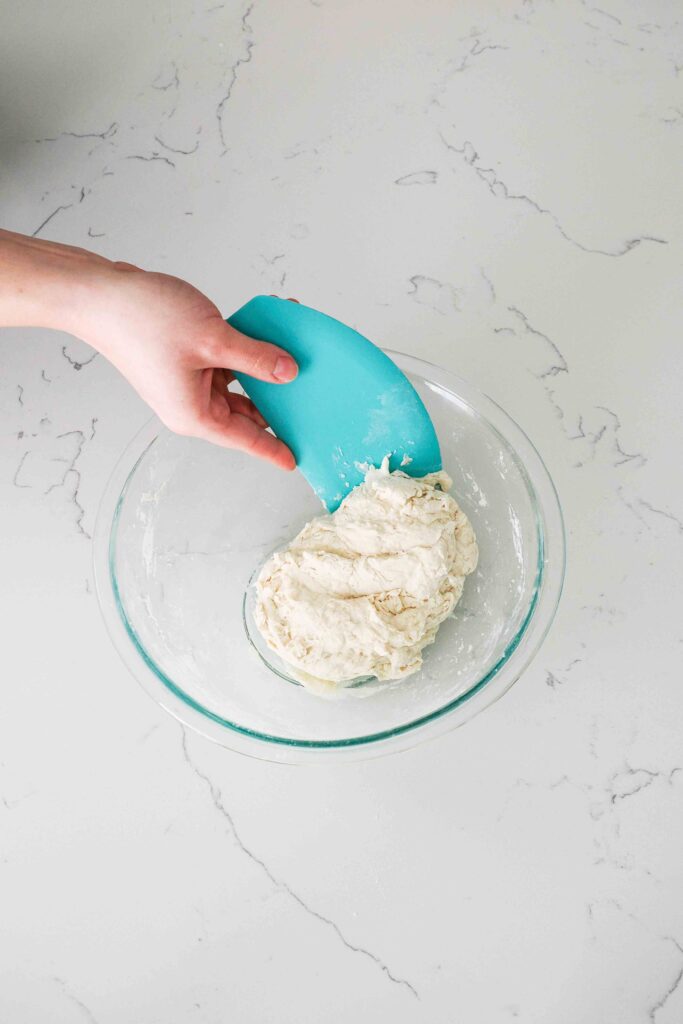
Once the yeast is foamy, add your flour and salt. Stir the flour and salt into the yeasty water until it forms a shaggy dough, like in the picture below. I prefer to use a utensil to stir, like this flexible bench scraper, but you are more than welcome to use your hands. At this point, shape the dough into a rough ball in the center of the bowl to prepare to fold it in the next step.
How to Fold No-Knead Focaccia Dough
Folding dough to create gluten is far less physically demanding than kneading dough. It also results in a more open crumb, which is perfect for focaccia bread!
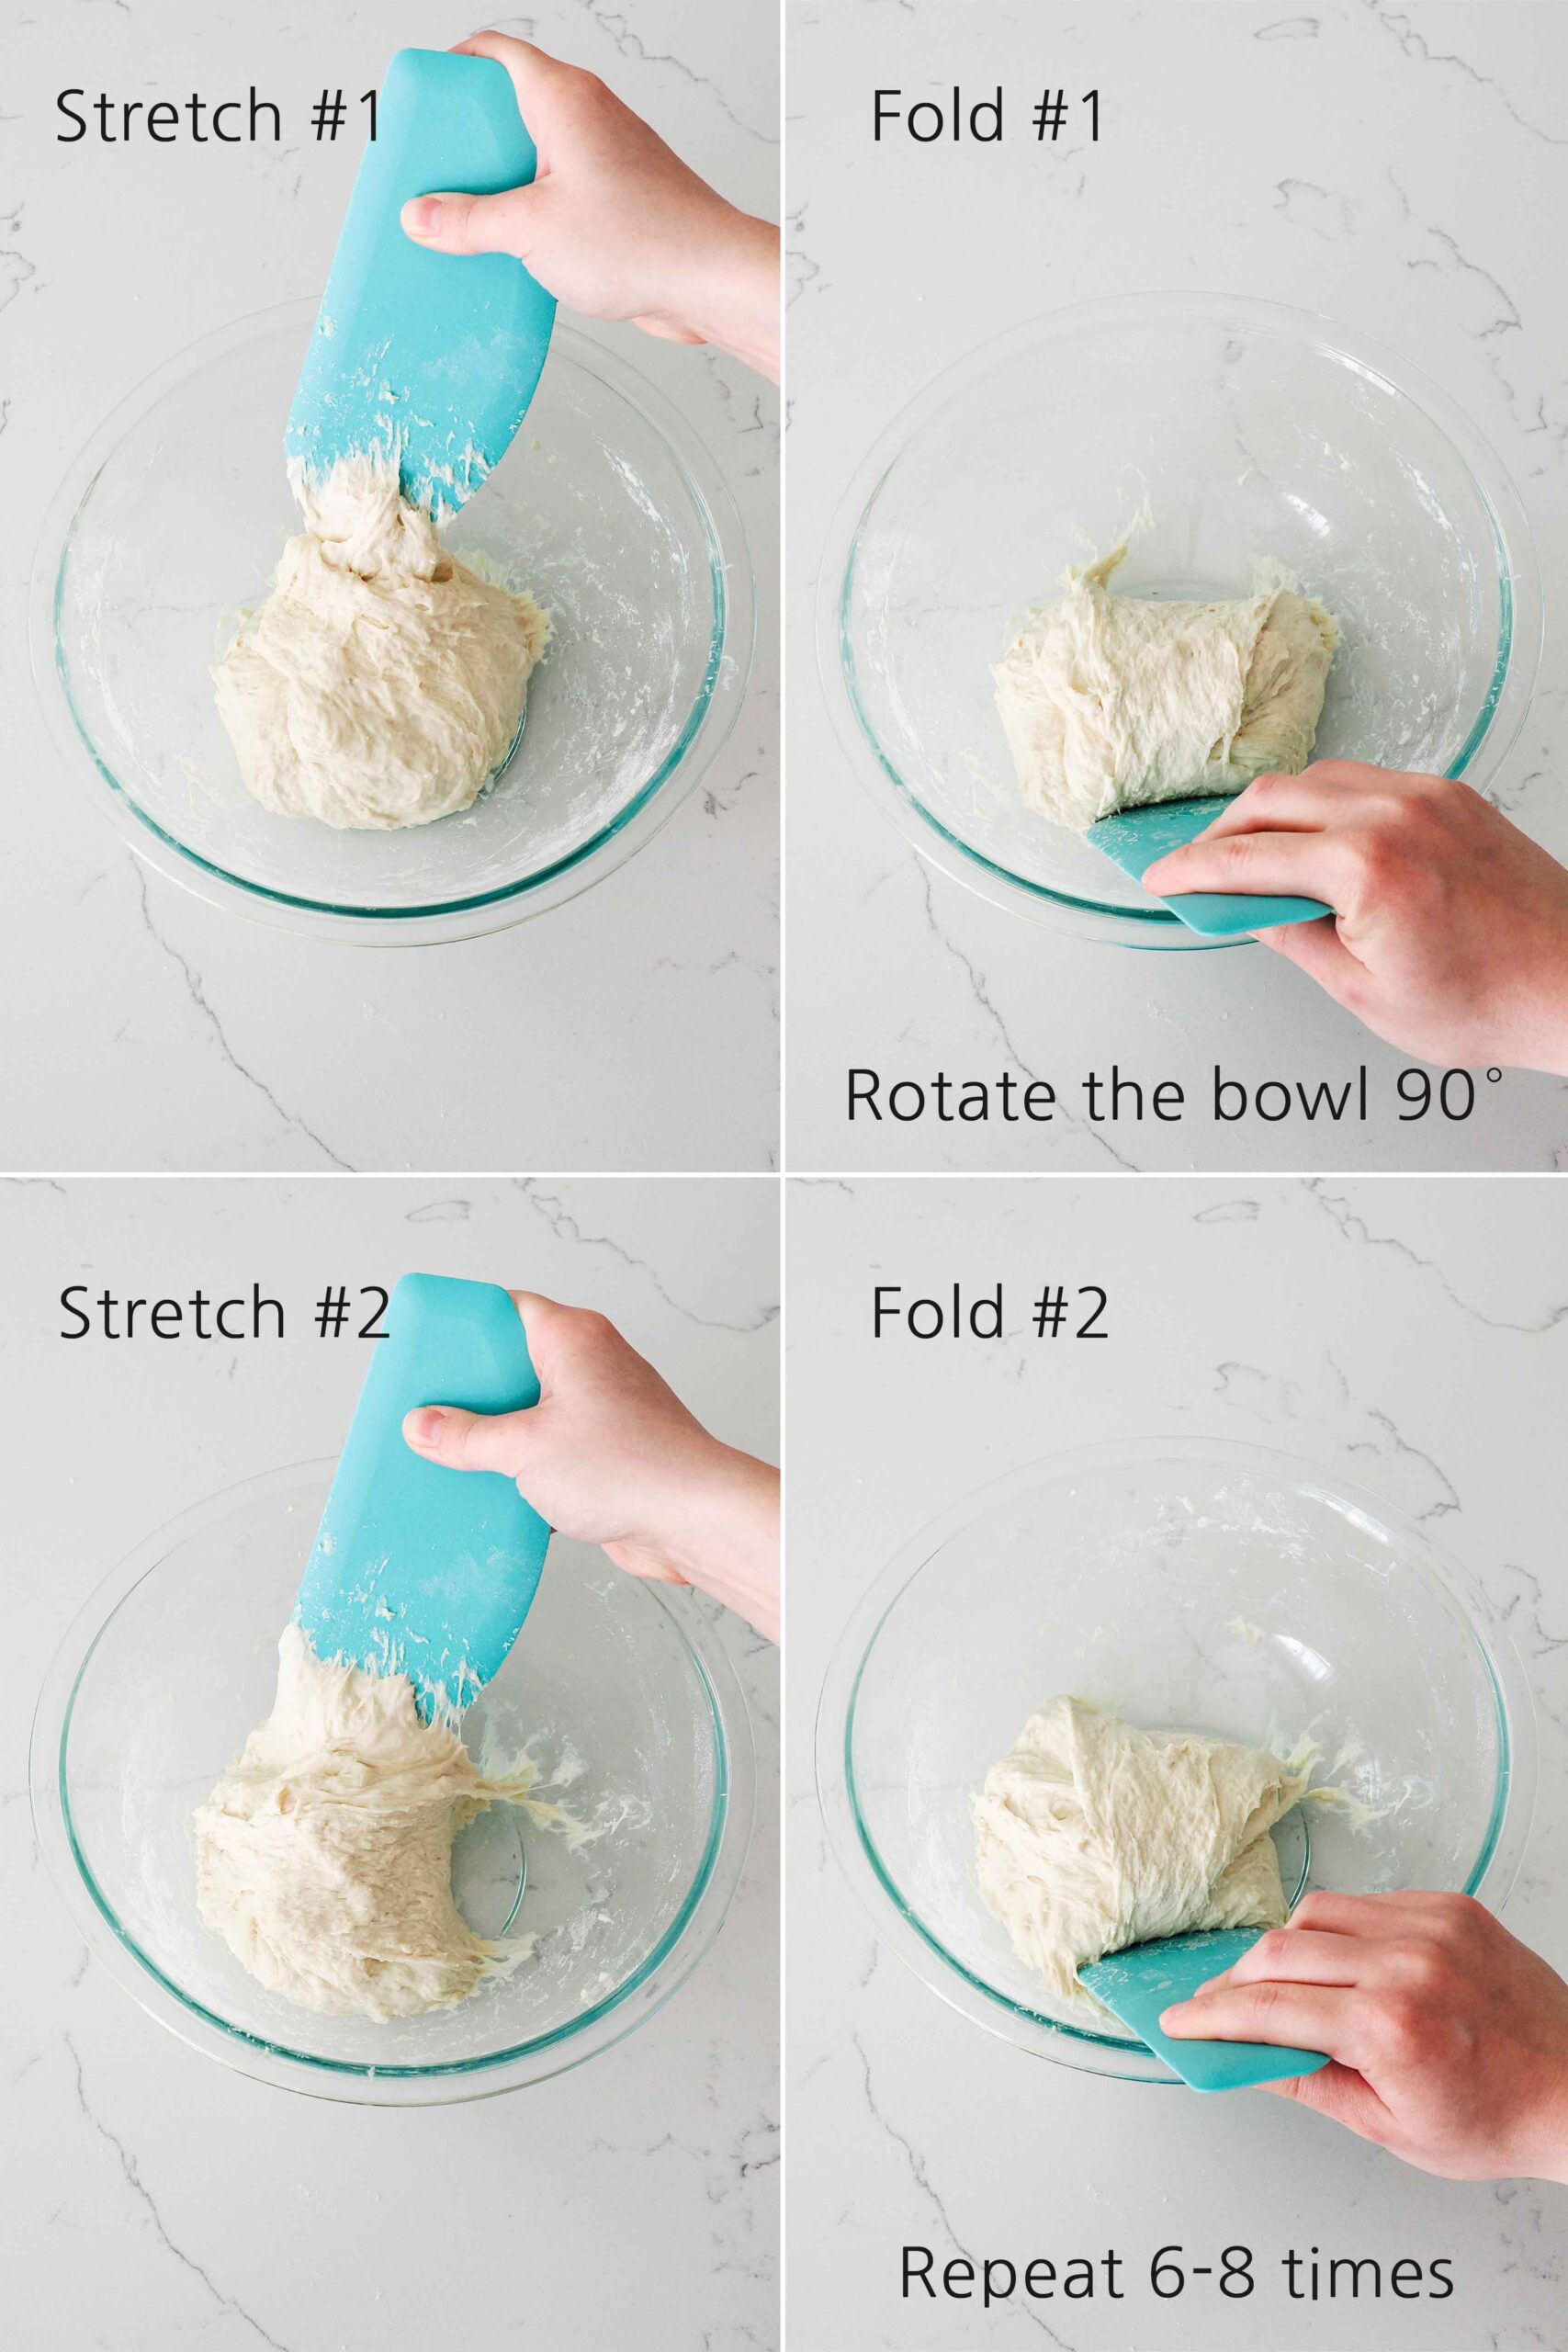
To fold focaccia dough, hook your fingertips or a spoon/spatula/bench scraper under the dough on the opposite side from you. Pull the sticky dough up and towards you, then press it into the bottom of the side of the dough nearest you. That’s your first fold!
Rotate the bowl 90° and repeat the folding and turning another 8-10 times, until the dough is taut and holds its shape easily. As you fold, the dough will become less sticky and more stretchy.
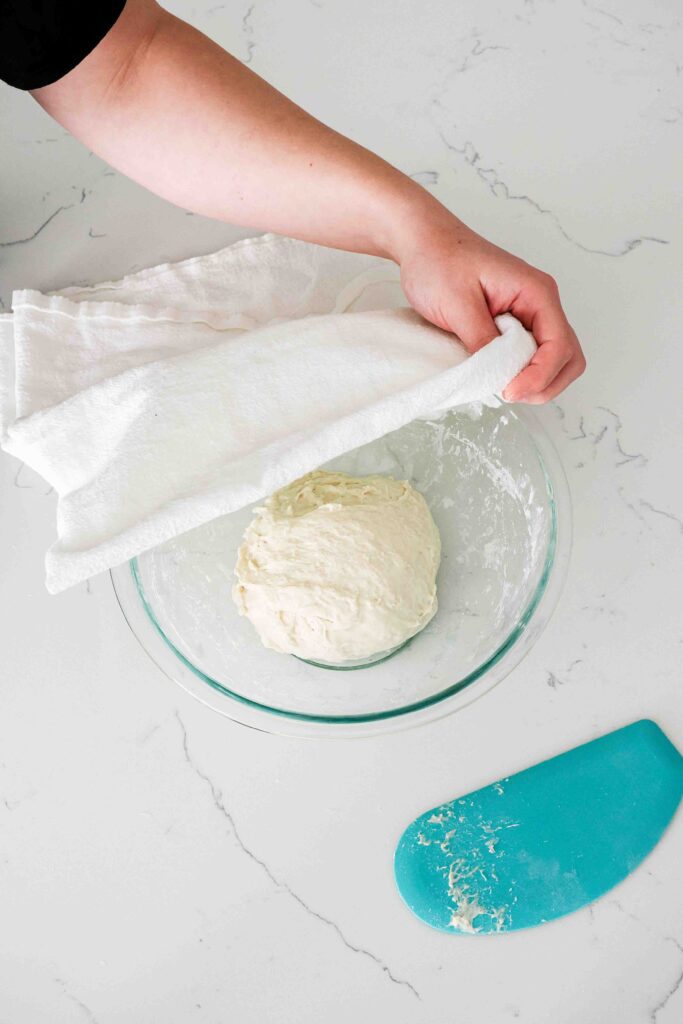
Once the focaccia dough ball looks pretty tight, cover the bowl with a kitchen towel, lid, or plastic wrap. Allow the focaccia to rest in a warm place for about an hour or in the fridge overnight, until the dough is puffy and has approximately doubled in size.
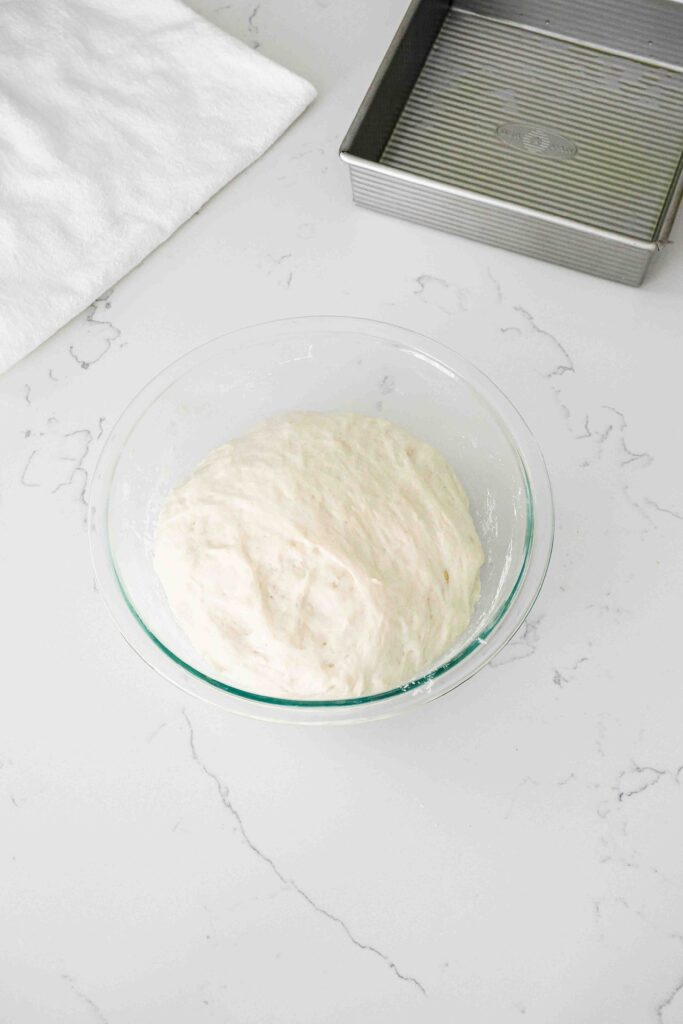
How to Shape Focaccia Dough for a Square Pan
First, drizzle enough olive oil onto the bottom of the pan to cover it. The more olive oil you use here, the crispier the bottom crust will be!
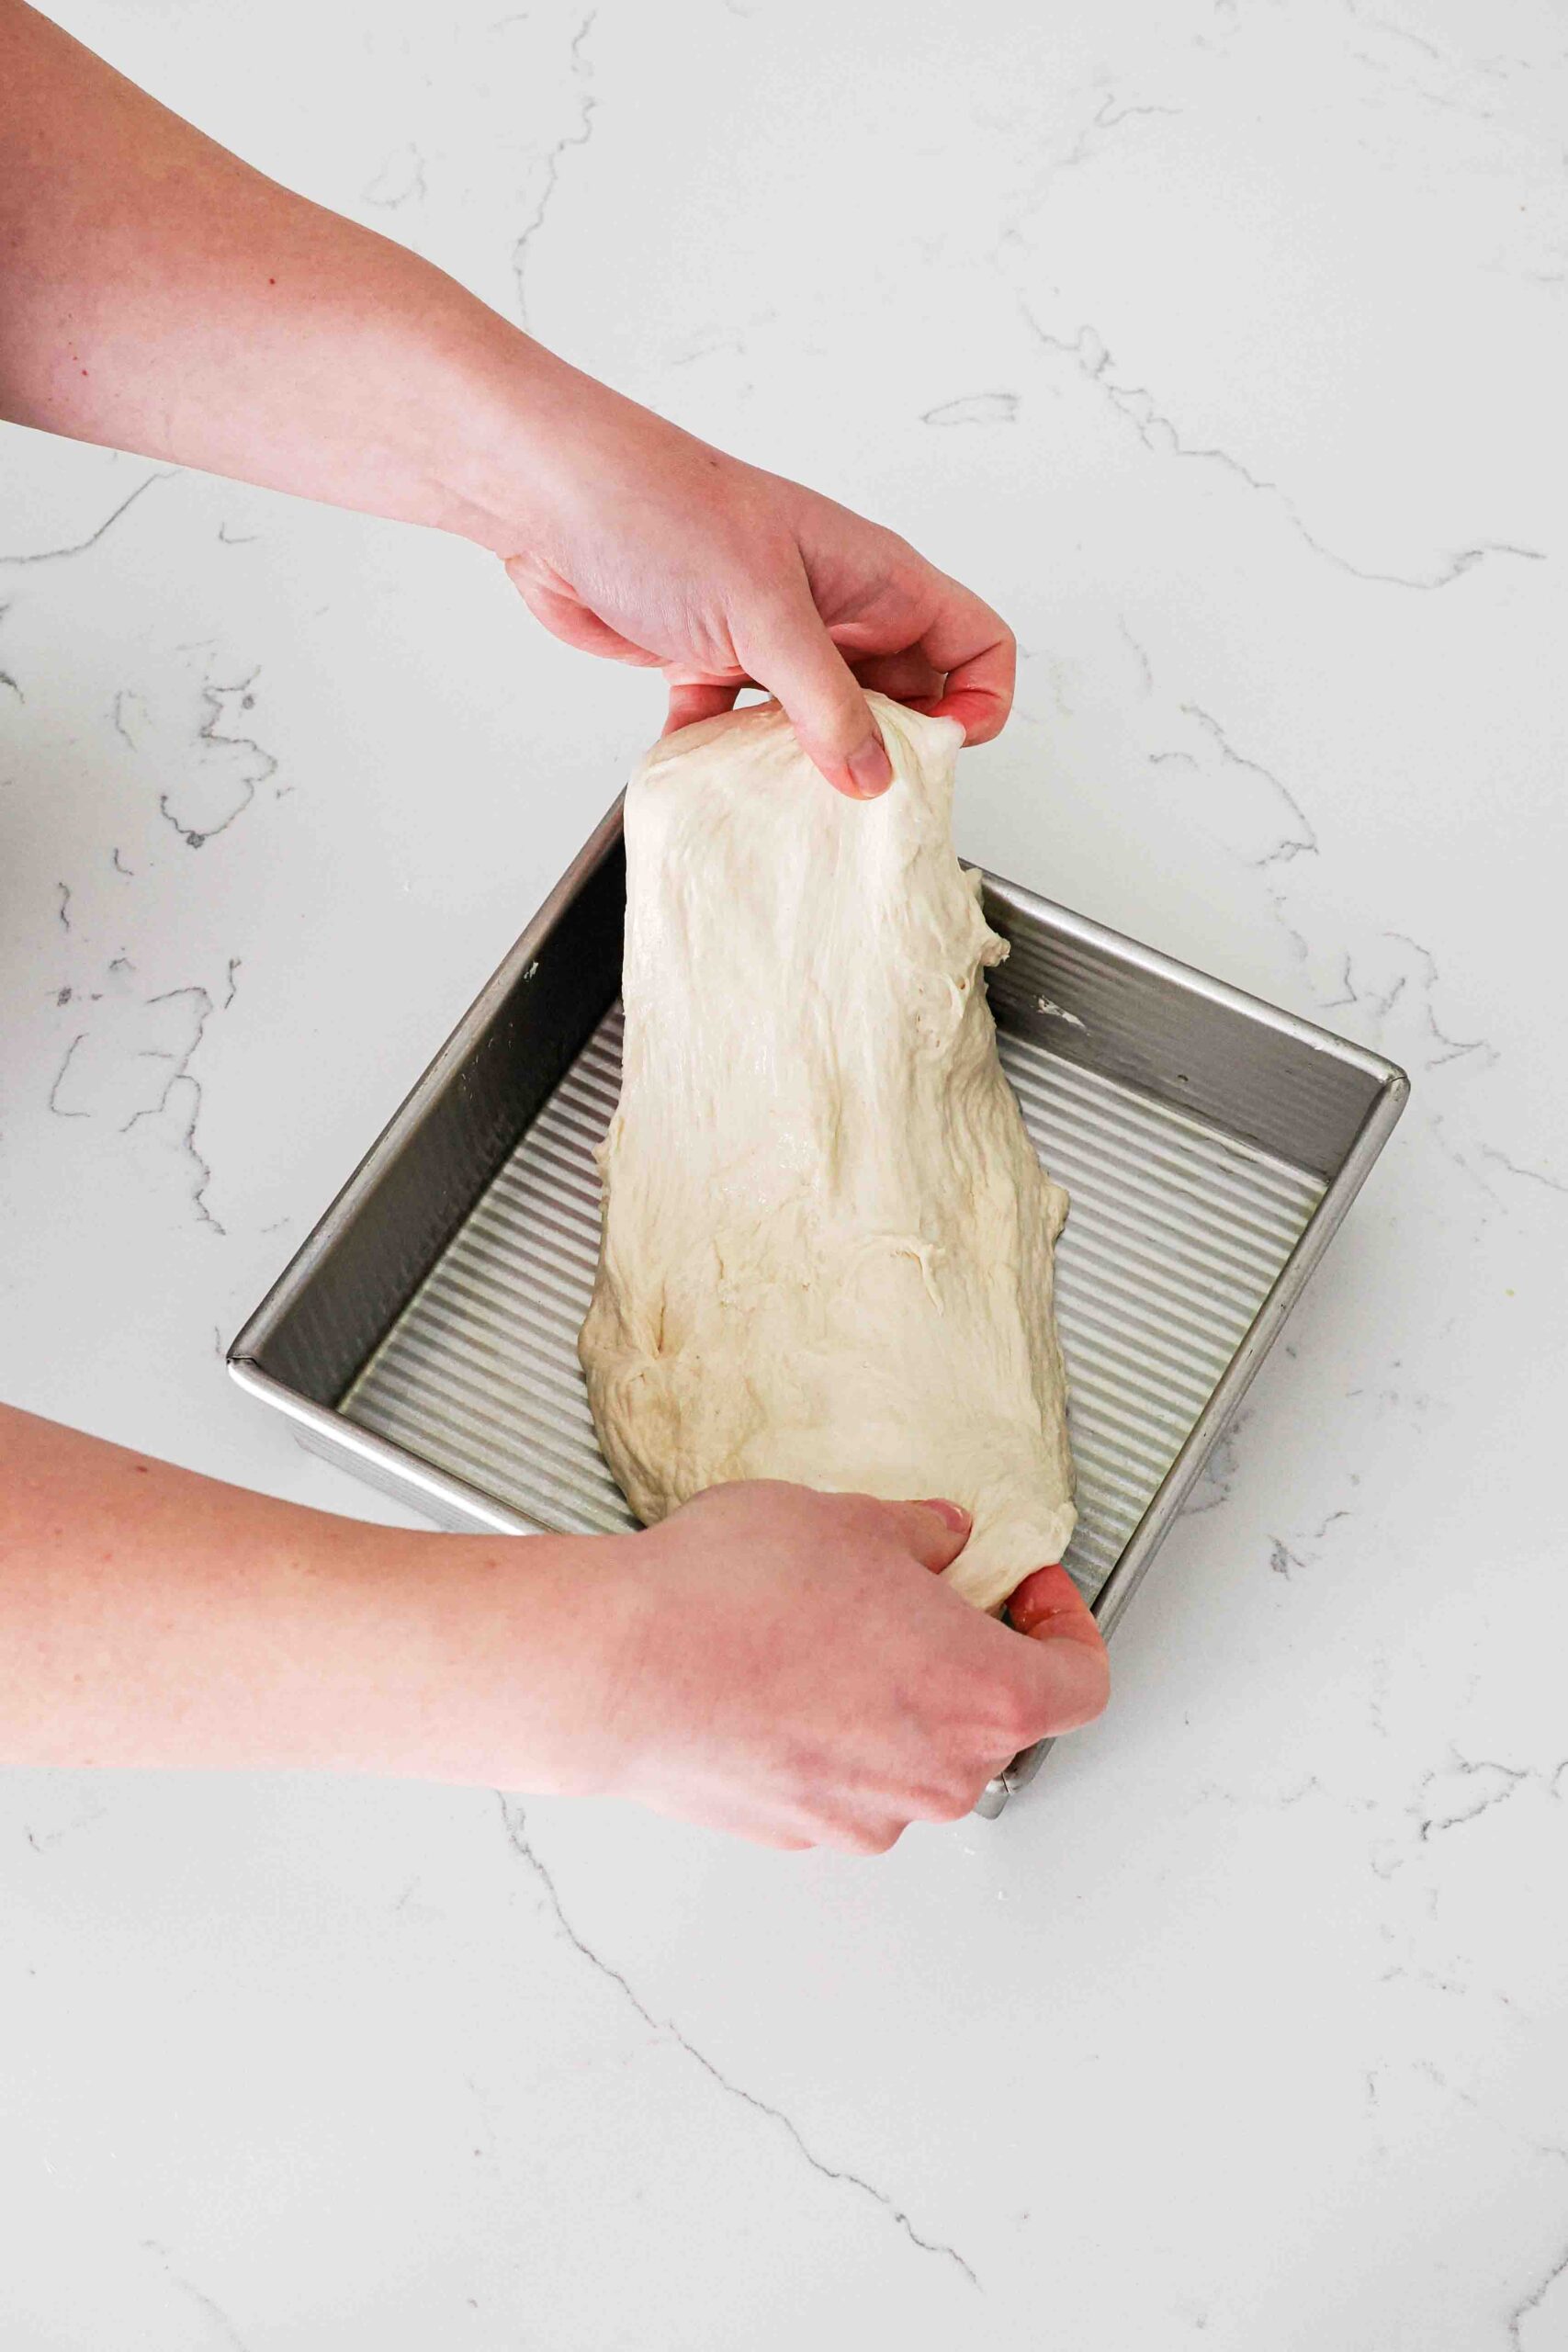
Then, plop your focaccia right in the middle of the pan. Slowly and gently stretch the focaccia dough towards the edges of the pan, using the tips of your fingers as hooks. It can be a bit of a challenge trying to get the dough to stay in all the corners. The greased bottom certainly doesn’t help, either! If the dough just seems to be springing back to the center, allow it to rest for a couple of minutes to relax the gluten. Then, try stretching the dough to the edges and corners pf the pan once more.
It’s fairly easy to tear the dough while stretching, so do your best to push rather than pull dough from a thicker section. A few tears are fine, but try not to add too many.
Once you’ve stretched the dough to mostly cover the pan (a little gap in the very corners is just fine), recover with the kitchen towel or plastic wrap and allow to rise for 30-40 minutes.
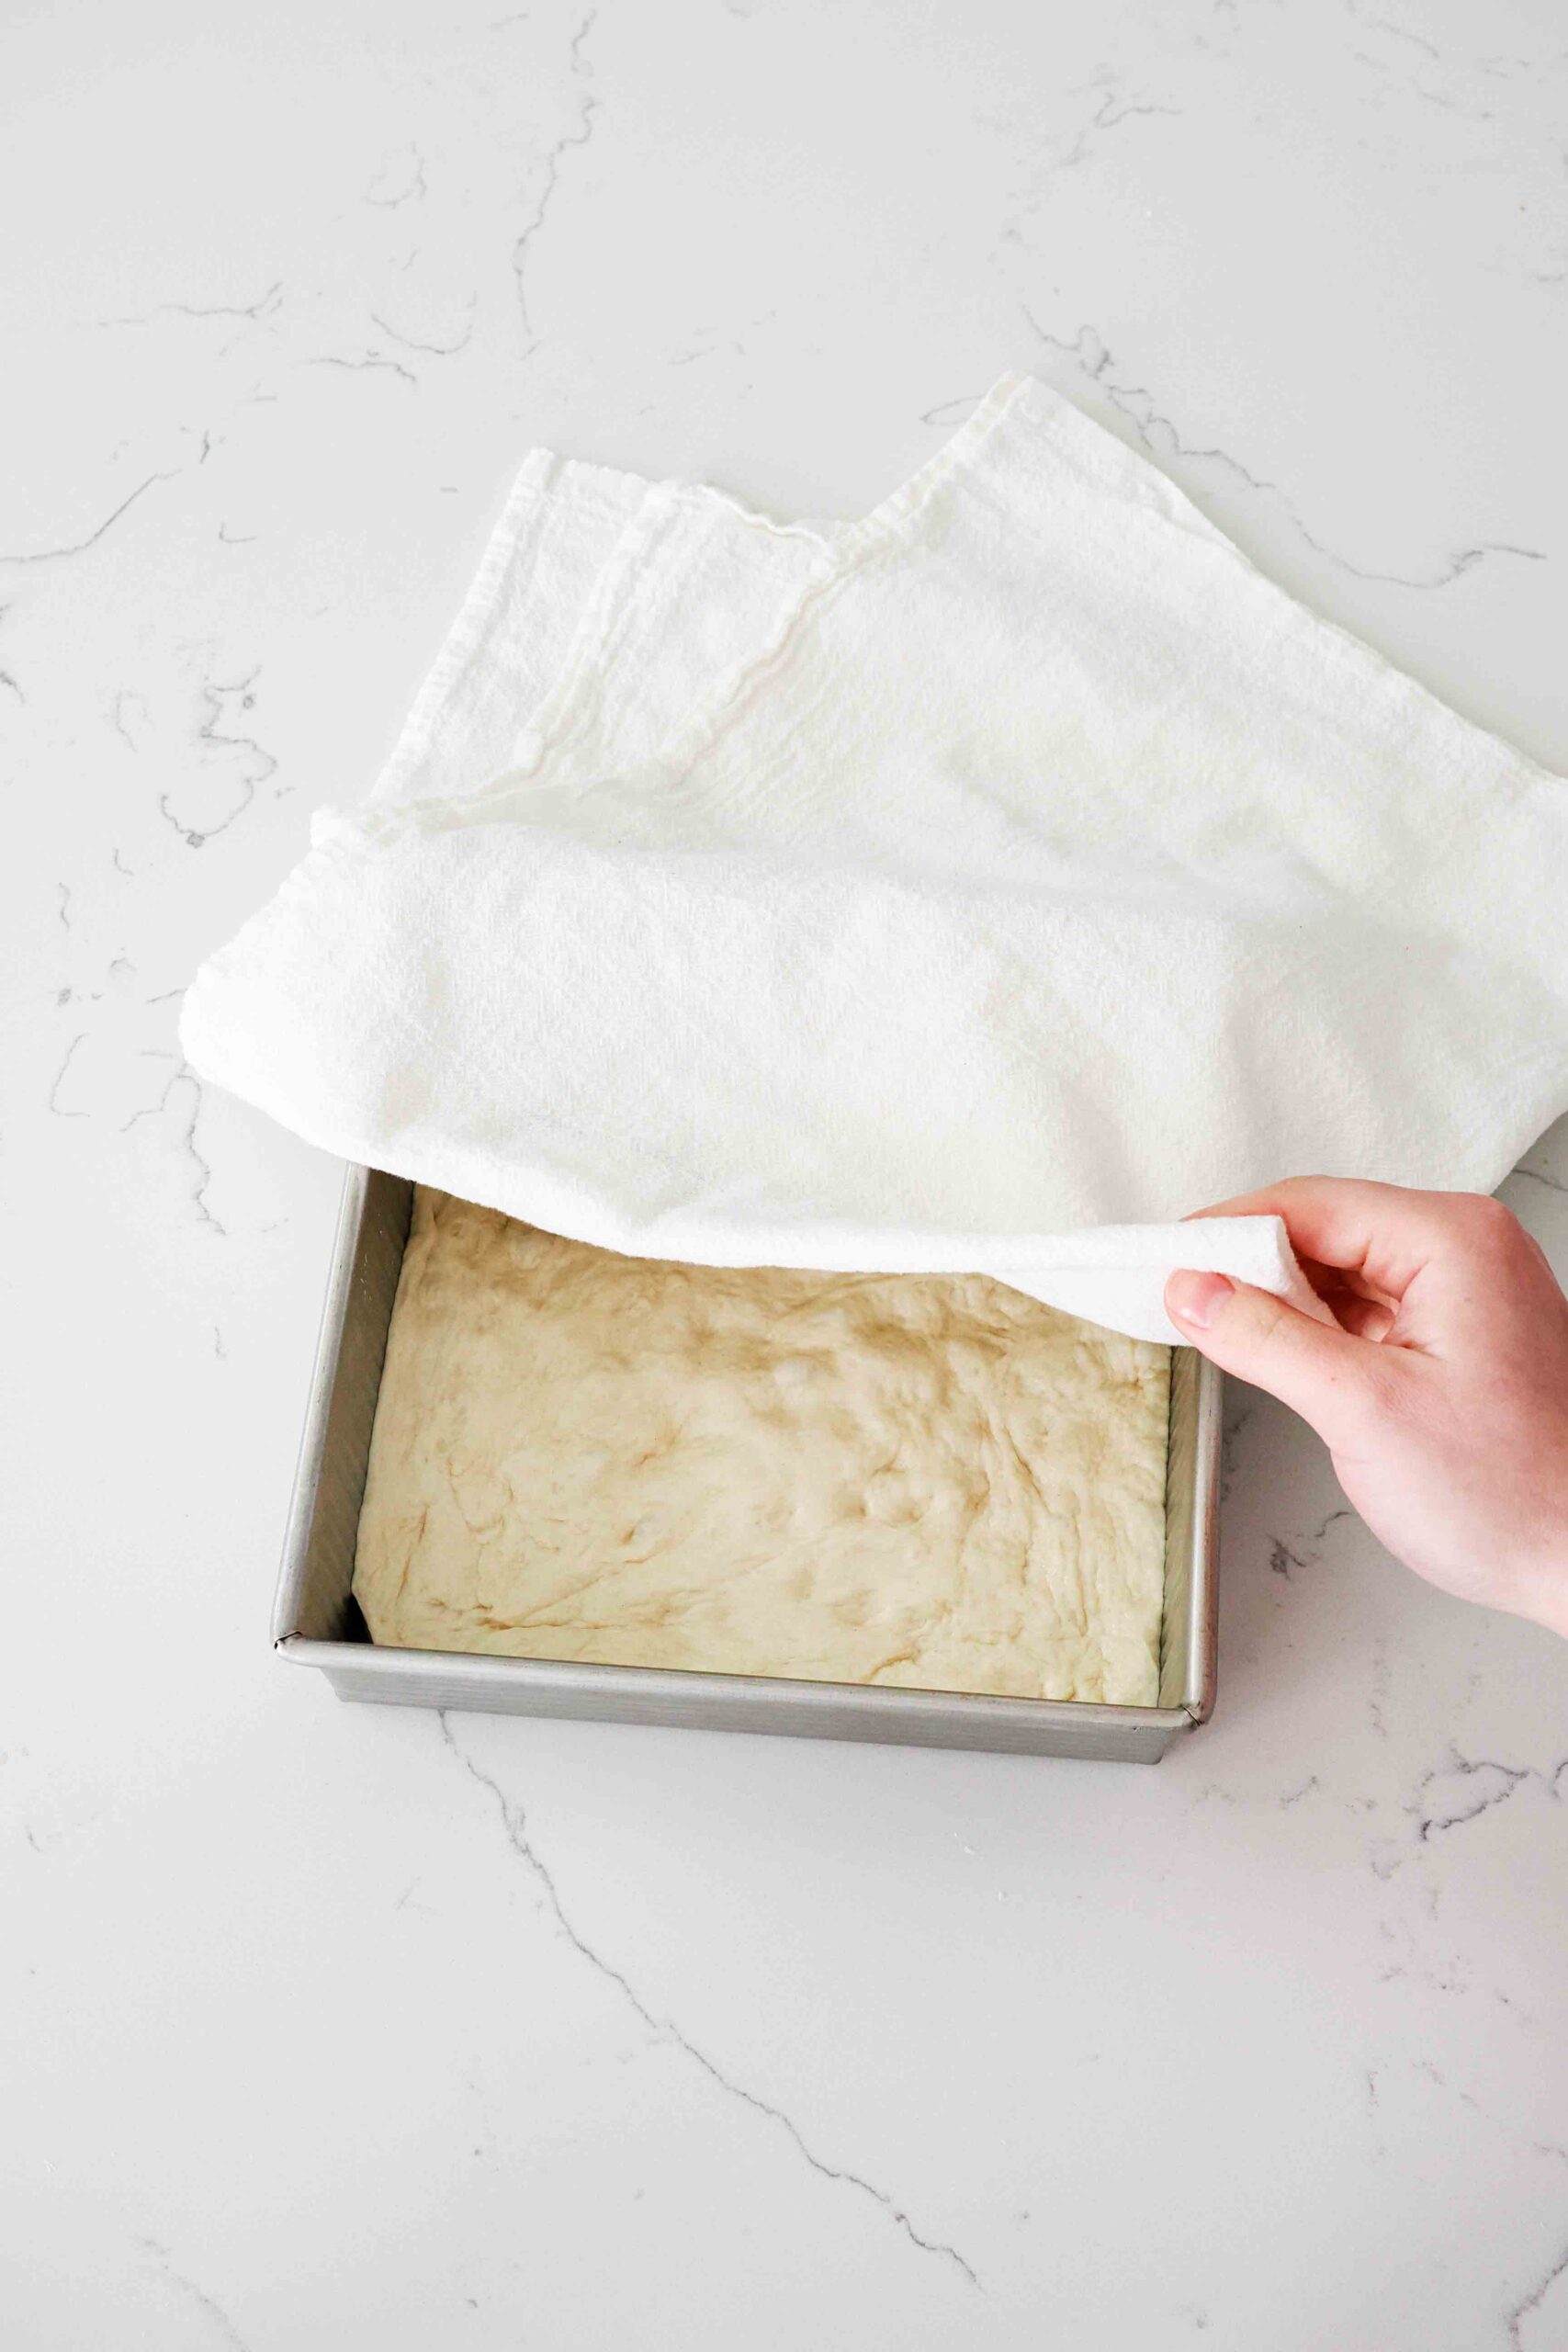
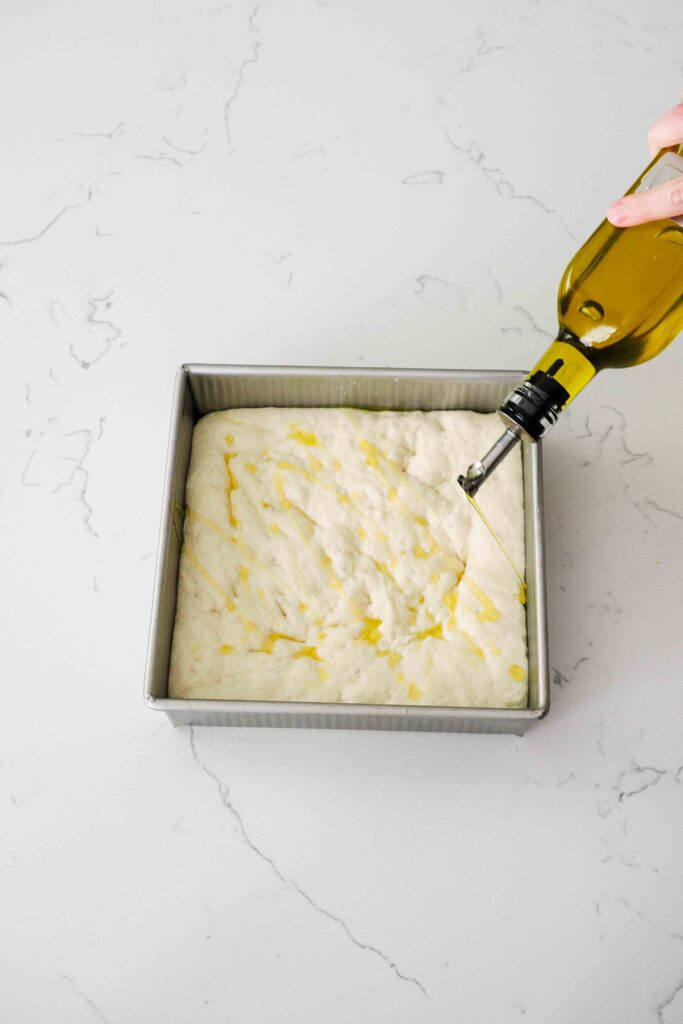
When the focaccia loaf is puffy with large air bubbles, drizzle a hearty amount of olive oil over the top. The more oil you use, the more flavorful the dough will be. I prefer 2-3 Tablespoons—that’s the sweet spot for me!
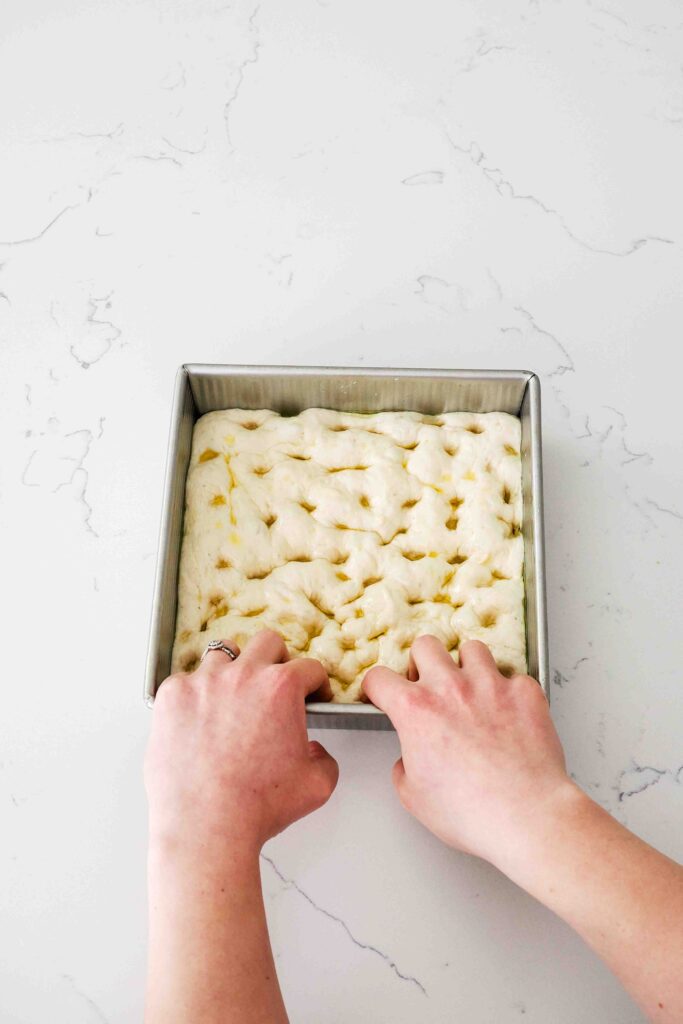
Dimple the focaccia with your fingertips, pressing straight down to the bottom of the pan, then straight back out. The dimpling helps to deflate some of the air bubbles in the dough, which prevents the focaccia from ballooning as it bakes (like pita bread does). It also helps some of that olive oil get deep into the bread.
How to Bake Small Batch Focaccia
Focaccia rises best with a little steam at the beginning of baking. In the last few minutes of proofing, preheat the oven to 425°F/220°C and add a roasting pan with just a little bit of water (about half an inch or 12-13 mm) to the bottom rack of your oven. By the time the oven has preheated, some of the water will have already turned to steam.
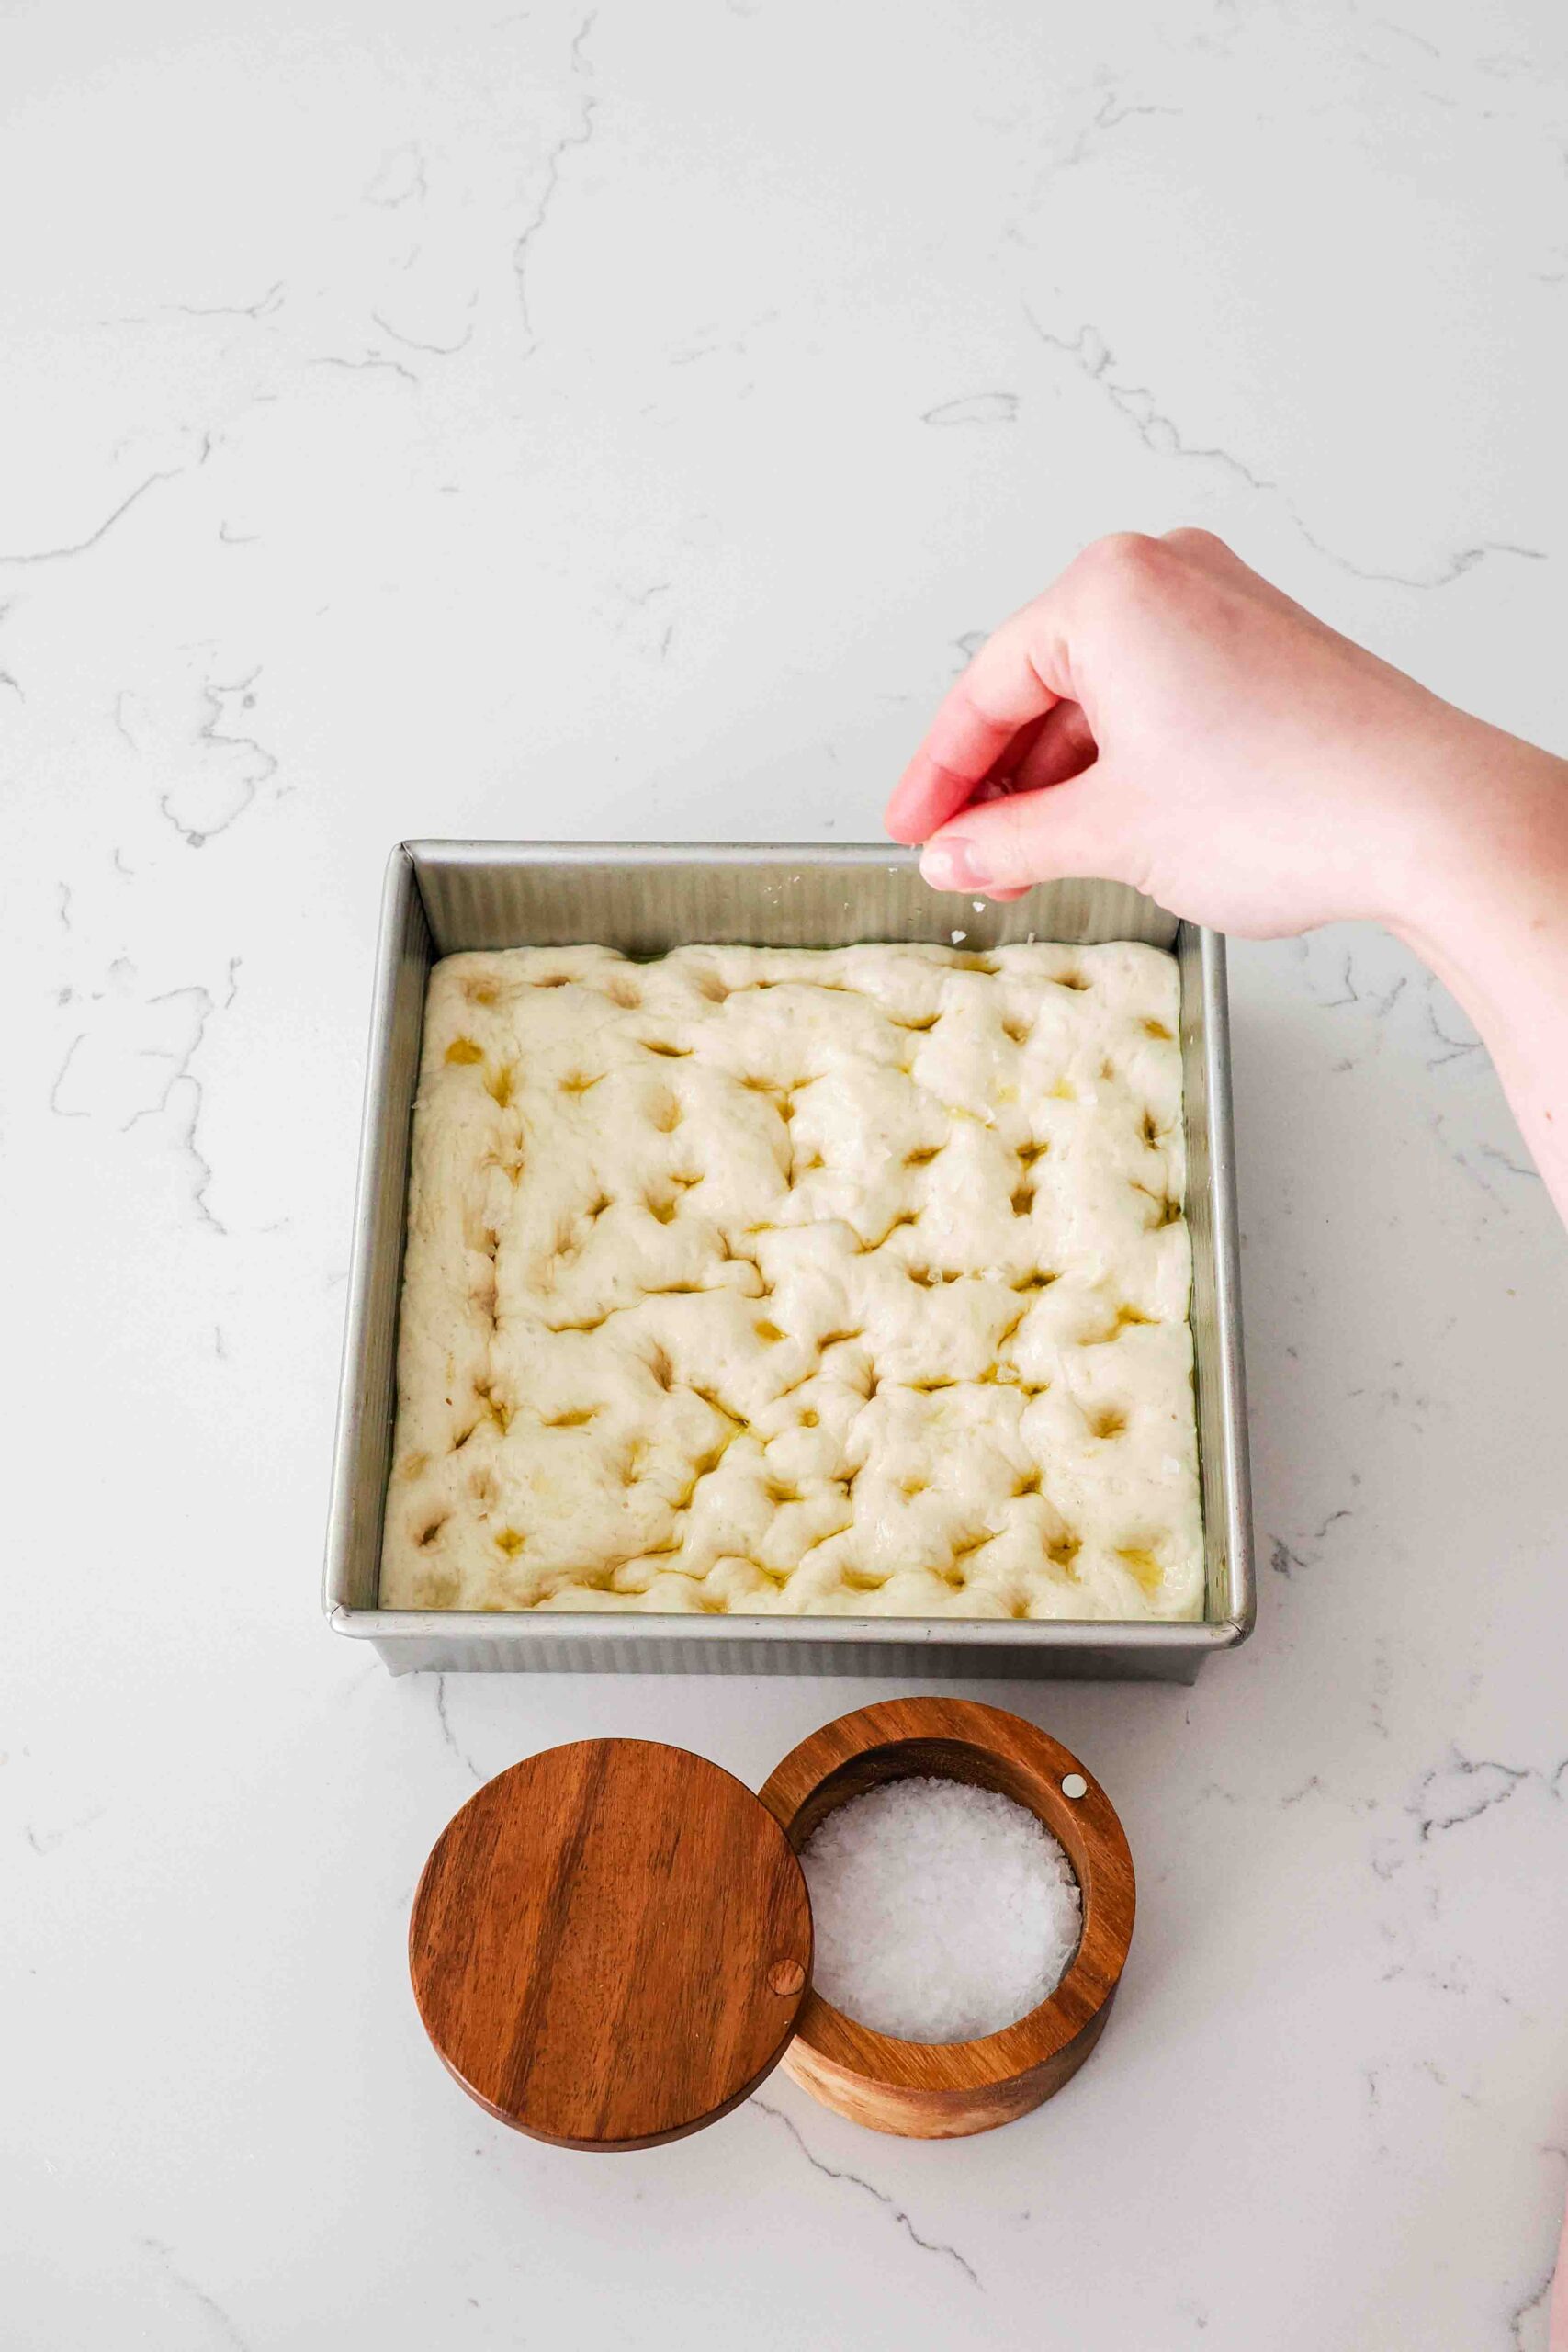
Top the focaccia with a hearty sprinkle of flaky salt, then bake in the steamy oven for about 10 minutes. The steam helps prevent the dough from forming a crust, so the dough has more room to expand, resulting in an airy crumb.
About halfway through the bake, you’ll want to remove the roasting pan with water. The crispy focaccia crust will form in the second half of the bake, and having that much moisture in the oven will turn the crust soggy rather than crispy.
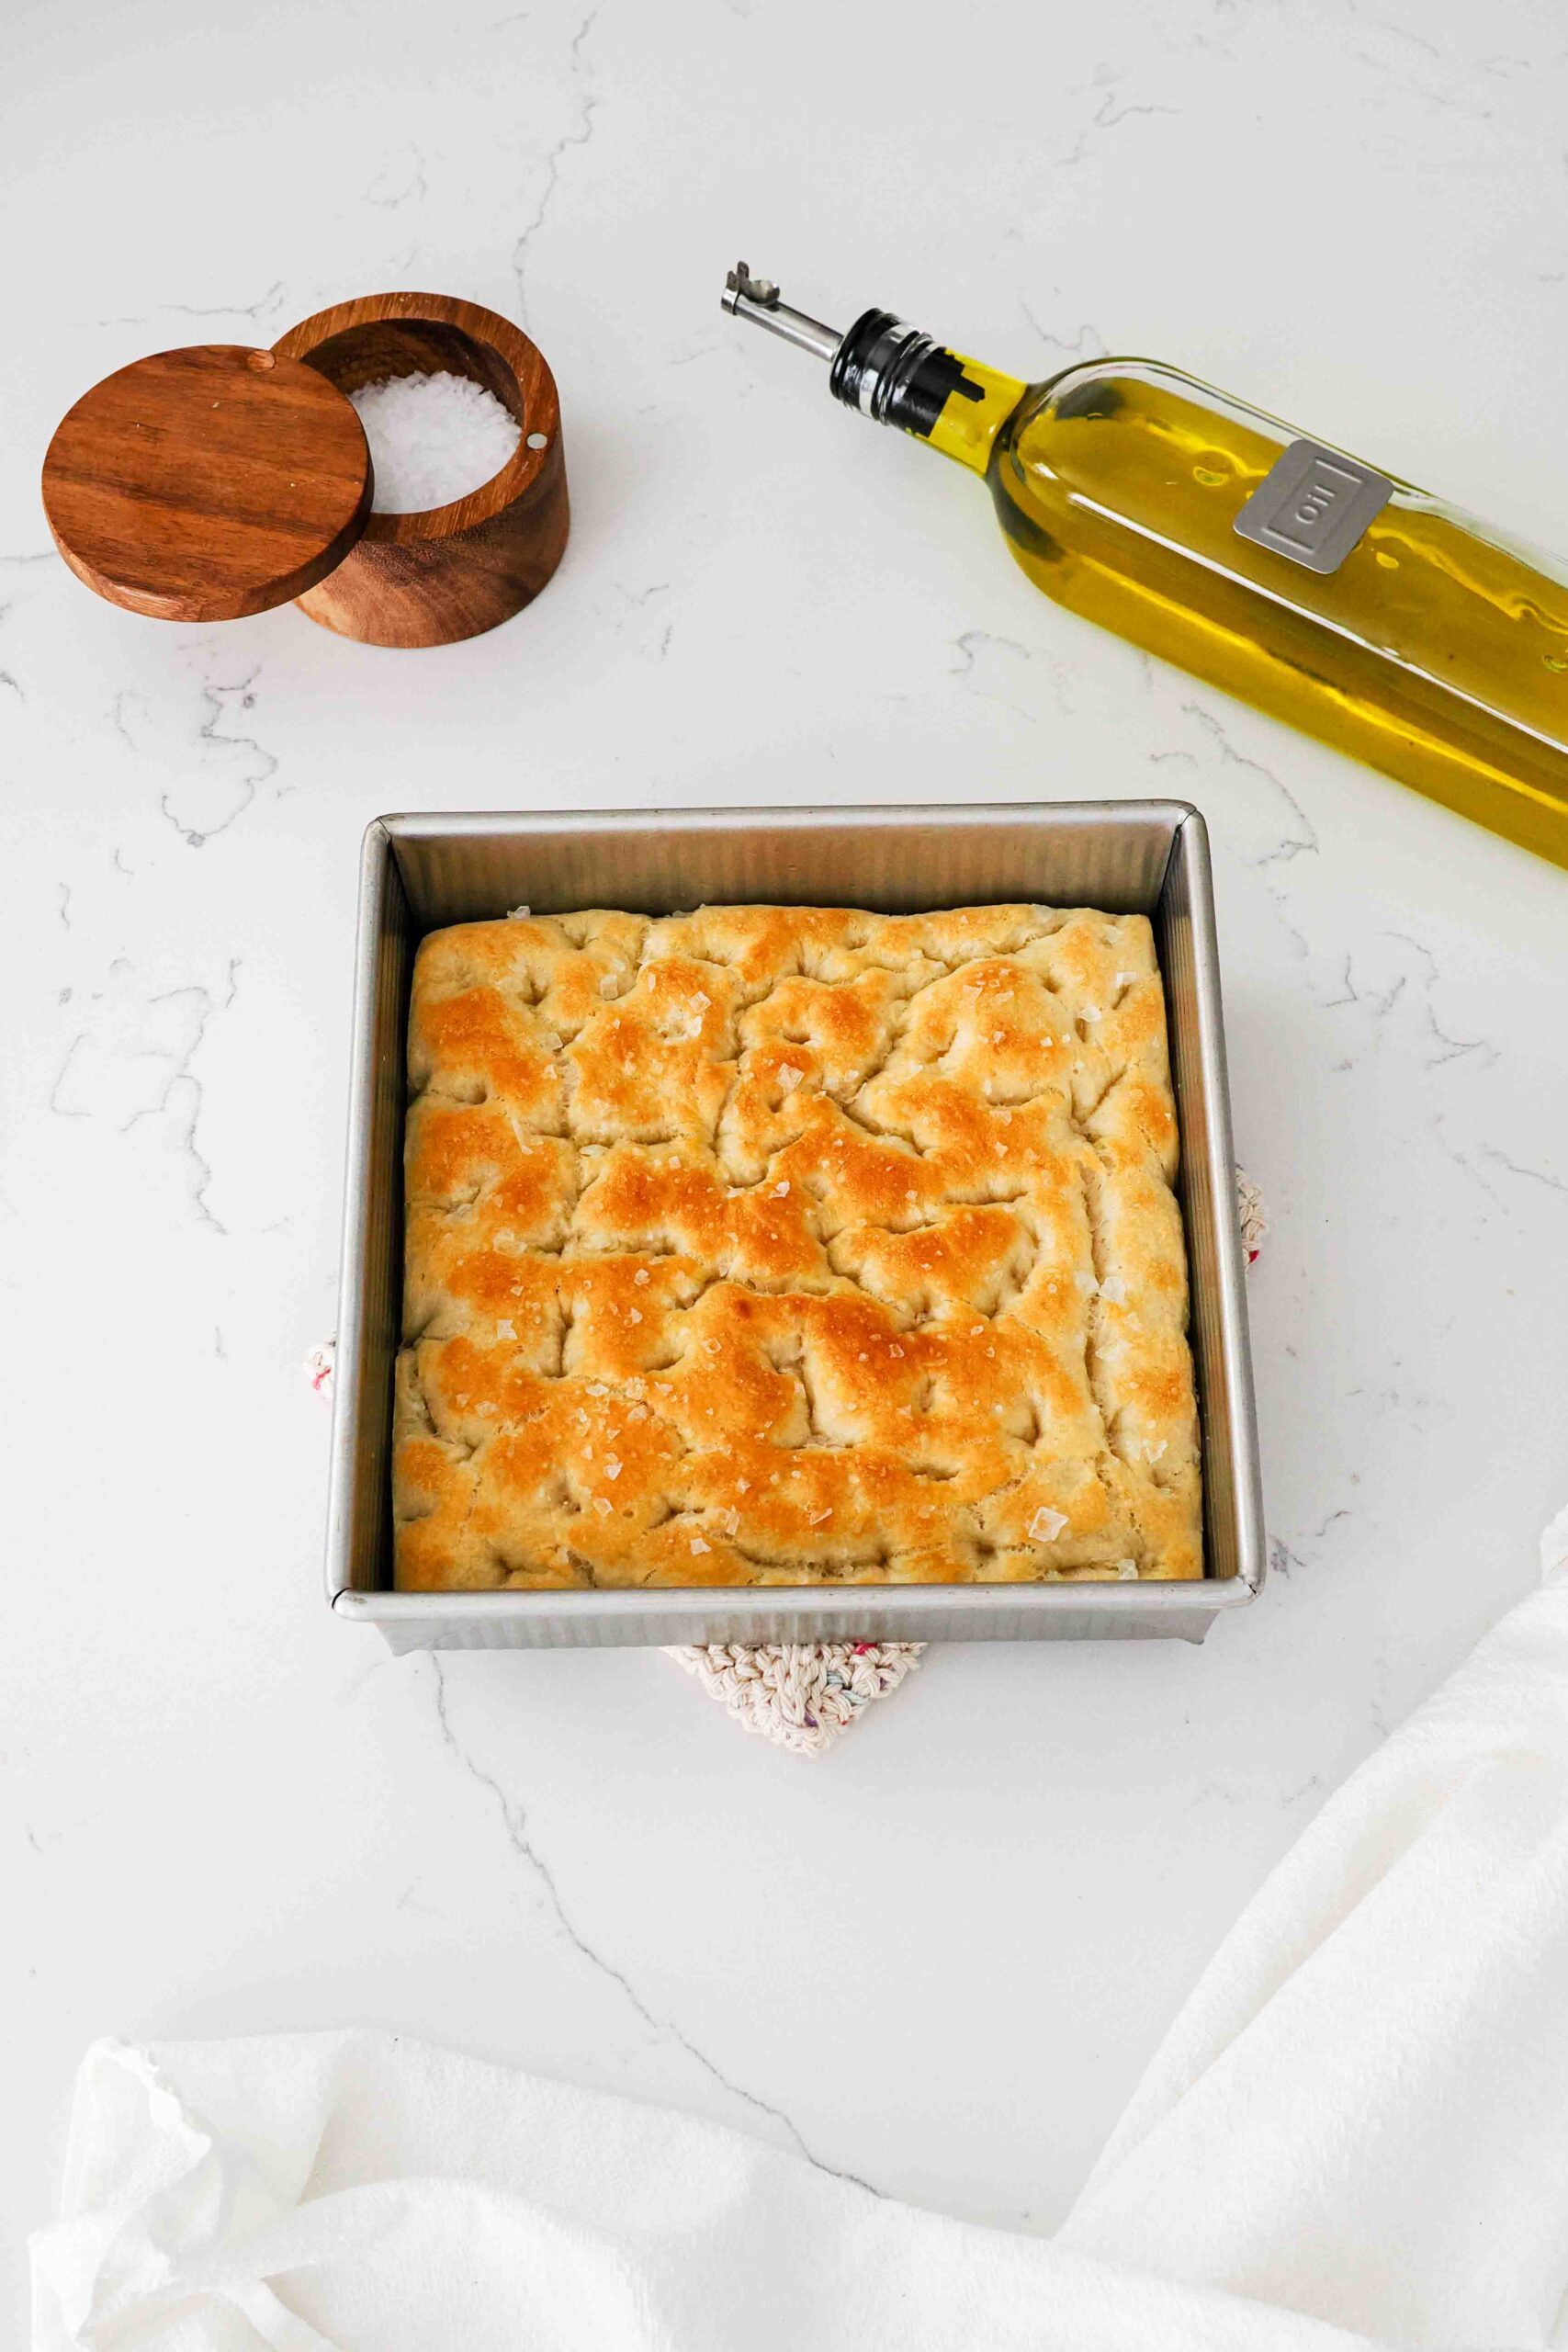
Bake the focaccia without any steam for another 5-10 minutes, until the top of the focaccia is a crispy golden brown. Remove from the oven, and allow the focaccia loaf to cool in the pan for about 15 minutes, until it is no longer too hot to handle. Then, slice into your desired number of pieces and serve!
FAQs about Small Batch Focaccia
Whichever oil you like best! I have infused my own olive oil with fresh herbs from my garden, and that adds extra flavor, but any olive oil of good quality will work nicely!
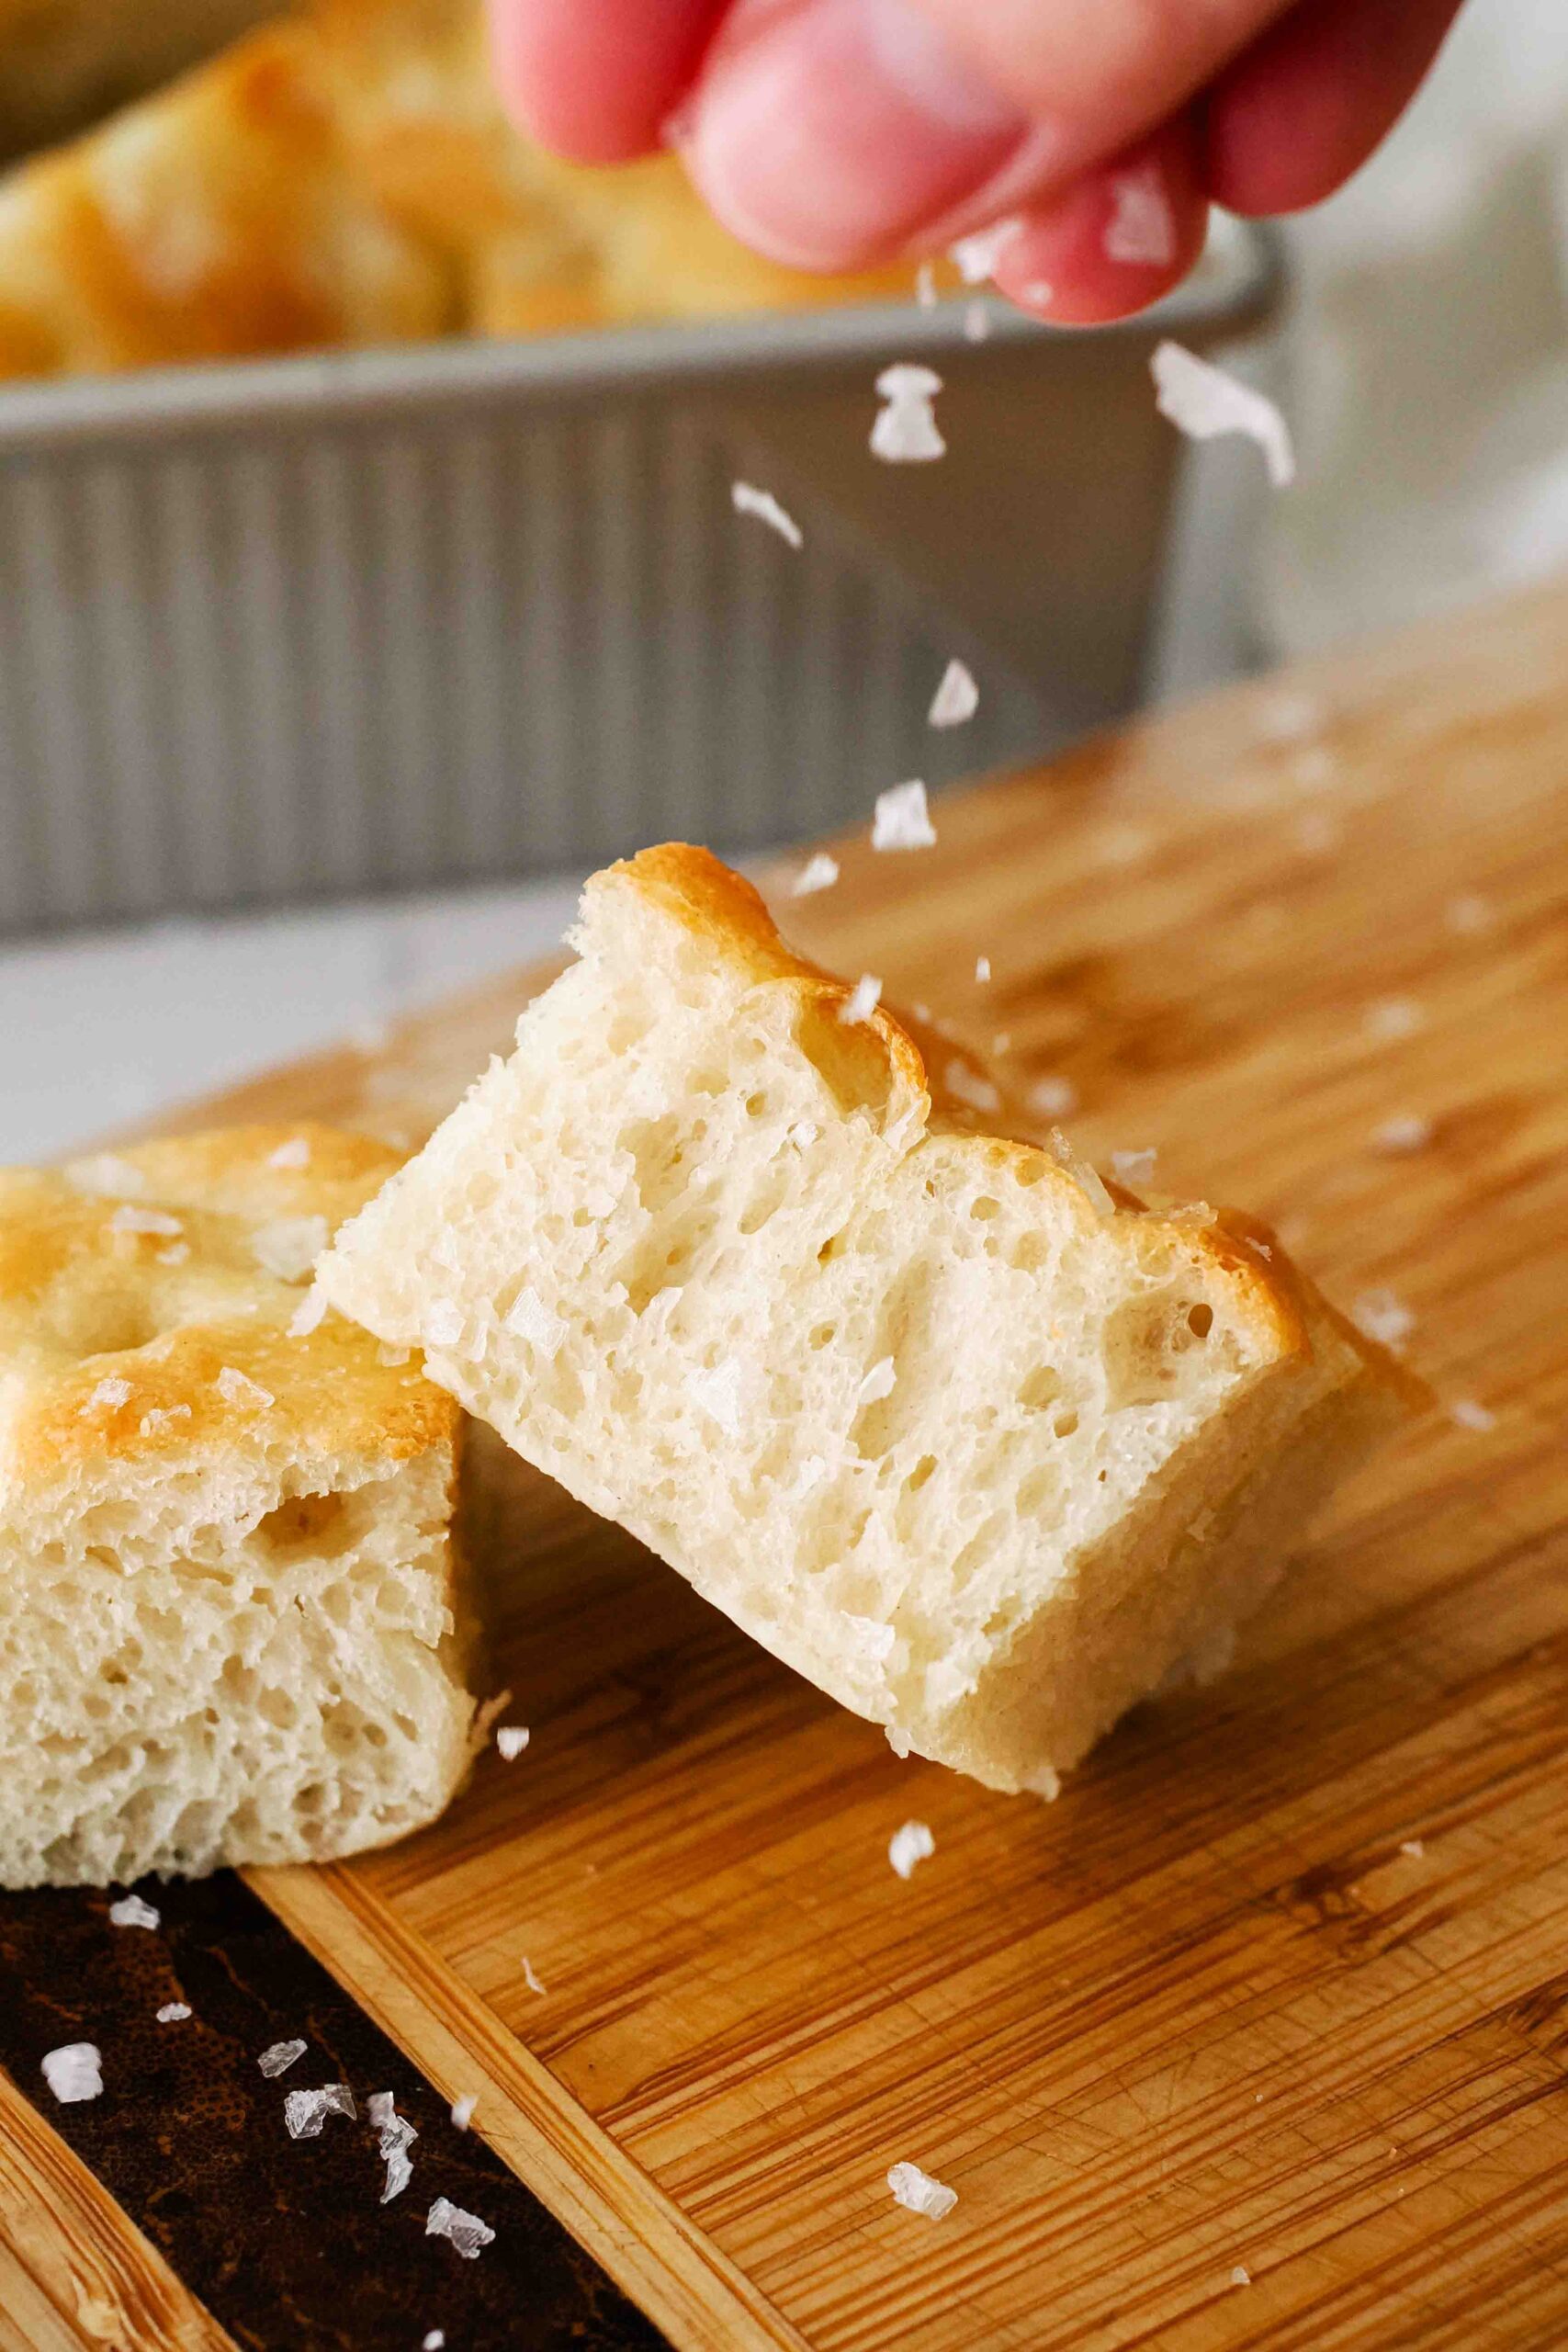
Homemade focaccia bread is best eaten the same day, but leftovers will be good for up to three days. I lightly cover my focaccia in the pan with a cutting board or kitchen towel, but you can store it in an airtight container if you like. The flaky salt will melt into the bread after a few hours, but it is still safe to eat.
These loaves never last more than 24 hours in my home, as they are best enjoyed the day of baking. If you have leftovers, store in an airtight or loosely covered container for up to three days.
Other Recipes You May Enjoy
If you’re making dinner for two, this small batch of focaccia pairs beautifully with my creamy Cajun spinach pasta for two and Cajun tortilla chip crusted-fish.
You can also dip this bread into a creamy mushroom potato soup.
If garlicky breads are more your thing, you’ll love my twisted garlic breadsticks and my garlic French bread!
Dish Cleanup: Not Too Bad
I rate my recipe cleanups on a scale of 1 to 5. 1 is only a handful of dishes, and 5 is everything including the kitchen sink.
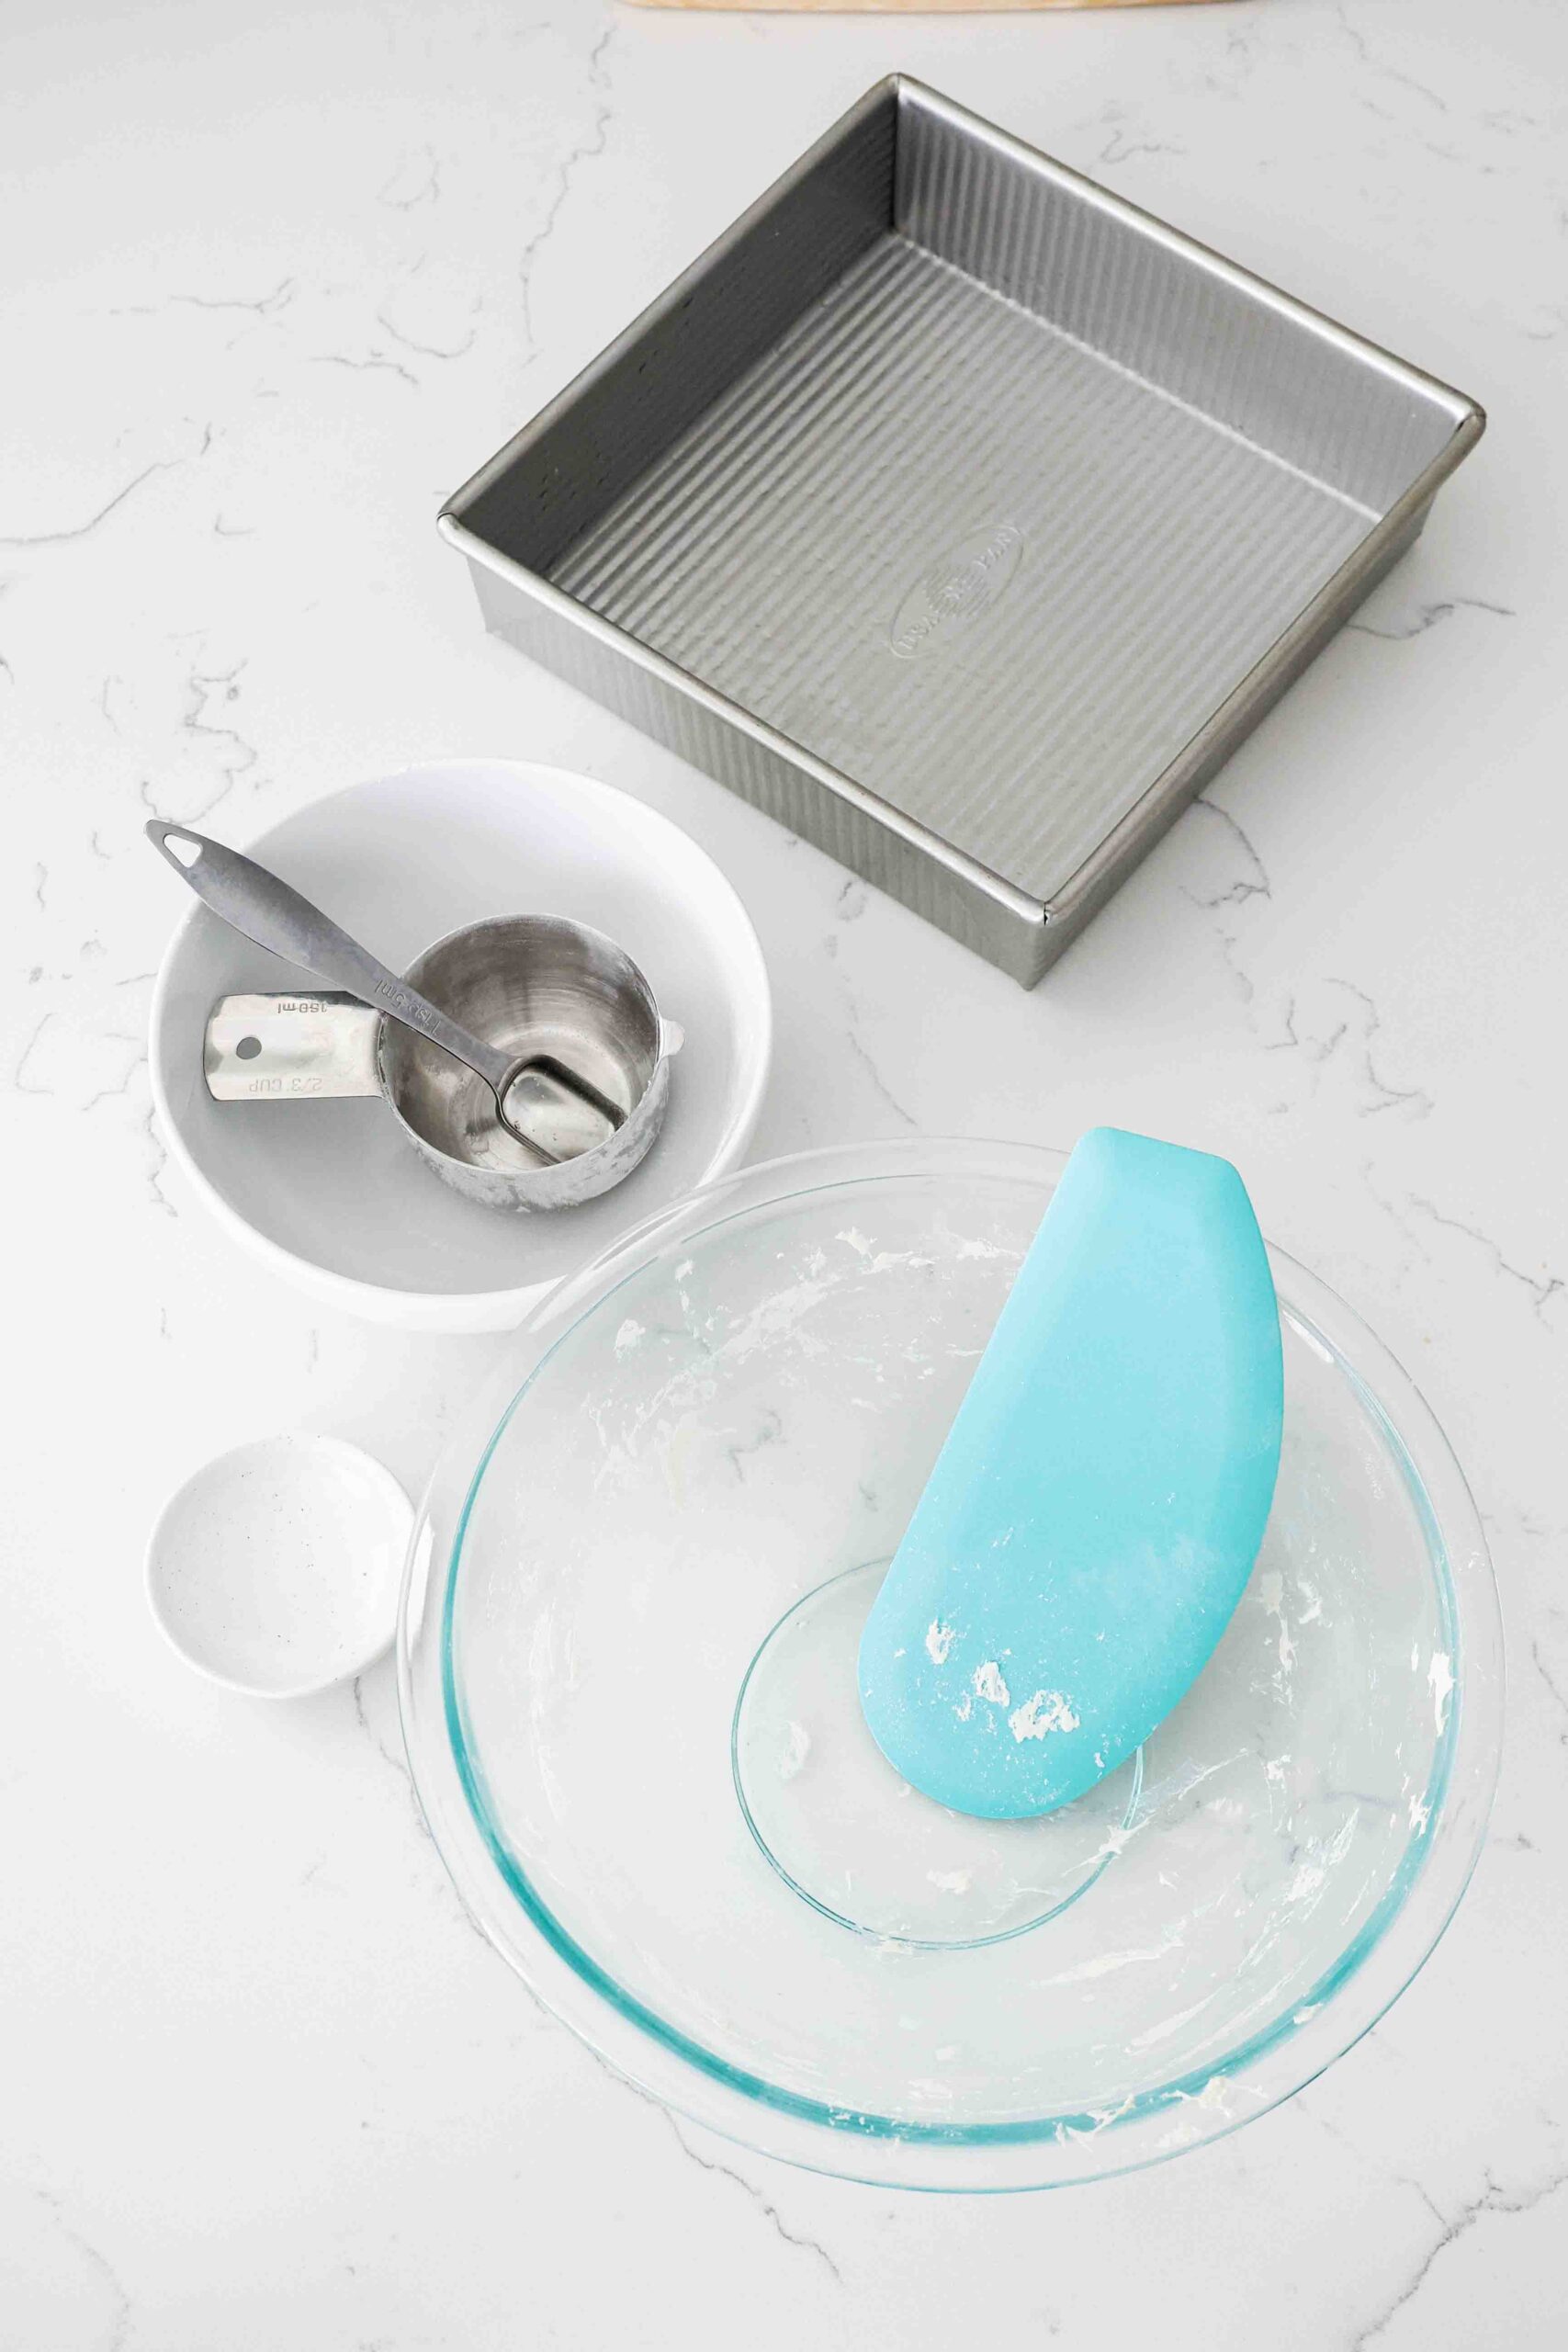
This small batch focaccia recipe has a cleanup rating of a 2. I will rarely rate a bread recipe lower than a 2, simply because dried dough is one of my least favorite things to scrub off bowls. (Icky sponge has entered the chat!) Crusty dough pieces aside, this focaccia recipe still ranks as an easy cleanup with just one mixing bowl, one pan, and a few measuring cups.
Small Batch Focaccia Recipe
Thanks so much for stopping by!
If you make this small batch focaccia and love it, please don’t forget to rate the recipe five stars.
Easy Small Batch Focaccia
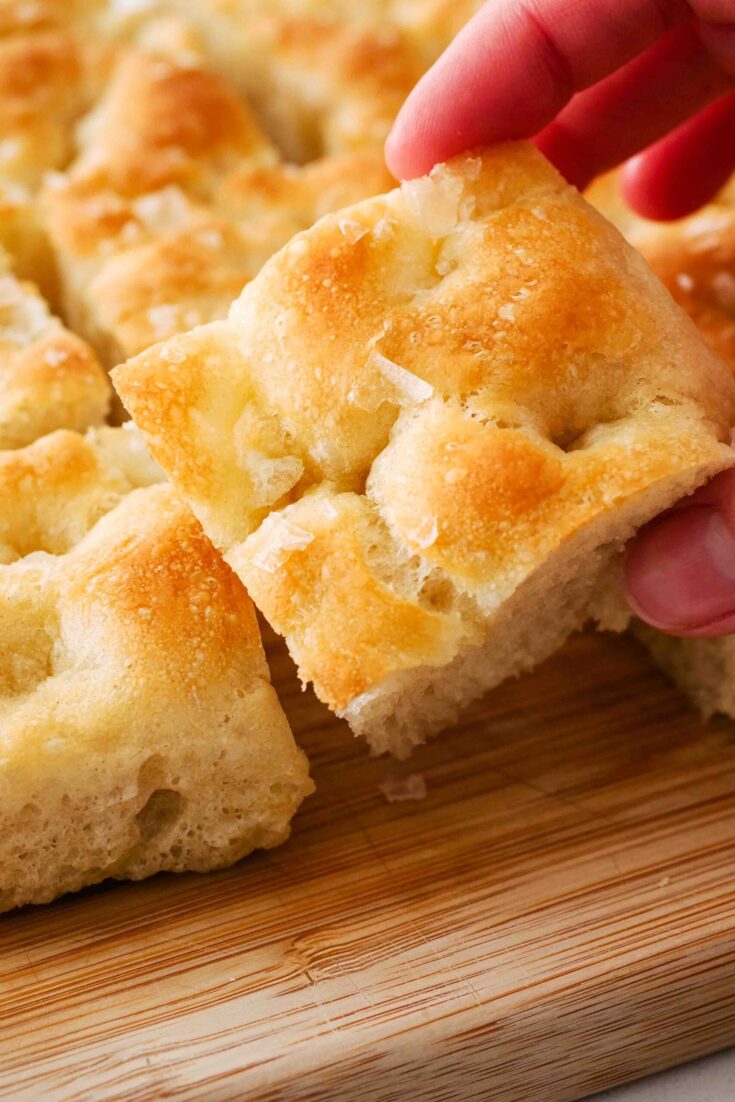
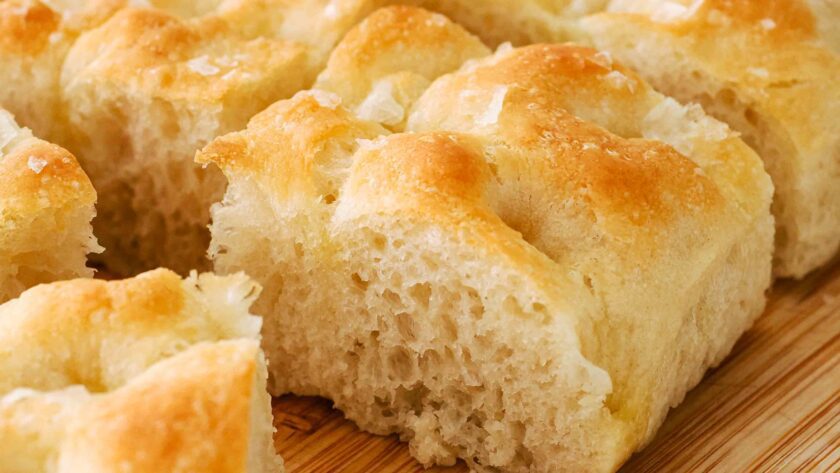
Topped with a drizzle of olive oil and a generous sprinkle of flaky salt, this fluffy, small batch focaccia serves 2-4 people and is all too easy to devour in one sitting.
Ingredients
- 1 teaspoon active dry yeast (4 g)
- ¾ cup warm water, about 105°F/40°C (175 ml or g)
- 1 ⅔ cups all-purpose flour (240 g)*
- ¾ teaspoon sea salt (5 g)
- 2-3 Tablespoons olive oil, divided (30-45 ml)
- 1-2 teaspoons flaky salt, for topping
Instructions
Making and Folding the Focaccia Dough
- Add the yeast to a medium bowl, then pour the warm water slowly over it. Let the mixture sit for five minutes to allow the yeast to activate.
- Add the flour and sea salt to the yeast mixture and stir together until it forms a shaggy dough. The dough will be sticky, so I like to use a flexible bench scraper, but you are welcome to use your hands or a dough whisk.
- To develop gluten without kneading the dough, we'll fold the dough over itself a few times: Gently hook your fingers or flexible bench scraper under the dough on the opposite side from you. Pull the sticky dough up and towards you, then press it into the bottom of the side of the dough nearest you. Rotate the bowl 90° and repeat another 8-10 times, until the dough is fairly taut and holds its shape. As you fold, the dough will transform from sticky to tacky and gain more stretch. (See images and video in the blog post for a visual.)
- Cover the bowl with a kitchen towel or plastic wrap, then set in a warm place to rise for about an hour, or until doubled in size.**
- In a square 8"/20 cm baking pan, drizzle or spread at least a Tablespoon of the olive oil to cover the bottom (more for a crispy crust, if you'd prefer).
- Once the dough has doubled in size, transfer the dough to the oiled baking pan. Gently spread the dough so that it covers the entire bottom of the pan. You may have to push or lightly stretch the dough into the corners a couple of times to get it to stick. Try your best not to tear the dough, rather, push dough from a thicker section into a thinner one.
- Lightly cover the dough once more, then let rise for about 30-40 minutes, until visibly puffy.
Baking the Small Batch Focaccia
- In the last few minutes of proofing, preheat the oven to 425°F/220°C and add a roasting pan with about an inch of water onto the bottom rack. The steam will help the focaccia rise and results in a fluffier crumb.
- Drizzle 1-2 Tablespoons of olive oil over the top of the puffy dough.
- Oil the tips of your fingers, then press your fingertips through the dough to the bottom of the pan and back out to form dimples. Repeat across the entire loaf until the surface is evenly dimpled (7-8 times, if using both hands). Sprinkle the flaky salt evenly across the top of the loaf.
- Bake for 10 minutes, then remove the roasting pan with the water. Bake for another 5-10 minutes, or until the top of the focaccia is a deep golden brown.
- Remove from the oven and allow to cool in the pan for at least 15 minutes before slicing and enjoying.
Notes
*Because this is a smaller batch recipe, it will work best if you use a scale to measure your ingredients. You're welcome to use measuring cups if you don't have a kitchen scale, but you may have to add an extra splash of water or handful of flour in order to get the texture right. Please watch the video or look at the images in the blog post to verify that your dough is the right consistency before folding.
**If desired, you may refrigerate the dough at this point for up to 3 days in an airtight container. Allow the dough to return to room temperature before shaping.
Best served when warm. Store leftovers loosely covered or in an airtight container at room temperature for up to three days.
Recommended Products
As an Amazon Associate and member of other affiliate programs, I earn from qualifying purchases.
Nutrition Information:
Yield:
4Serving Size:
1/4 loafAmount Per Serving: Calories: 283Total Fat: 11gSaturated Fat: 1gTrans Fat: 0gUnsaturated Fat: 9gCholesterol: 0mgSodium: 1250mgCarbohydrates: 40gFiber: 2gSugar: 0gProtein: 6g
The nutrition facts are estimated and may vary based on specific ingredients used.
I’d love to see how your recipe turns out: Take a photo and tag me on Instagram @floralapronblog to share with me, or use the hashtag #floralapronbakes.



There has to be a problem with the flour to water ratio, I measured them with a scale and my dough is as thick as a pie crust one… guess i have to throw it away now
Hi Claire,
The process images for this recipe were taken after multiple tests with weighed ingredients, so they are accurate for my kitchen. However, humidity levels and the brand of flour do play a bit of a role in getting the right consistency for small batch bread, which is why I have a note in the bottom of the recipe card saying you may have to add an extra splash of water (or flour) to get the texture right in your kitchen.
You absolutely do not have to throw it out, though! Just work in a splash (or maybe two large ones, if it’s really thick lol) of water, and you’ll be able to salvage it 🙂