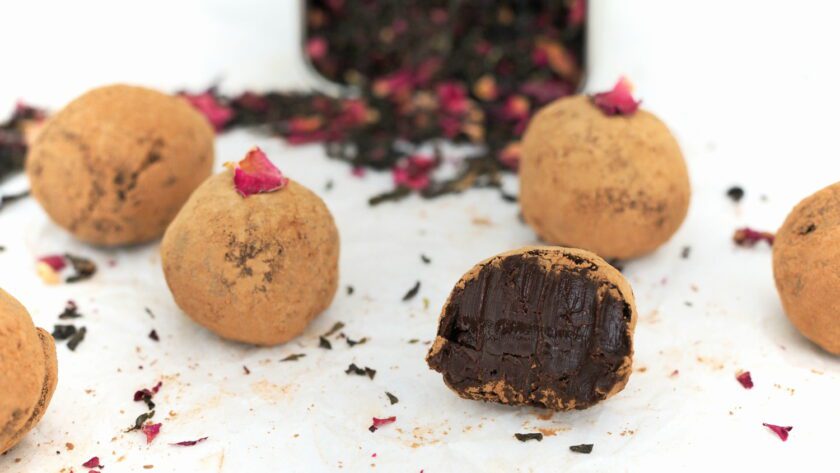
Rosy earl grey truffles combine all the best elements of chocolate and tea into an irresistible make-ahead, no-bake dessert. With only four ingredients and about half an hour of hands-on time, you can have delicious truffles ready to savor. Bonus: This recipe is vegan-friendly with just one ingredient swap!

Quick Tips for Prepping Rosy Earl Grey Truffles
You can watch me make these truffles on my YouTube channel if you’d prefer watching rather than reading!
The rosy earl grey tea in this recipe has a beautiful bergamot and floral flavor that pairs beautifully with these truffles. If you don’t have rosy earl grey tea on hand or simply can’t wait for this tea to arrive from Amazon (affiliate link*), you can substitute normal earl grey tea. There won’t be the same floral flavor, but it will still taste great!

You can use semisweet chocolate instead of dark chocolate to make these rosy earl grey truffles. I’ve had great success using all semisweet, half semisweet/half dark chocolate, and all dark chocolate. The choice is yours!
This dessert can easily be made vegan: Simply substitute coconut milk for heavy cream. As long as your dark chocolate is vegan, you’re good to go! The coconut milk does not leave a strong coconut flavor (as long as you steep your tea for the full five minutes!).
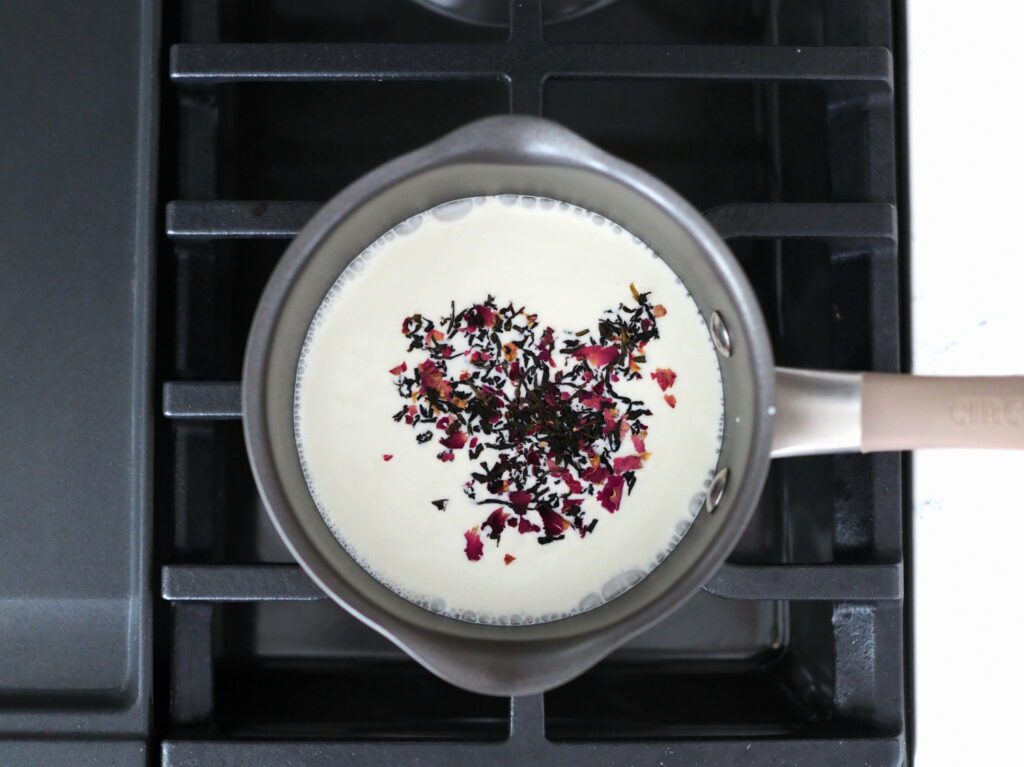
To get a little extra rosy earl grey flavor in my truffles, I add the tea to my heavy cream when I start heating it and then steep it an additional five minutes once the cream starts steaming. If you’d like a lighter flavor, add the tea only when the cream is hot and steep for three minutes.
Quick Tips for Shaping Rosy Earl Grey Truffles
I won’t sugarcoat it for you: These truffles get messy. It’s all contained in your hands, but your hands can get totally covered in chocolate if you don’t take a few precautionary steps:
- Work quickly: The truffles are made from a ganache with a 2:1 chocolate-to-cream ratio. They will melt if you hold them for too long and/or don’t keep them moving when you handle them.
- Keep your hands clean: Any melted ganache on your hand will stick to the truffles as you shape them. To prevent this, wrap your hand in plastic wrap or use a sheet of plastic wrap as a barrier between the truffle and your hand at all times.
- Limit air pockets inside the truffles: If there is a large air pocket inside of a truffle, the truffle may collapse as you do the second shaping (which requires a bit more force than the first shaping). Do your best to compact the truffle together in the first shaping to limit heavy reworking during the second shaping (which will result in melted chocolate all over your hands—see my video for an example).
The first shaping is where you’ll do the most extensive work: Use an ice cream or cookie scoop to make a rough ball of ganache. What’s most important here is getting a somewhat-spherical shape with as few air pockets inside of it as possible. It doesn’t need to be perfect at this stage, since the second shaping will take care of any unsightly lumps. Using plastic wrap to protect your hands in this stage is a great idea.
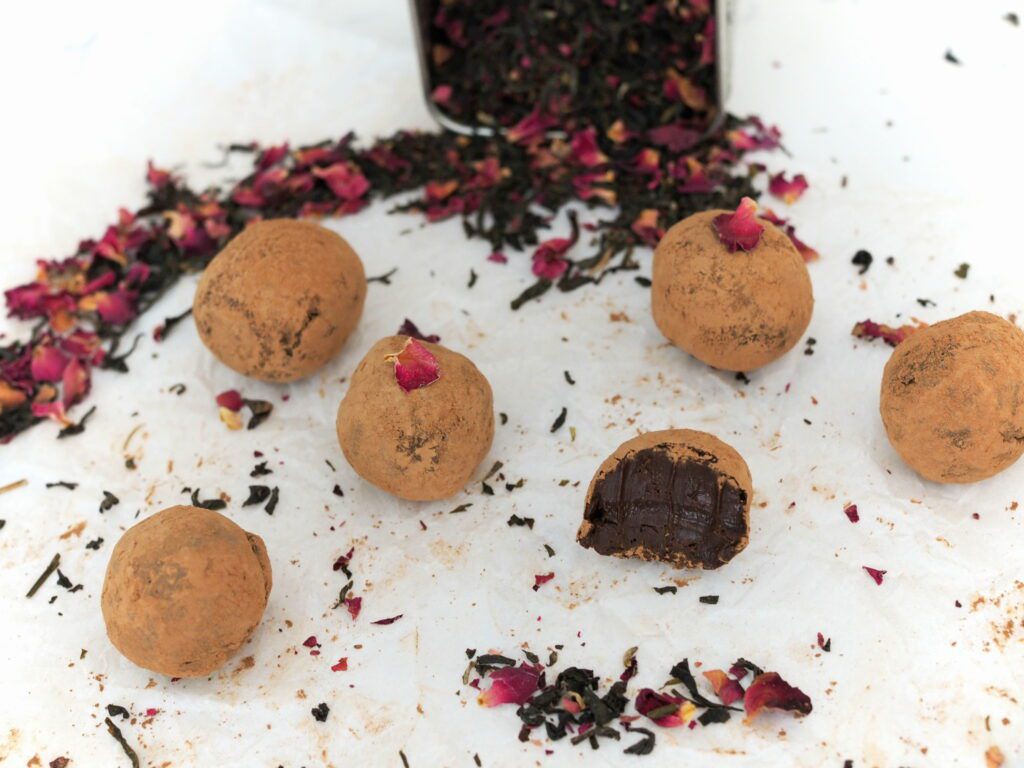
The second shaping is simply a light touch-up once the rosy earl grey truffles have hardened a bit. Because the truffles aren’t as soft, you may not need to use plastic wrap during this stage. The cocoa powder will help prevent ganache from rubbing off onto your palms and should help you get a nice, spherical ball.
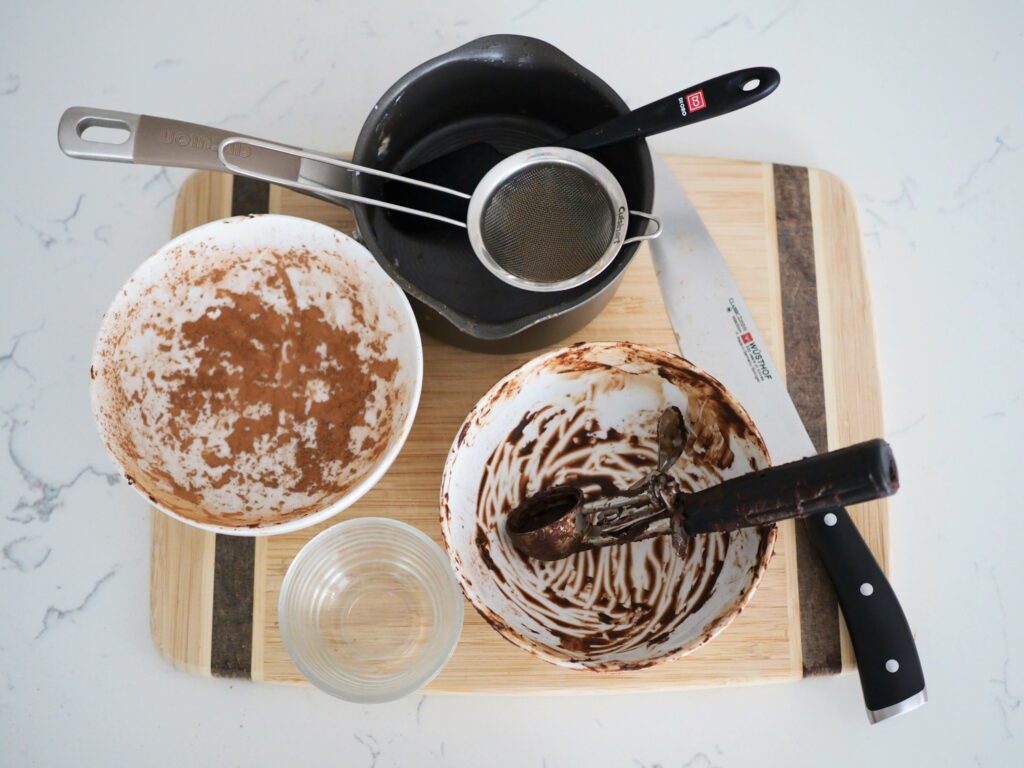
Dish Cleanup: A Lil Messy
I rate my recipe cleanups on a scale of 1 to 5. 1 is only a handful of dishes, and 5 is everything including the kitchen sink.
These rosy earl grey truffles are a 3. There aren’t many dishes involved, but they do leave quite a bit of residue on each item used, and it takes a while to get it all off.
If you use chocolate chips, you’ll already be taking this recipe down to a 2, since you won’t have to wash a cutting board or a knife. Throw everything else in the dishwasher, and you really won’t have too much kitchen cleanup left (other than your hands, of course!).
Rosy Earl Grey Truffles
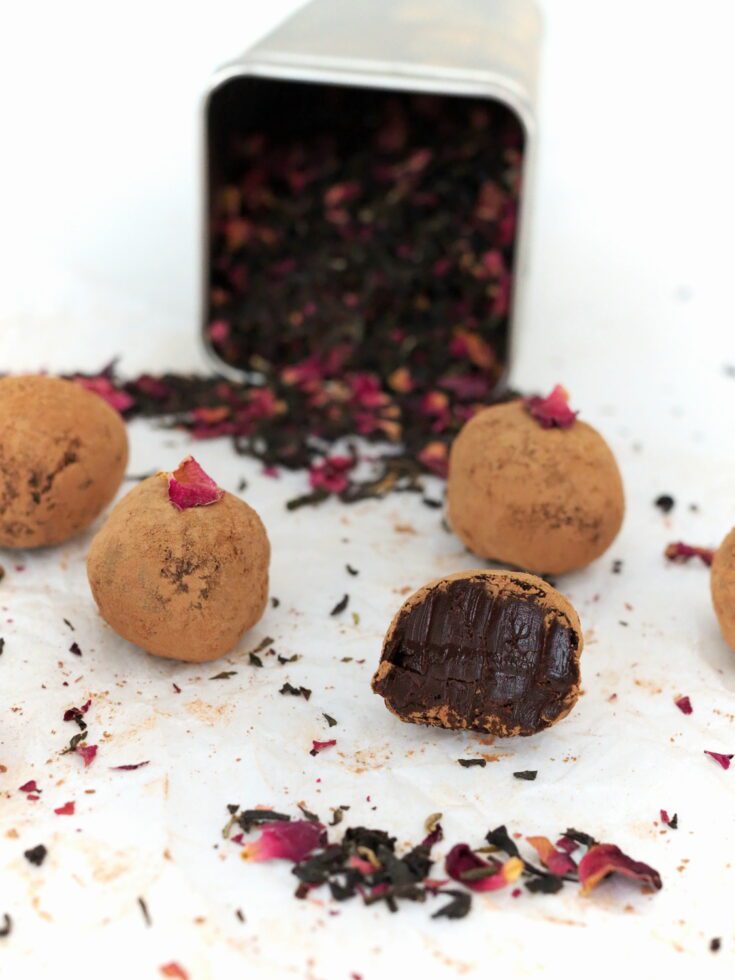
Rosy earl grey truffles combine the best elements of chocolate and tea into an irresistible make-ahead, no-bake truffle with floral notes. (And vegan if desired!)
Ingredients
- 6 ounces dark chocolate (170g)
- 3 ounces heavy cream or coconut milk (85g)
- 3 teaspoons rosy earl grey tea
- 2 Tablespoons cocoa powder
Instructions
- If using a chocolate bar, finely chop the chocolate (skip this step if using chocolate chips). You want small pieces less than 1/4" in size in order to melt easily. Transfer into a heat-safe mixing bowl.
- Place heavy cream and tea into a small saucepan and heat on medium-low. Once the cream starts to steam, turn down the heat to low. Let the tea steep for an additional five minutes.
- Pour the heavy cream over the chocolate, using a fine mesh strainer to strain out the tea leaves. (You don't want any in these truffles, trust me!)
- Mix well for a few minutes, until you have a smooth ganache. If the ganache is a little lumpy from unmelted chocolate, put the bowl into the microwave for 5-10 second intervals and stir well after each. Cover and chill in the fridge for about an hour and a half, until the ganache is dull and does not wiggle when you move the bowl.
- Place the cocoa powder into a small bowl and line a baking sheet (or plate) with parchment paper.
- Uncover the ganache and use a cookie scoop or teaspoon to scoop out about one teaspoon at a time. Turn the scoop out into your hand and roll the ganache between the palms of your hands to form a ball. Work quickly to prevent the ball from melting significantly from the heat of your hands. They do not need to be perfect at this stage; we will come back to them!
- Drop the ball into the cocoa powder and roll it around the bowl until it is completely covered in cocoa powder. Place the truffle on the baking sheet or plate. Repeat with the rest of the ganache.
- Place the tray of truffles in your freezer for a few minutes to harden them. Roll them between your hands until you get a perfect sphere. Dust in cocoa powder once more if needed. Store in the fridge and take out half an hour before serving for best flavor.
Notes
To cut down on the mess, use a sheet of plastic wrap as a barrier between your hand and the chocolate.
Nutrition Information:
Yield:
12Serving Size:
1Amount Per Serving: Calories: 106Total Fat: 7gSaturated Fat: 4gTrans Fat: 0gUnsaturated Fat: 2gCholesterol: 10mgSodium: 5mgCarbohydrates: 9gFiber: 1gSugar: 7gProtein: 1g
The nutrition facts are estimated and may vary based on specific ingredients used.
Thanks for trying out these rosy earl grey truffles! I’d love to see how they turn out: Take a photo and tag me on Instagram @floralapronblog to share with me, or use the hashtag #floralapronbakes.
Other Recipes You May Enjoy
If you enjoyed this recipe, check out my cherry almond cupcakes! A two-toned and two-flavored buttercream swirl rounds out a cupcake jampacked with cherries and almonds.
I have a number of other dessert recipes you’re sure to love as well. (I’m adding recipes every month!)
Looking for a side to serve with your dinner before your dessert of vegan truffles? My garlic French bread recipe is always a hit!
*I may earn a commission if you click through a link and finalize a purchase, all at no cost to you. Thank you for supporting me!